Have you ever stood in awe of a beautiful landscape painting and wished you could capture its essence on canvas? I know I have, and seeing a beautiful landscape painting and being outside in nature has inspired me to paint landscapes.
In this blog post, I will unveil 37 invaluable tips that will transform you from a novice to a maestro in the art of landscape painting. The tips in this article are suitable for oil painting and acrylic painting.
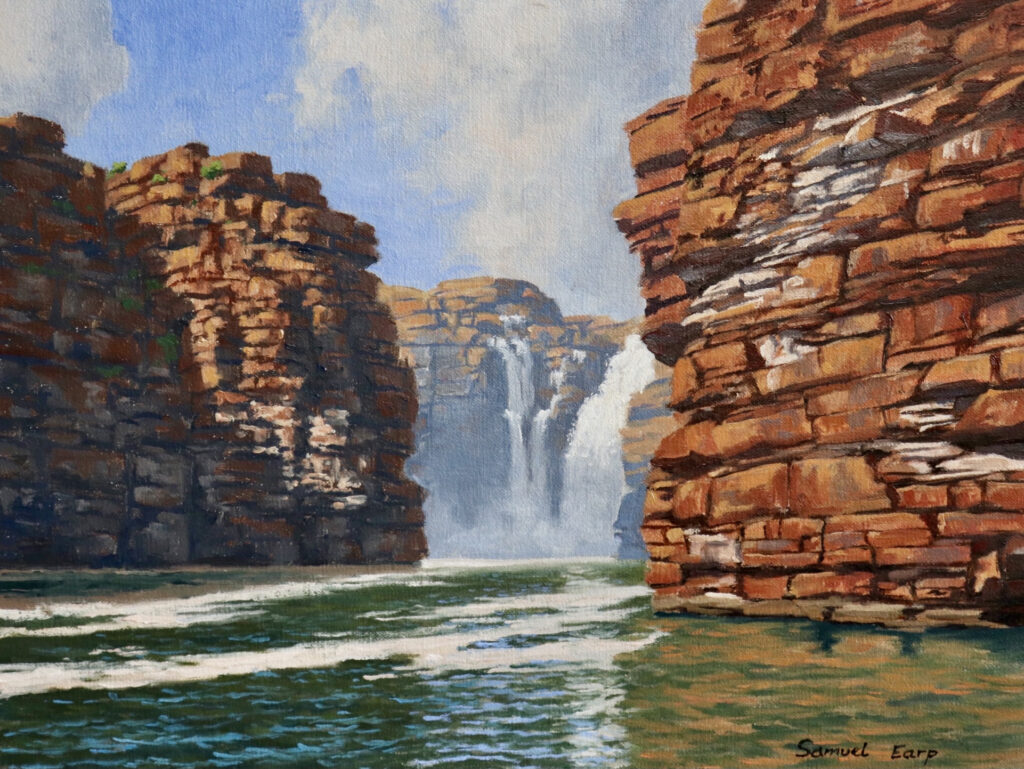
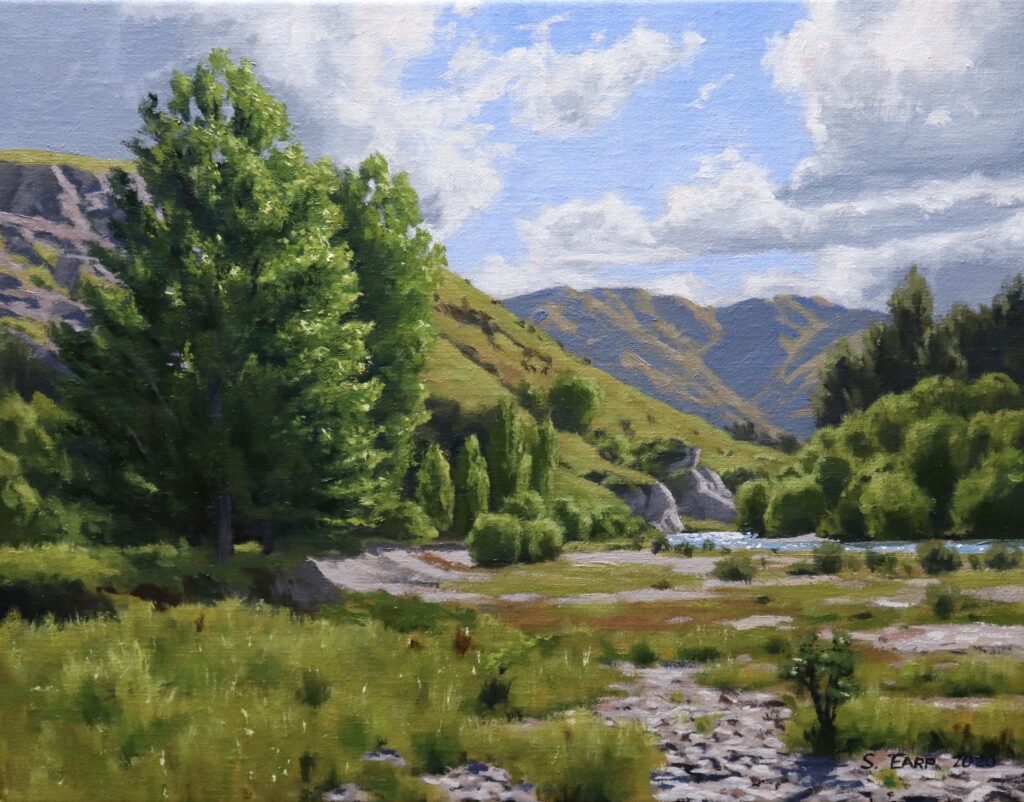
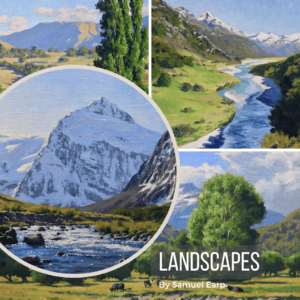
Landscape Painting
From majestic mountains to tranquil lakes, the beauty of nature and natural forms offers endless inspiration and ideas for artists. But capturing these stunning vistas is more challenging than it seems. That’s why I’ve compiled a list of 37 practical and effective tips to help you navigate your way through the intricate world of landscape painting.
So, this blog post is your roadmap ideas to good landscape paintings, whether you’re a beginner and just starting your artistic journey or looking great tips to refine your existing skills. Prepare your palette, pick up your brush, and let’s dive into the beautiful world and art of landscape painting together with these simple tips.
Bookmark this post on Pinterest!
Tip 1: Choose Your Subject Carefully
When it comes to landscape painting, choosing the proper subject matter is essential. Not all landscapes translate well to canvas, so take your time to find a good subject to paint.
How do you know whether you have chosen an excellent landscape to paint? Look for landscapes with exciting elements, such as rolling hills, distant mountains, and rivers. Please pay attention to the colors of your landscape and how the light is hitting it.
Consider the overall composition of your painting and how the colors, shapes, and textures will look on the canvas. Taking your time to choose the best subject matter will help ensure your landscape painting succeeds.
Choosing the right subject comes with experience, and I have learned to see the landscape and what will translate well on canvas through trial and error.
Tip 2: Start With a Simple Sketch
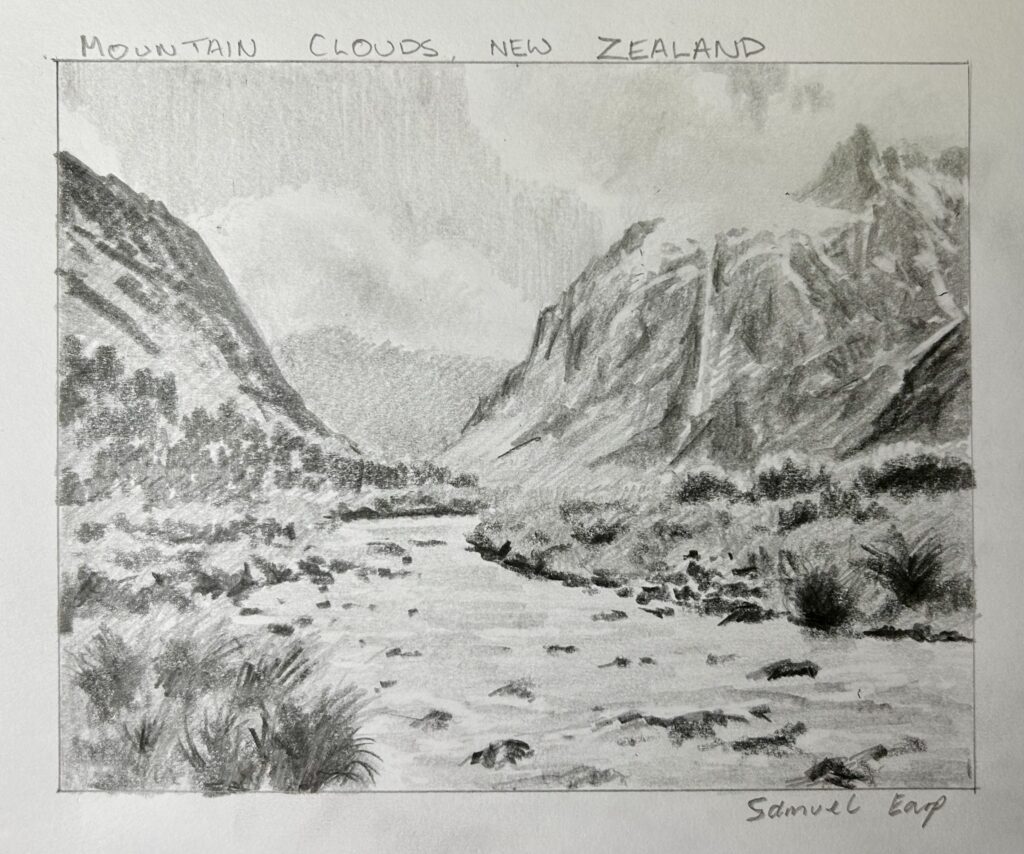
Before you pick up your paintbrush, take a few moments to plan your painting. Start by sketching the scene in pencil. This will help you see the road ahead, get an overall sense of the composition, and figure out the best way to draw the elements of your painting.
When I plan a painting, I start with quick thumbnail sketches and a final sketch which I can refer to when I start my painting.
Tip 3: Consider Composition and Focal Points
When it comes to landscape painting, the composition is vital. It’s essential to consider the elements that will make up your painting and how they will interact with each other.
Think about the focal point of your painting and how the composition will draw the viewer’s eye to that point. Make sure to create a sense of movement in the picture by using various elements, such as the placement of mountains, trees, and other features.
Finally, think about the depth and balance of your painting – the elements should create a sense of harmony and unity.
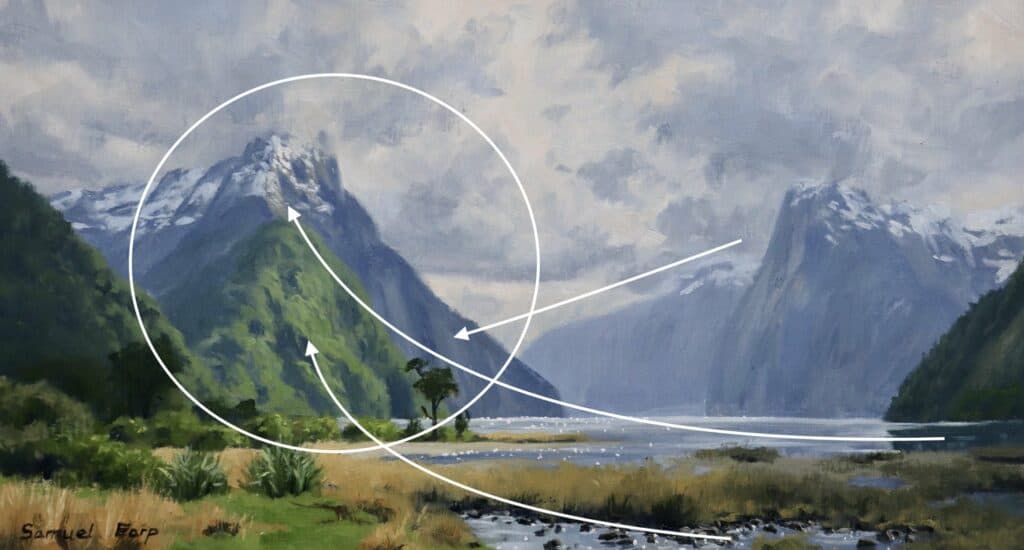
Tip 4: Never Place Your Focal Point in the Middle
When creating your landscape painting, it’s essential to ensure your focal point is not placed in the middle of the composition. Putting the focal point in the middle makes the picture look static and uninteresting.
Instead, try placing the focal point a third of the way into the painting, either on the right or left sides. This will create a dynamic effect and draw the viewer’s eye into the picture.
You can also use other elements like the color, temperature, and texture to further draw the attention of the viewer’s eye to the focal point. By varying the color temperature placement of your focal point, you can create a more exciting and engaging landscape painting.
Learn to Paint Four Stunning Landscapes
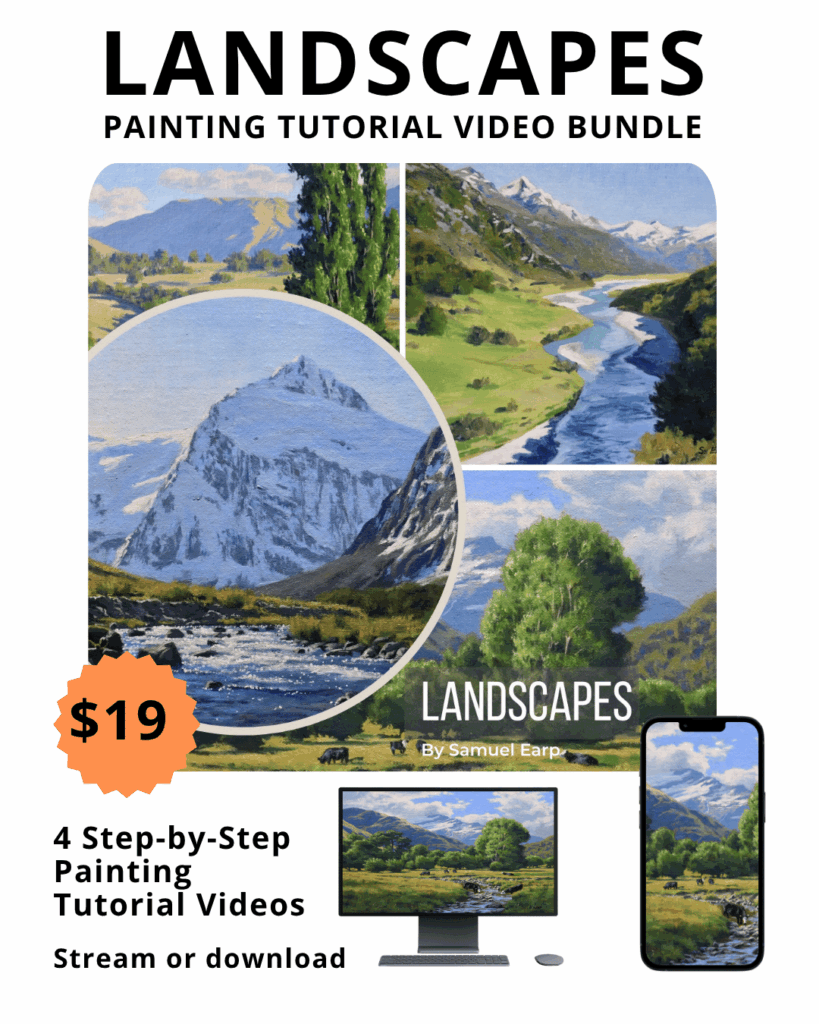
4 x Step-by-Step Painting Tutorial Videos – $19
Tip 5: Never Place Your Horizon Line in the Middle of Your Composition
Your horizon line is a crucial element in a landscape painting. Start by finding a fixed point in the distance you want to use as the horizon line. Then use that point to trace the path of the landscape and figure out where to place the rest of the elements in the painting.
Never place your horizon line in the middle of your picture so it is dividing the canvas equally, as this will cause disharmony in your composition.
Tip 6: Be Mindful of Perspective
Perspective is an essential element in landscape painting. Could you make sure to keep the perspective of the scene consistent throughout your artwork? This will help you create a sense of depth and will make your picture look more realistic.
Sketching regularly will help you to pay attention to the size and placement of elements in the painting and keep them in perspective.
Tip 7: Simplify the Scene
When painting a landscape, you can leave out some of the little details. Instead, focus on the elements that will impact the painting most. This will help you create a more dynamic artwork that will draw the eye of the viewer.
A landscape artist once said to me, ‘it is not about the details he adds to a painting but what he leaves out.’
Tip 8: Use A Limited Palette
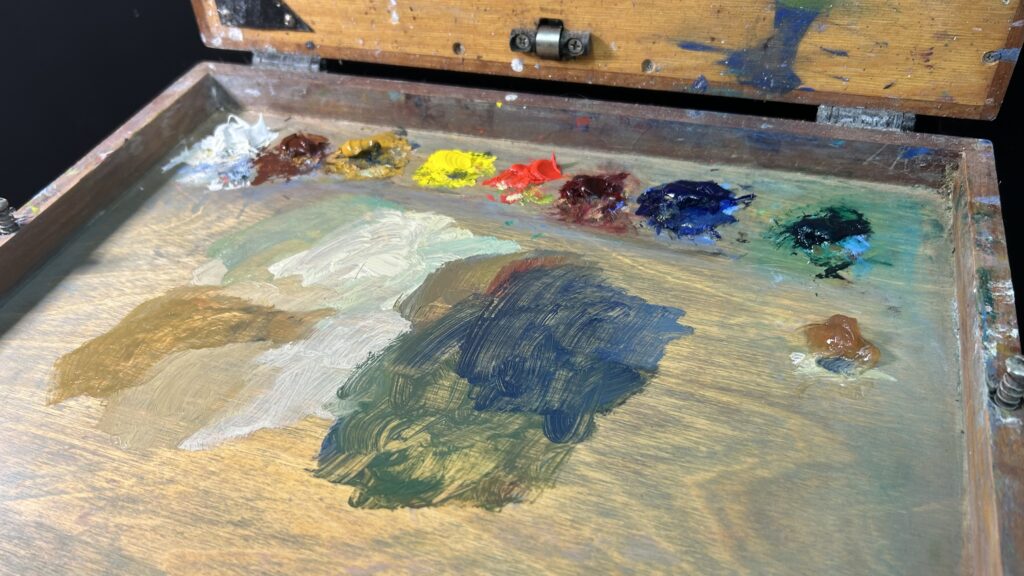
When painting landscapes, it is easiest to use a limited palette of colors. This will help you keep the painting cohesive, and your colors mix cleaner.
Having fewer colors on your palette will be more straightforward and more manageable for you and help you better understand color mixing and the color wheel. You don’t need to use loads of colors.
Tip 9: Don’t Overwork the Details
Less is often more when it comes to landscape painting. Stay caught up in the details. Instead, focus on capturing the overall mood and atmosphere of the scene.
The subtleties of the landscape should come through in a more abstract way than in a highly detailed painting as the brain fills in the rest of the information. Sometimes less complicated pictures can actually look more detailed.
Less is more, more is less, more or less!
Tip 10: Paint Loosely First, Then Add Details
When painting landscapes, it’s best to use loose brush strokes when blocking-in your painting in the beginning stages. This will help you capture the energy and dynamism of the scene without being too precise.
Loose brushwork will add life, energy, and a painterly feel to your artwork. Once dry, you can add as much or as little details as you like. You could even paint wet on wet, known as painting alla prima, by creating a painting in one sitting.
Feel free to experiment and use different brush strokes for the desired effect. Remember that the painting represents the idea of the painted scene, not a photograph.
WANT TO PAINT LANDSCAPES THAT ACTUALLY LOOK GOOD?
JOIN SAM’S LANDSCAPE PAINTING SCHOOL.
- ✅ Weekly live painting classes (current course: Trees)
- ✅ “Improve Your Painting in 7 Days” starter course
- ✅ My 4-stage framework: thumbnails → sketch → values → colour
- ✅ 60+ step-by-step tutorials
- ✅ Painting critiques & class replays
No more painting alone, wondering “Is this any good?” No more guessing if you’re doing it right.
Tip 11: Paint in Layers
It’s best to build your painting up in layers when painting landscapes or any detailed painting subject. When painting with oils, start with thinner layers of paint and build up thicker layers as you work through your painting. This will help to prevent cracking once the picture is dry.
Tip 12: Paint Your Dark Values and Shadows First
Values are how light or dark your subject is. When painting a landscape, it is essential to start by painting the dark values and shadows first. This will create a strong foundation for the painting and ensure the light, bright values, and colors stand out.
When painting the dark values and shadows, use a darker palette of colors and dark tones, such as combinations of ultramarine blue, burnt sienna, and titanium white. This will create a nice contrast and add depth to your painting.
When you are done painting the dark values and shadows, you can start adding lighter colors and values. This approach will help you create a more dynamic and exciting landscape painting.
Tip 13: Take Advantage of Contrast
Contrast is key when it comes to landscape painting. Use light and dark colors to create a sense of depth in your artwork. Please pay attention to how the light hits the scene’s elements and use it to create contrast. This will help you bring the painting to life and make it look more realistic.
Tip 14: Use Color to Create Mood
Color is a powerful tool when it comes to landscape painting. Use warm colors like red, orange, and yellow to create a warm and inviting atmosphere.
Use cool colors like blue, green, and purple to evoke a more tranquil feeling. Pay attention to the colors in the scene and use them to create the mood you want.
Tip 15: Use Neutral Colors for Depth
Neutral colors, like natural greys and browns, can give your landscape painting more depth and atmosphere. For example, you can use dark grey to add shadows and subtle details.
When painting shadows in the landscape, such as within clouds, hills, mountains, or rocks, I often edge my neutral greys a little on the blue side so my colors look cleaner.
Tip 16: Don’t Use Pre-Mixed Black
When painting landscapes, staying away from pre-mixed black paint is essential. Pre-mixed black paint can make your painting look flat and dull, as it doesn’t have the same richness and depth as a mix of colors. Especially avoid using ivory black and paynes grey.
Instead, try mixing your own black by combining ultramarine blue and burnt sienna. This combination of colors will create a vibrant black that will add depth and dimension to your painting.
By mixing your own black, you are much more likely to contribute to the overall color harmony of your painting.
Tip 17: Make Your Brushstrokes Intentional

Your brushstrokes will impact the look of your painting, so it’s essential to make them intentional. Pay attention to the direction and size of your brushstrokes and how they relate to the overall composition.
You can also use different brushstrokes to create texture in your painting. For example, you can use short, choppy strokes to imply grass or long, sweeping strokes to indicate a body of water.
Take your time and experiment with different brush techniques until you find what works for you! This is also a way that you will find your own painting style.
Tip 18: Add Texture to Your Paintings
Adding texture to a painting is an essential step in landscape painting. Adding different textures can make your work more exciting and realistic, whether it’s the grass, rocks, or water texture.
You can use various types of paintbrushes to create different textured effects. Flat brushes work exceptionally well for expressive brushwork. Don’t be afraid to experiment and see what works best for you!
Tip 19: Use Color Harmony to Create a Cohesive Look
Color harmony is one of the most essential elements to consider when painting landscapes. Color harmony uses colors complementing each other to create a unified and cohesive look.
To create color harmony in your painting, use fewer colors and use those colors throughout the picture.
For example, if you decide to use blue, yellow, and green in your painting, try and use all three colors throughout your painting. This will create a unified look and make all three dimensions of the picture feel more cohesive. Additionally, repeating fewer colors throughout your artwork will create a sense of balance and harmony.
Tip 20: Use Atmospheric Perspective to Create Depth and Distance
Atmospheric perspective is a great way to create depth and distance in a landscape painting. This technique uses the properties of air and natural light to create the illusion of depth by making objects in the distance appear hazy and less distinct.
Consider the values in the scene you are painting. A general rule is that we will find our darkest and lightest values in the foreground, but as landforms recede, darks are not as dark, and lights are not as light.
Tip 21: Use Desaturated Low Chroma Colors for Painting Distant Greens in Hills
When painting landscapes, it’s important to use desaturated low-chroma colors for painting distant greens in hills. This type of color is more muted and subtle than bright and vibrant hues, and it helps to capture the subtle nature of a distant hillside.
By using desaturated low chroma colors, the distant greens can appear soft and hazy, giving the painting a more realistic feel and creating a more realistic and convincing landscape painting.
Tip 22: Capture Moving Clouds
Capturing the clouds in your landscape painting can enhance and add atmosphere to your picture. Start by sketching out the basic shapes of the clouds and then use expressive brushwork to fill in the details.
Move the brush quickly and use different shades of grey to create a sense of depth and sharp contrast. A flat brush is ideal for painting clouds and sky.
A simple mix of ultramarine blue, burnt sienna, titanium white, and a little alizarin crimson to provide a violet tint is an ideal color combination for cloud shadows.
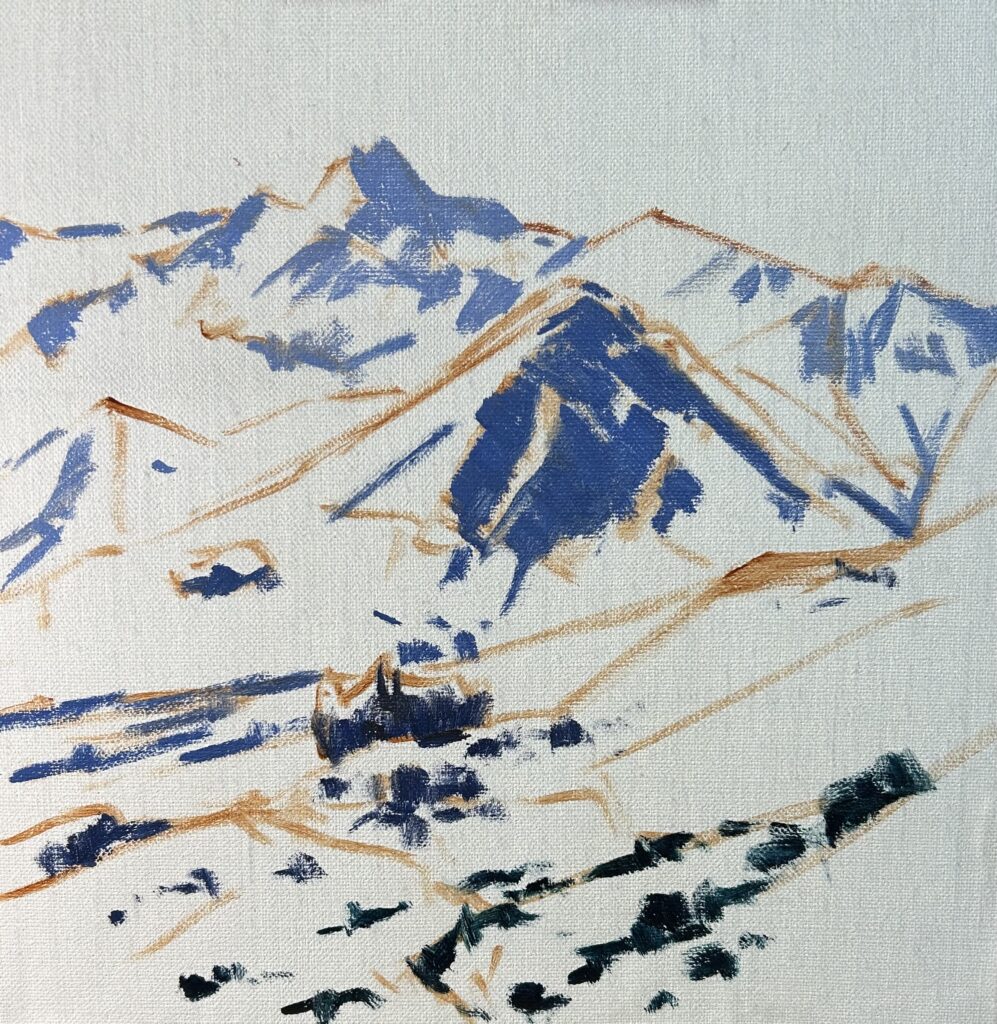
Tip 23: Capture the Texture of Mountains and Rocks
Capturing the texture of mountains and rocks in a landscape painting can be a challenge. Still, it’s an essential skill for achieving a realistic look.
Start with a flat brush to add detail to the ground, mountains and rocks, to add texture. For finer details, you can use smaller brushes such as a synthetic pointed round or dagger brush.
Finally, you can use tiny dots of white paint to create highlights and texture on the mountains and rocks, especially if they are around water or you want to communicate wet rocks in your painting.
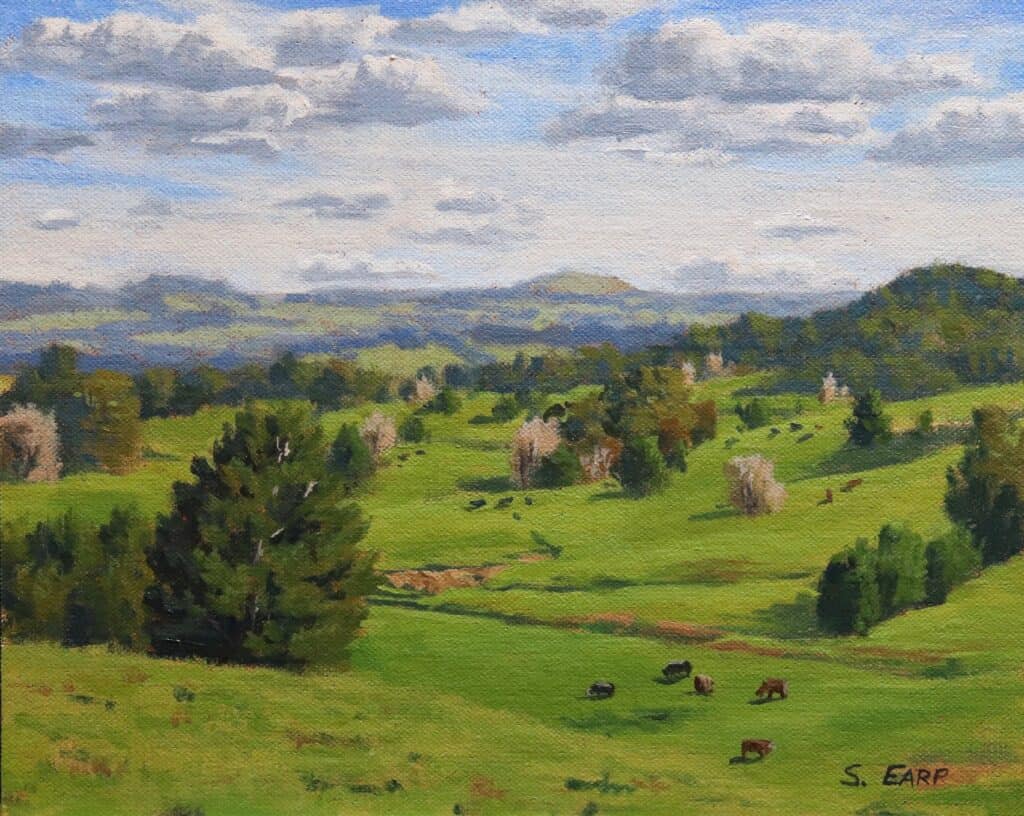
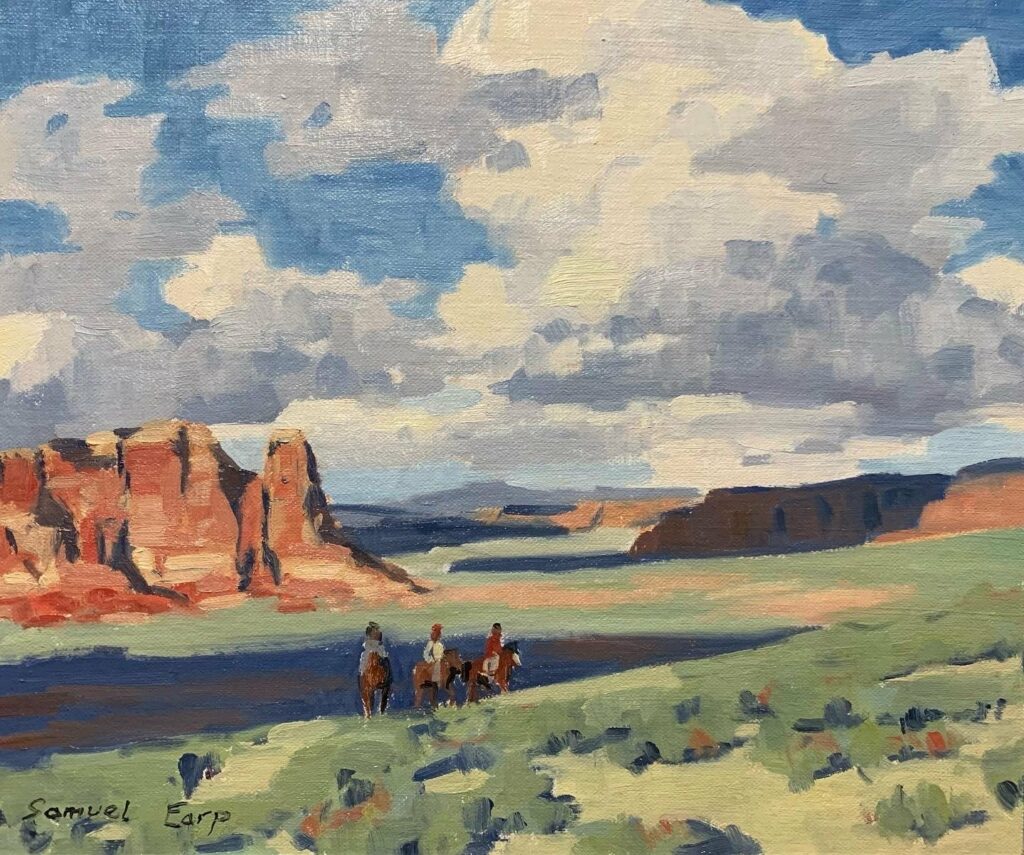
Tip 24: Consider Adding Animals
Adding animals to your landscape painting can add life and movement to the scene, making it more dynamic and exciting. You don’t need to make the animals the focal point or excessively detailed, but you can use them to create a sense of scale or perspective.
Just be sure to keep the animals small enough that it doesn’t distract from your interest in the nature of the landscape itself.
Tip 25: Create Depth and Texture in Forests and Foliage
When painting forests, trees and foliage, it’s important to create depth and texture to create a realistic, lifelike effect for trees. To do this, consider that trees are often some of the darkest values to be found in the landscape.
Paint the shadows in the trees first and then add the areas in light. Mix your own paint your own greens using yellow and blue and round off the mix with a color that contains green’s complementary opposite, red.
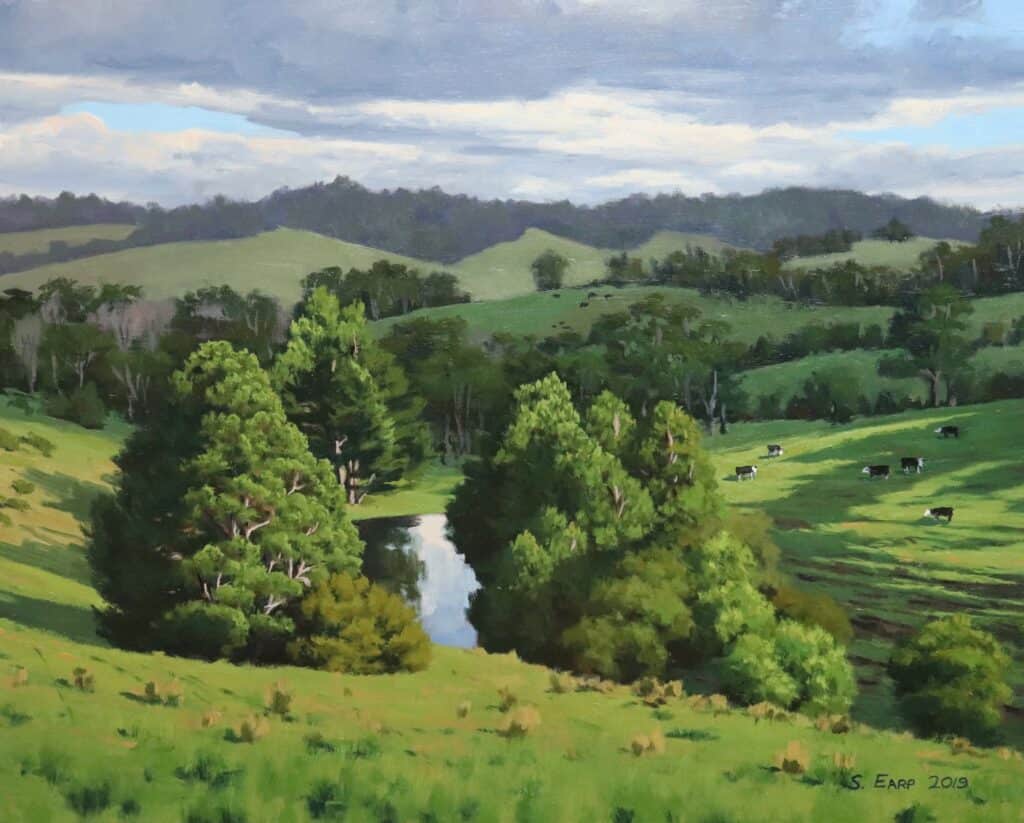
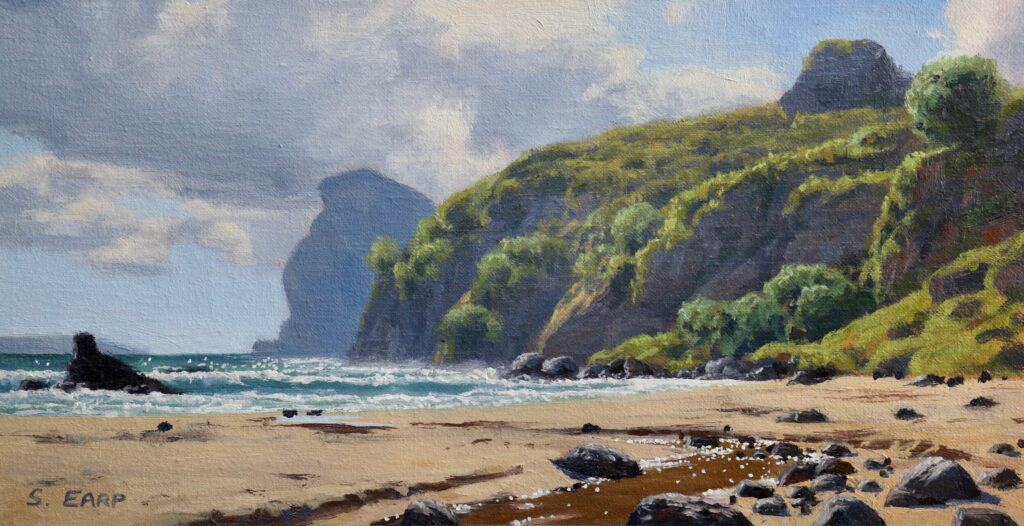
Tip 26: Capture Water Reflections
Capturing water reflections in landscape paintings brings the scene to life. Start by sketching the reflection on your canvas with a round brush loaded with burnt sienna. Then, use broad brushstrokes to fill in the scene with the reflection.
Use opaque colors for the reflection and transparent colors for the water surface. To create the illusion of choppy water, use a dry brush technique, making short, quick strokes that imitate the movement of the water.
Finally, use small highlights and shadows to add realistic texture and depth to the reflection.
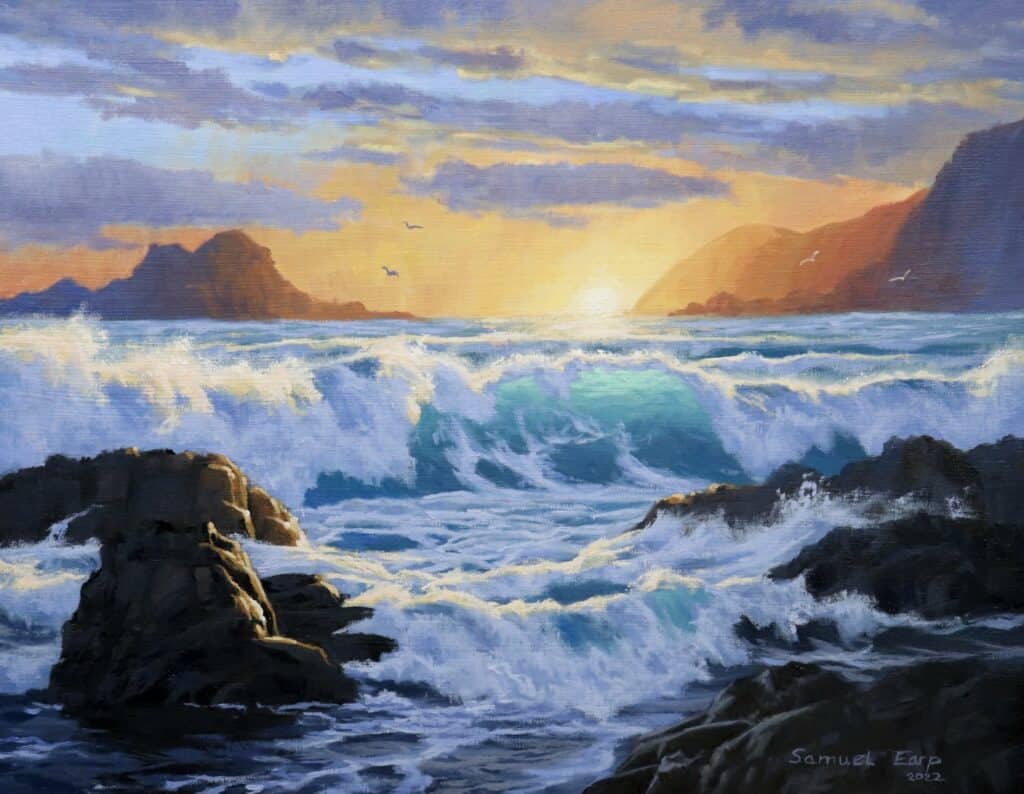
Tip 27: Paint Sunsets with Bright Colors
Use bright colors like oranges, yellows, and reds for a vibrant and beautiful painted sunset. Cadmium yellow, yellow ochre, cadmium red light, alizarin crimson, and titanium white paint are ideal for sunset painting.
Start by painting a layer of yellow for the sun and then add lighter colors to create the sky.
Use a dry brush to blend the colors, and remember to add some dark accents, such as clouds, to create contrast. Finally, you can add highlights with white paint to make the sky pop.
Tip 28: Study the Old Masters
Studying the old masters is an excellent way to improve your painting skills. The old masters were great at capturing the beauty of light and shadow and creating a great atmosphere and drama in their paintings.
By studying the paintings of the old masters, you can learn different techniques to apply to your work. For instance, studying the brushwork of the old masters can teach you how to use different brushstrokes and textures to create exciting effects in your own paintings.
Additionally, studying the colors and composition of the old masters will give you insight into how to create beautiful and compelling landscapes.
Tip 29: Create Master Studies
Creating master studies is another excellent way to improve your painting skills. Master studies are smaller versions of famous paintings that you can use to practice your painting techniques.
By creating your own versions of master paintings, you can practice the techniques of the old masters and apply them to your own artwork. This is something I have done to help with my own landscape paintings.
Additionally, by creating master studies, you can observe the brushwork, color palettes, and compositions used by the old masters and then apply what you have learned to your own work. I have found this in particular by studying the artworks of Edgar Payne.
Master studies are an excellent way to gain insight into the techniques of the old masters and use them to create beautiful landscape paintings.
Tip 30: Learn from Art Books
Learning from visual art in books is an excellent way to get painting ideas and teach yourself how to paint. I’ve picked up many helpful painting techniques from books, especially books on painting landscapes.
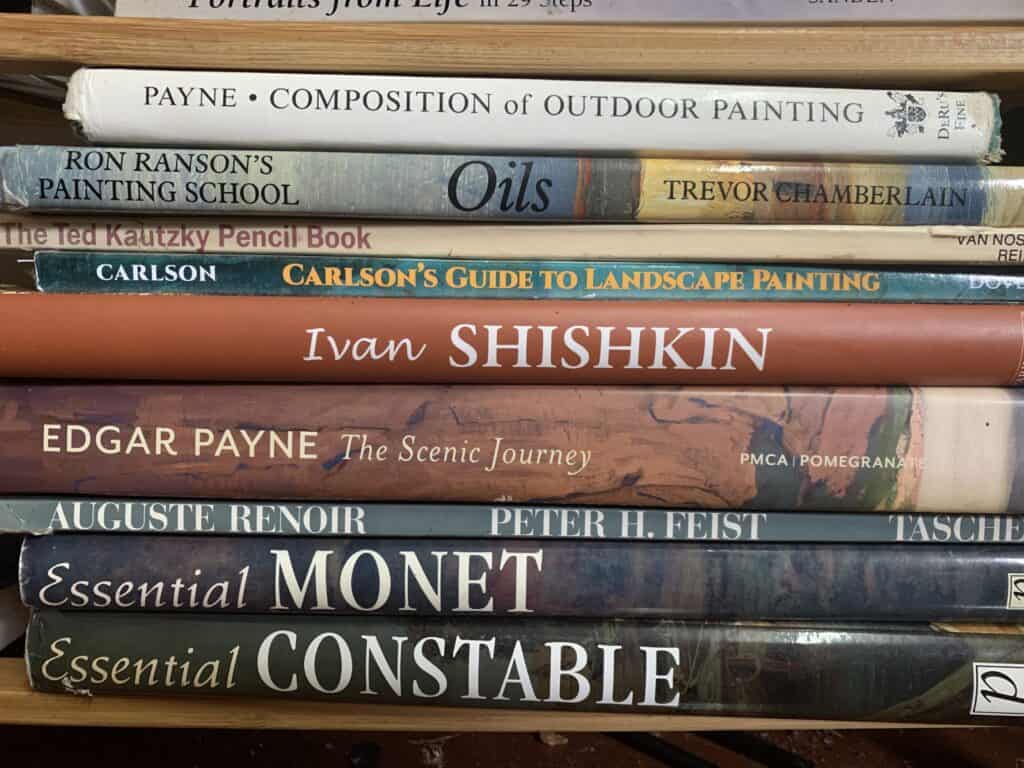
You can learn about various artists’ techniques, color palettes, and compositions by reading art books and gaining insight into their unique painting techniques.
Art books are an excellent resource for learning about the painting techniques of the old masters and can be a great source of inspiration for your own work.
Tip 31: Paint Outdoors En Plein Air
Painting outdoors, known as painting en plein air can help fast-track your landscape painting skills. Working outdoors allows you to observe the landscape directly. It can help you to develop an understanding of light, color, and composition.
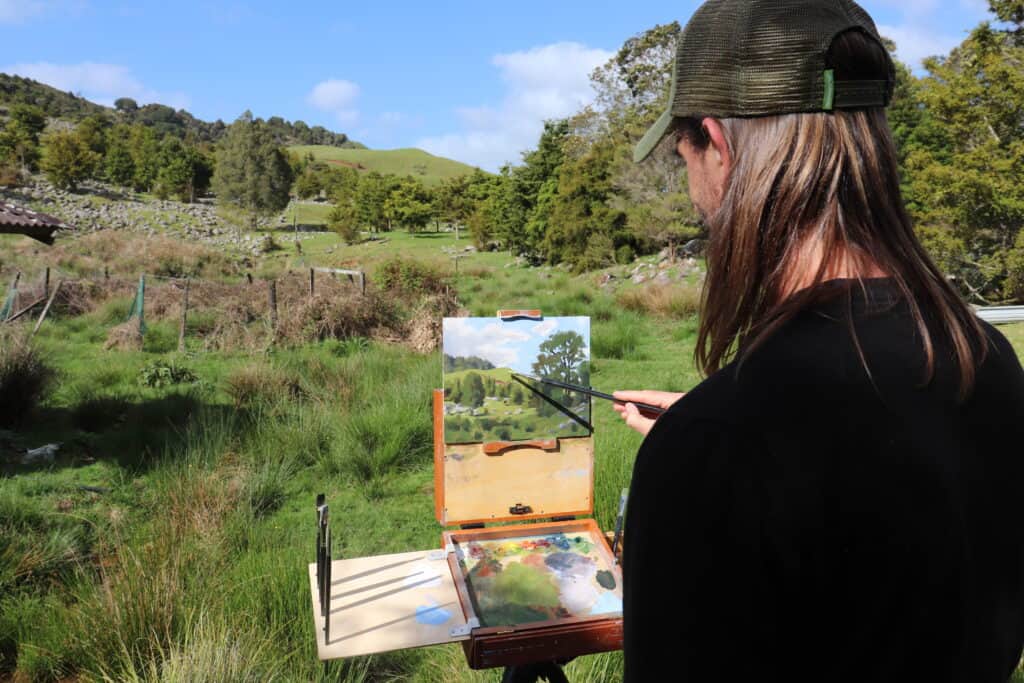
Painting en plein air can also help you to capture the atmosphere and mood of a particular landscape, which can be difficult to capture from working in the studio.
Additionally, painting en plein air can be a great way to practice and refine your brushwork and techniques, as it teaches you to paint quickly. So if you want to improve your landscape painting skills, get outside and start painting en plein air
Tip 32: Utilize Reference Photos
Reference photos are an excellent resource for painters. I frequently use reference photos, especially in landscape painting. This is because it’s difficult to remember every single detail of a scene you may have seen in nature.
Reference photos can help you accurately capture the colors, textures, and overall atmosphere of the landscape you’re trying to paint.
Do not copy the photo directly. Design your composition, and move or eliminate elements to improve the composition. Remember, you are creating a painting and not a photograph.
Tip 33: Don’t Be Afraid to Take Risks
Painting is all about experimentation and taking risks. Feel free to start over or try something new if something needs to be fixed for you.
If you experiment with different techniques and colors, you’ll only know what beautiful scenes you can create. So feel free to take risks – you never know where it might lead!
Tip 34: Have Fun and Enjoy the Painting Process
Painting is supposed to be fun and creative! Feel free to experiment with different techniques, colors, shapes and textures to make your artwork stand out.
Tip 35: Practice Makes Perfect!
As with any skill, practice is vital when painting landscapes or any painting subject. Keep going even if your first few attempts aren’t exactly what you hoped for. Keep trying, and you will eventually get the hang of it.
Even experienced artists like myself continue to learn and refine their techniques, so don’t be afraid to take risks and try something new!
Tip 36: Consider Framing Your Piece
Framing your finished piece can really elevate it to the next level. Not only will it protect your work, but it can also give the painting a professional look.
Make sure to choose the right frame type for your piece. For example, a heavy ornate frame might overpower a delicate painting. Conversely, a delicate frame might be lost on a bold abstract piece.
Be bold and ask for advice from professionals or seasoned hobbyists. The key is to find the right balance between your art and its frame type. With the right combination, you can bring out the beauty of any artwork and create a fantastic display!
Tip 37: Showcase Your Work!

Once you’ve finished your masterpiece, remember to showcase it! Posting your work online via your website, on social media such as Instagram, or in a gallery can help you gain recognition as an artist.
You never know who might be inspired by your work or want to collaborate with you in the future. Feel free to share your work and show off all that hard work.
Happy painting!
For More Information on Landscape Painting, Check Out my Painting Tutorial Videos Available in Store
Unleash your inner artist and create breathtaking landscapes that tell a story, capture a mood, or reflect the beauty of our natural world.
Introducing my all-inclusive Painting Tutorial Video Bundles! A one-stop shop for mastering the art of landscape painting. This isn’t just about recreating a picture-perfect scene – it’s about understanding the heart and soul of landscape painting and translating it onto canvas.
Guided by myself, Samuel Earp, you’ll journey through lush fields, majestic mountains, serene water, and dramatic skies. I’ll show you how to harness light, manipulate color, and use composition to bring your paintings to life. You’ll learn how to paint and ‘see’ like an artist, observing and capturing the subtle nuances that make a landscape indeed come alive.
Worried about color theory? Fear not! I’ve broken down this complex topic into easy-to-understand segments in the context of each painting tutorial video. I guide you through the principles of color theory, ensuring you grasp the fundamentals and can confidently mix and blend your own unique hues.
These tutorial videos are perfect for beginners, seasoned painters alike, and anyone who wants to be inspired by my painting style. Create your first masterpiece or add new depth to your existing portfolio. With my Painting Tutorial Video Bundle, the world is your canvas – and I’m here to help you paint it! So why wait? Embark on this artistic journey today and transform your creative dreams into a reality.
