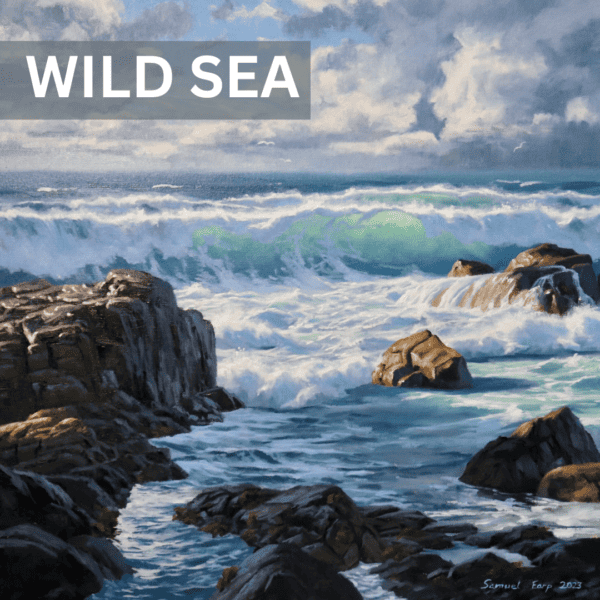
Capturing the essence of water can be a challenging yet rewarding experience when a beautiful painting has been created. Water has always been an excellent subject for oil paintings.
Why Paint Water?
Painting water in all its forms, such as a calm, reflective lake, barrelling waves, or a running stream, has a unique appeal that lends itself well to painting.
The trick to painting water effectively is understanding its properties and the dynamics of light and color reflection, which comes with painting experience and brush mileage.
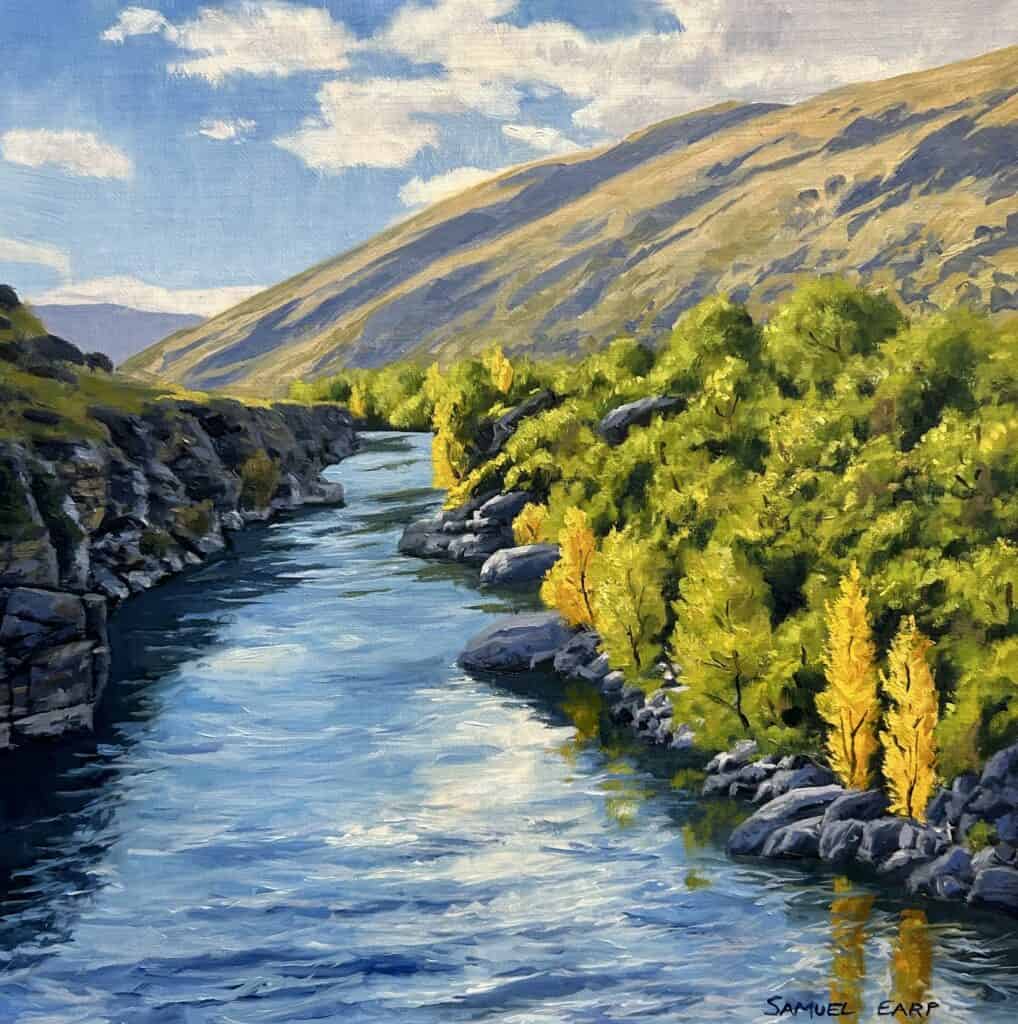
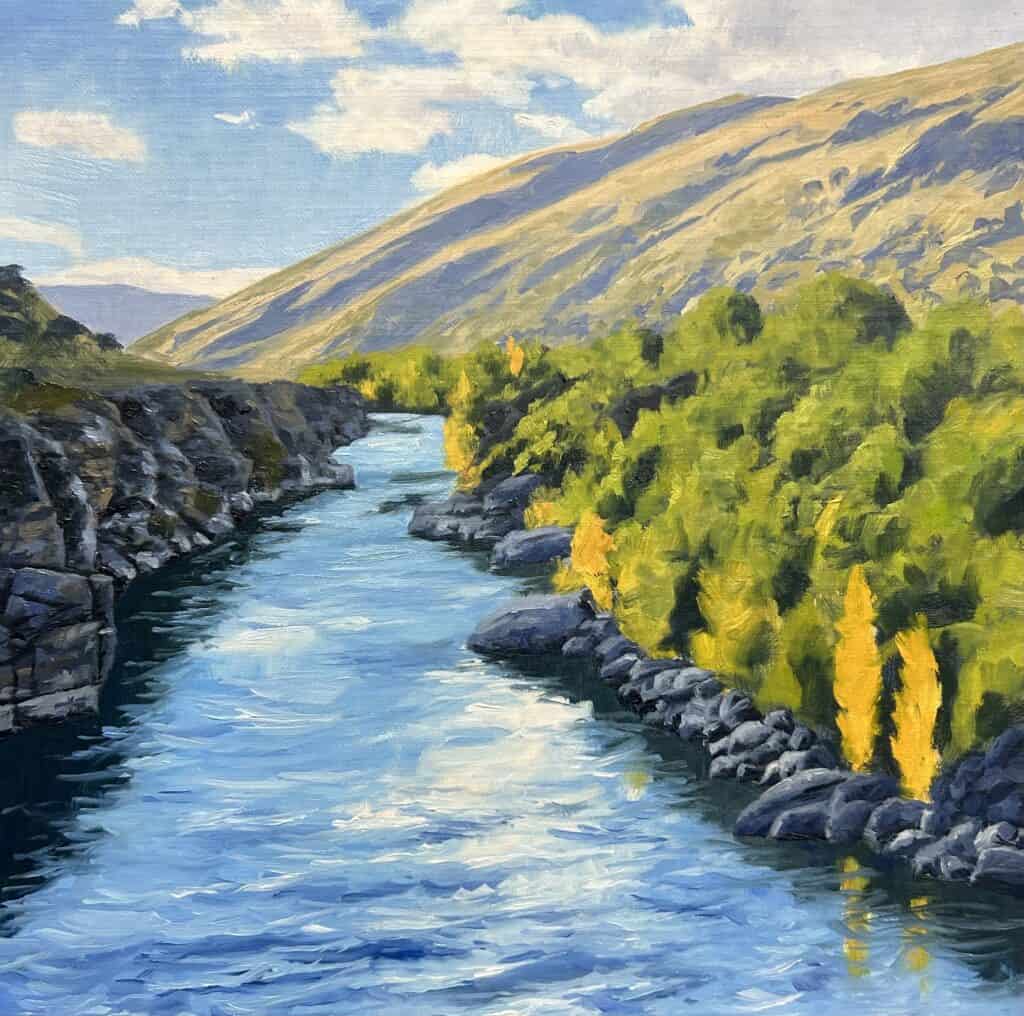
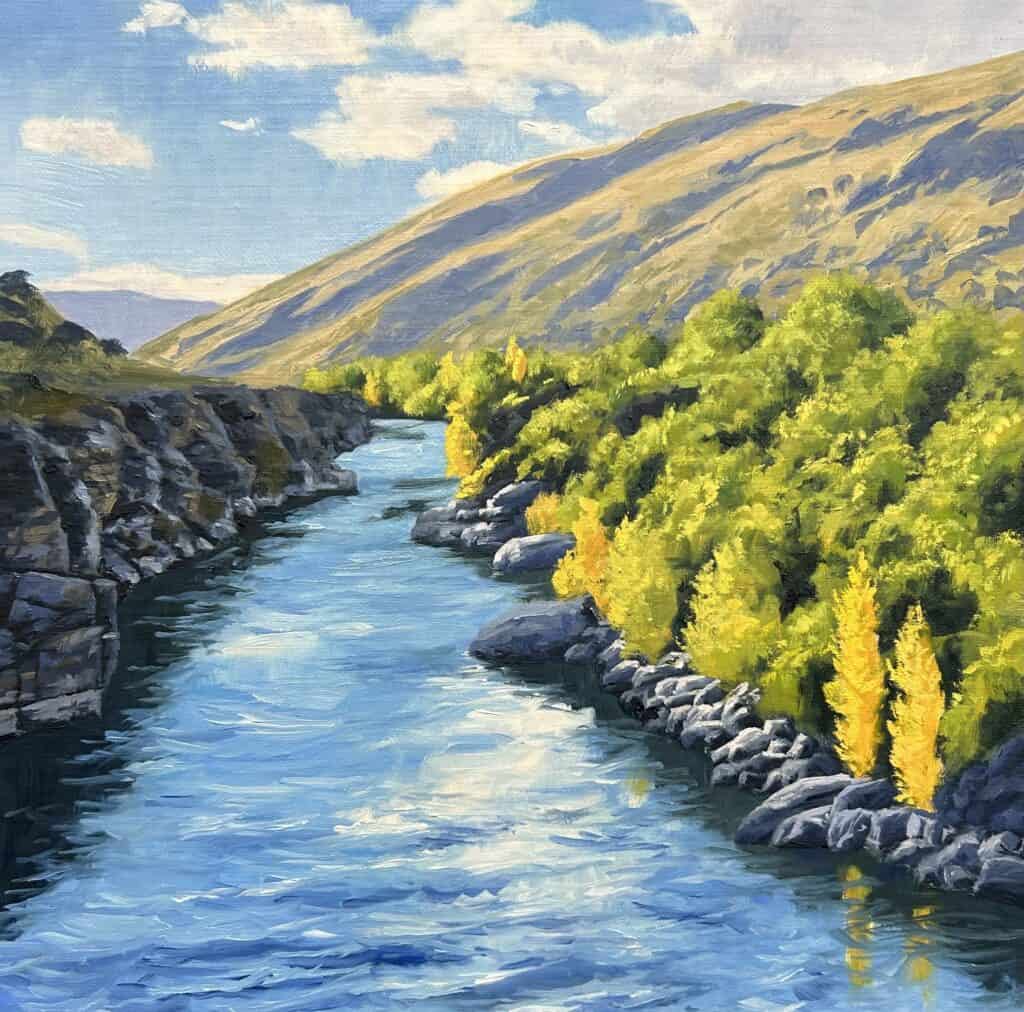
In this tutorial, I walk you through my painting techniques on how to paint water using oil paints in a landscape painting inspired by a river in southern New Zealand. This painting guide will cover everything from selecting suitable materials to creating depth and texture in your artwork.
So, whether you’re a beginner or an experienced artist looking to improve your painting skills, I hope this will give you some tips and techniques for painting water in this tutorial. Let’s dive in!
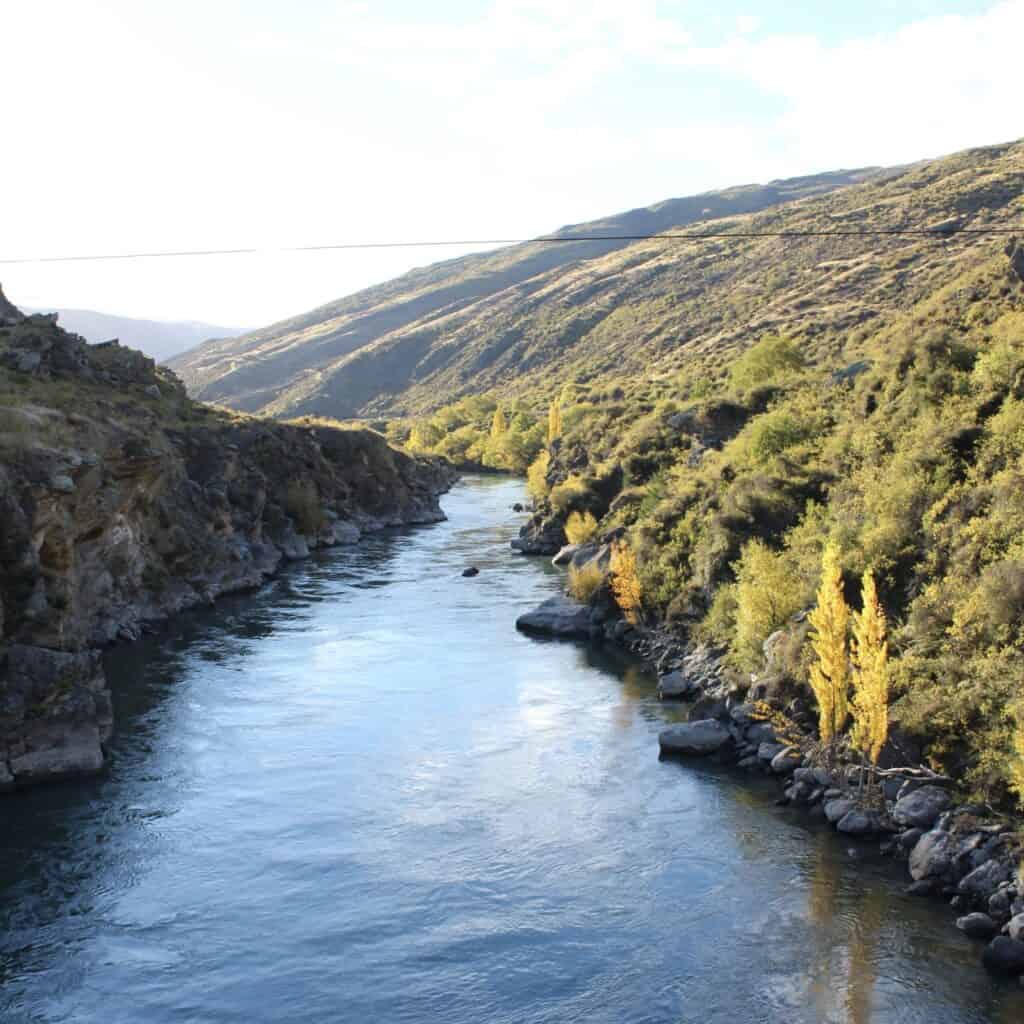
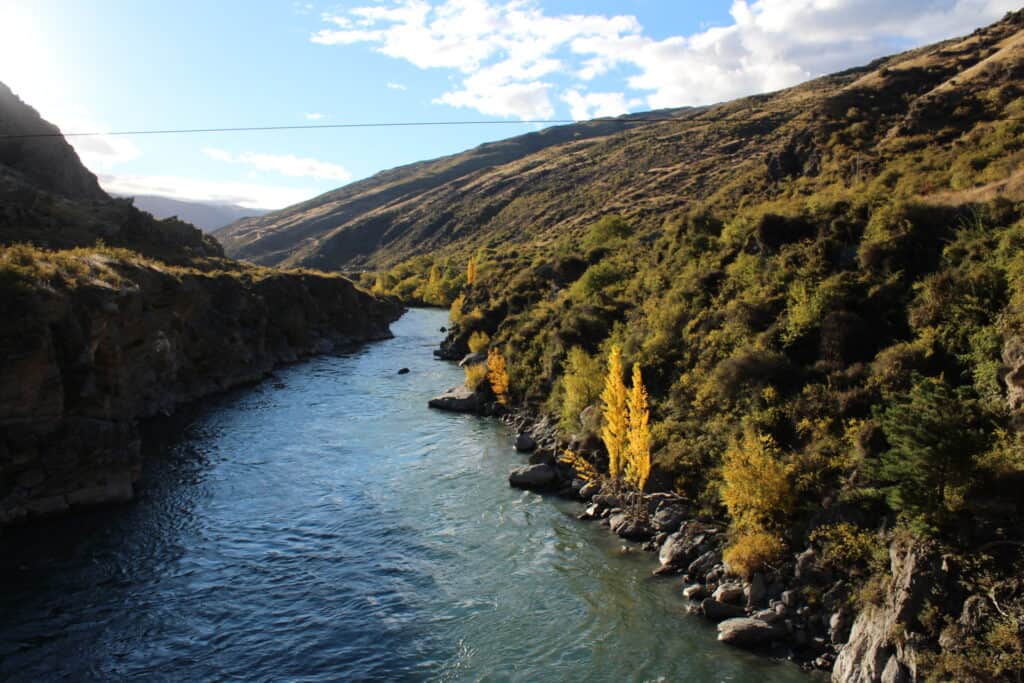
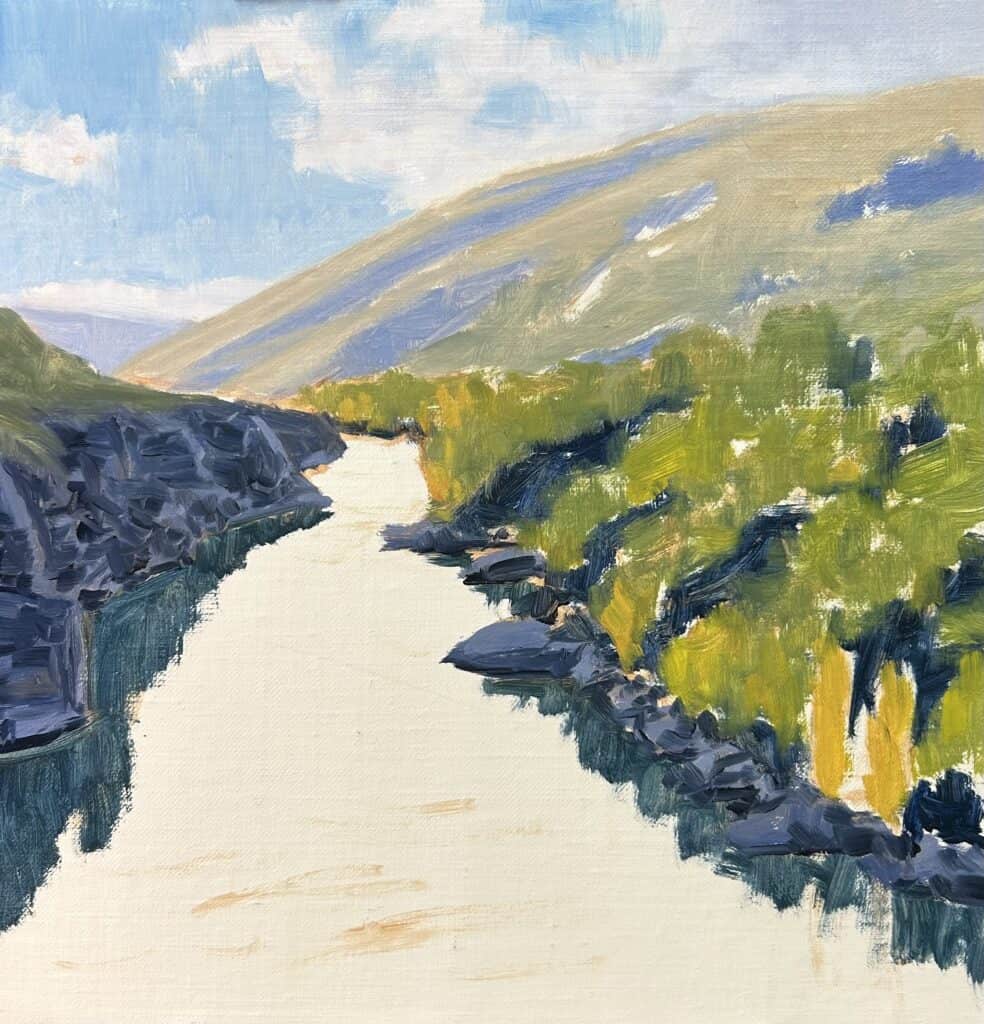
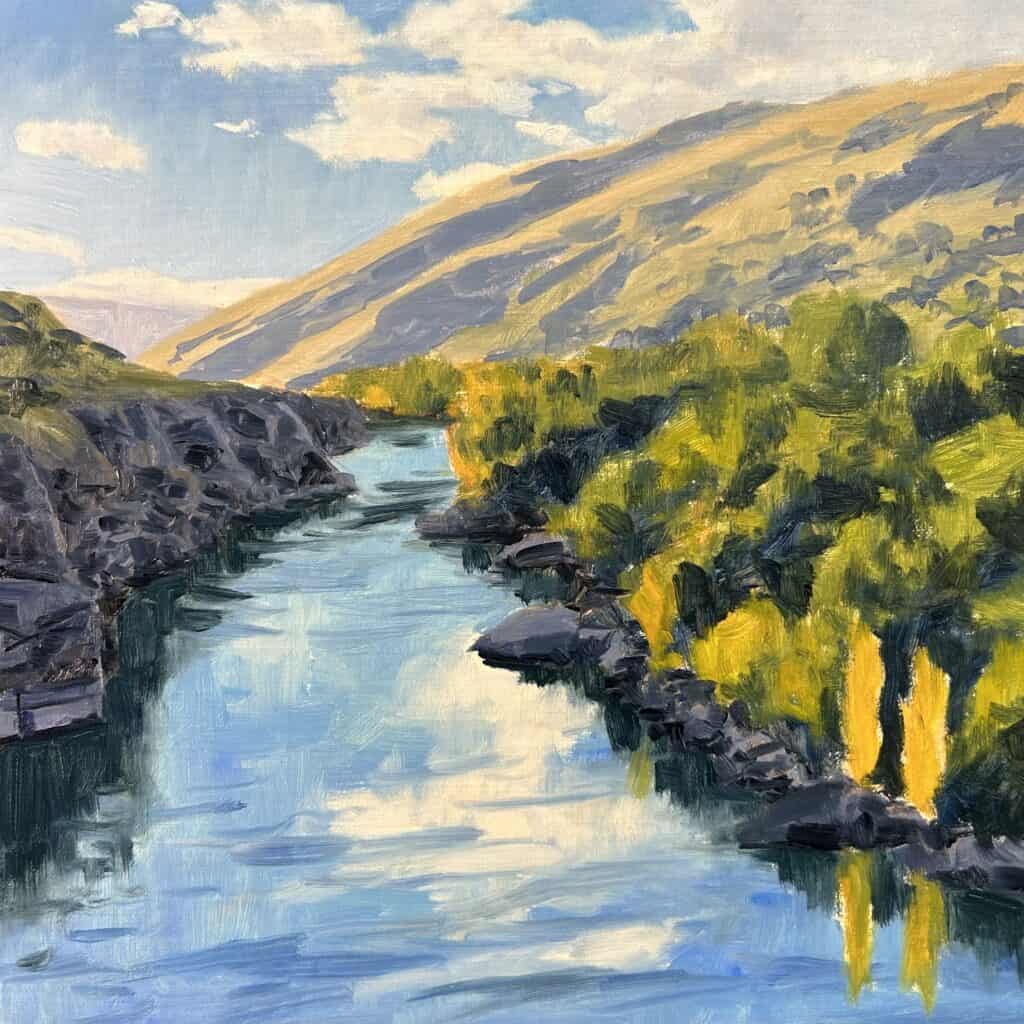
Reference Photos
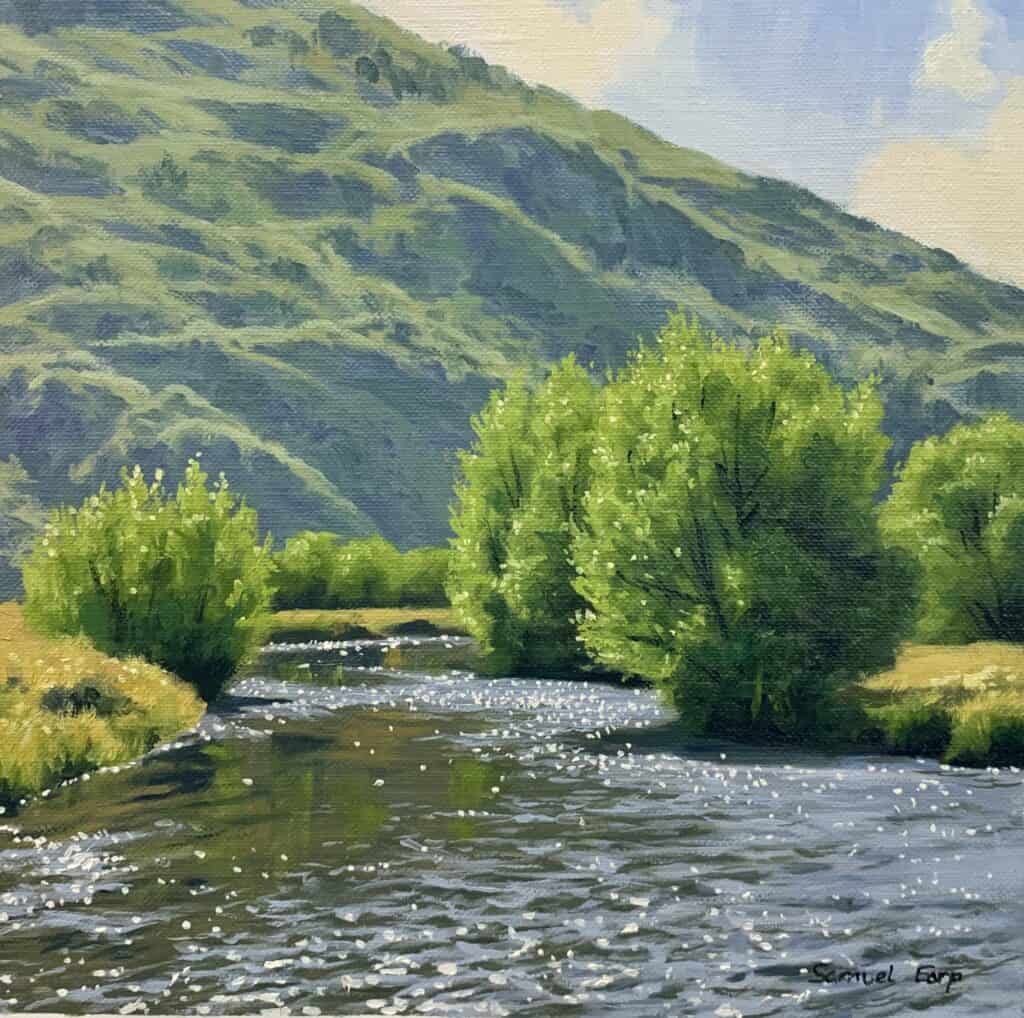
These are the reference photos I used to paint this landscape. These photos are copyright free so please use them if you would like to paint this river landscape scene.
ARE YOU STRUGGLING WITH YOUR PAINTING?
JOIN MY ONLINE ART SCHOOL AND UNLEASH YOUR INNER ARTIST.
- Step-by-Step Painting Tutorials
- Helpful Tips and Techniques
- In-depth lesson notes
- Inspiring reference photos
- Instant access to all content, including videos, lesson notes, reference photos and more.
- A vibrant and friendly community, meet other members, ask questions, and share your art.
- Zoom meetings for Q&A’s, painting critiques and painting livestreams.
- Ideal for beginners and experienced painters.
- Lots of inspiration, help and support to take your painting skills to the next level.
Composition
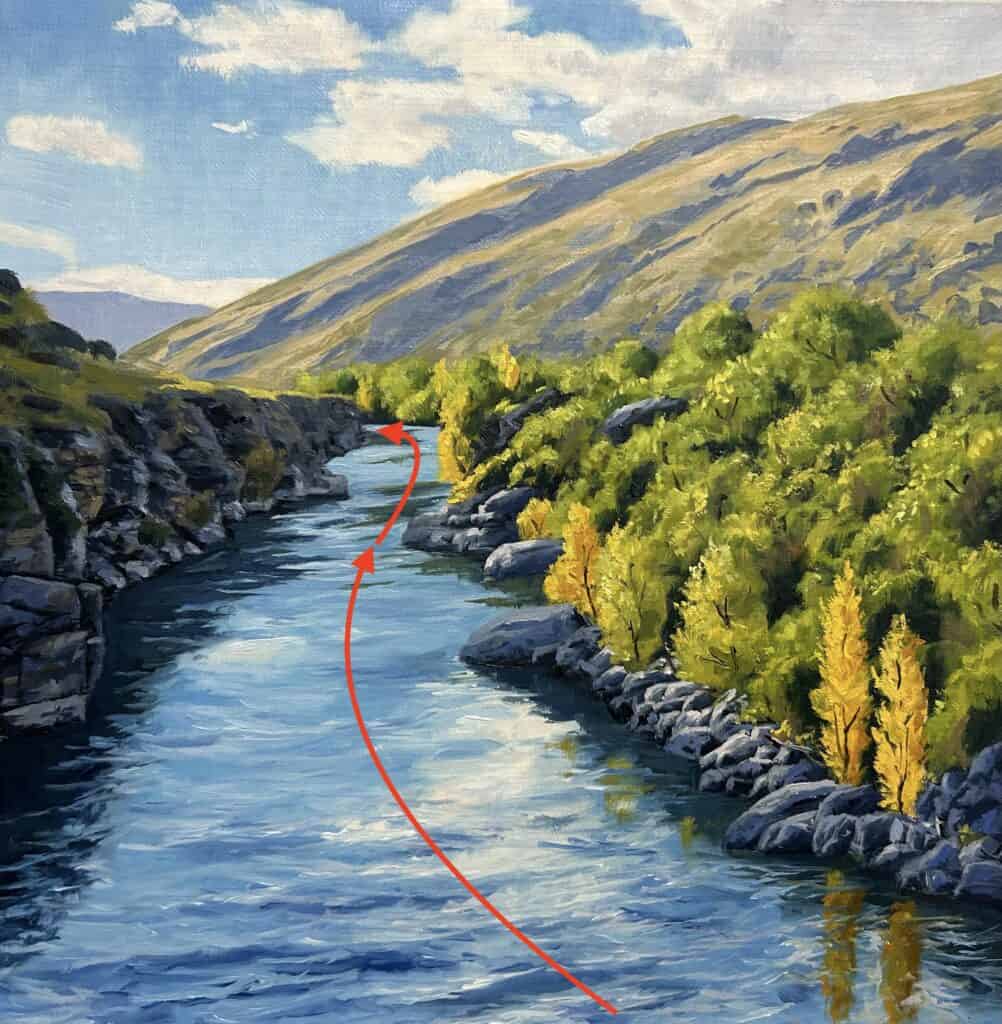
This painting forms an ‘S’ composition, also known as a compound curve, so the river leads the eye towards the end into the distance towards the mountains in the background.
The painting has a high horizon incorporating more water in the foreground.
Art tip: Never place your horizon line in the middle of your composition.
When deciding where your horizon will be, never place your horizon line in the middle of the picture or composition, as it causes a displeasing static in the painting. Instead, either use a higher or lower horizon line.
Study Composition
There are several books on the subject. I personally recommend the books ‘Composition of Outdoor Painting‘ by Edgar Payne and the ‘Ted Kautzky Pencil Book‘.
Composition is essential in landscape painting. There are many good paintings out there that have been spoiled by bad compositional design.
Sketch out your composition first.
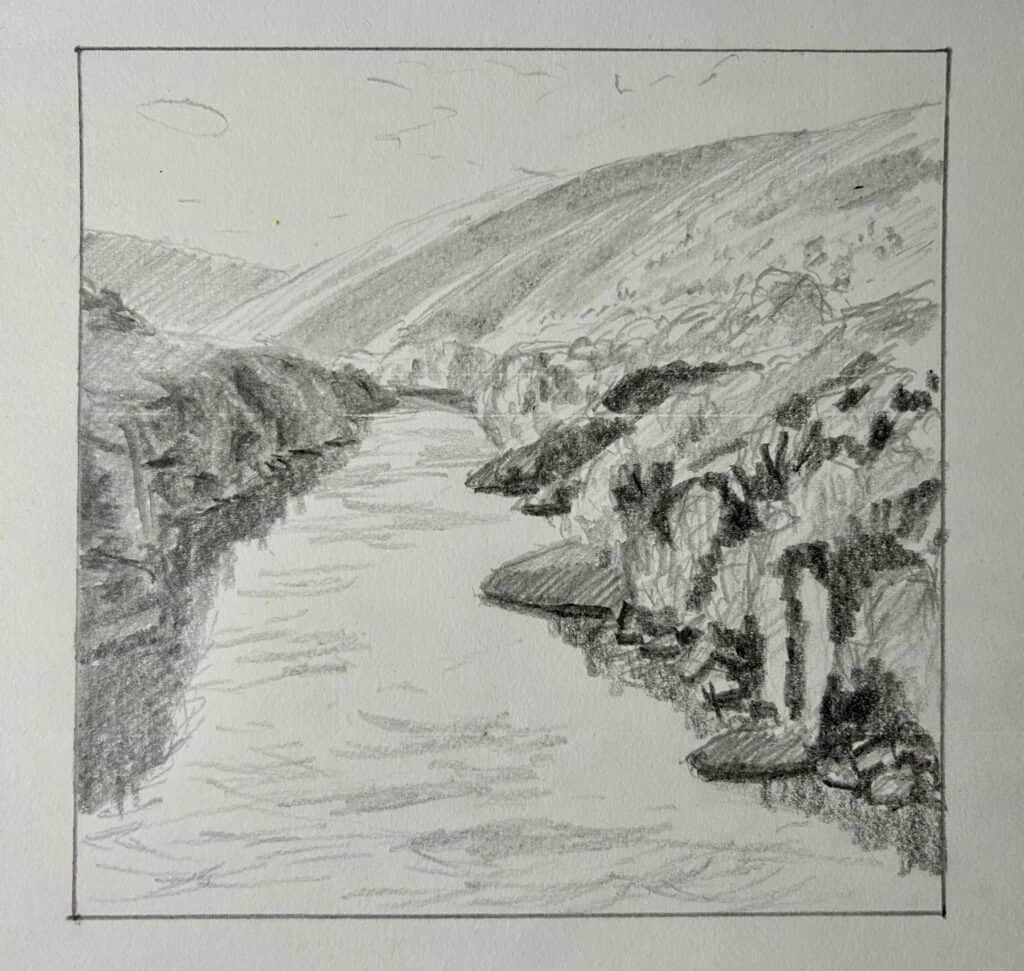
Before you start your painting, it is always a good idea to design your composition first.
I created pencil sketches and a final sketch before starting my painting, so doing pencil sketches is a great way to see what your painting might look like. In addition, you can refer to your pencil sketch as you are painting.


CHOOSING THE RIGHT BRUSHES AND COLORS
COLORS USED
I painted this artwork using oil paints and the colors I used in this painting are as follows:
- Titanium white
- Burnt sienna
- Yellow ochre
- Cadmium yellow
- Cadmium red
- Alizarin crimson
- Ultramarine blue
- Phthalo green
BRUSHES
Here is a list of the brushes I used in this painting:
- No.5 flat
- No.3 flat
- No.2 flat
- No.3 filbert
- No.1 round
- No.0 round
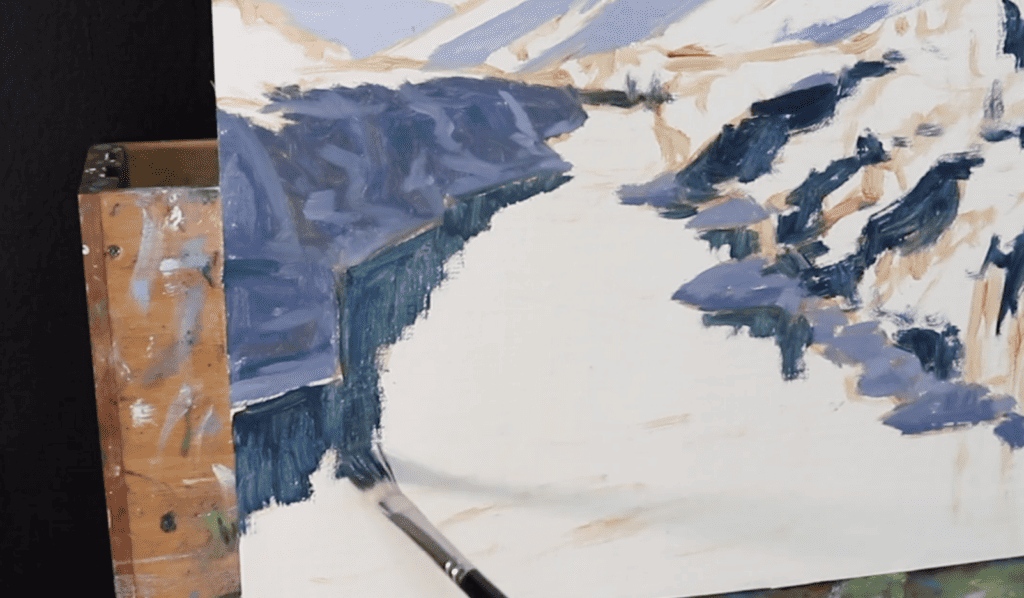
Painting demonstration – Blocking-In the Painting
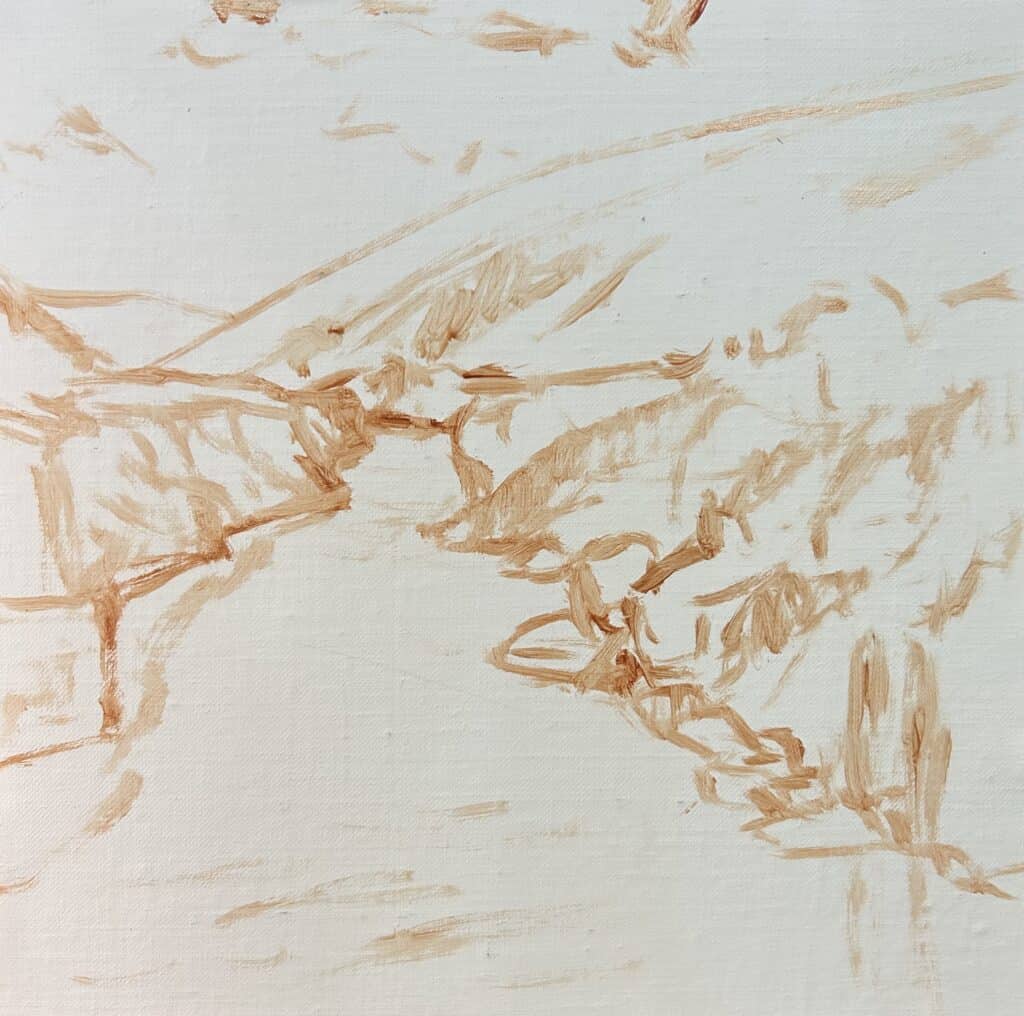
I am painting on a 12″ x 12″ medium weave Belgian linen mounted to a panel.
I sketched out my composition using burnt sienna mixed with Liquin Original, a blend that helps to speed up the drying time and thins out the paint.
Paint your dark values and shadows first.
When I begin painting, it is easiest to paint the dark values and shadows first. Value refers to how light or dark your subject is; for example, we will find our darkest darks and lightest lights in the foreground. However, as landforms recede into the distance, darks are not as dark, and lights to not as light.
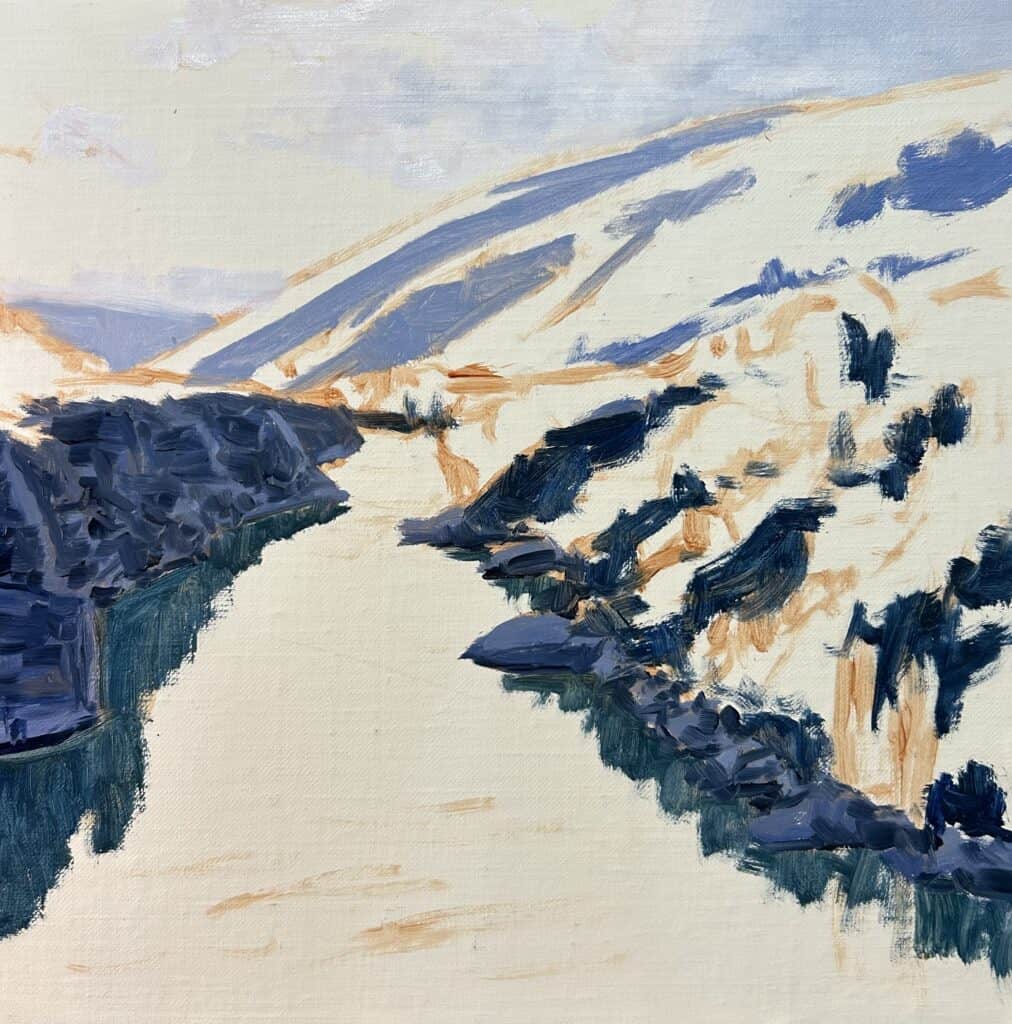
Applying the First Strokes
I start painting the shadows in the clouds, the background mountain and the rocky gorge in the foreground using varying mixes of ultramarine blue, burnt sienna titanium white, and a little quinacridone magenta.
Add Your Clouds and Sky
The sky is a mix of ultramarine blue, cobalt teal and titanium white making a nice vibrant blue with a slightly green undertone.
I also painted some cloud highlights using titanium white with a little burnt sienna. The burnt sienna creates a nice pinkish-orange glow to the color.
Use Low Chroma Colors for the Background Mountains
It is essential to use low chroma colors to paint the grass on the mountains. For this is used to mix yellow ochre with a bit of quinacridone magenta, a little ultramarine blue and titanium white.
I apply the paint to the canvas using a No.5 bristle flat brush.
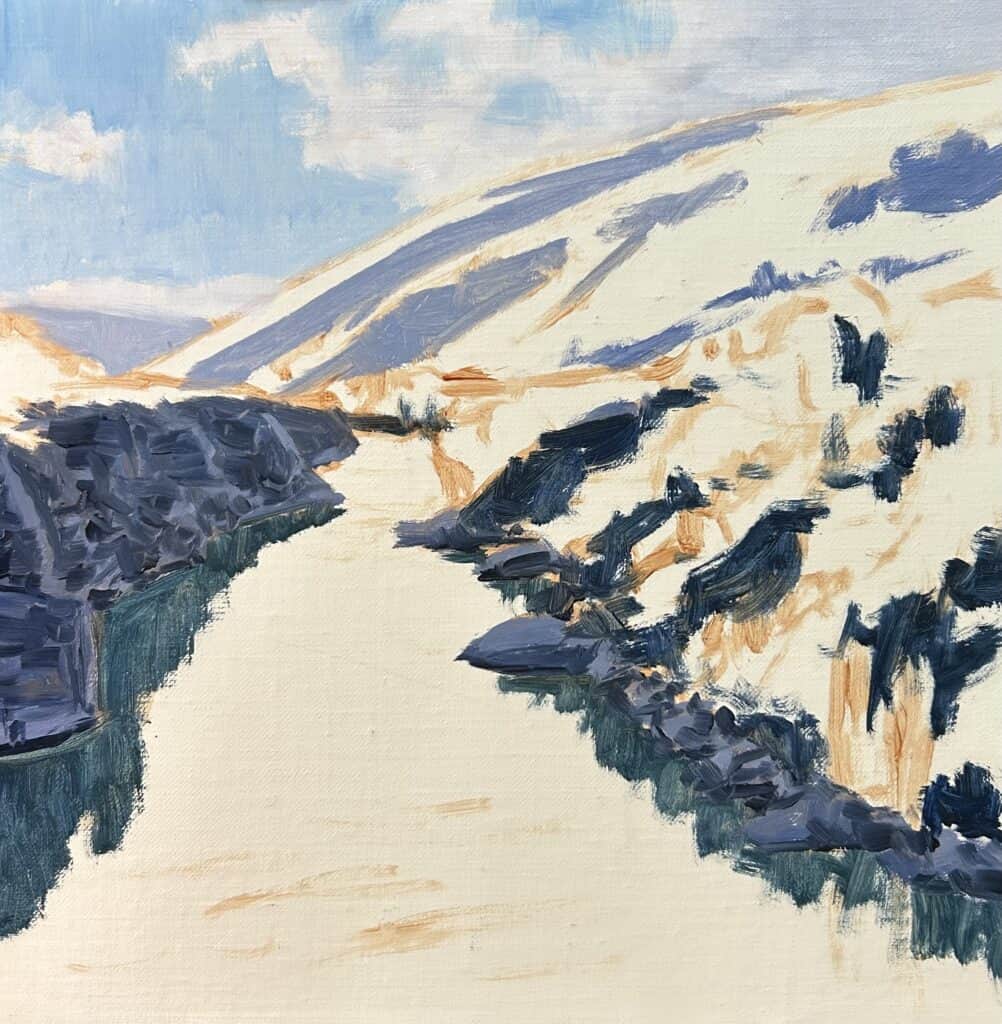
Painting the Trees and Vegetation
I marked-in the colors for the vegetation and trees in the mid-ground and foreground using a mix of yellow ochre cadmium, yellow ultramarine blue, a little quinacridone magenta titanium white, darkest blue and cobalt teal.
I vary the colors in the mixture to create a variety of greens.
Painting Reflections
The reflections of the rocks in the water are a mix of yellow ochre ultramarine blue, titanium white, and a little cobalt teal. Use more verticle downward brush strokes to create the illusion of reflections in the water.


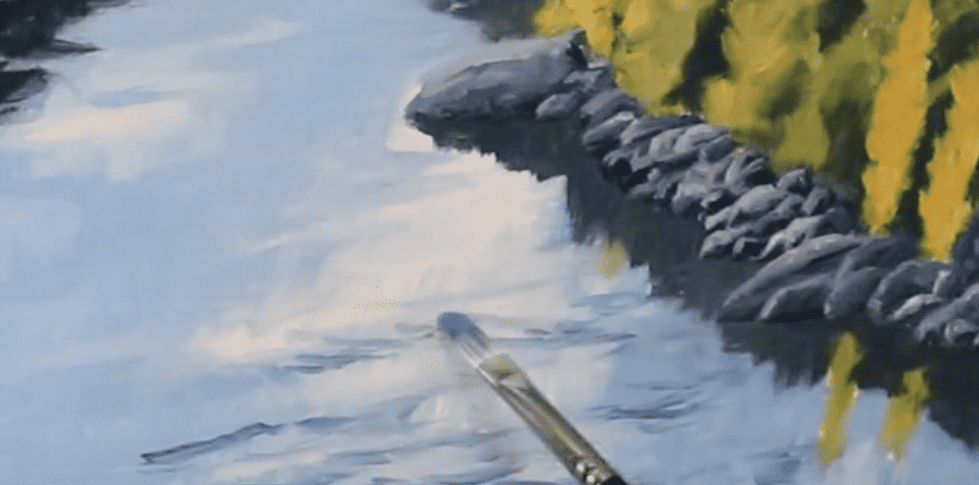
How to Paint Water
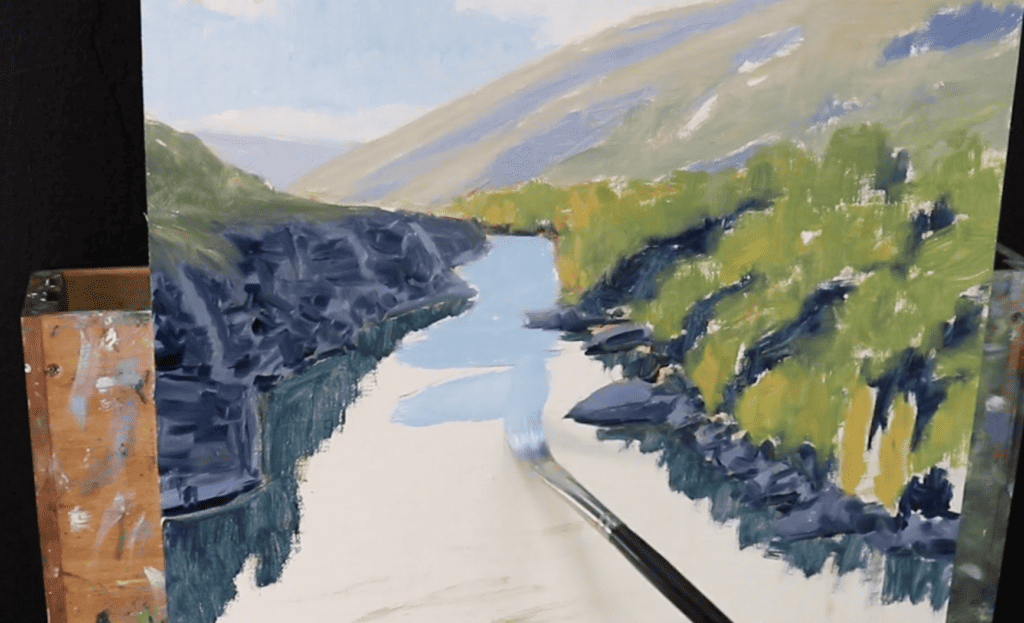
The water is quite reflective even though there are turbulent areas within it. It mainly reflects the sky, so I used similar colors to what I have used in the sky, primarily a mix of ultramarine blue, cobalt teal and titanium white. With this color mix, I created a slightly darker blue compared with the sky.
I also mark in the reflection of the clouds in the river using a mix of titanium white with a bit of burnt sienna using a No.5 bristle flat brush.
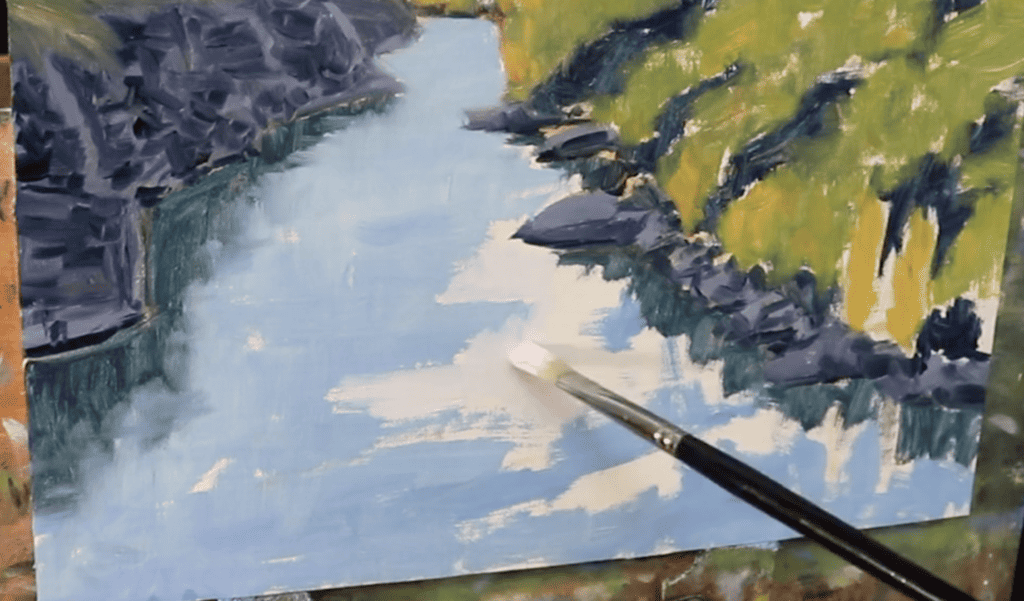
At this point, I leave the painting to dry, and then I can pick in adding details to it.
Use Loose Brush Work
When painting water in the initial stages, it is best to apply your paint mixtures with loose gestural wet brush and marks. This will create an aliveness to your paintings. Details can be added later on.
Modeling
Once the painting was dry, I could start building up the detail, a process known as modeling, where I refine the various shapes and forms within the painting. More details are added as I work through the painting.
Painting Mid-toned Ripples
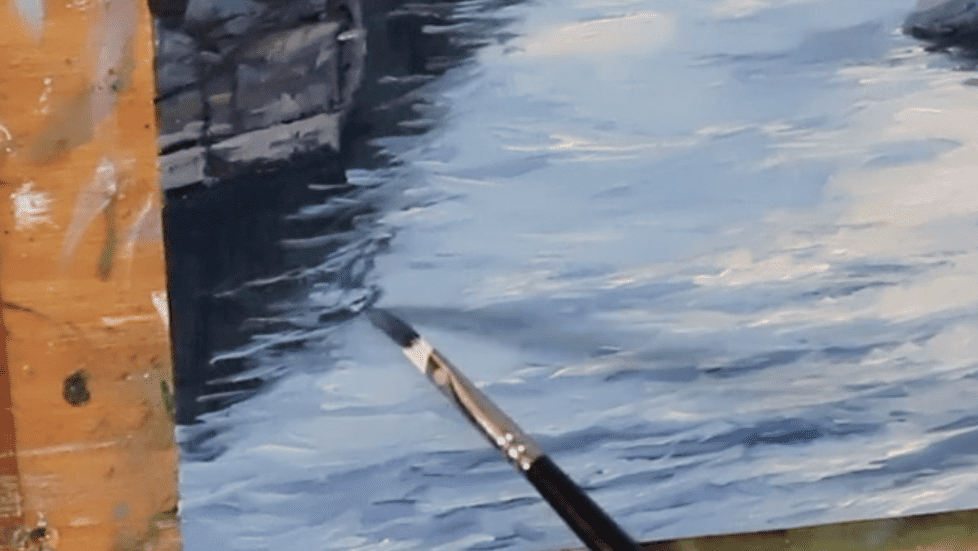
To paint the water, I started introducing ripples and small waves. I still use the same colors I used during the blocking-in stage, adding mid-tones and building some details.
Synthetic Flat Brushes are Ideal for Painting Water
I am only using number three synthetic flat brushes. I mainly use number three synthetic flat brushes. For the darker layers and ripples in the water, I’ve used a mix of ultramarine blue with a bit of burnt sienna cobalt teal and titanium white.

Enjoying this blog post? Check out my painting tutorials available in store
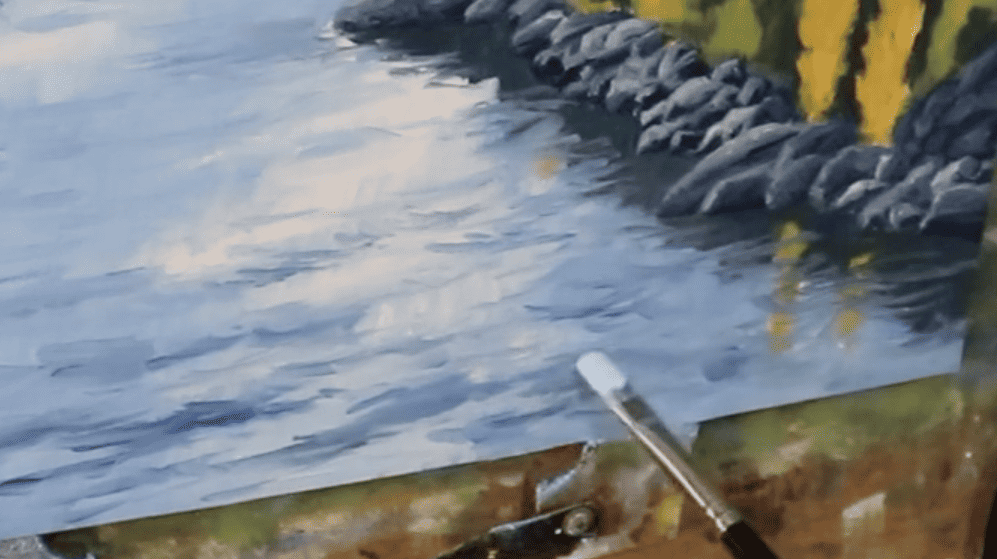
Painting Darker Ripples and Turbulent Water
To paint the darker ripples which are reflecting the surrounding areas such as rocks and trees, I used a mix of ultramarine blue, a bit of burnt sienna and a darker shade of quinacridone magenta and a little titanium white to create a dark blue.
I use this dark blue shadow color mix to paint more details to the water, painting ripples and the suggestion of turbulent water around the rocks and gorge face as well as adding more details to the rocky surfaces.

Finishing the painting.
I completed the painting by adding the last details to the surface of the water, including more ripples, mainly using a number three synthetic flat brush and a number zero synthetic pointed round brush for those smaller ripples.
Save your lightest values until last
I always save my lightest values in the painting until the very end, which I’ve reserved for the water, the highlights on the rocks, and the highlights on the trees.
Adding highlights to the vegetation
For the vegetation, I used a lighter value green, still using the same colors I used during the blocking-in stage but with more titanium white and cadmium yellow in the mix.
Painting the autumn trees
The autumn trees with the yellow leaves are a remix of mainly cadmium yellow, yellow ochre, cadmium red titanium white. I add the last details to the trees by painting the suggestion of branches and stems using a number zero synthetic rigger brush.


Final Thoughts

Painting water can seem daunting at first, but the more you practice and observe water in the landscape, the better you will become.
It is crucial to start a painting project with a sketch before you start your painting.
Using a variety of brushes and techniques, such as bristle flat brushes and synthetic brushes, is ideal for building up texture within the water.
Use reference photos and observe real-life water to capture its unique characteristics to understand water’s movement better.
Painting water can be challenging, but it is a rewarding experience with practice and with practice and brush mileage, you can become a master at capturing this beautiful element on the canvas. Enjoy the process.
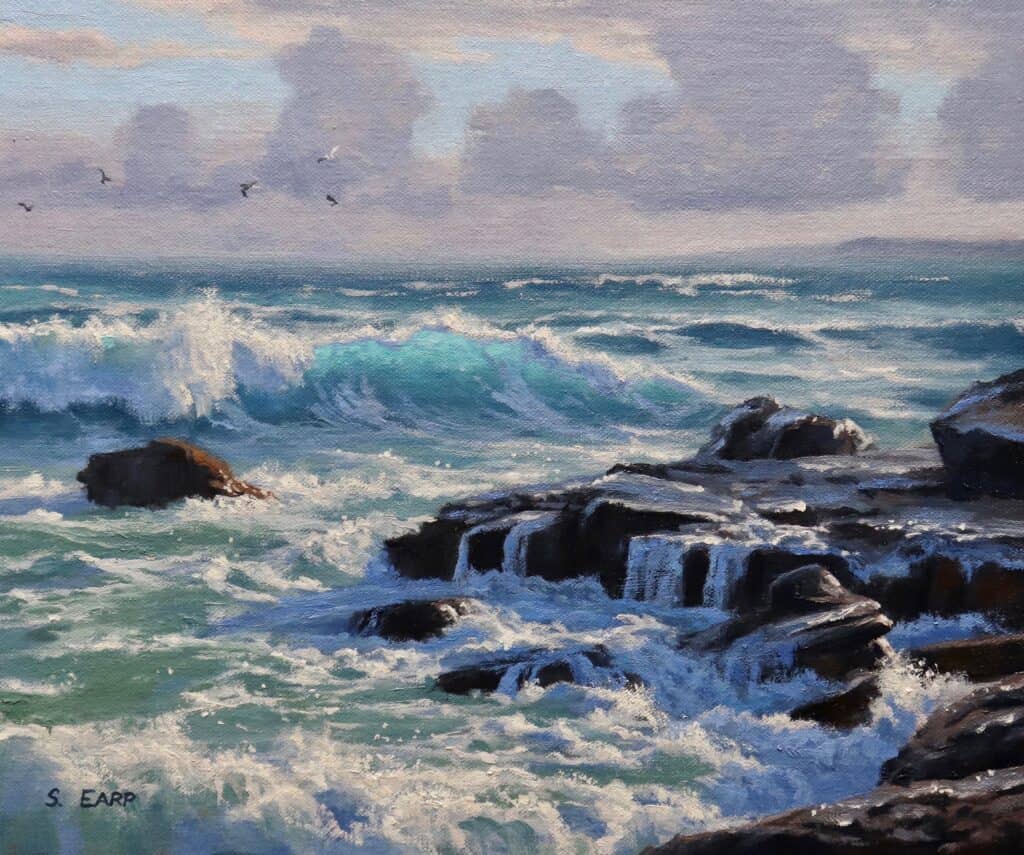
Learn More Tips and Techniques for Painting Water
Want to learn to paint ocean waves? Check out these painting tutorials.
