Clouds and sky can really help to set the mood and atmosphere of your painting. They can really enhance and compliment a landscape, painting clouds can assist in a harmonious composition and add drama to a painting. I enjoy painting clouds and whenever I paint a landscape or seascape I nearly always add some clouds.
Painting Clouds
In this cloud painting tutorial, I will show you how to paint realistic clouds, as well as colours you can use for mixing cloud tones. There are obviously hundreds of different clouds and skies that you can paint but this painting focuses on painting typical ‘fluffy’ cumulous clouds that look like floating cotton wool that look awesome in cloud paintings. Learn how to paint clouds in this step-by-step painting tutorial.
Painting Demonstration
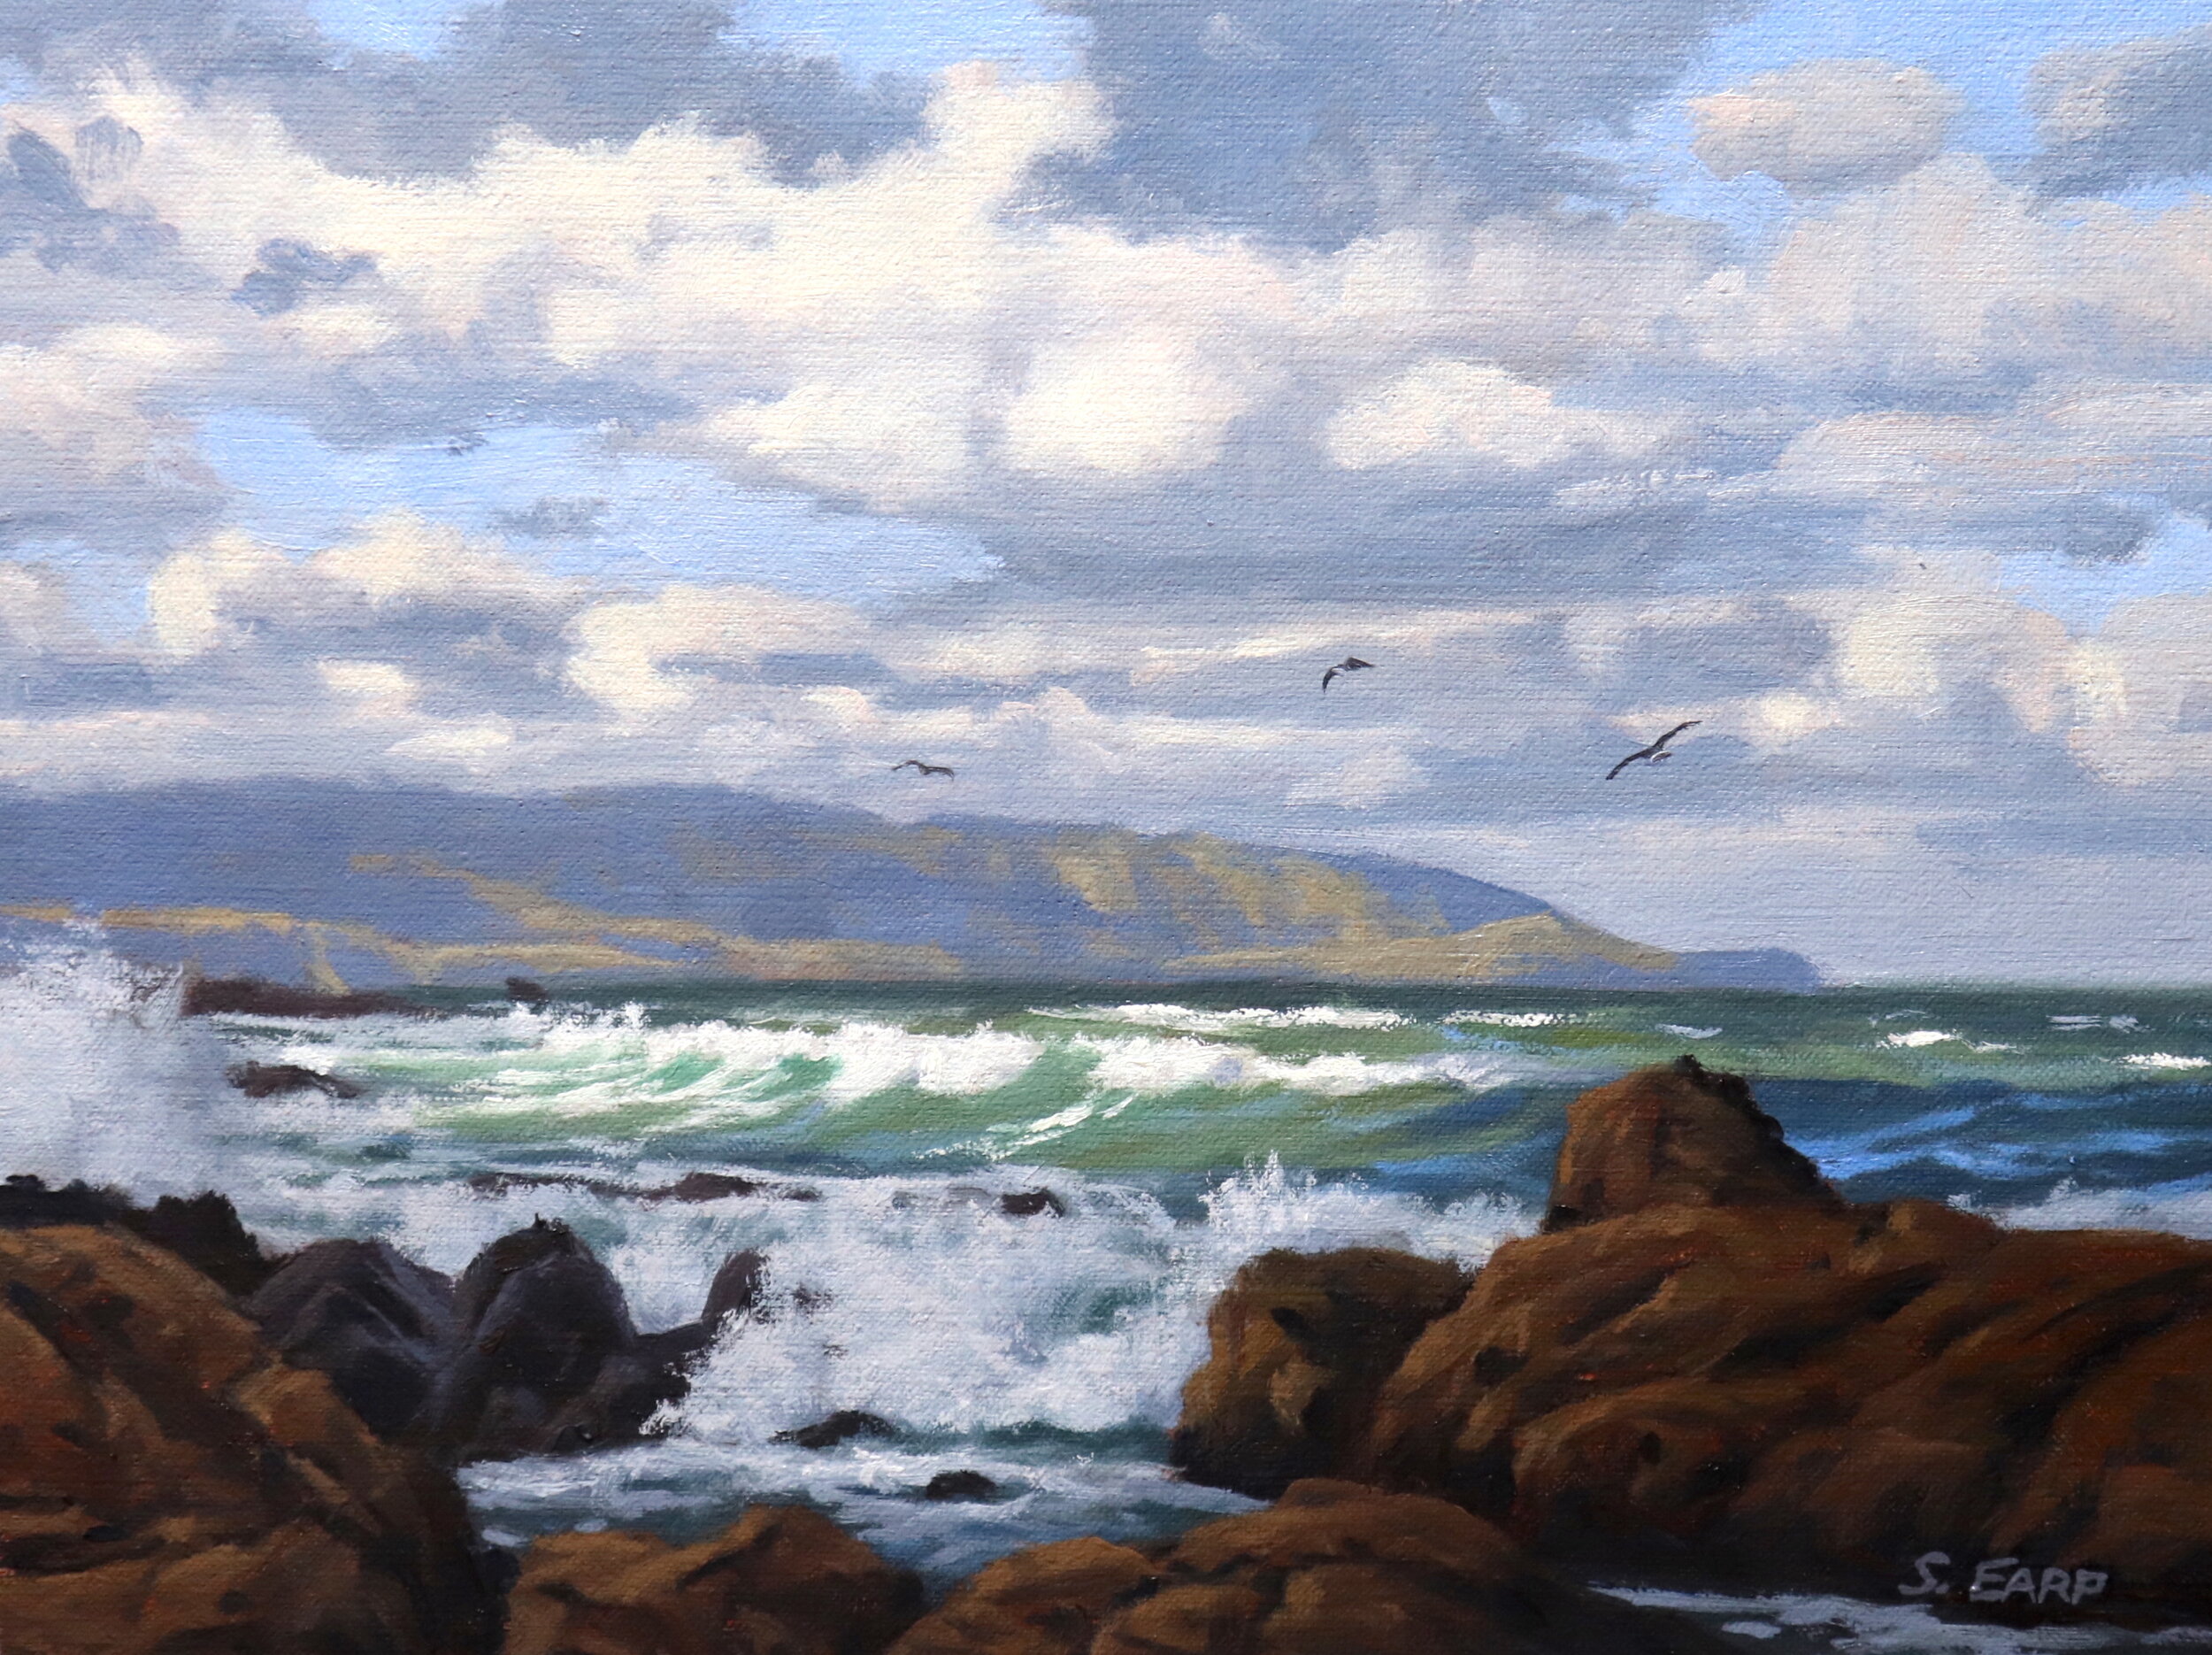
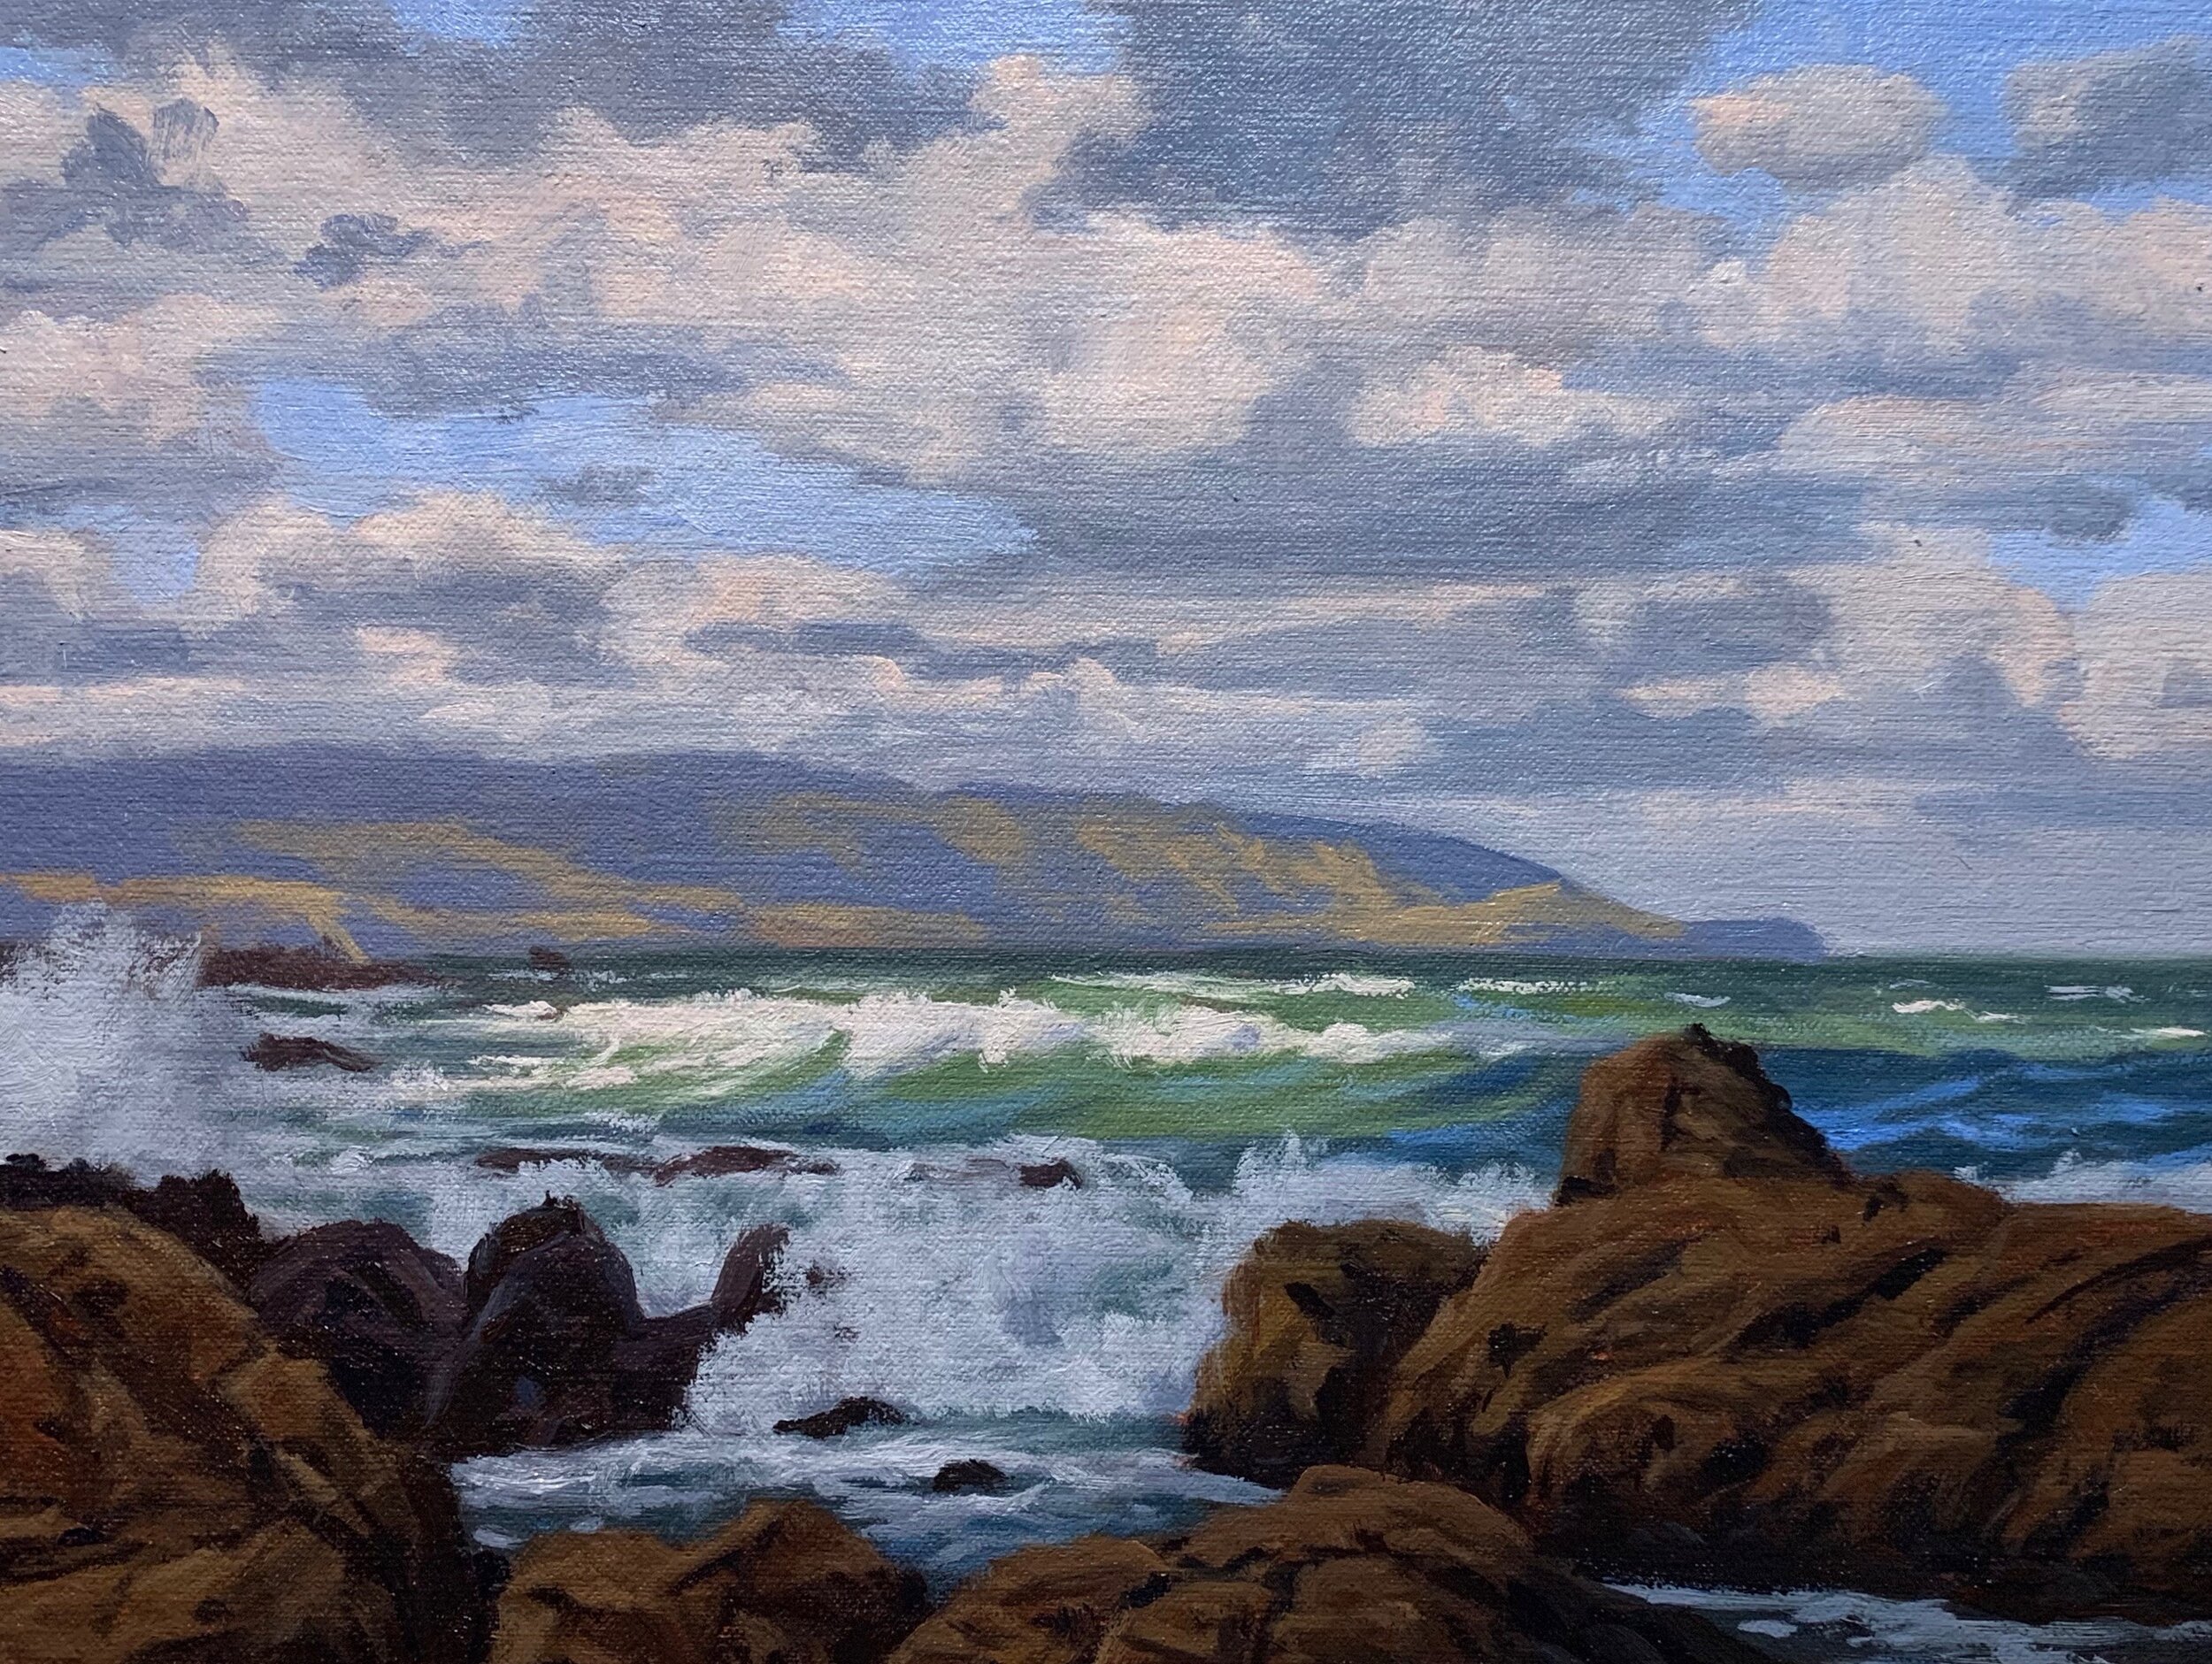
The painting featured in this demonstration is inspired by the coast of Wellington, New Zealand. This is a beautiful area of coastline that is frequently affected by unpredictable weather, high winds and heavy swells.
Due to Wellington’s location at the bottom of the North Island and its proximity to mountainous terrain at the top of the South Island, the air is funnelled through the Cook Strait creating strong winds, dramatic clouds and squally showers. Perfect ingredients for a dramatic seascape painting.
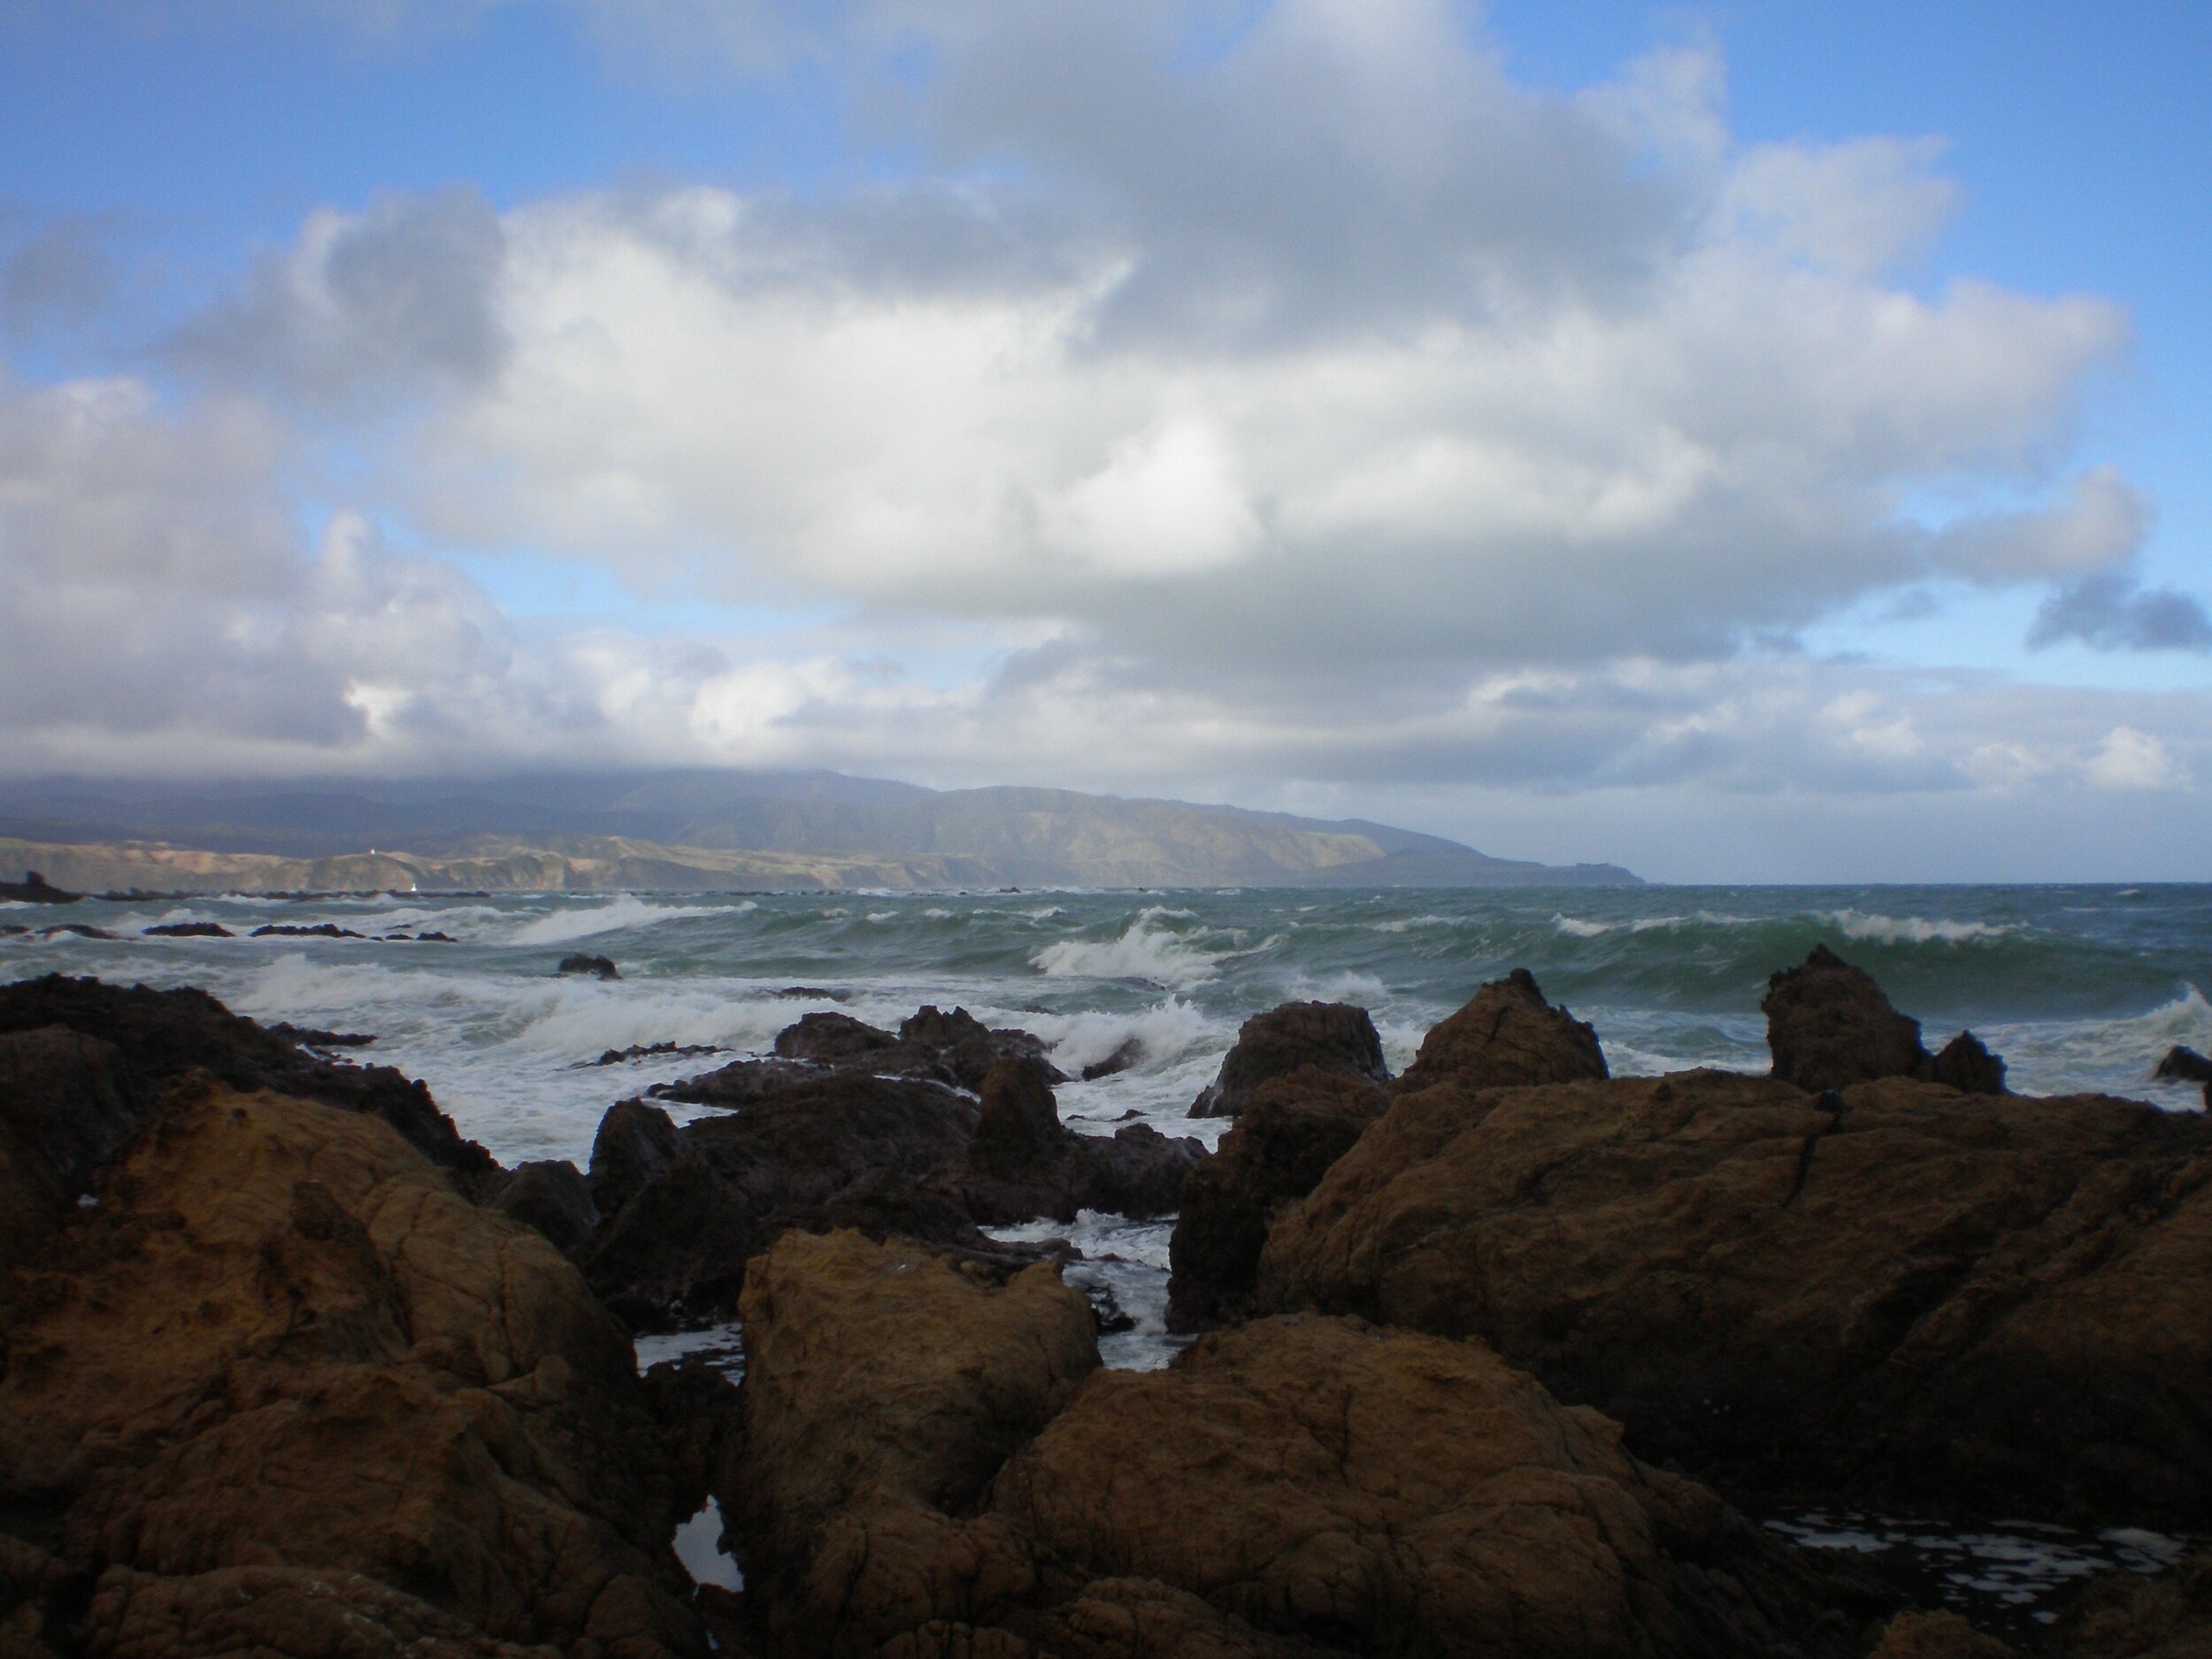
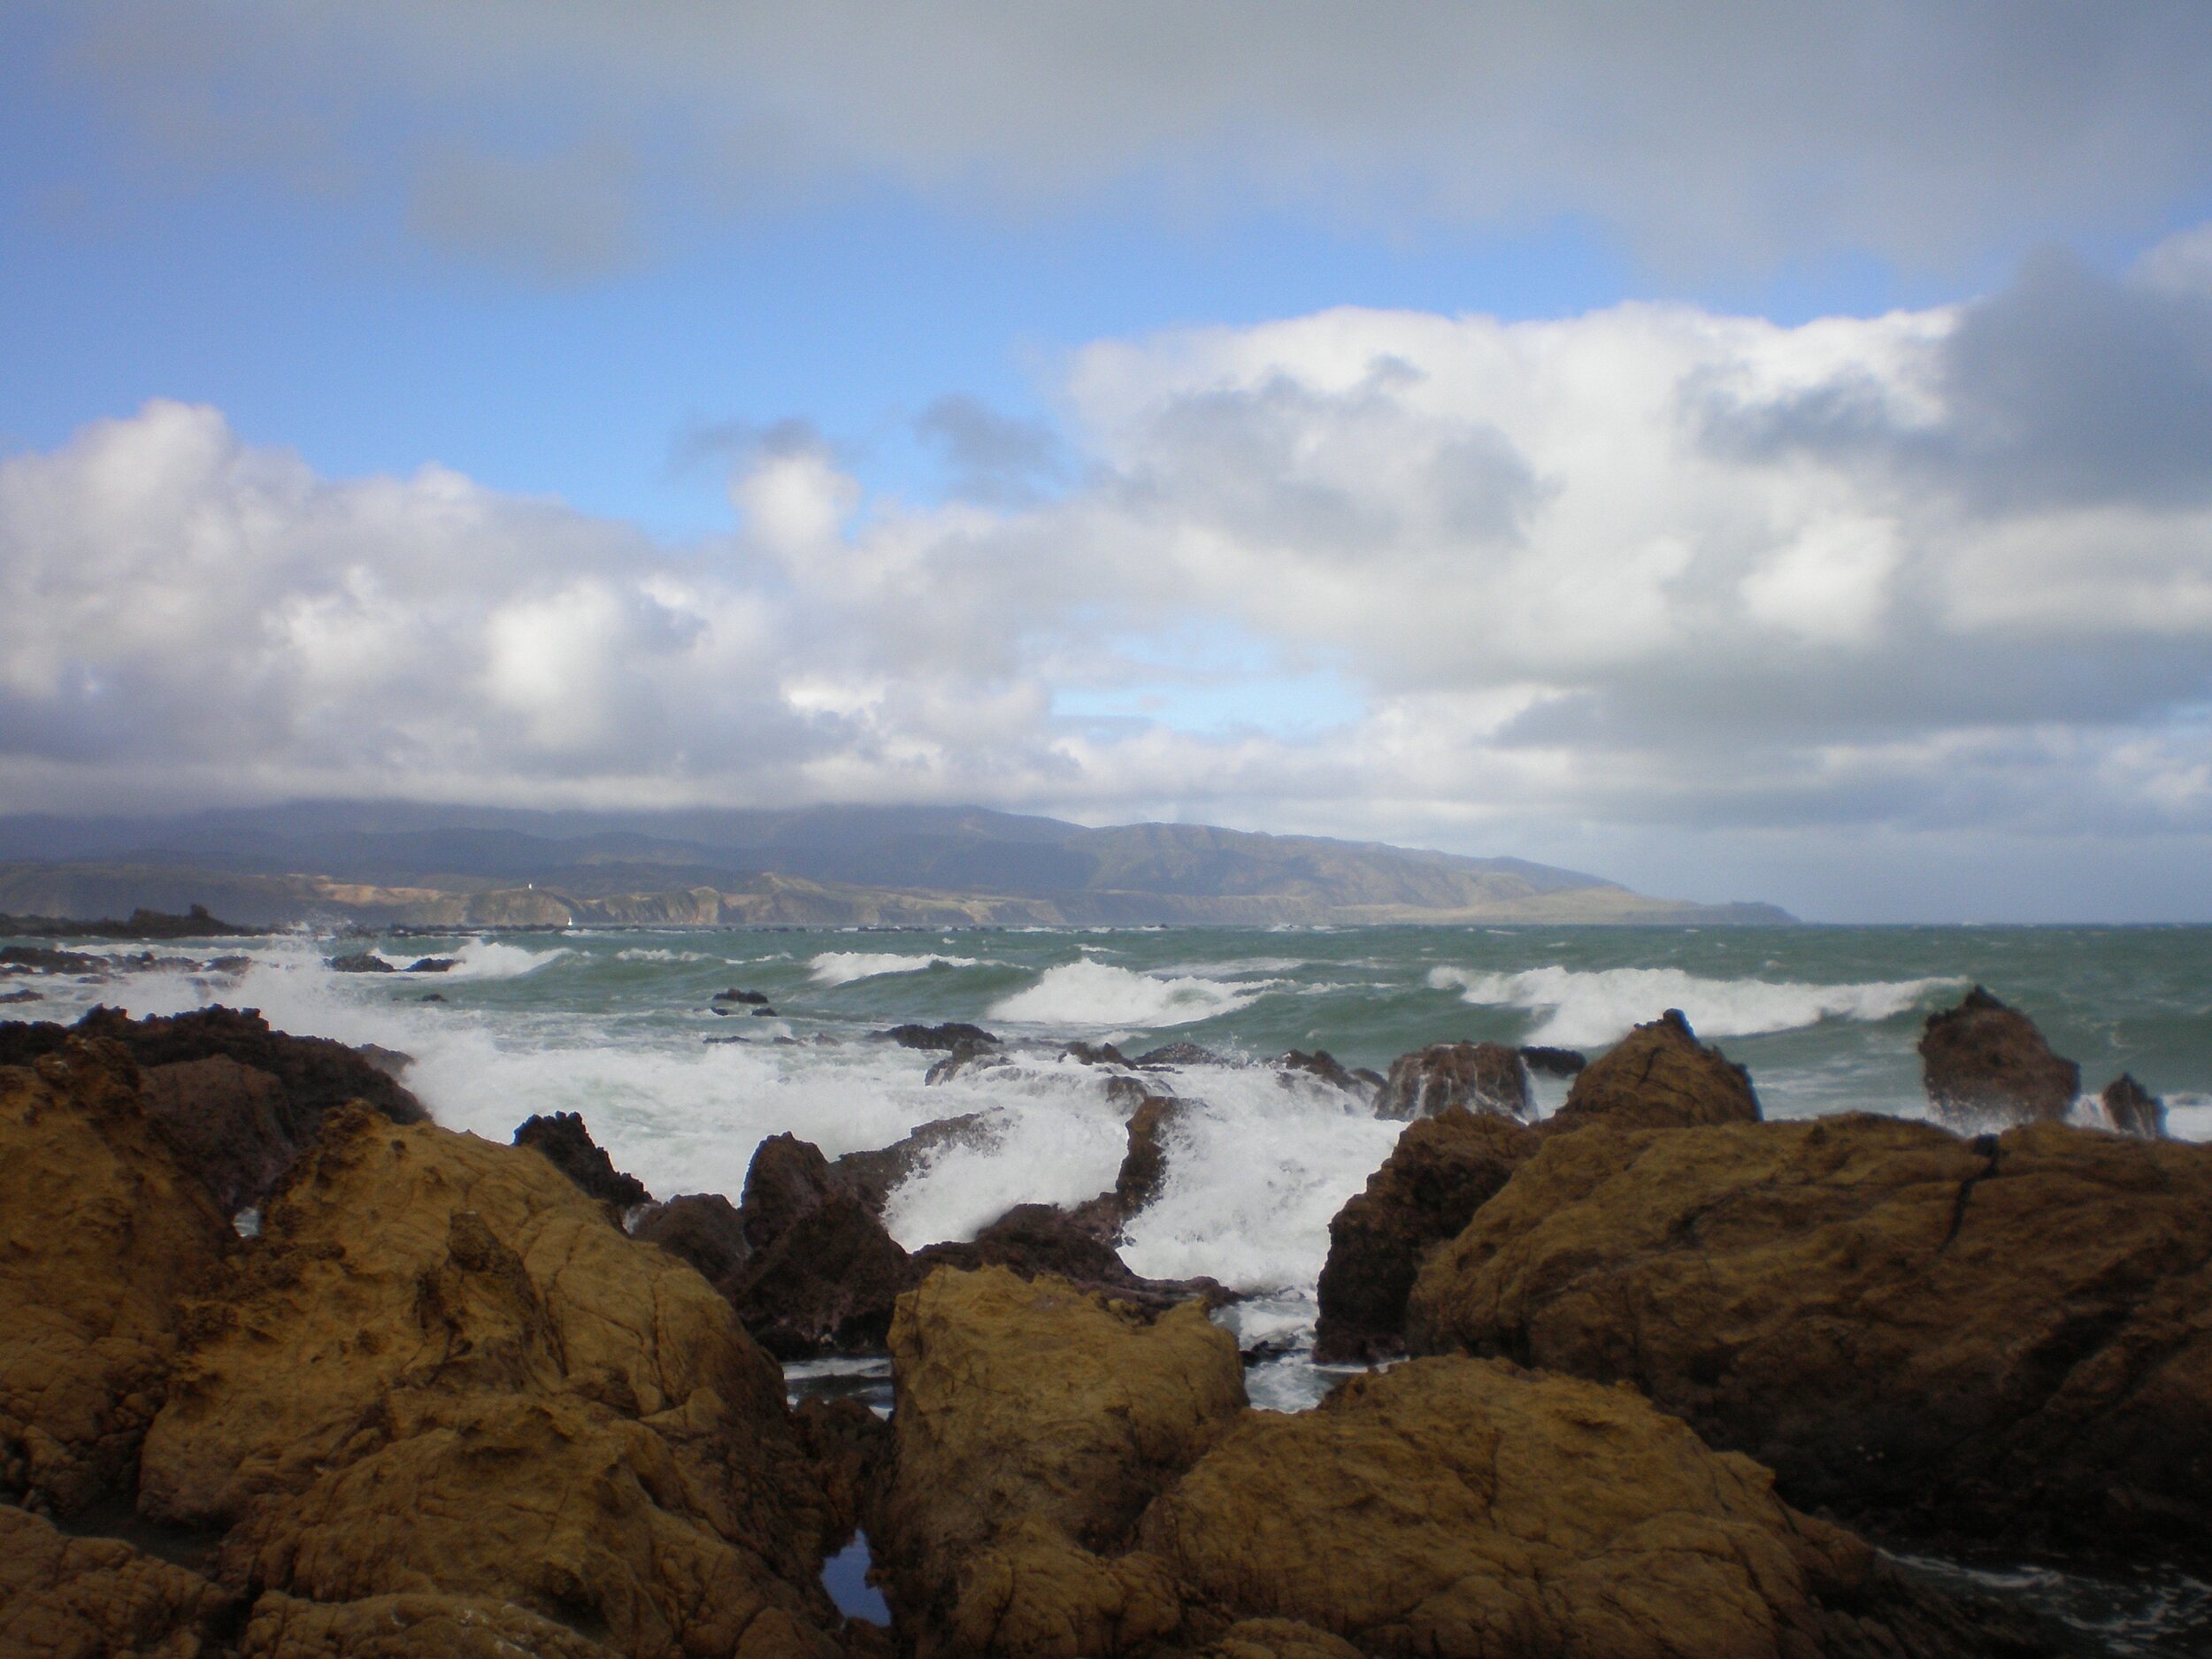
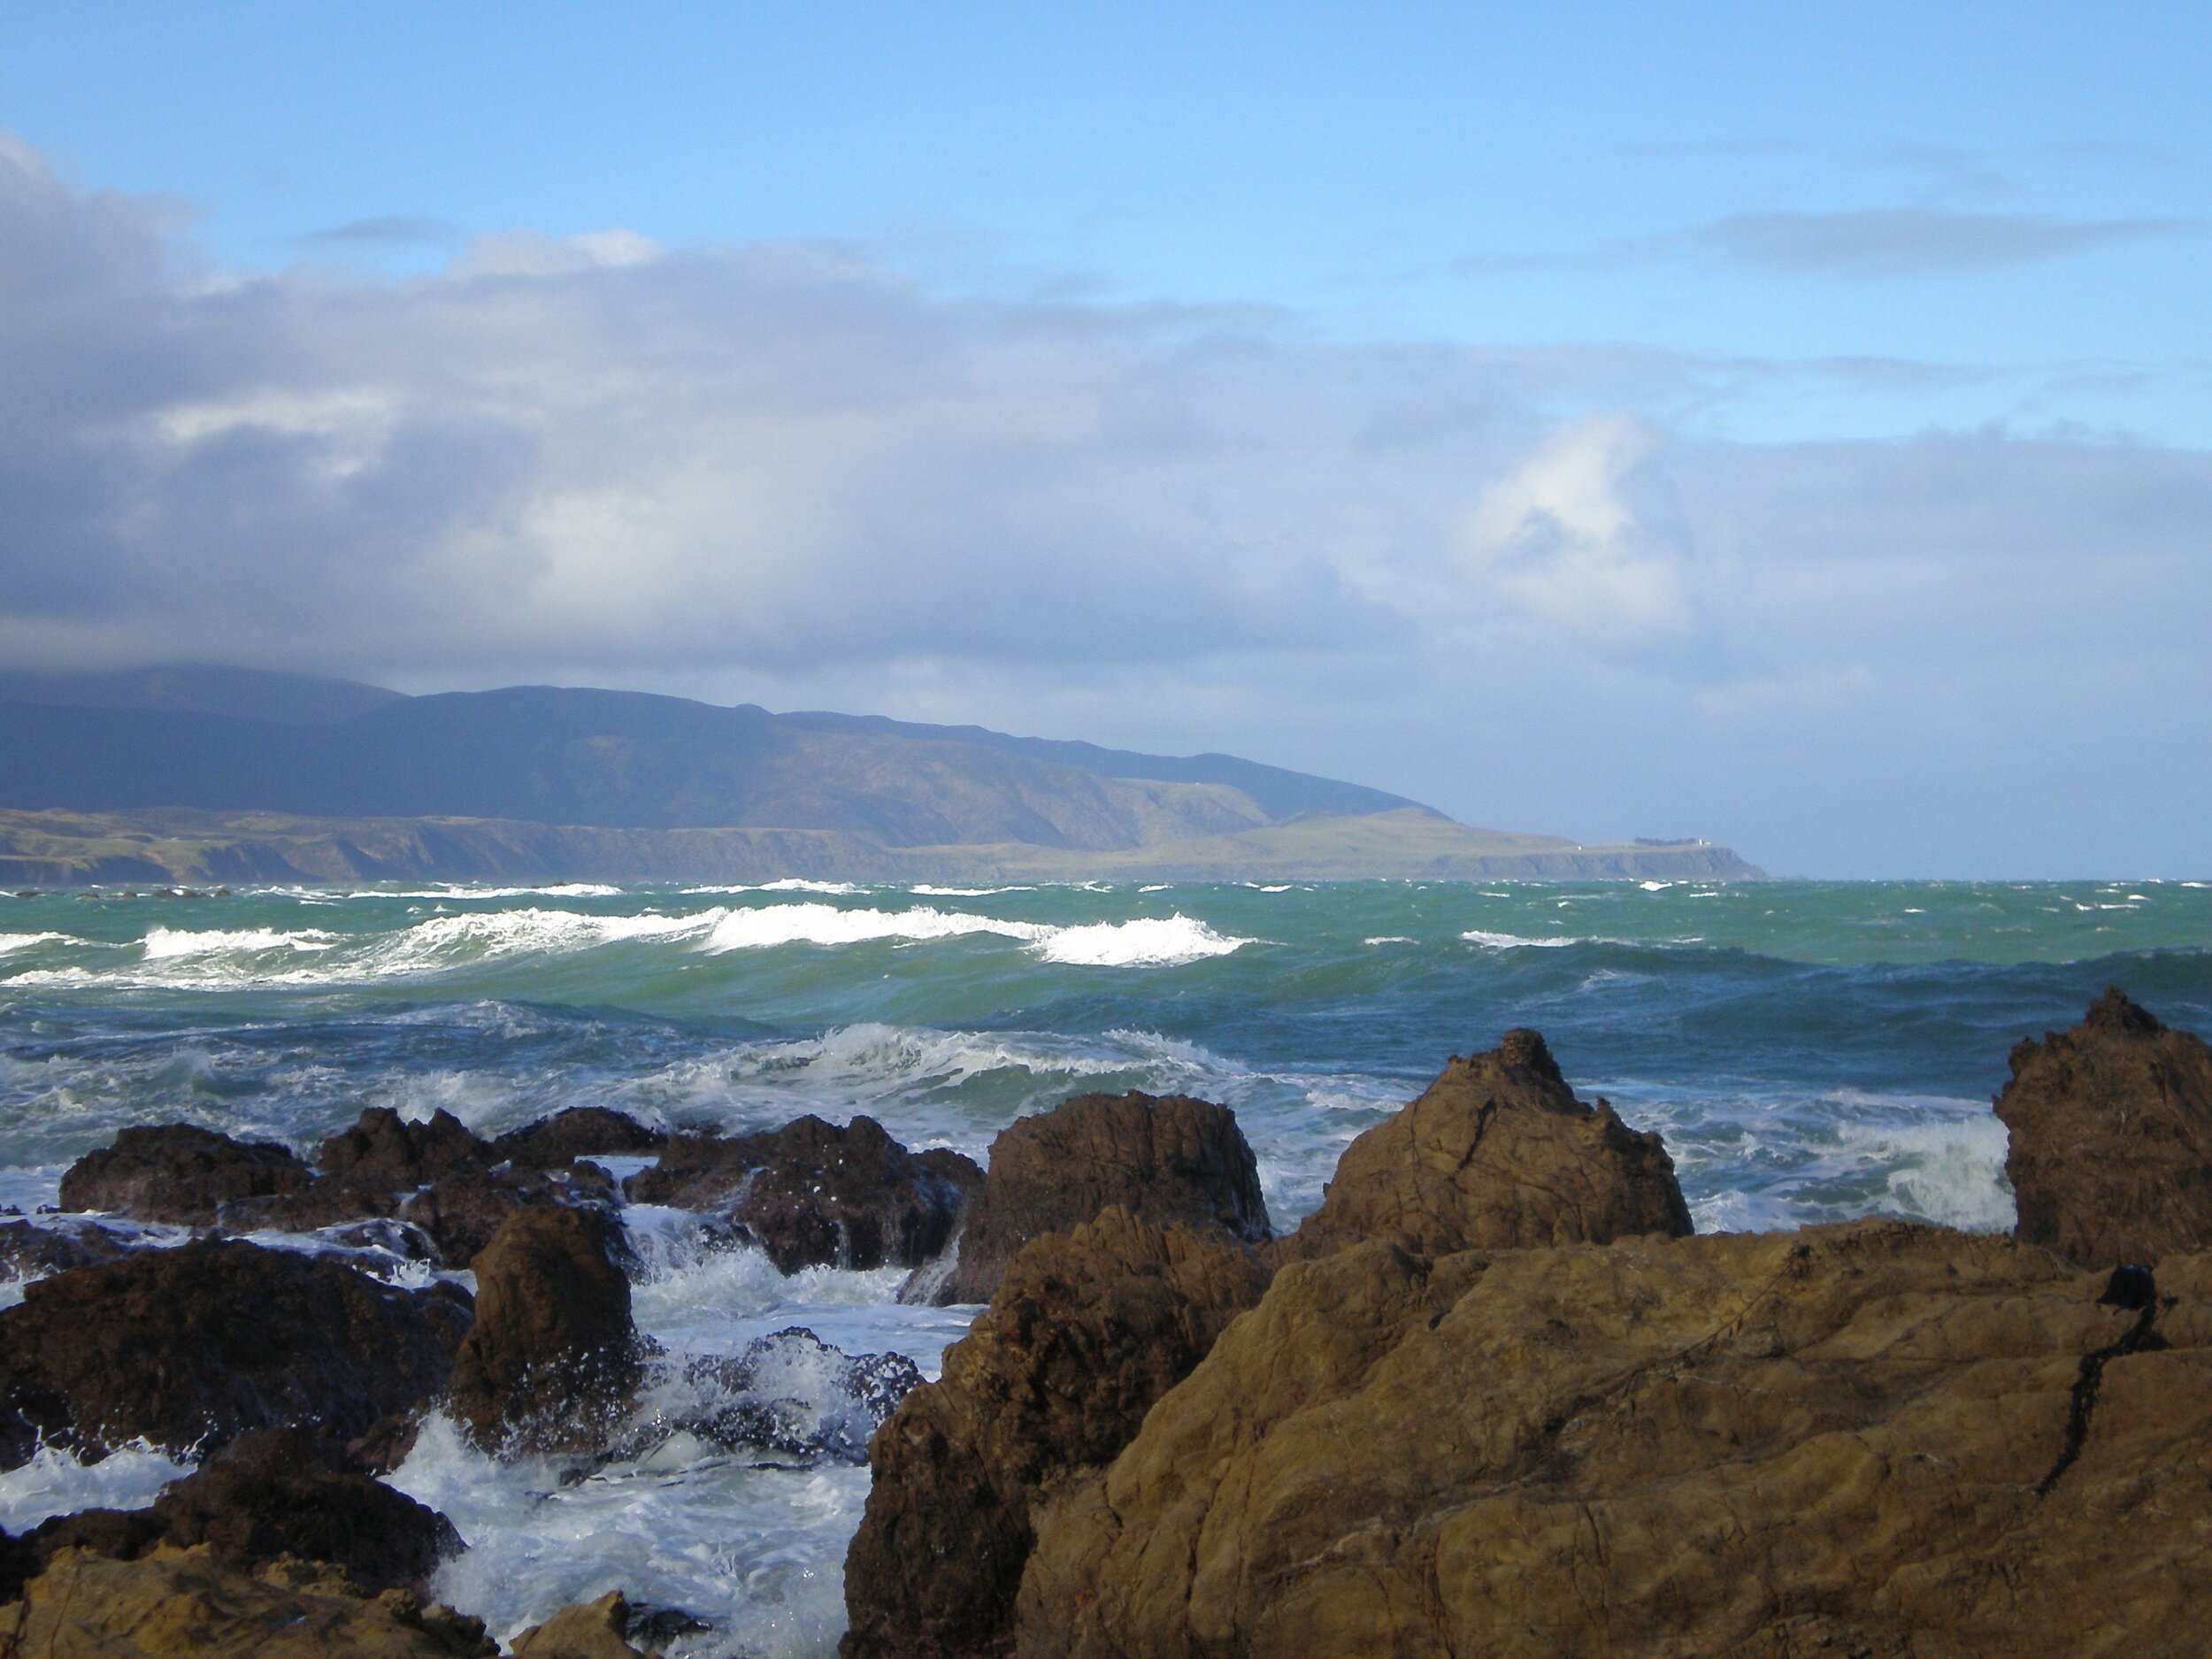
Reference Photos
Here are some of the reference photos I took. Please feel free to use them or copy them if you would like to have a go at painting this artwork.
Colours
I painted this artwork using oil paint and the colours I used in this painting are as follows:
- Titanium white
- Burnt sienna
- Yellow oxide
- Cadmium yellow
- Quinacridone crimson
- Ultramarine blue
- Cobalt blue
- Phthalo green
Brushes
Here is a list of the brushes I used in this painting:
- No.6 flat
- No.2 flat
- No.2 filbert
- No.1 round
- No.0 round
- 3/8 dagger
- 1/4 dagger
Composition
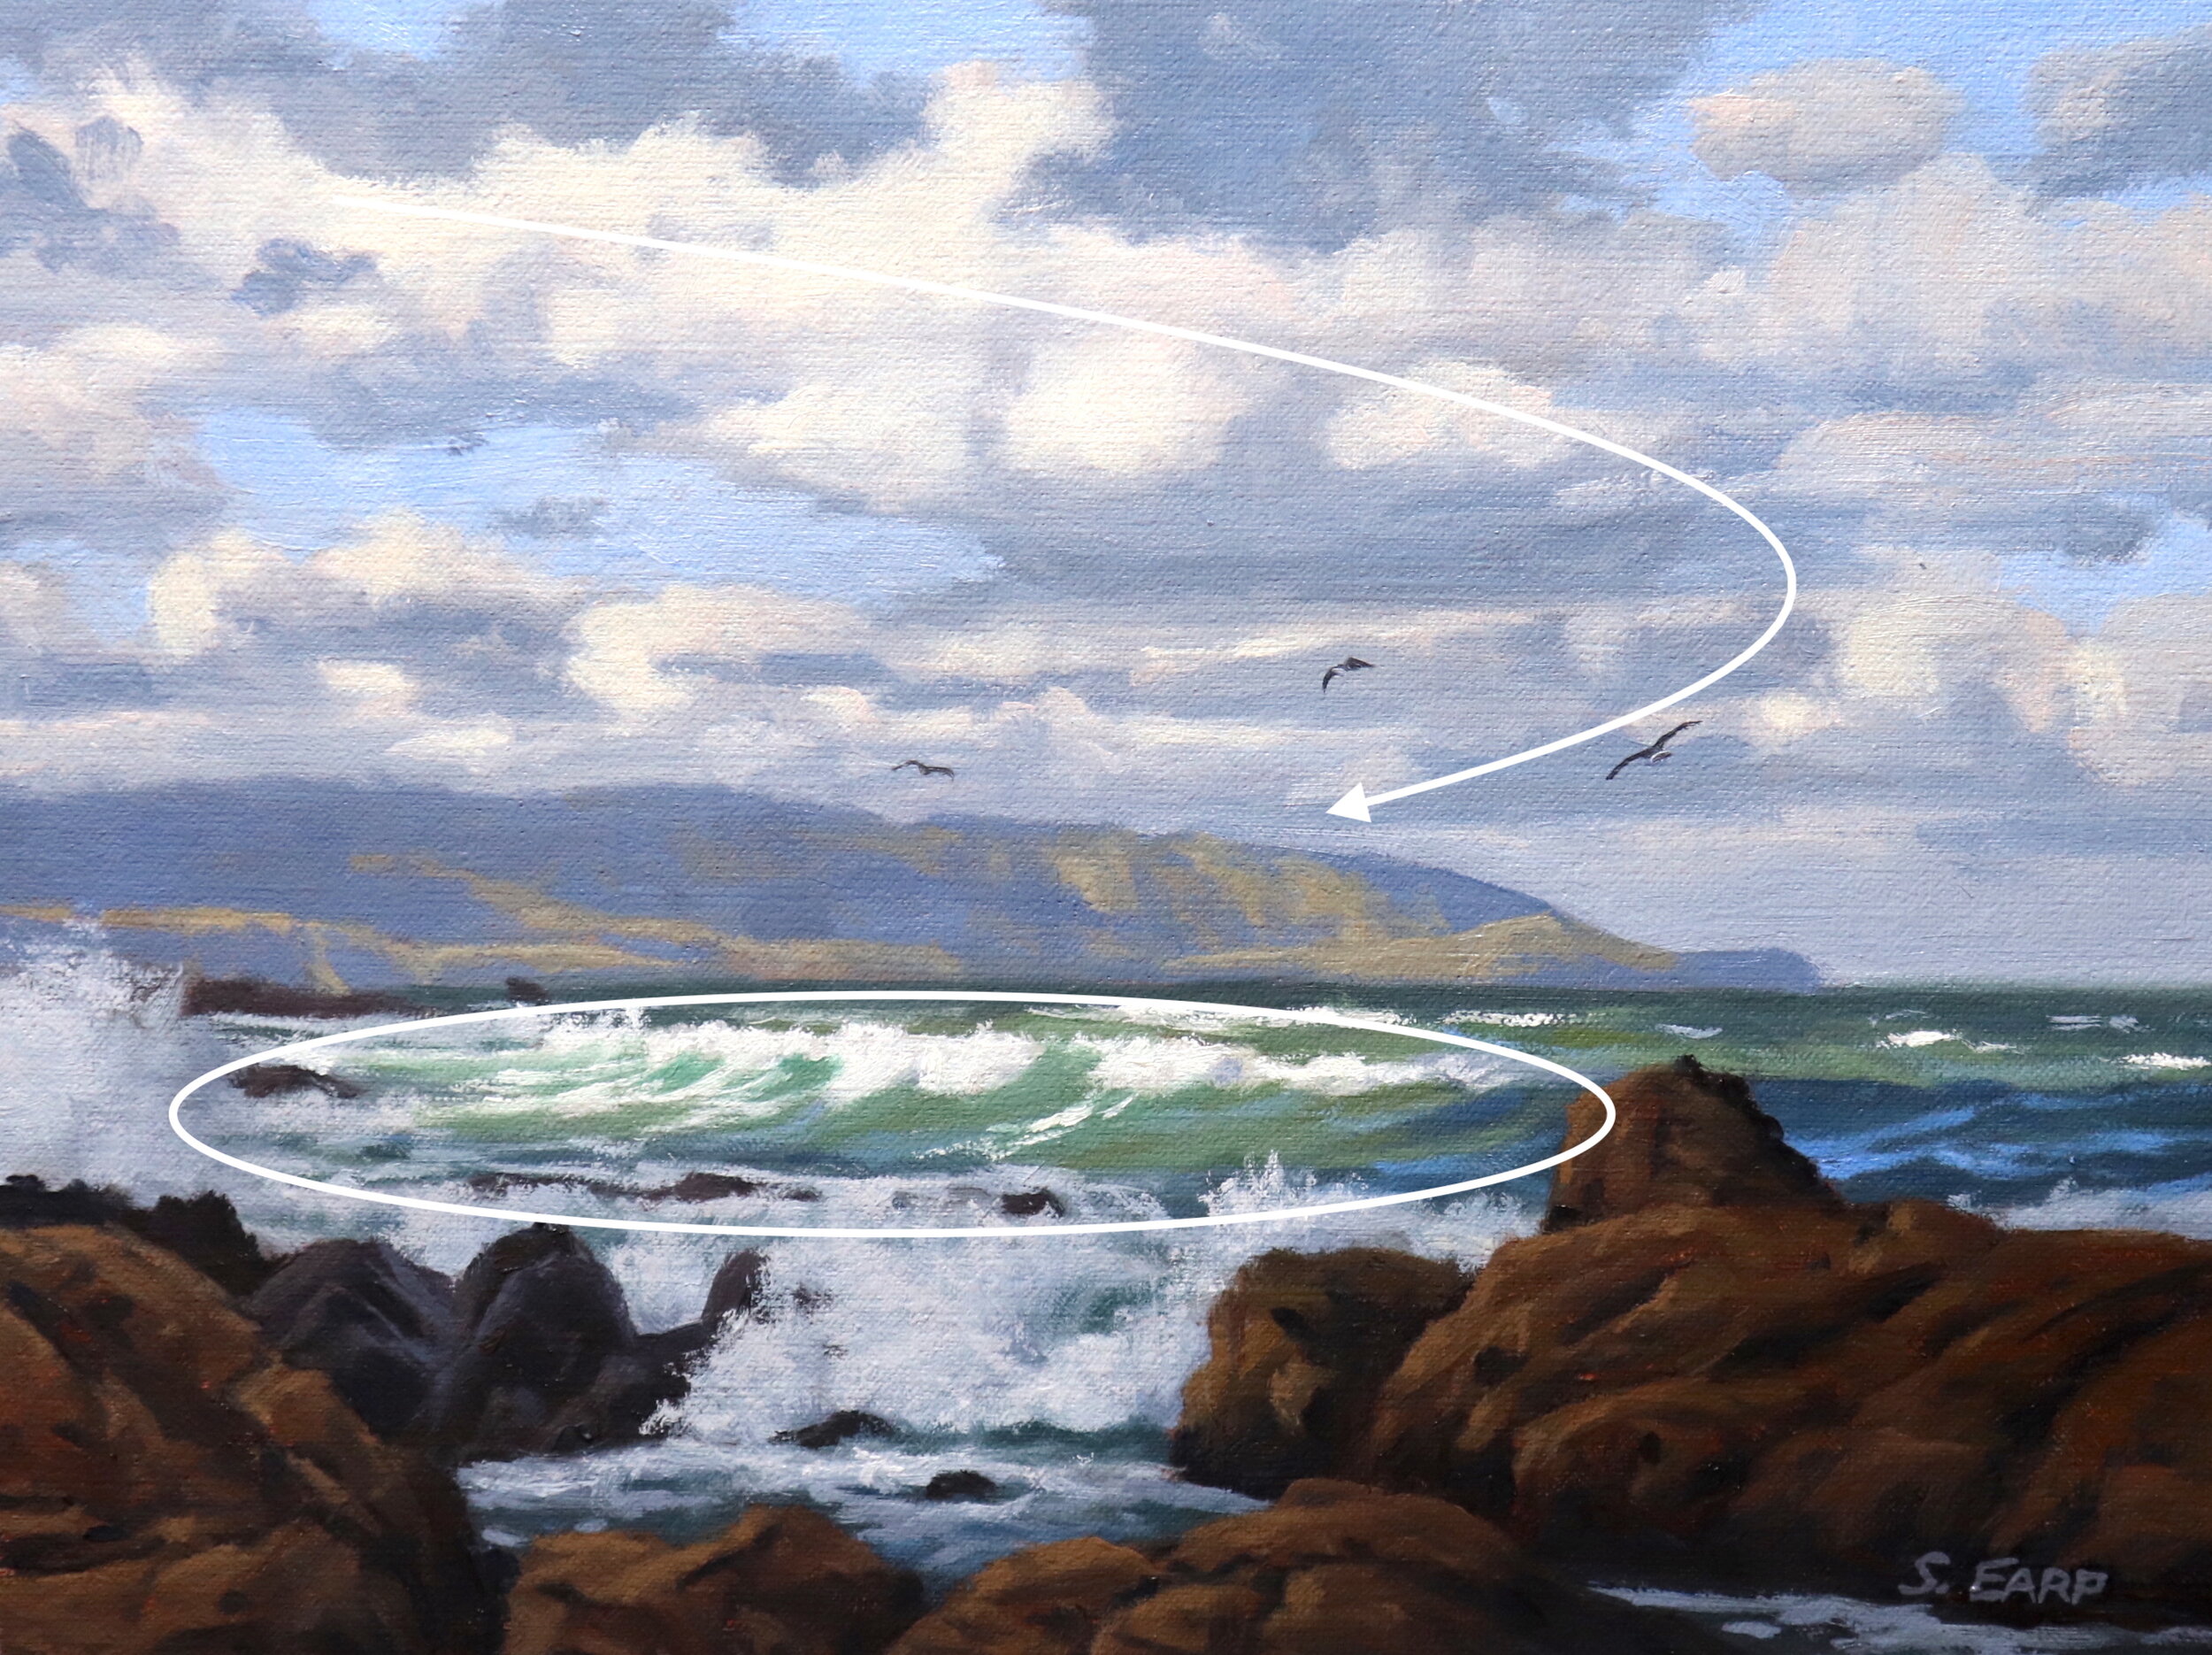
This composition incorporates a circle or ‘O’ composition where the rocks, the foam burst on the left and the headland help to form a space for the focal area. The main area of interest in this painting is the sunlit breaking waves. The formation of the clouds which are also a major part of the story of this painting helps to direct the eye towards the main area of interest.
Blocking in the Painting
I am painting on a piece of loose Belgian linen which I have taped to a board with masking tape so the painting measures 22.5cm x30cm.
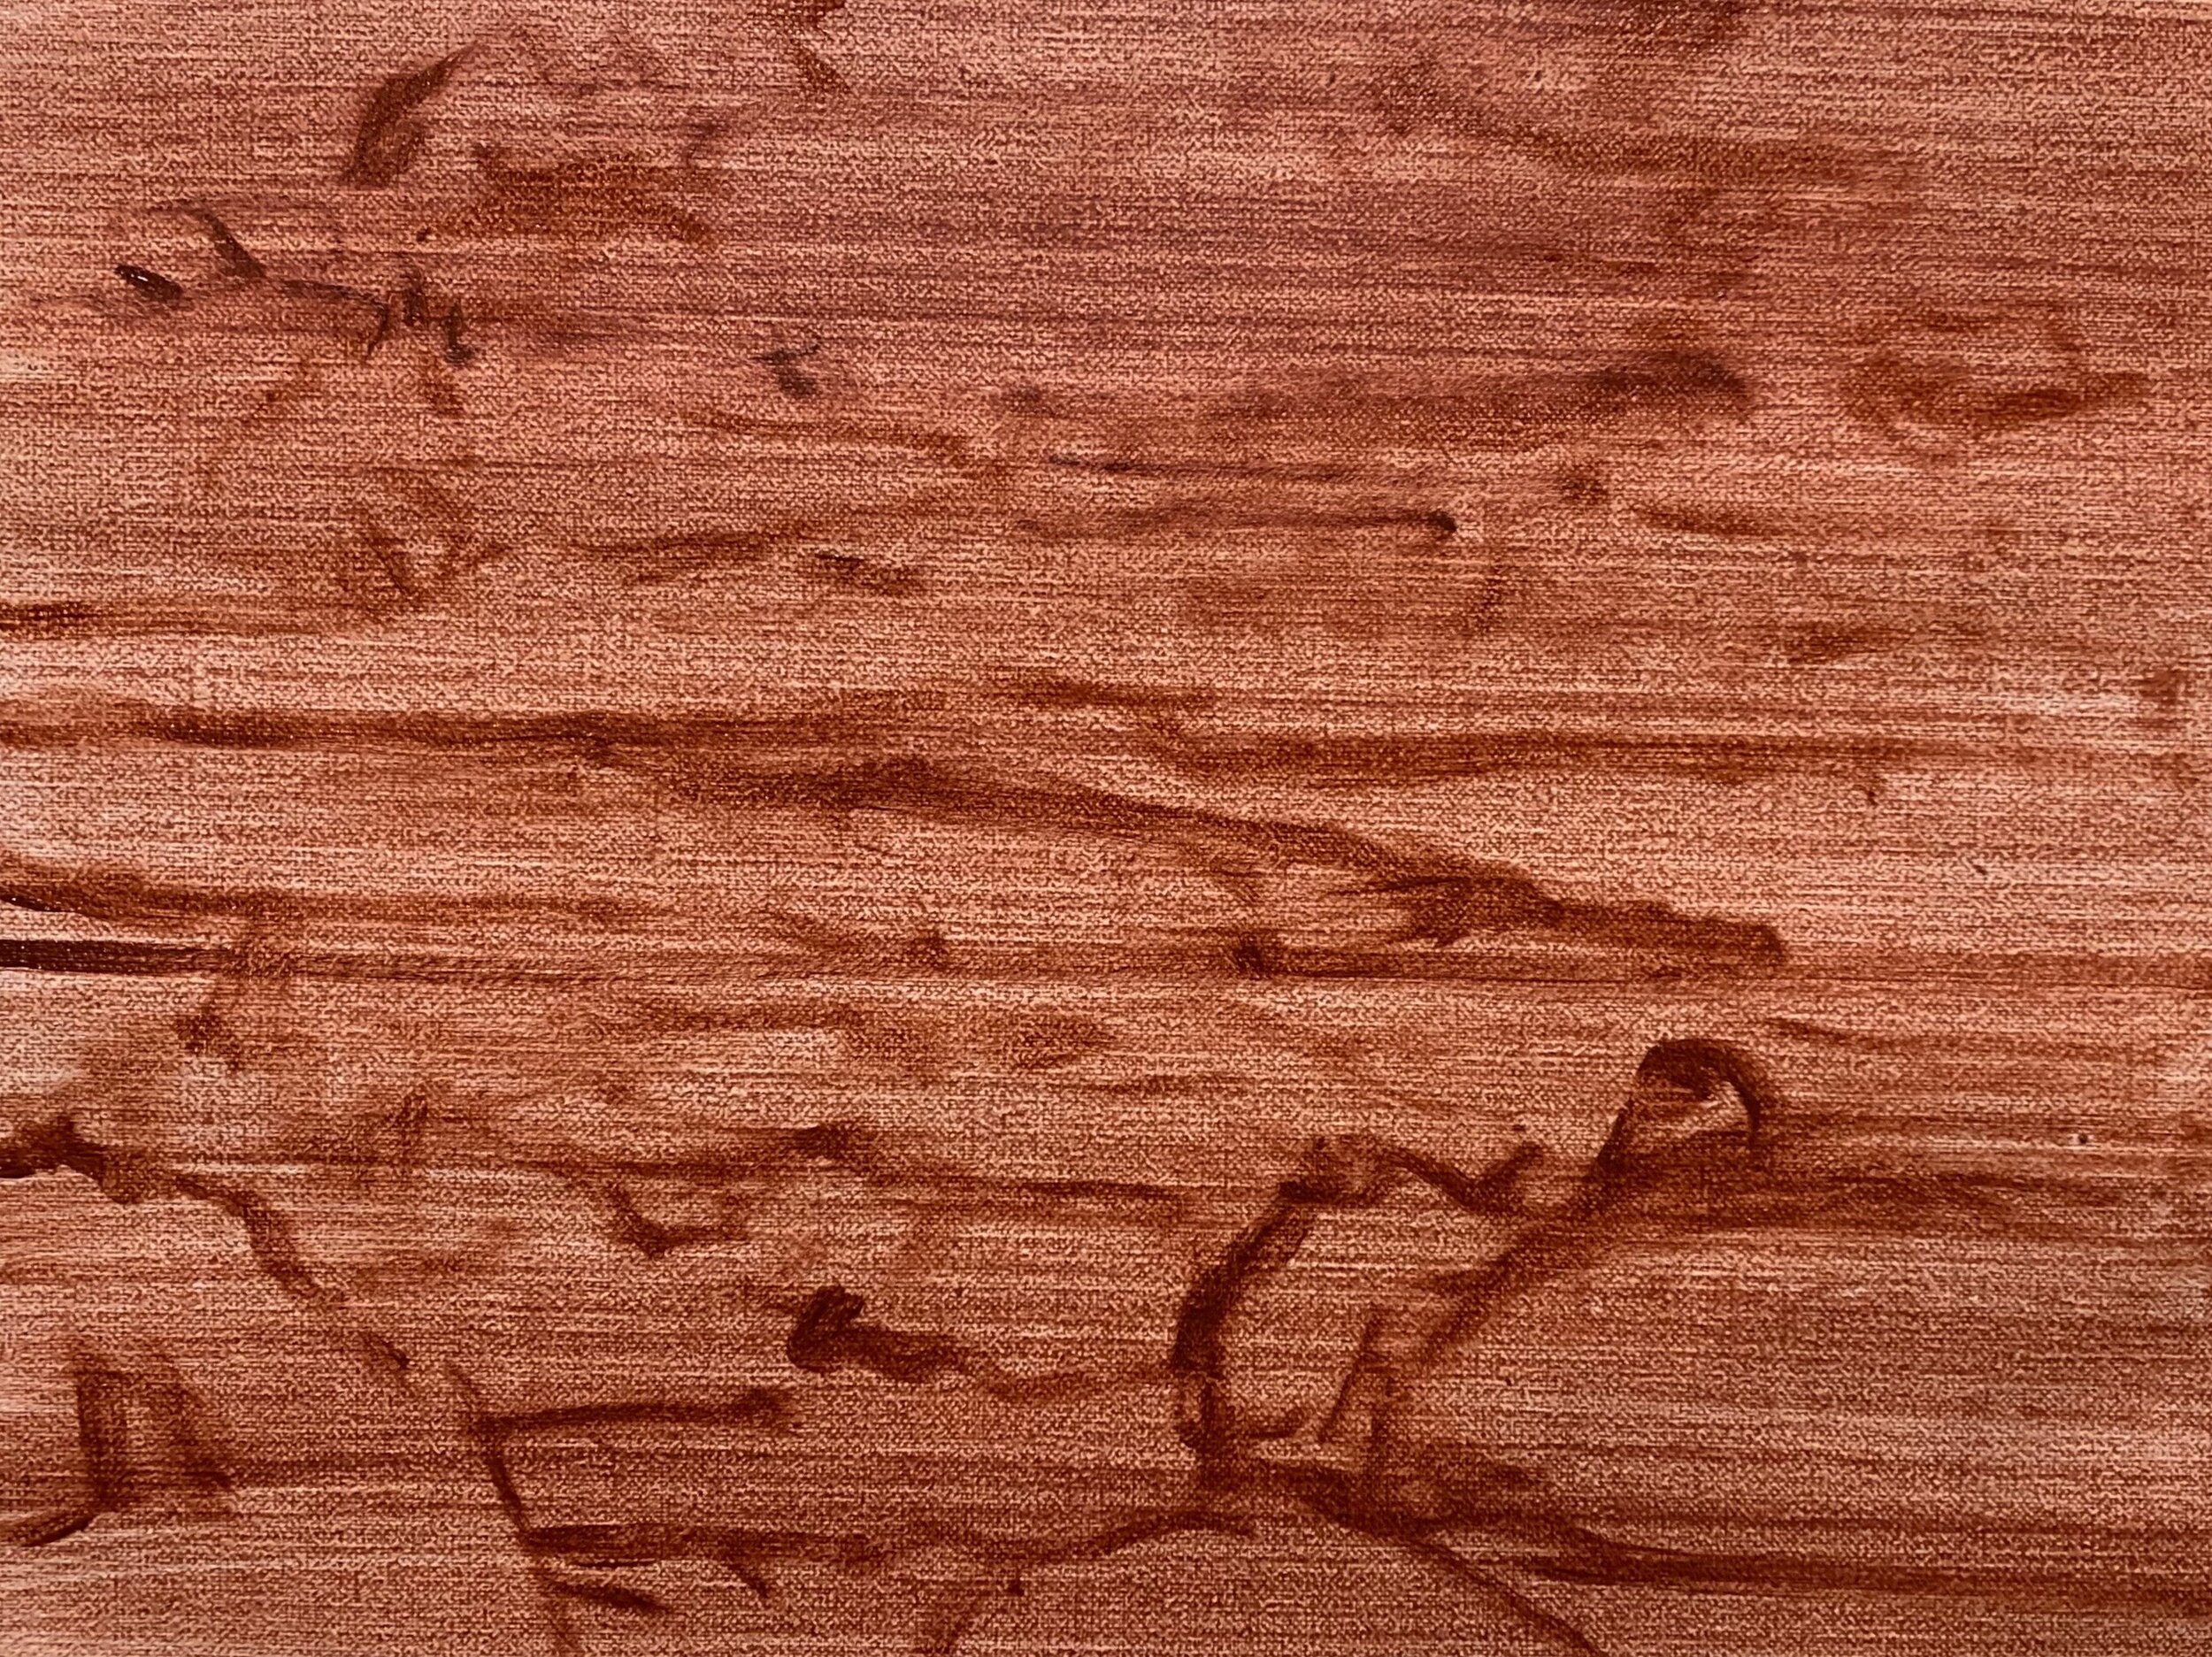
I have toned the linen with a thin wash of burnt sienna which warms up the painting and helps with colour and tone.
I sketch out the composition with a No.1 round brush using burnt sienna mixed with a medium called Liquin Original (Liquin). Liquin improves the flow of the paint and it speeds up the drying time so usually your painting should be touch dry within 24 hours.
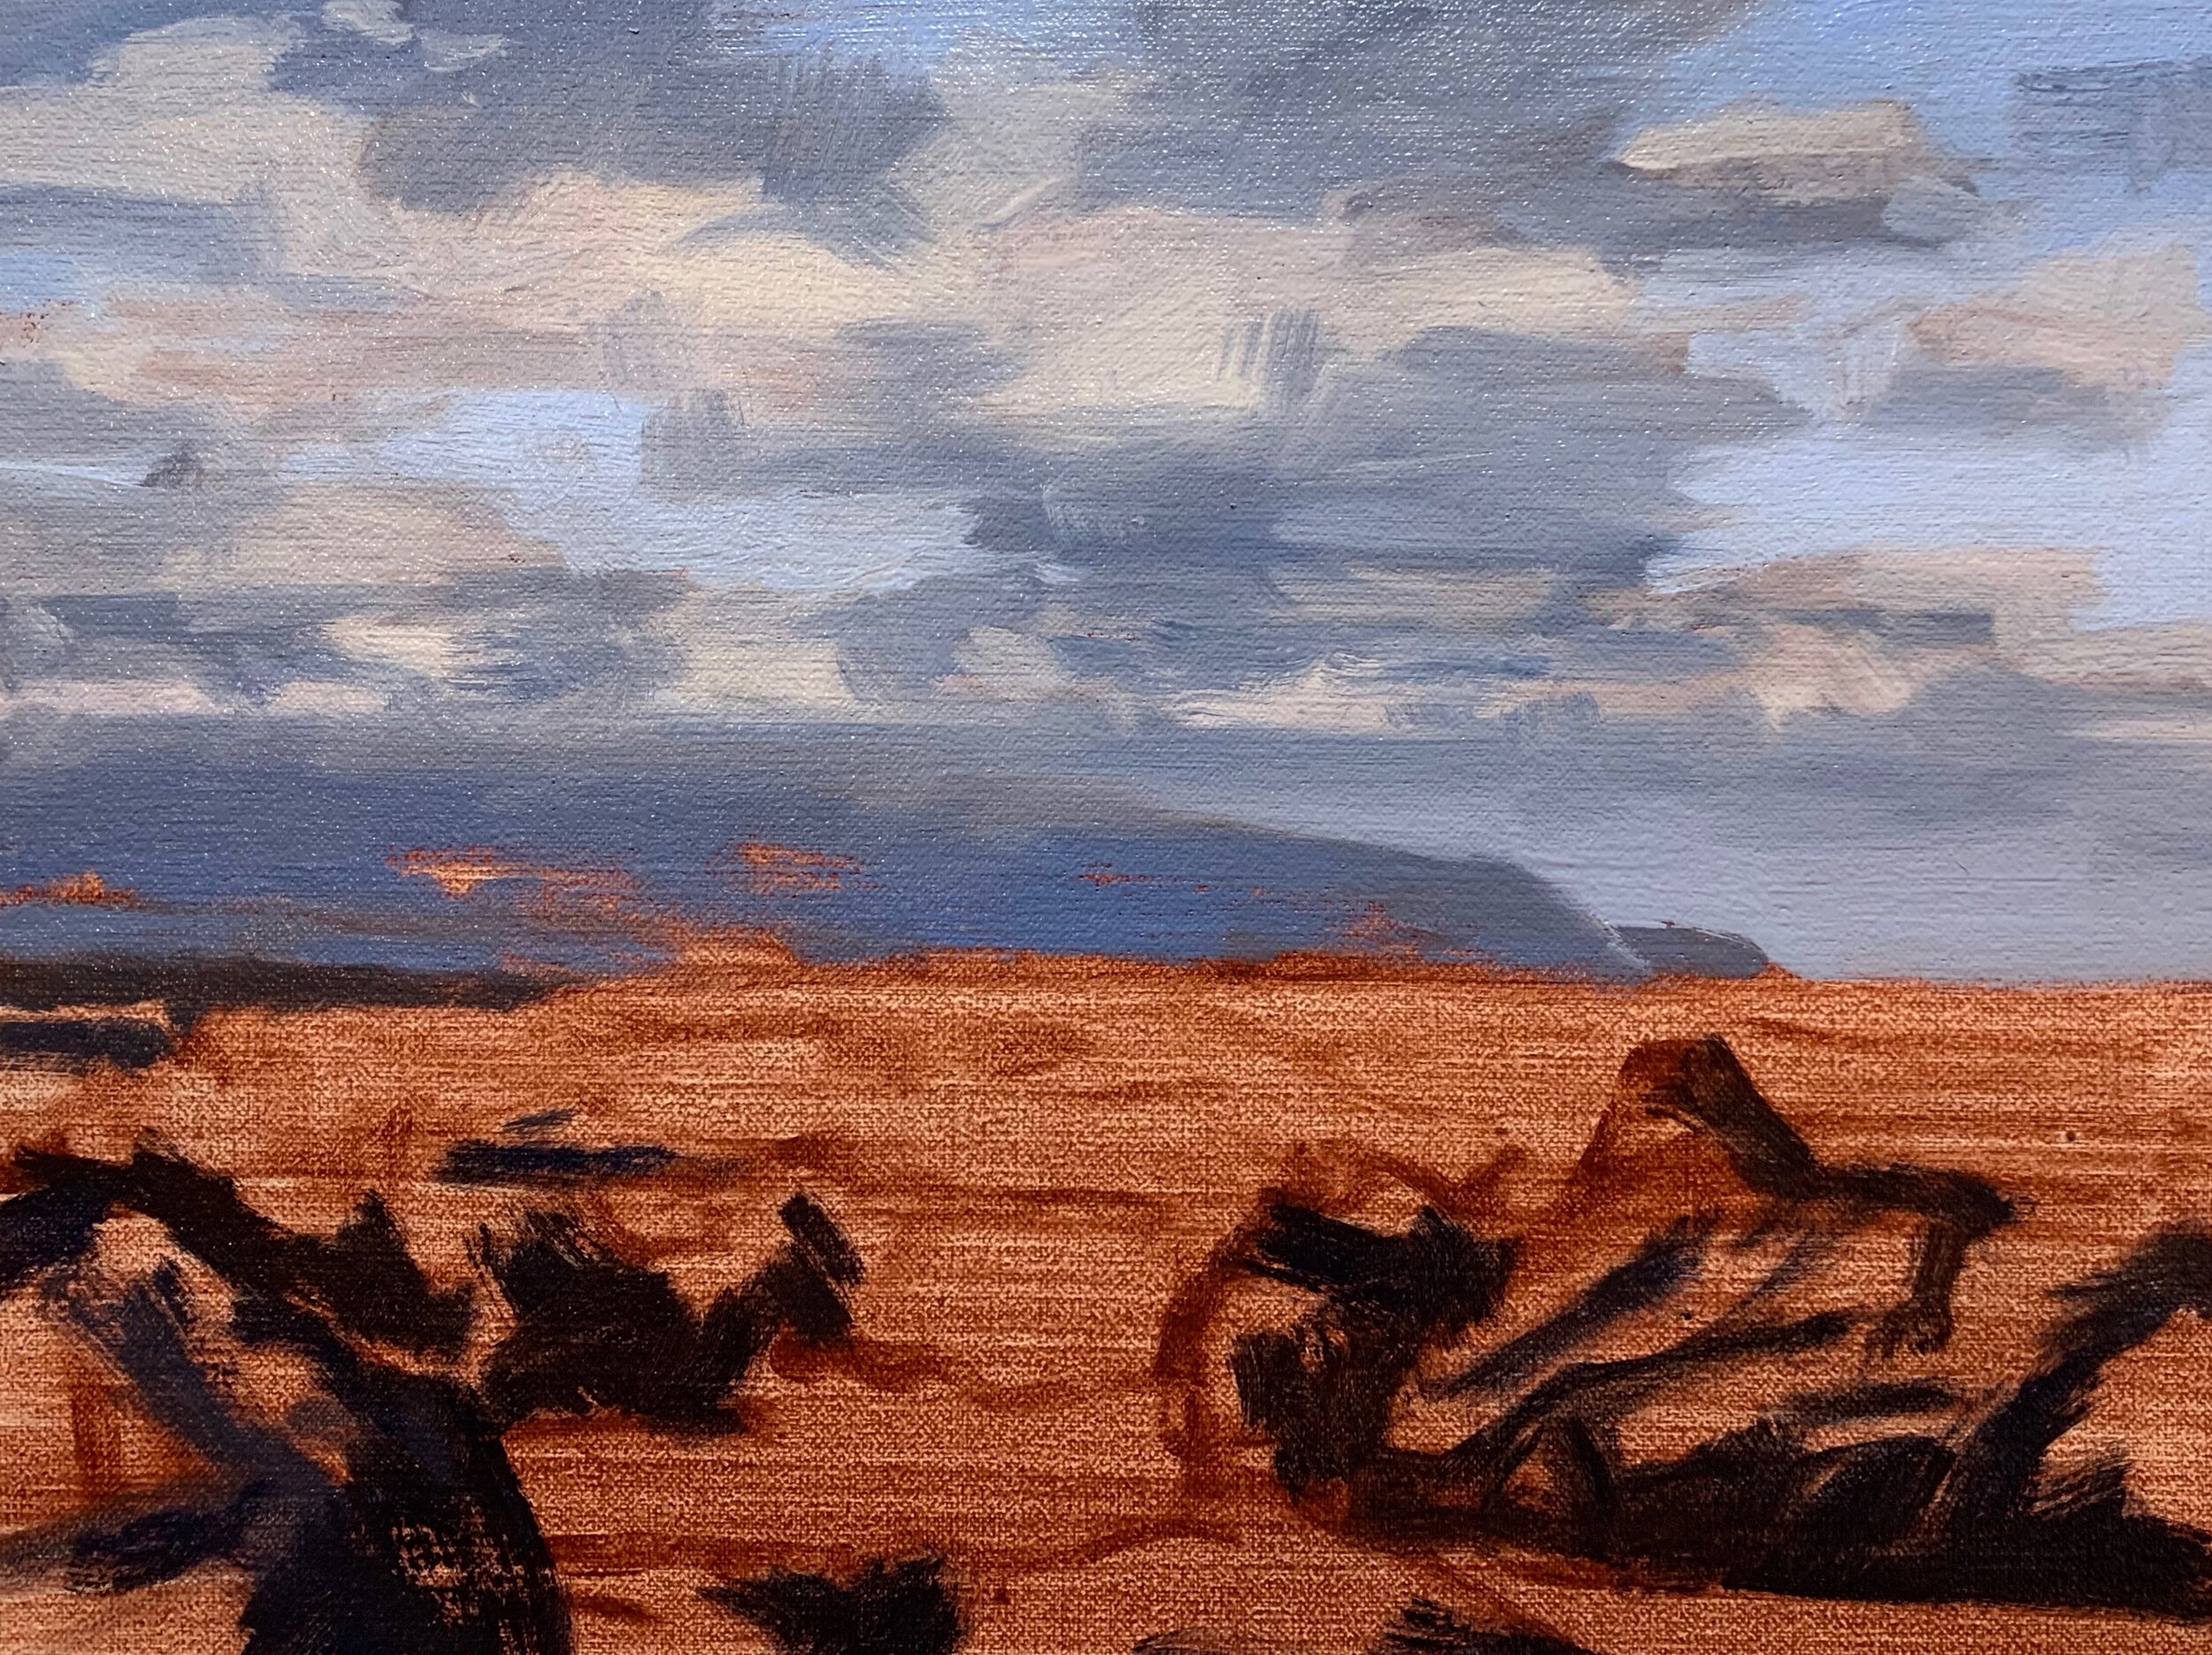
Painting the Darks First
Whenever I begin a painting I always want to establish the tonal dynamic from the get-go and I do this by painting in the dark values and shadows first. From there it will make it easier to mix the right colours for the areas in light. It also helps to get the colour saturation (or chroma) correct.
When starting out I don’t use too much paint, instead using thinner paint layers and reserving the thicker layers for later on in the painting.
I begin with the cloud shadows by mixing ultramarine blue, burnt sienna and titanium white. I am keeping the colour combinations simple and I lean the mixture on the blue side so it doesn’t look muddy. I can adjust the value with titanium white.
The shadows in the headland are mixed with the same colours as the cloud shadows but with less titanium white which makes a darker tone. I also introduce a very small amount of quinacridone crimson to give the mixture a violet tint.
The rocks are in shadow and are naturally of low chroma. For now, I establish where the cracks and dark areas of the rock are going to go and I use a combination of ultramarine blue and burnt sienna. We will find the darkest shadows in the foreground.
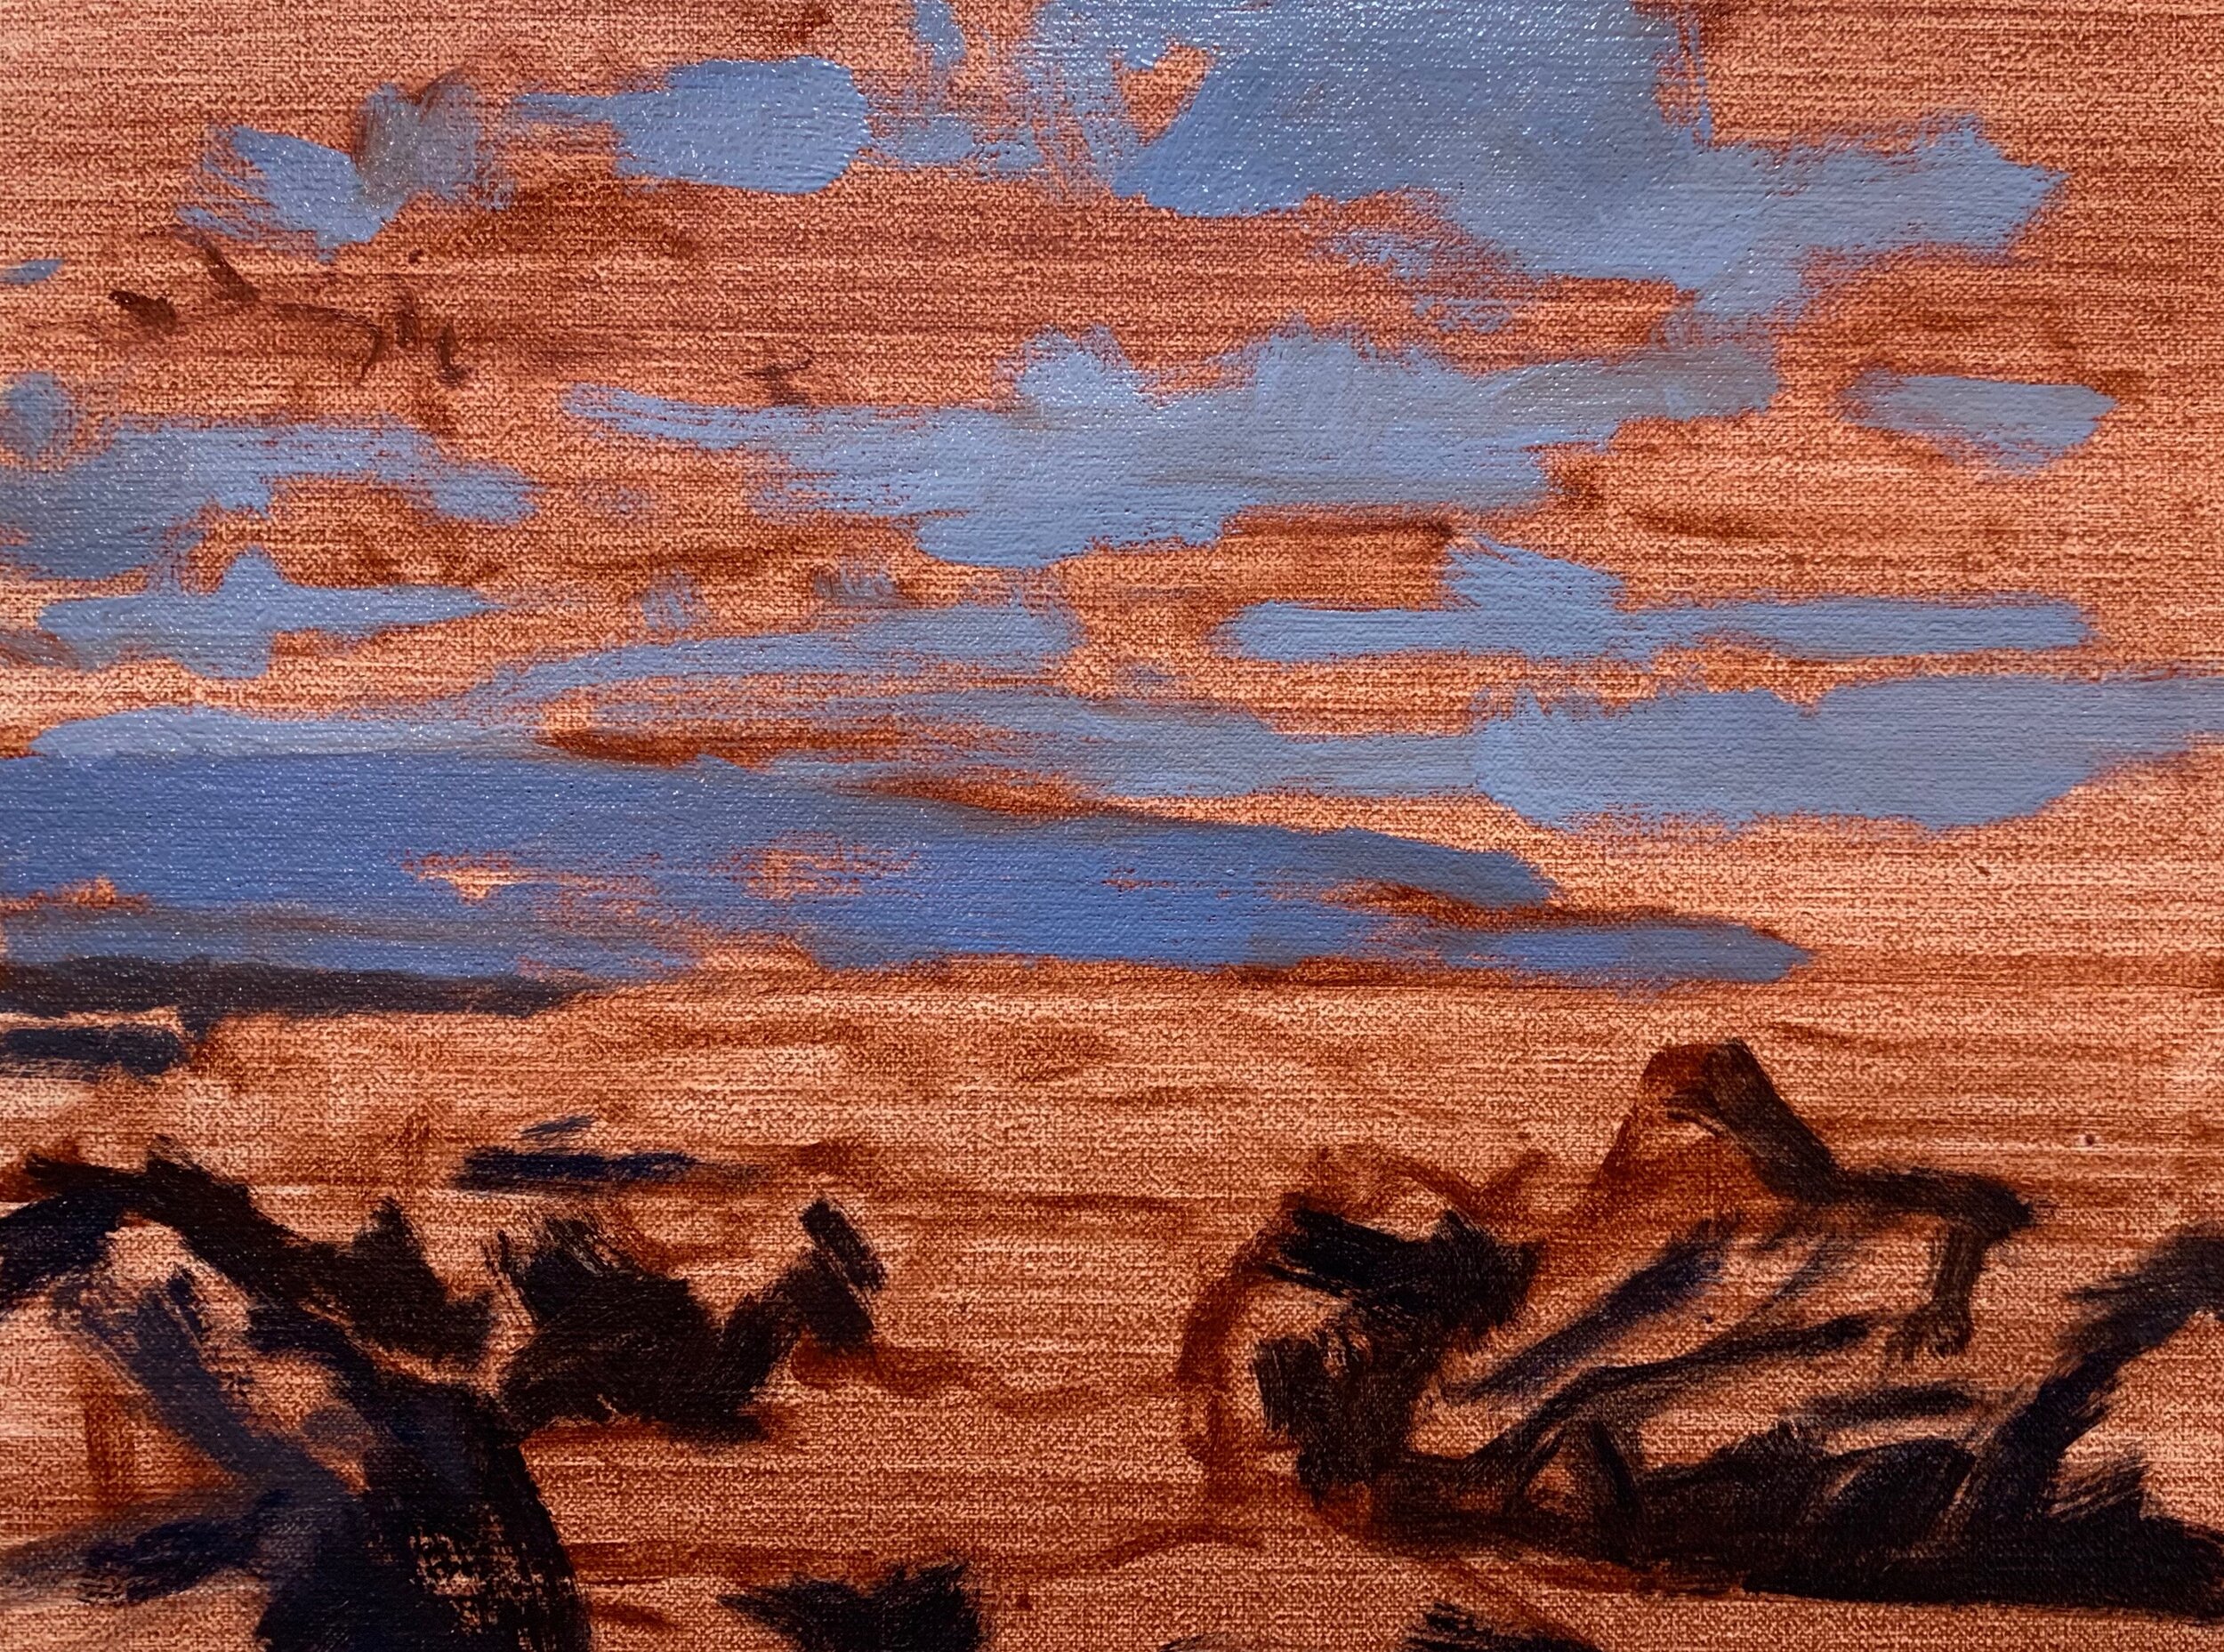
I am happy with the darks I have painted so far and I’ve established three main tiers of tonal depth within the painting, the sky, the headland and the sea and rocks (I’ve included the sea and rocks as one).
Now I will spend a bit of time blocking in the sky. I’m using a No.6 flat brush so I can cover the ground quickly and give the painting a loose feel to start with. I start painting the cloud highlights with a simple combination of titanium white and a little burnt sienna. I use more burnt sienna in my mix for the cloud highlights in the distance as this will make the clouds recede.
I allow the cloud shadows to mix in with highlights and I use my brush to blend in the colours on the canvas.
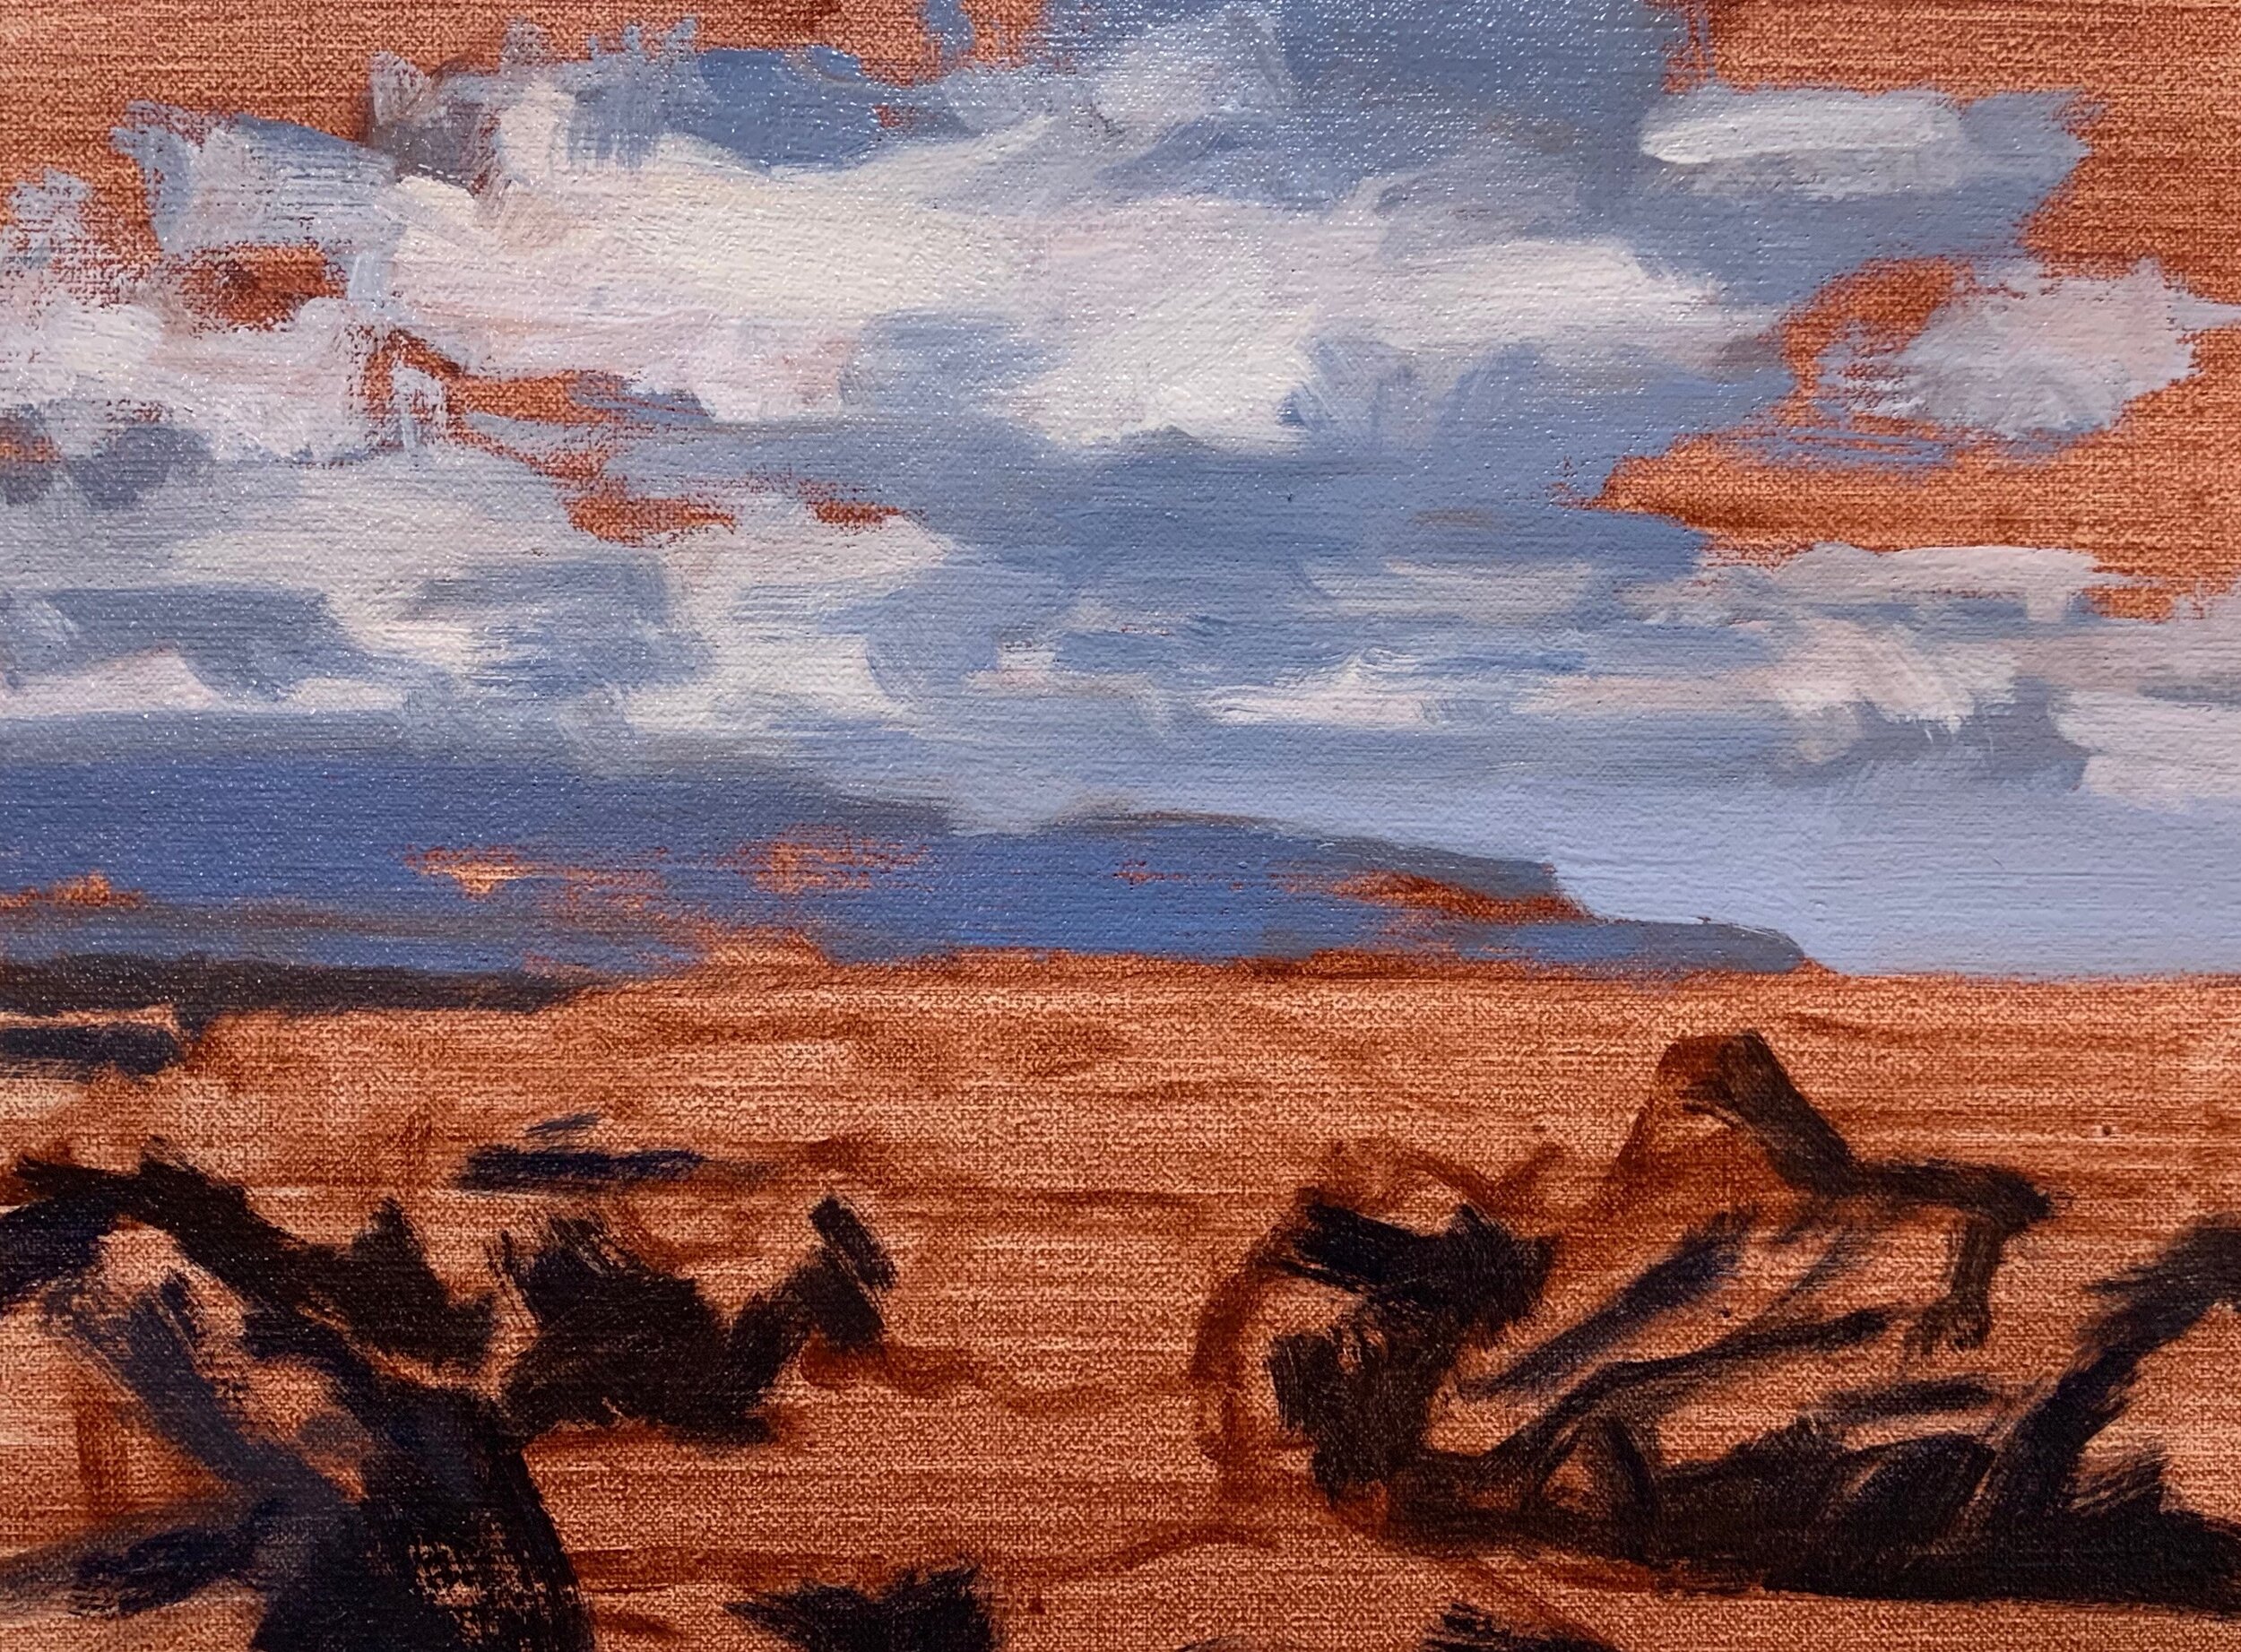
Next, I paint the sky using a combination of titanium white, cobalt blue and a little ultramarine blue. I use more titanium white and less blue for the sky that is nearing the horizon as the value gets lighter. As I work my way upwards in the sky I introduce more cobalt blue and ultramarine blue.
I can use the sky mix to fill in the negative spaces around the clouds. This also helps to define the cloud shapes.
I begin painting the sea. For the areas of the sea that is in shadow, I use a mix of ultramarine blue, yellow oxide and if required a small amount of titanium white.
For the areas of the sea that is light blue, I mix ultramarine blue, yellow oxide, and a small amount of phthalo green and titanium white. I leave a few gaps so I can paint the white water and foam.

The foam on the breaking wave in full sunlight is a mix of titanium white paint with a little ultramarine blue and burnt sienna mixed in. I want to keep the value of the white a little darker so I can add lighter layers on top later on in the painting. This is going to help it to look more three-dimensional.
For the foam and white water in the very foreground of the clouds painting, I have used a mixture of ultramarine blue, burnt sienna and titanium white. As the foreground is in shadow the value of the foam and white water is darker.
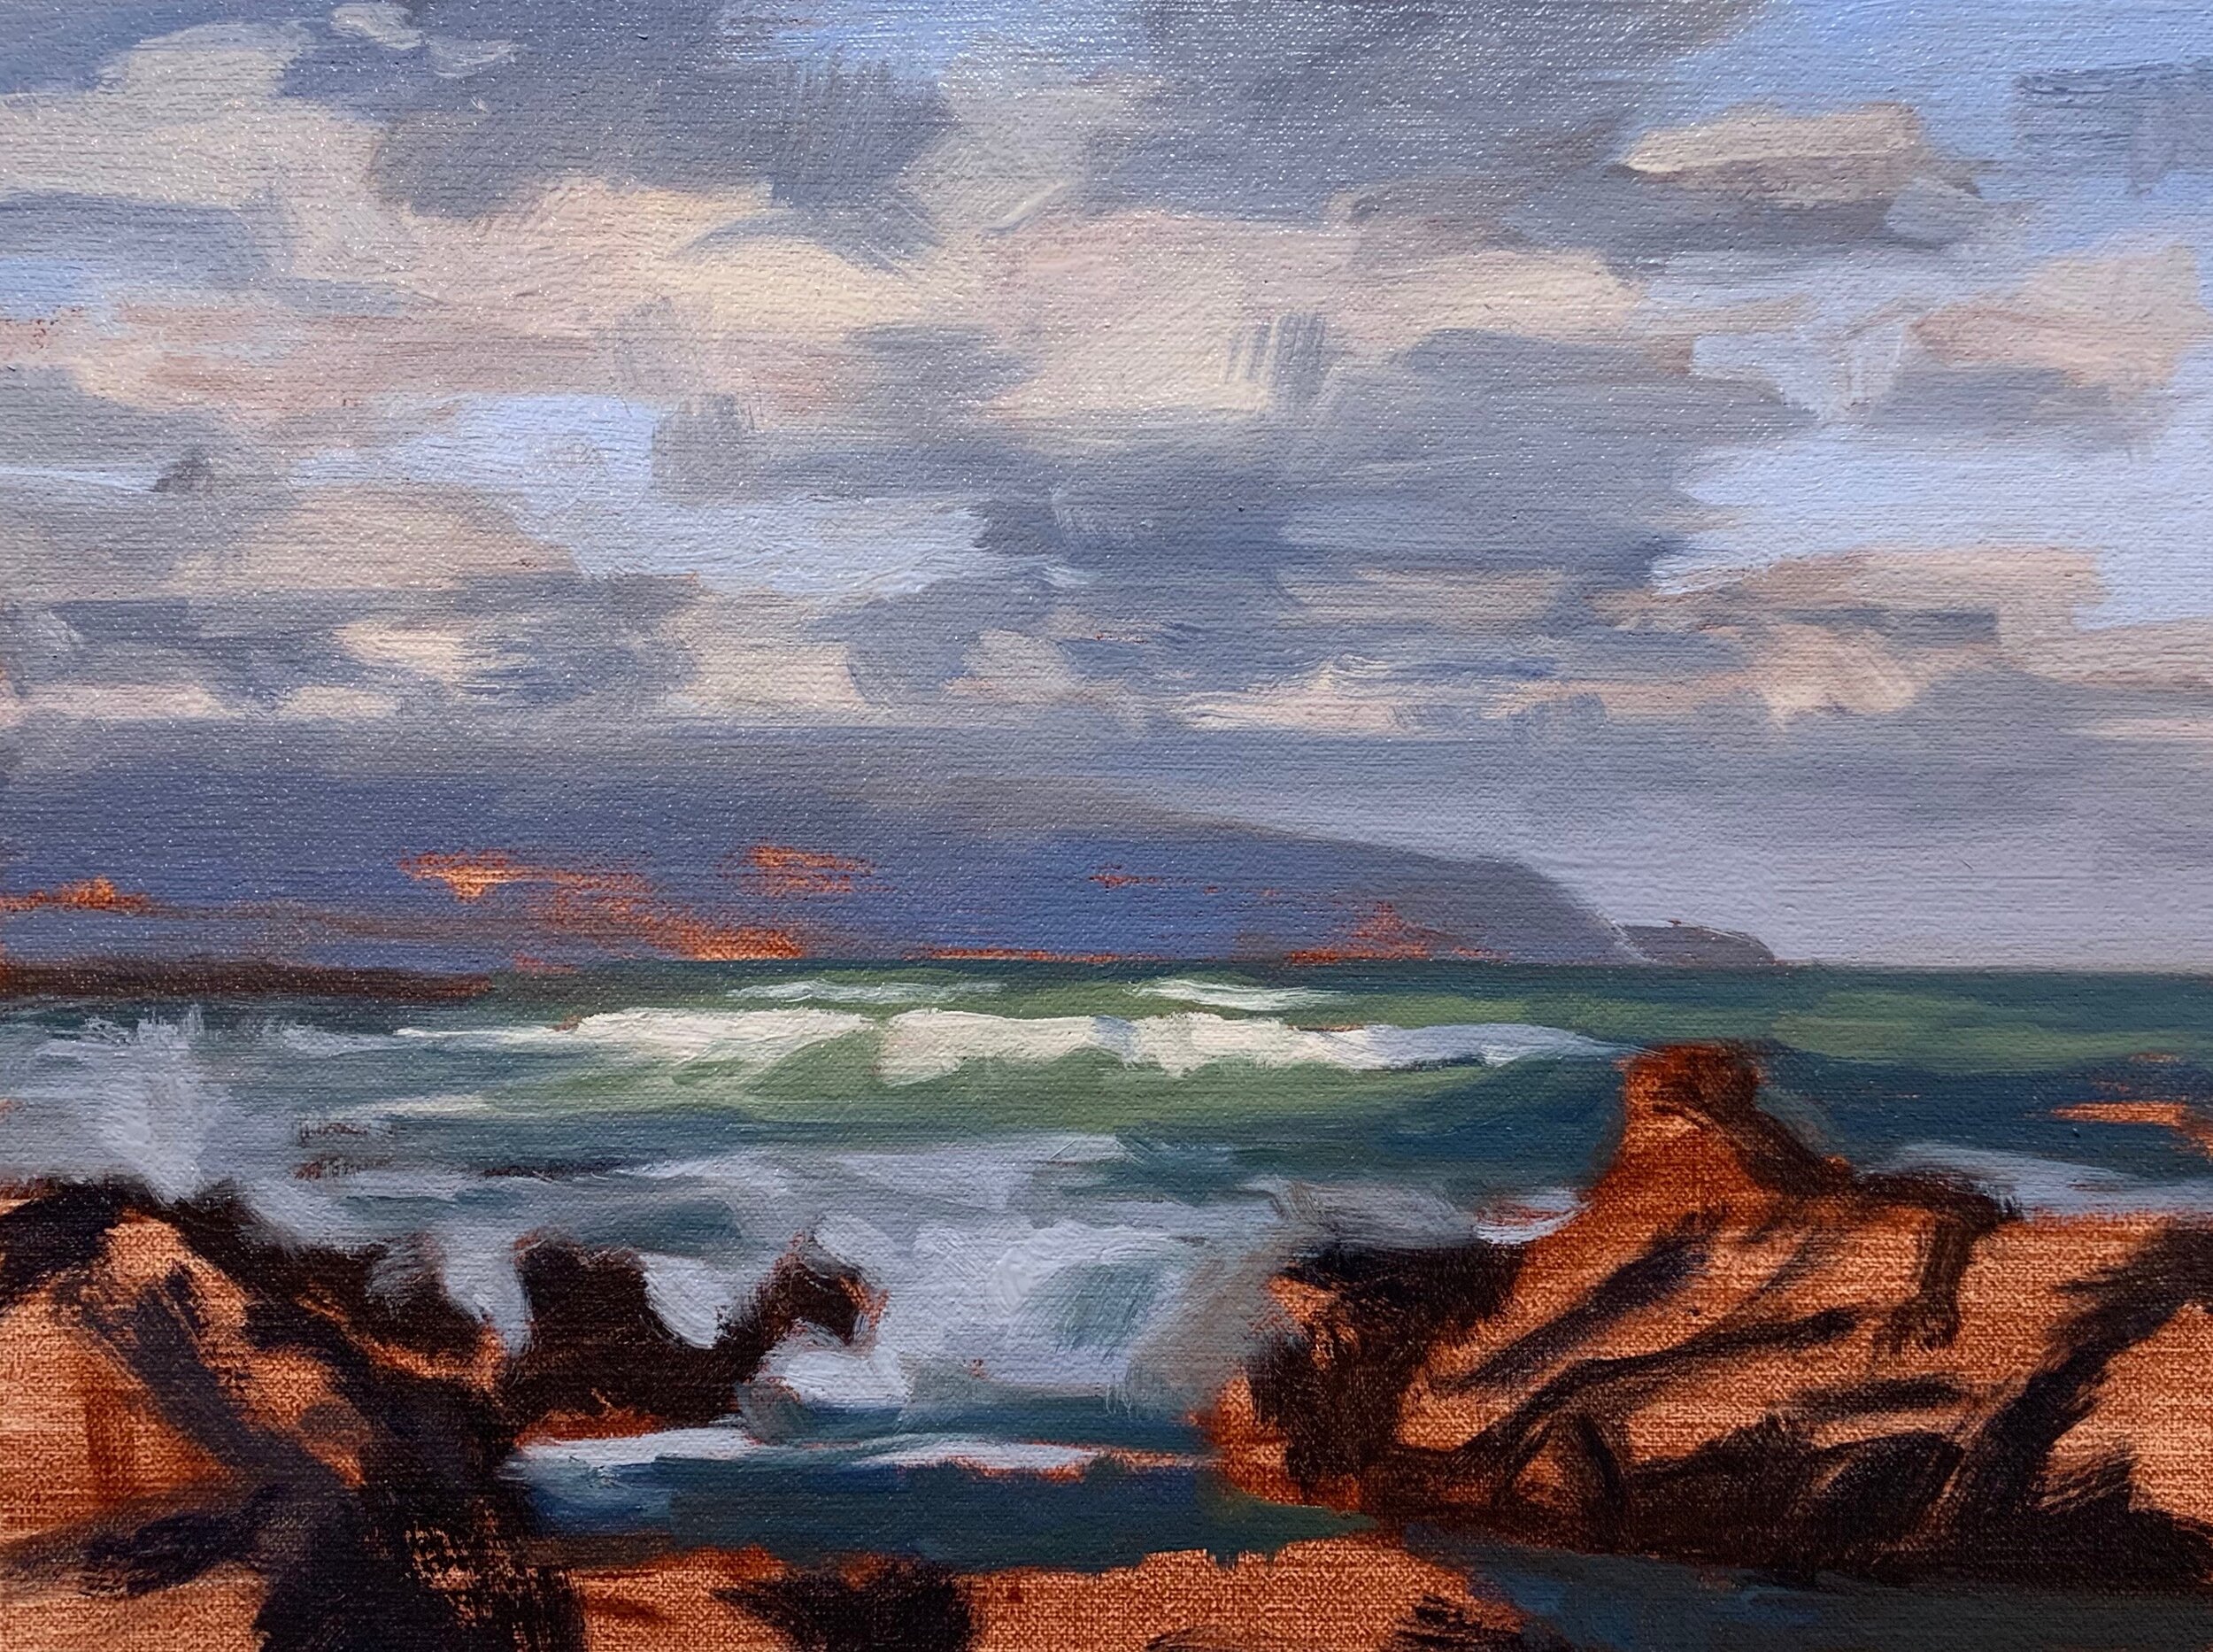
I complete the blocking on stage by adding some colour to the rocks. The rocks are naturally low in chroma so I keep the colours simple and use a varying mixture of yellow oxide, burnt sienna and ultramarine blue. Using these colours is going to provide cohesiveness to the painting as I have been using these colours consistently throughout the painting. Paintings are more harmonious when common colours are used.
I paint the areas in light on the distant headland with a mix of yellow oxide, quinacridone crimson, ultramarine blue and titanium white.
Once the blocking-in stage is complete I allow the painting to dry so I can add more detail.
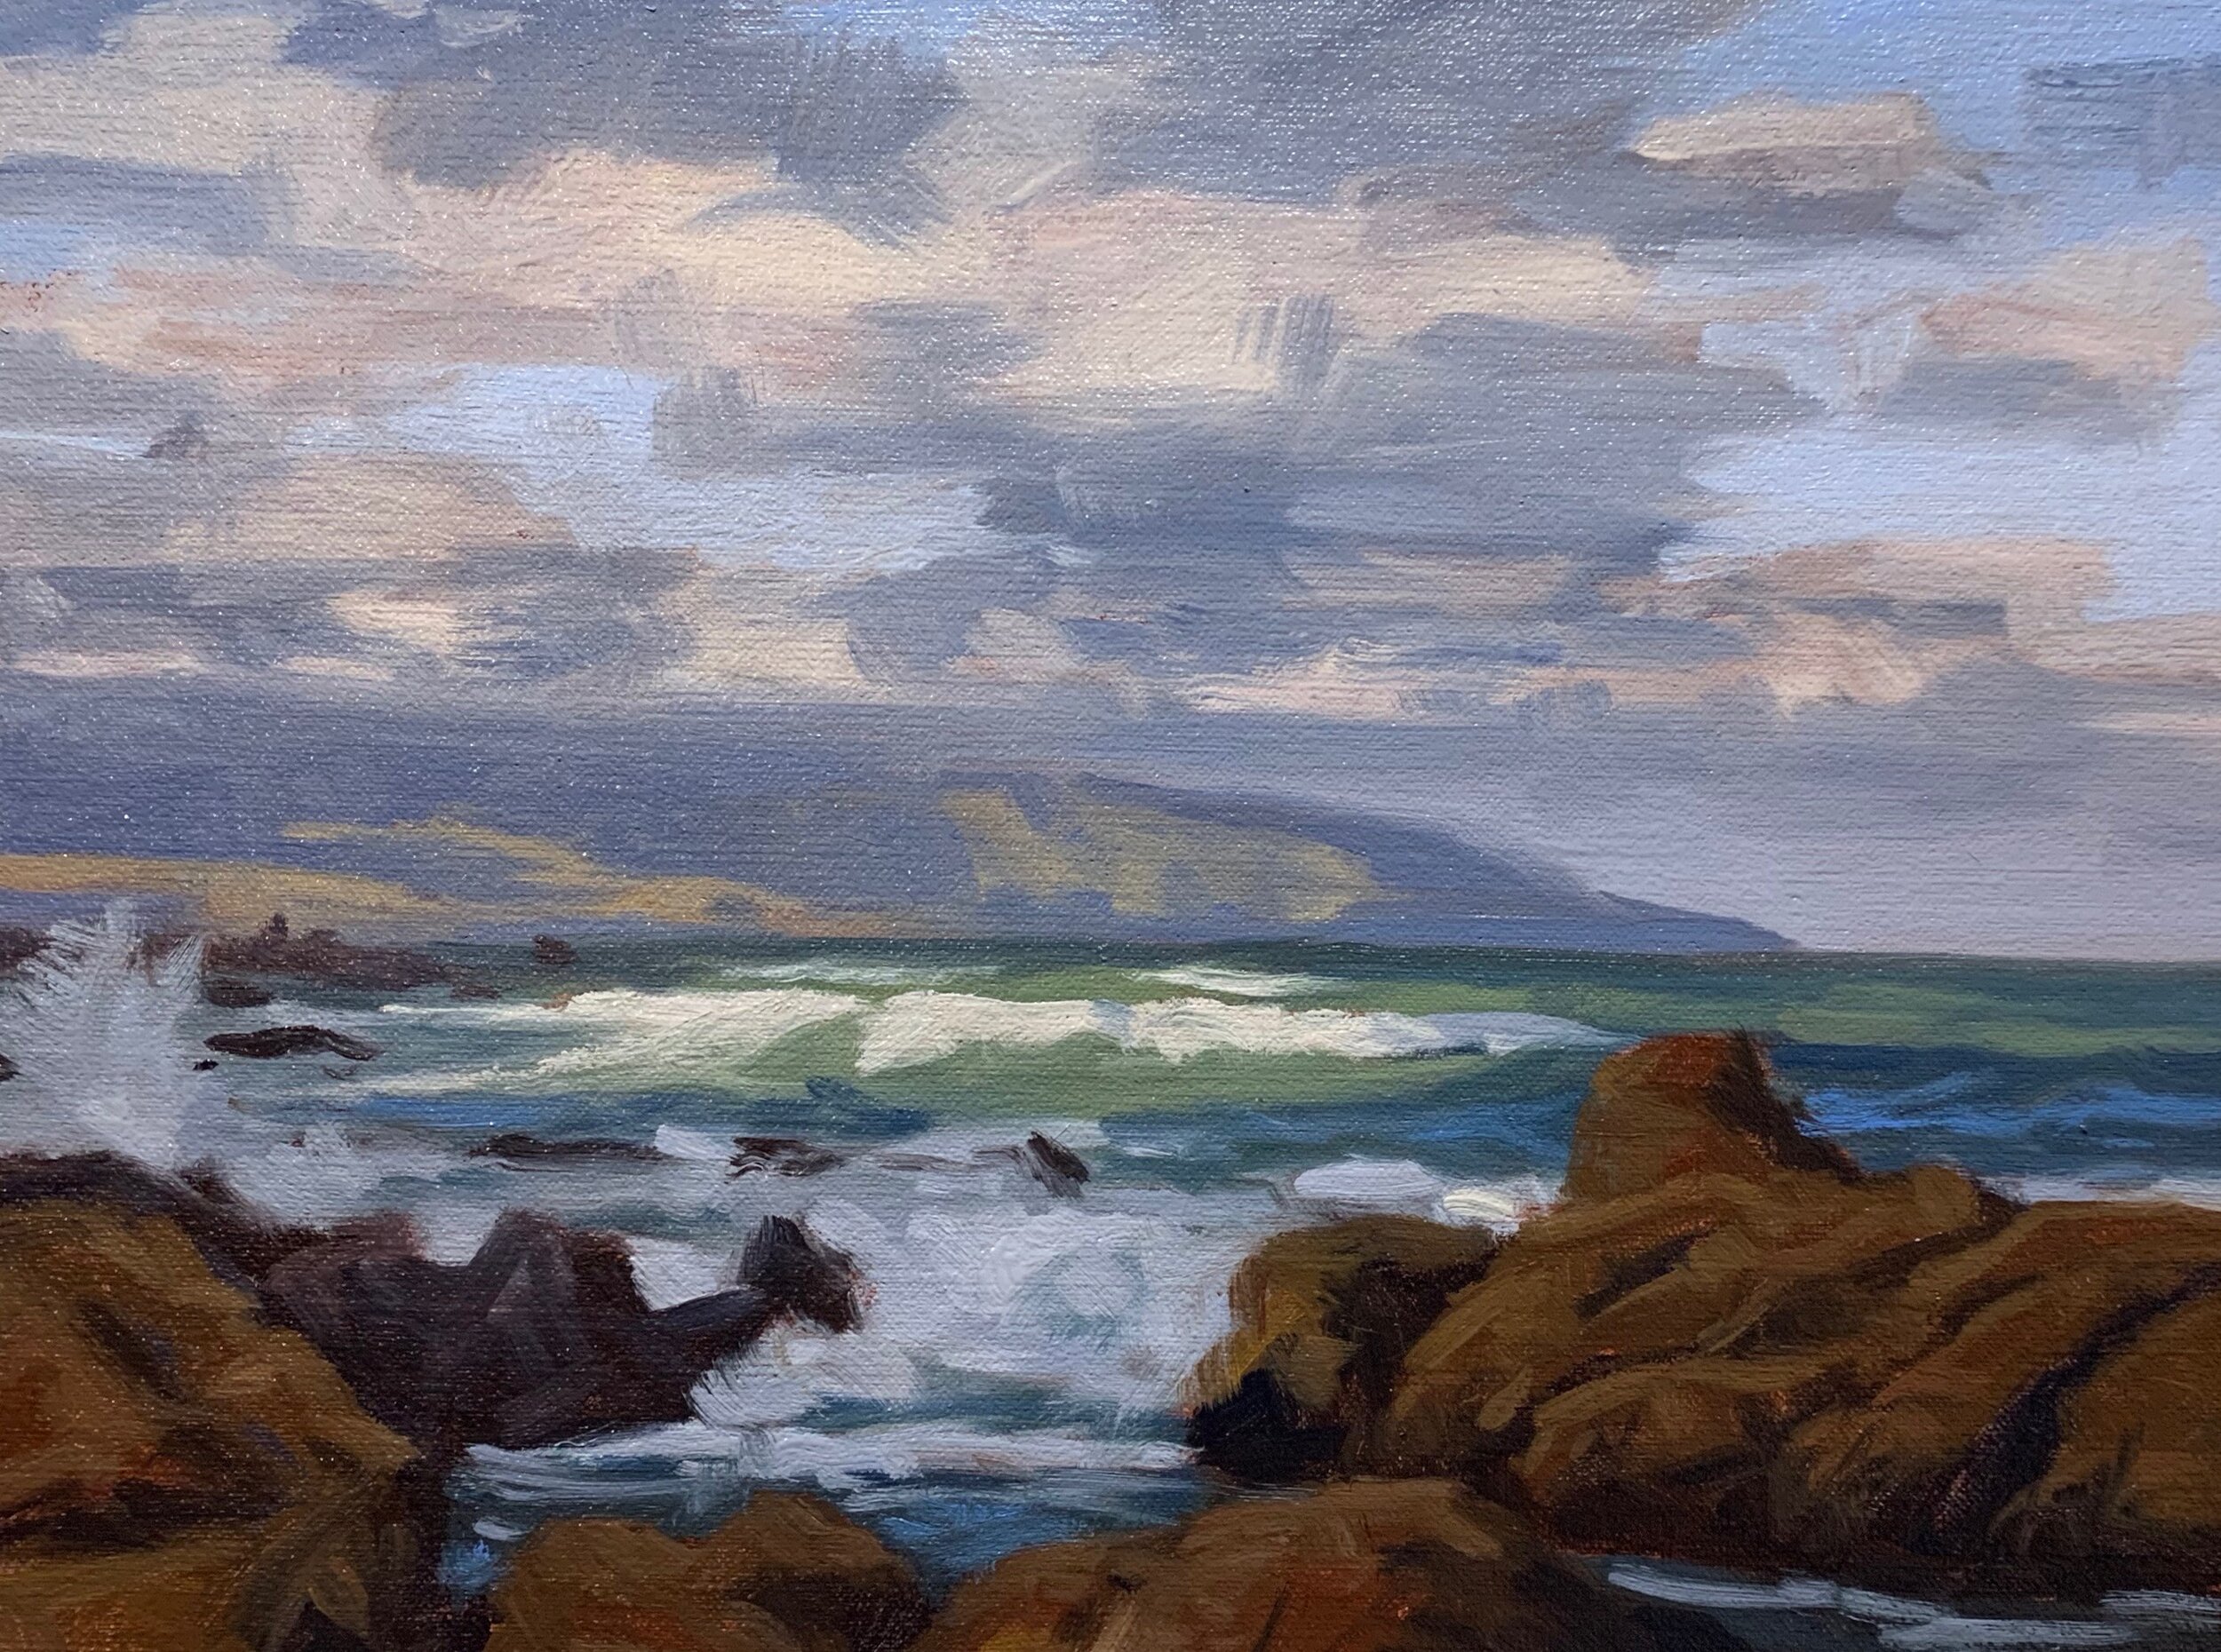
Modelling
Once the painting is dry I can begin the modelling stage where I’ll be adding finer details and refining the painting. I begin work on the clouds and sky.
I am using the same colours I used in the blocking on stage but now I pay more attention to the cloud forms. These are cumulous clouds which typically have that ‘fluffy’ cotton wool appearance. The bases of these fluffy clouds are generally flat and in shadow. I also pay attention to the light source which is coming from the left side of the painting.
Whilst I’m mainly using ultramarine blue and burnt sienna for my cloud shadows I also introduce a little quinacridone crimson to my shadow mix for a few small areas of the cloud shadows, mainly above the headland.
I am still using titanium white mixed with a little burnt sienna for the cloud highlights however the second layer I make the value of the mixture lighter than the previous layer which is going to help make the soft edges of the clouds look more three-dimensional.
I also paint the half tones between the areas and edges of the cloud that are in light and shadows.

The clouds and blue sky a nearly complete and I leave them to dry once again. All that is left is to add some final details to them.
I add more details to the sea that is illuminated in the full sunlight and I mix a lighter layer of colour for the foam on the breaking wave. I also add more details to the foam patterns on the breaking waves.
I add finer detail to the white water in the foreground and I am using a bristle dagger brush to communicate sea spray and turbulent water. I am still using a mix of titanium white, ultramarine blue and burnt sienna but I make the value lighter than the previous layer.
I use a smaller No.1 round brush to add more detail and refine the shapes of the rocks in the foreground. I am still using a combination of yellow oxide, burnt sienna and ultramarine blue but I also mix in a little titanium white for the lighter tones where there is reflected light.
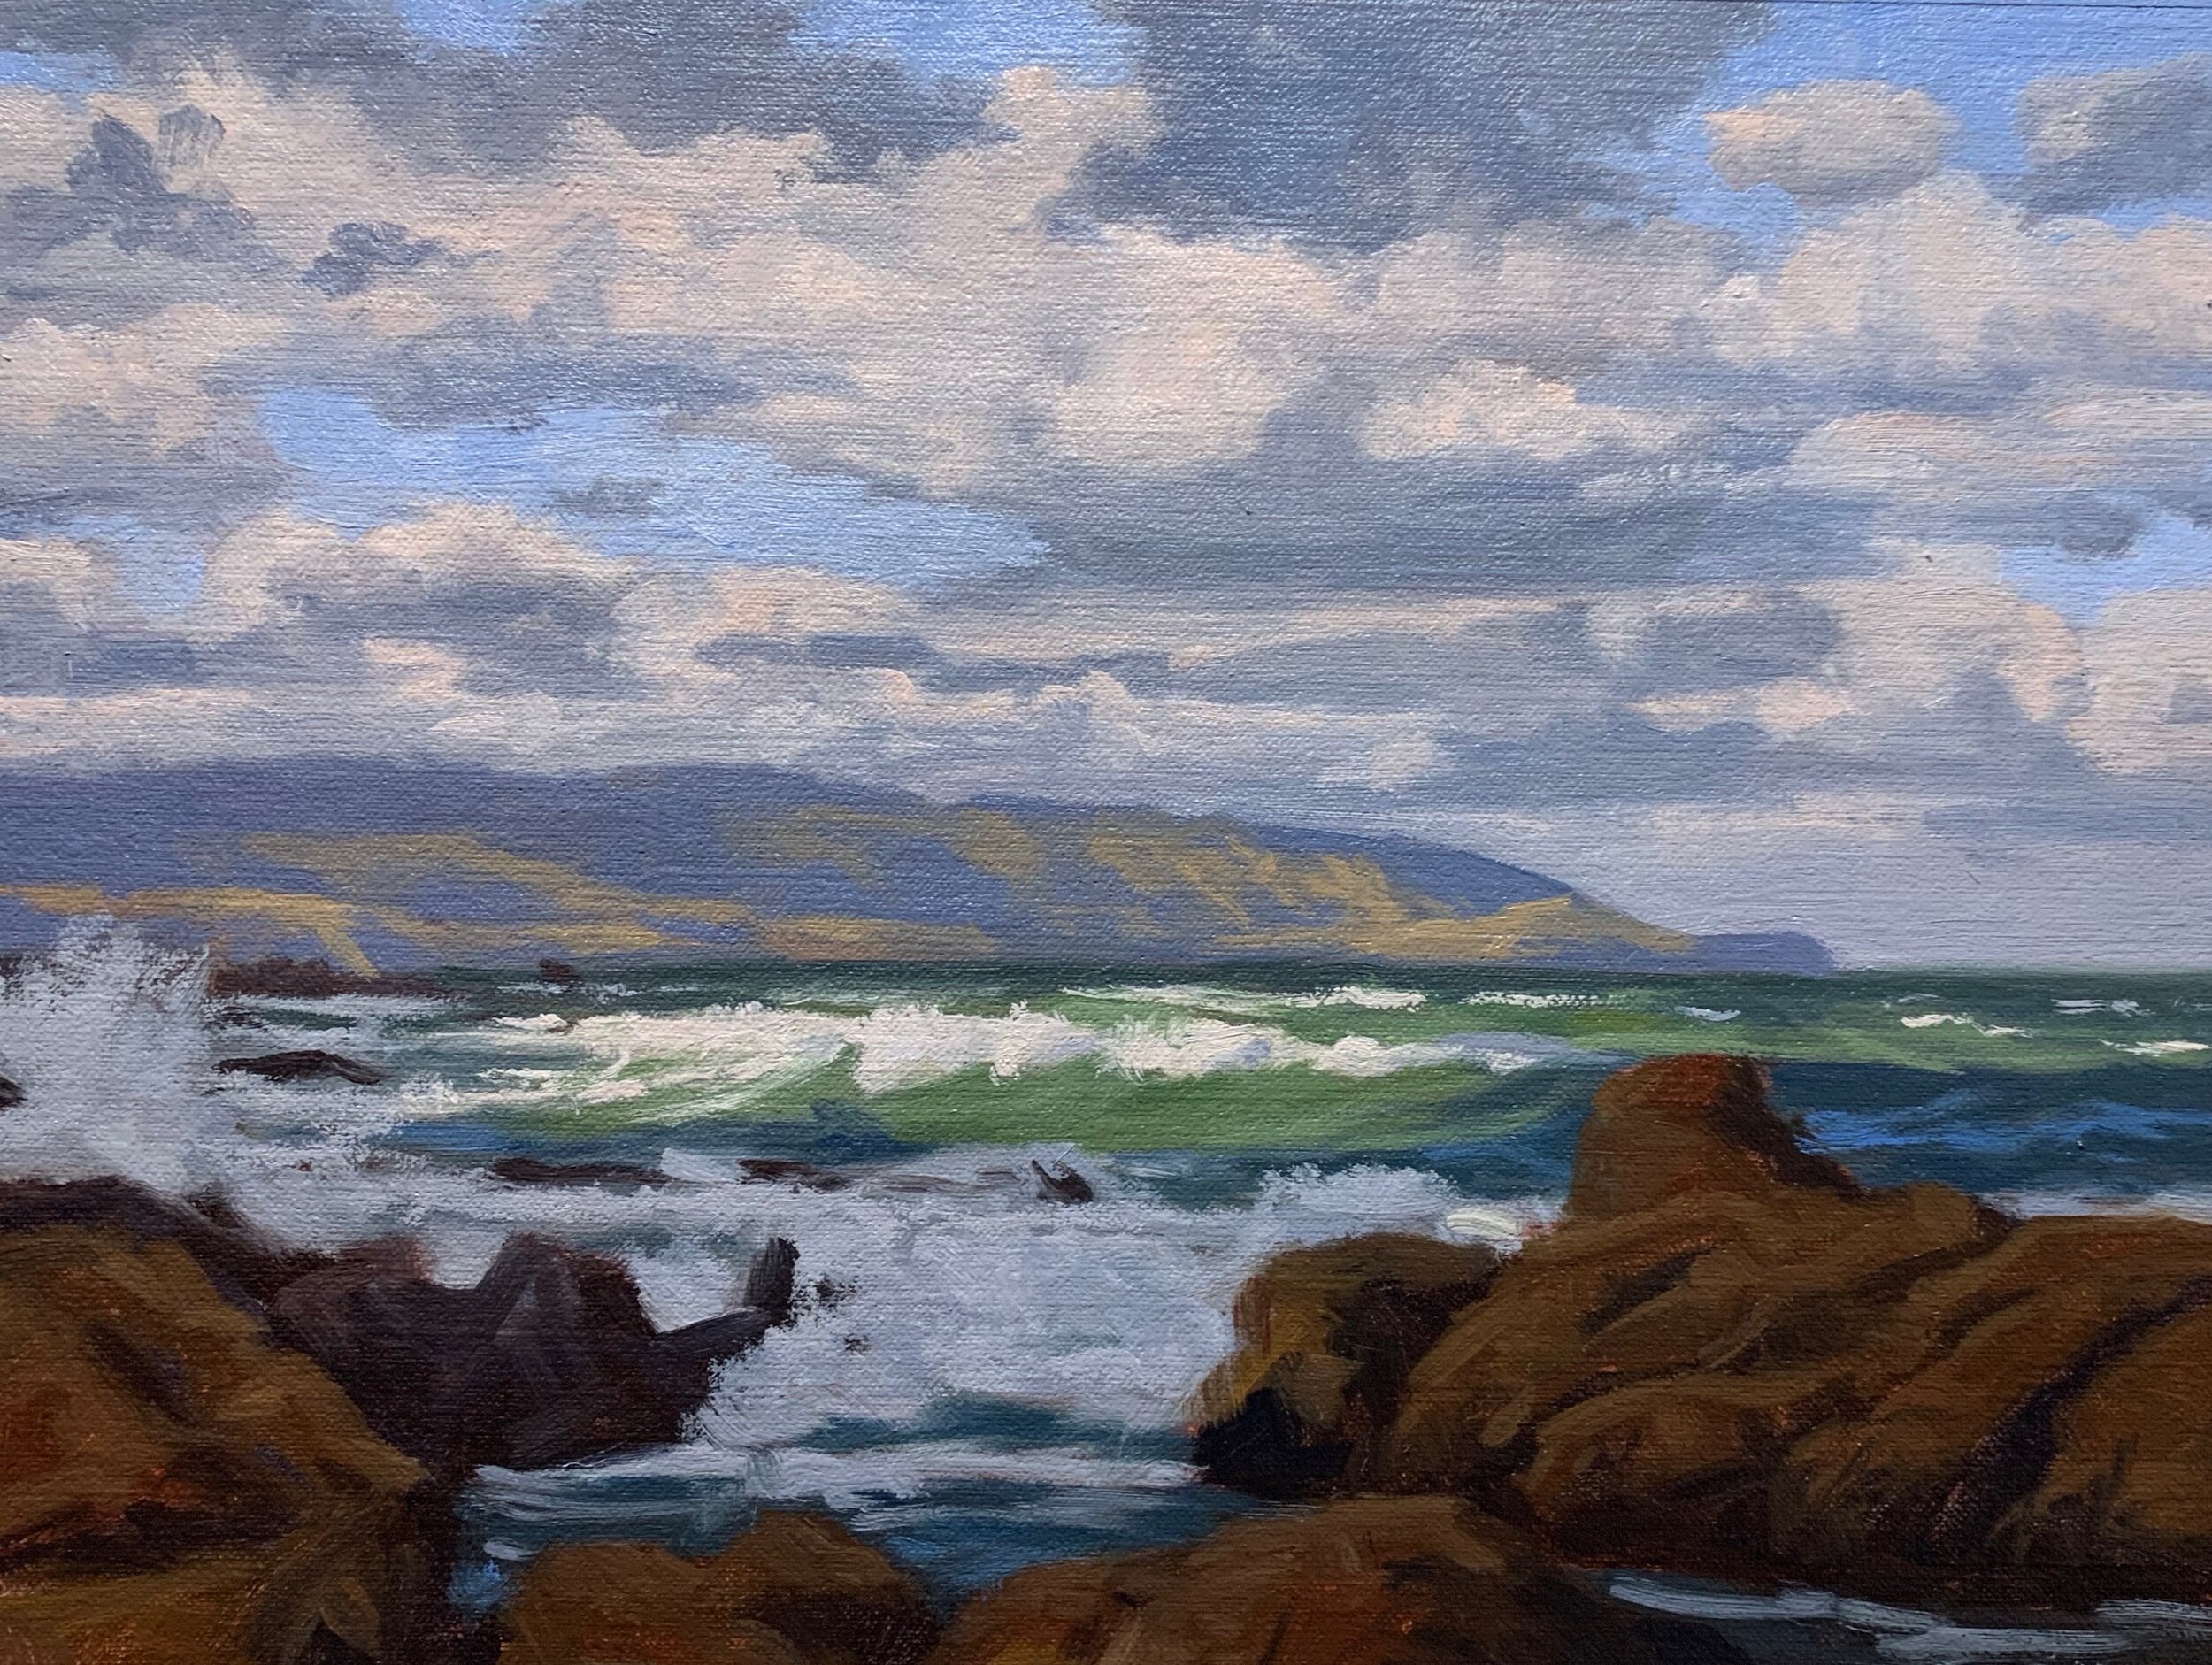
Final Details
I have saved my lightest tones until the end of the painting. I add the final highlights to the clouds but only in a few areas to accentuate some of the clouds. For this, I use a mix of titanium white with a little yellow oxide and burnt sienna.
I add final highlights to the foam on the breaking wave using a mixture of titanium white with a very small amount of cadmium yellow mixed in.
I finished up the painting by adding more areas that reflected light within the foam and white water and the rocks in the foreground.
Watch the YouTube video
Thanks for reading 😊
Painting Tutorial Videos
-
LANDSCAPES #2 – PAINTING TUTORIALS – 6 Videos, Over 7 Hours of Content
$27.00 -
LANDSCAPES, PAINTING TUTORIALS – 4 Videos, Over 4 Hours of Content
$19.00 -
Painting Landscapes in Oils – eBook
$9.00 -
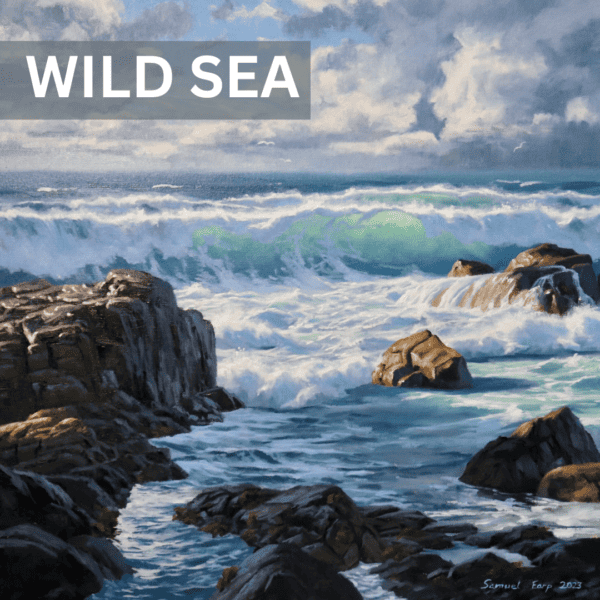
Painting Tutorial Video Download – Wild Sea
$11.00 -
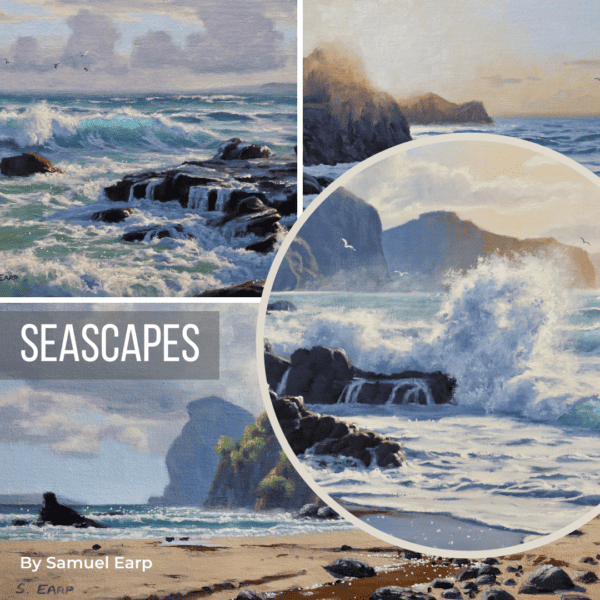
Seascapes – Painting Tutorials – 6 Videos, Over 6 Hours of Content
$27.00 -
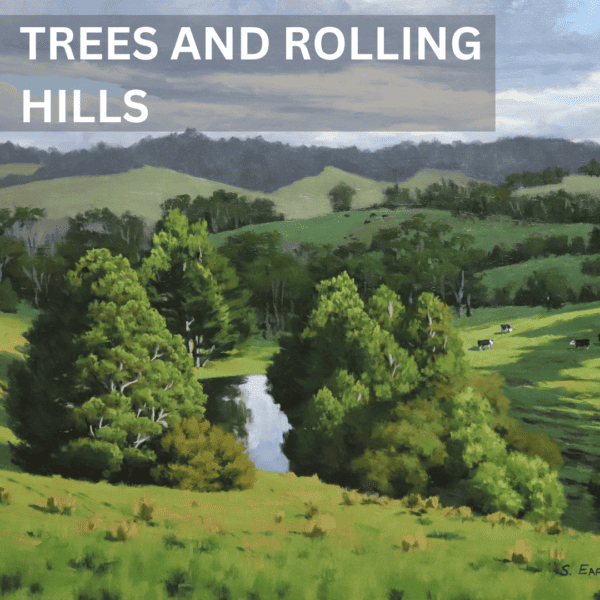
Trees and Rolling Hills – Landscape Painting Tutorial Video
$11.00
