In this blog post, I will show you how to paint a coastal landscape en plein air. Painting outdoors, or ‘en plein air’ painting, has been a beloved practice among artists for centuries, inspiring some of the greatest masterpieces in art history.
Whether you’re an established artist or a complete beginner, this blog post will guide you through plein air painting and inspire you.
Throughout this article, I provide tips and insights to help you capture the mesmerizing hues of the coast, the ever-changing sea, and the distinctive light that makes coastal landscapes so enchanting.
Introduction to En Plein Air Painting
En plein air, a French term meaning ‘in the open air,’ refers to painting outdoors, with the artist directly observing and capturing the scene before them. This technique differs significantly from painting in a studio, where artists often work from memory, imagination, or reference images.
Painting en plein air dates back centuries but gained significant popularity during the mid-19th century, mainly due to the Impressionists, who celebrated the technique’s ability to capture the transient effects of light and color in nature. The practice encourages artists to connect deeply with their environment, providing a sensory experience beyond visual observation.
The sounds smells, and atmospheric conditions all contribute to the final artwork, imbuing it with a sense of place and authenticity. Whether you’re painting a bustling cityscape or a tranquil coastal scene, en plein air painting can enrich your artistic practice, offering new perspectives and challenging you to convey the essence of a moment.
The skills you will learn from regularly painting outdoors are transferable to studio work and will give you more confidence and speed up your painting process.
If you are new to plein air painting and not sure where to start, check out this article titled: A Beginners Guide to Plein Air Painting; Tips for Success
Choosing Your Coastal Location
When it comes to en plein air painting, choosing the right location is paramount. For a coastal landscape, you’ll want to consider several factors. Firstly, the overall view and composition; choose a spot that balances elements, a blend of the vast sea, the sandy beach, and rugged cliffs or dunes.
Consider also how the light falls at different times of day, as this will significantly influence the mood and color palette of your painting.
Accessibility is another critical consideration; ensure you can safely reach the location with all your painting gear.
Finally, consider practical elements such as the availability of shade, especially on hot days, and whether high tide could disrupt your setup. Consider if the site is exposed to strong winds that could blow over your easel!
The location you choose is not just about the visual appeal but also how well it suits your practical requirements and artistic intentions.
Understanding Coastal Light and Color
The Unique Palette of Coastal Scenes
Coastal painting presents both unique challenges and joys, particularly in capturing the interplay of light and color. The palette of coastal environments often differs significantly from inland scenes:
- Dominant hues: Blues, greens, and sandy or rocky neutrals
- Water reflections: Create soft, diffused light, especially during morning or late afternoon
The Ever-Changing Sea
Color Variations
The sea itself offers a wide range of colors, influenced by various factors:
- Weather conditions
- Water depth
- Time of day
Colors can span from deep indigo to bright turquoise, providing a rich subject for study and interpretation.
Coastal Light Effects
Shadows and Reflections
Coastal environments affect shadows and reflections in distinctive ways:
- Shadows often appear cooler and bluer than expected
- Water surface reflections create unique lighting conditions
Atmospheric Perspective
The coastal atmosphere influences the appearance of distant objects:
- Colors become cooler as distance increases
- Contrast decreases with distance
- The range of values narrows in far-off elements
Enhancing Your Coastal Paintings
To create authentic and atmospheric coastal en plein air paintings:
- Observe and interpret visual nuances carefully
- Pay attention to the interplay of light, color, and atmosphere
- Practice capturing the unique effects of coastal environments
By mastering these aspects, you can significantly improve the realism and mood of your coastal paintings.
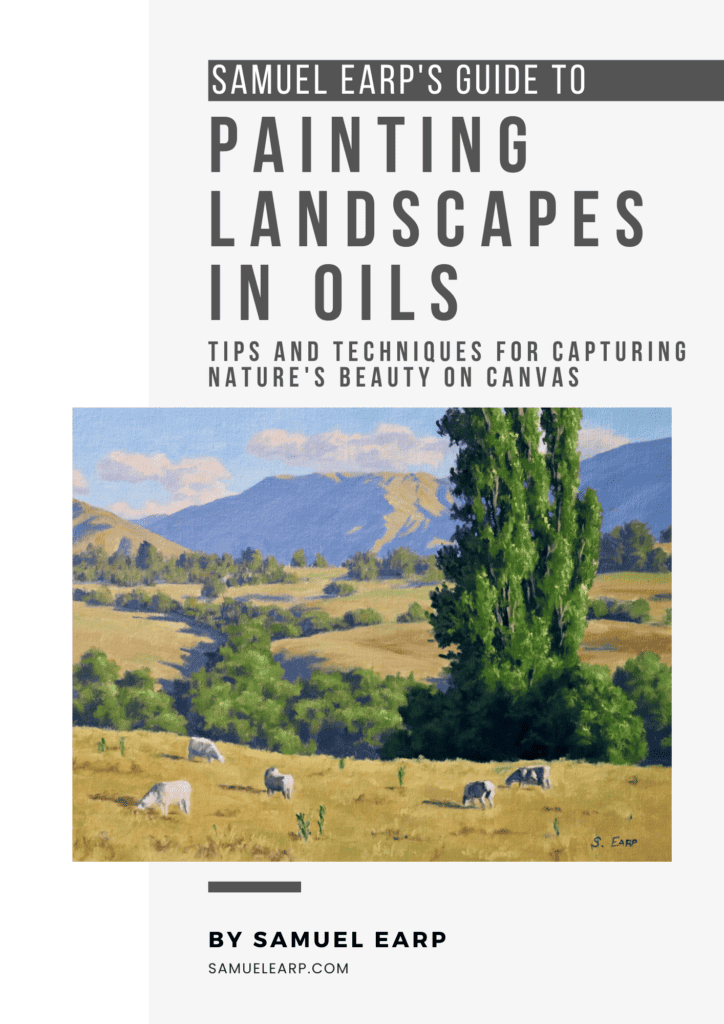
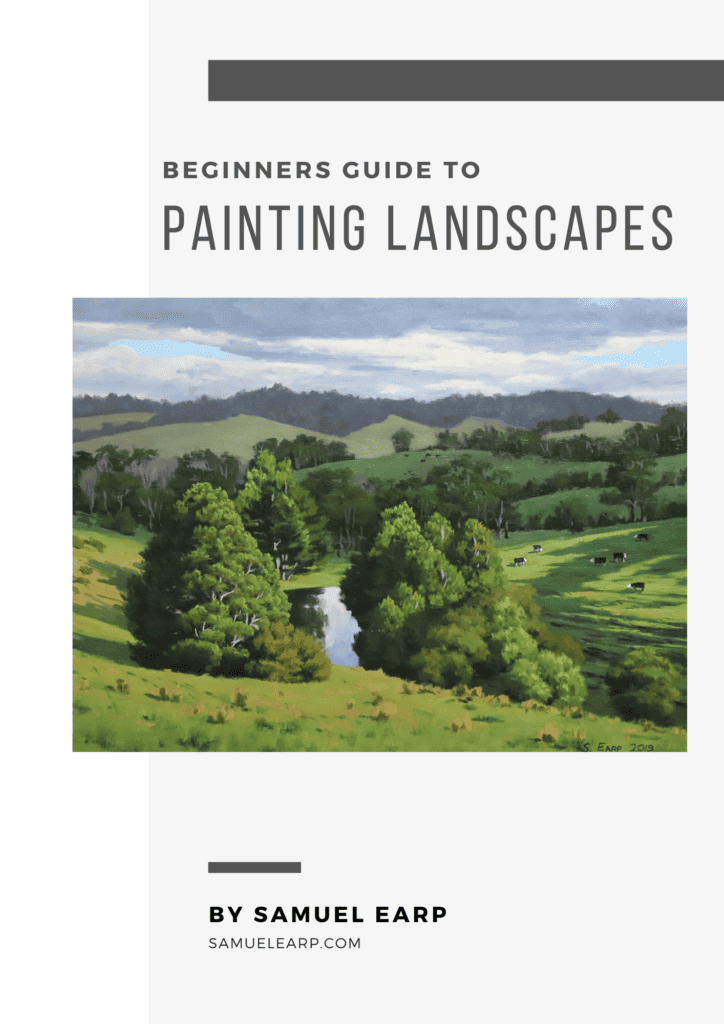
EBOOK – PAINTING LANDSCAPES IN OILS
$25.00
This book is a treasure trove of expert tips, techniques, and insights based on my many years of painting landscapes. From mastering composition to understanding the nuances of oil paints, brushes, and painting surfaces, this book will elevate your landscape painting skills to new heights.
Learn how to harmonize colors and values in your landscapes. This book guides you through designing your painting, capturing the scene’s essence, and conveying the emotions you wish to evoke through your art.
This book also includes 11 immersive step-by-step painting demonstrations.
Essential Materials for Outdoor Painting
Successful outdoor painting requires essential tools and materials that ensure both comfort and efficiency in the field.
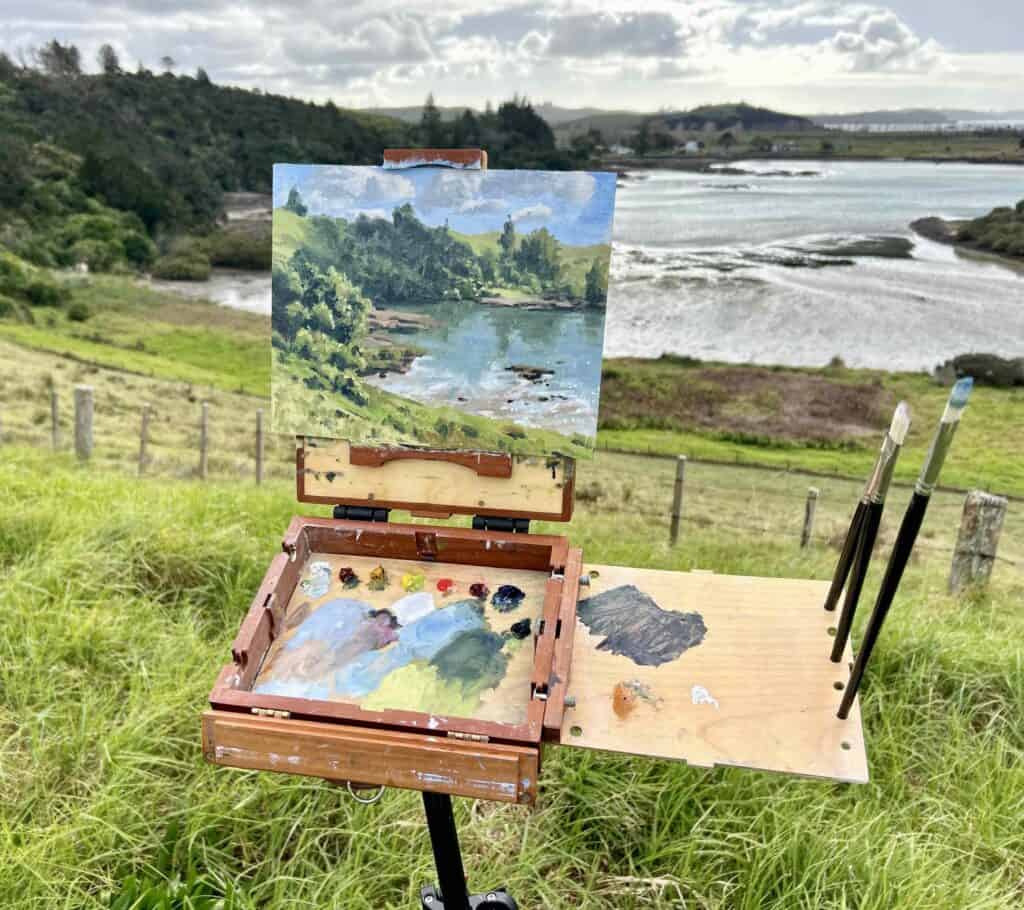
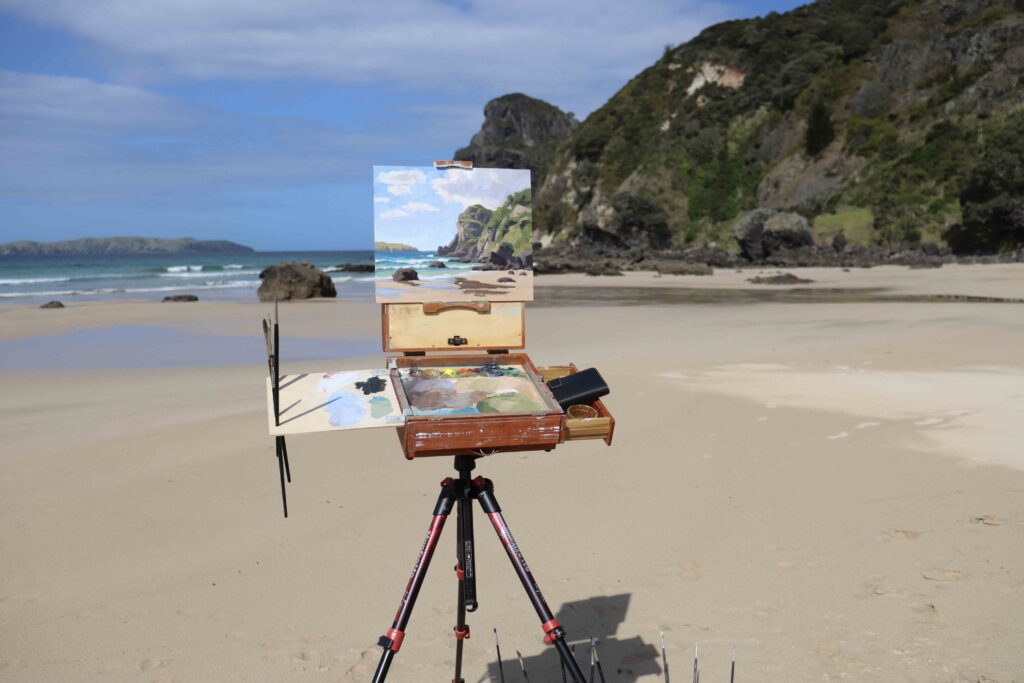
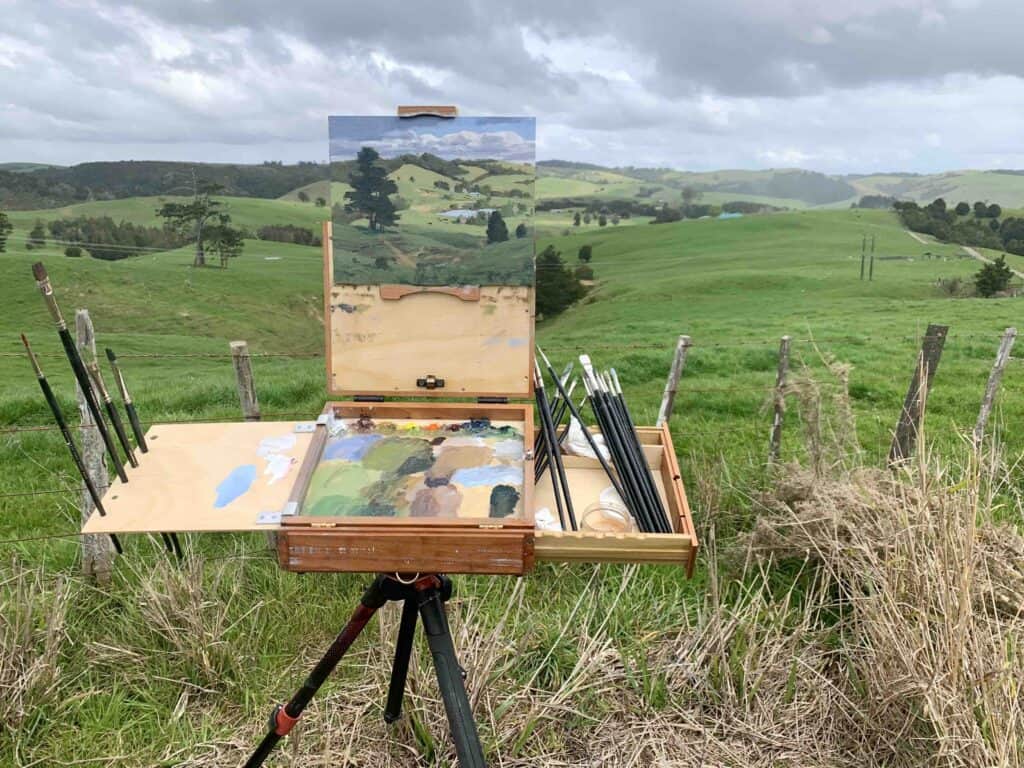
First and foremost, you’ll need a sturdy easel that can withstand different weather conditions. Portable or foldable easels are ideal, particularly for artists who travel frequently. I use an Alla Prima Pochade Box, designed specifically for outdoor painting and conveniently mounted on a camera tripod.
A palette for mixing your colors is crucial, and many outdoor painting easels and pochade boxes come with an inbuilt palette. Your choice of paints is personal; however, oil and acrylic paints are famous for outdoor painting due to their versatility and ease of use.
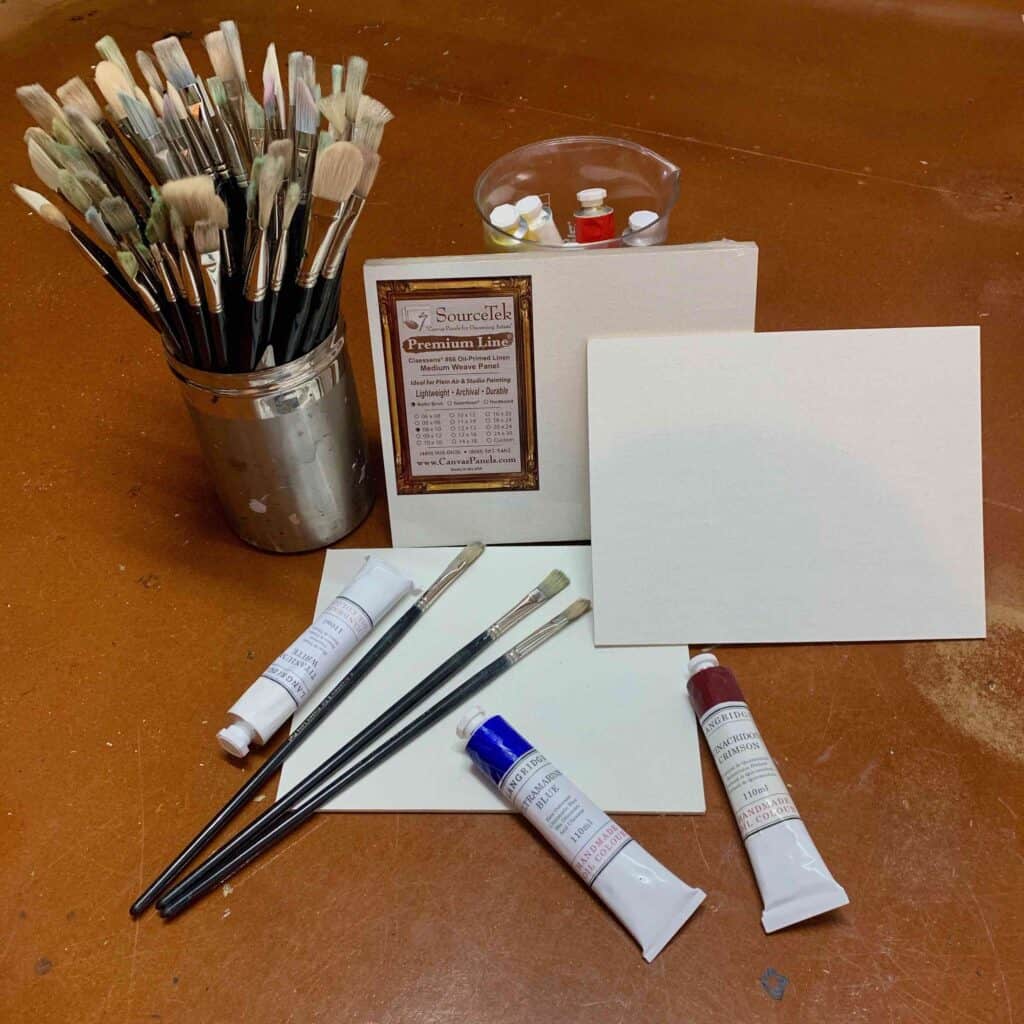
You’ll also need a selection of brushes in various sizes. I am personally fond of using bristle flats and filbert brushes, and I use the biggest brushes that I can get away with. Plein air painting naturally lends itself to painting in a loose impressionistic style.
Canvas or painting boards are essential for the actual painting surface. Remember ancillary items like paper towels, turpentine, and a trash bag for the cleanup.
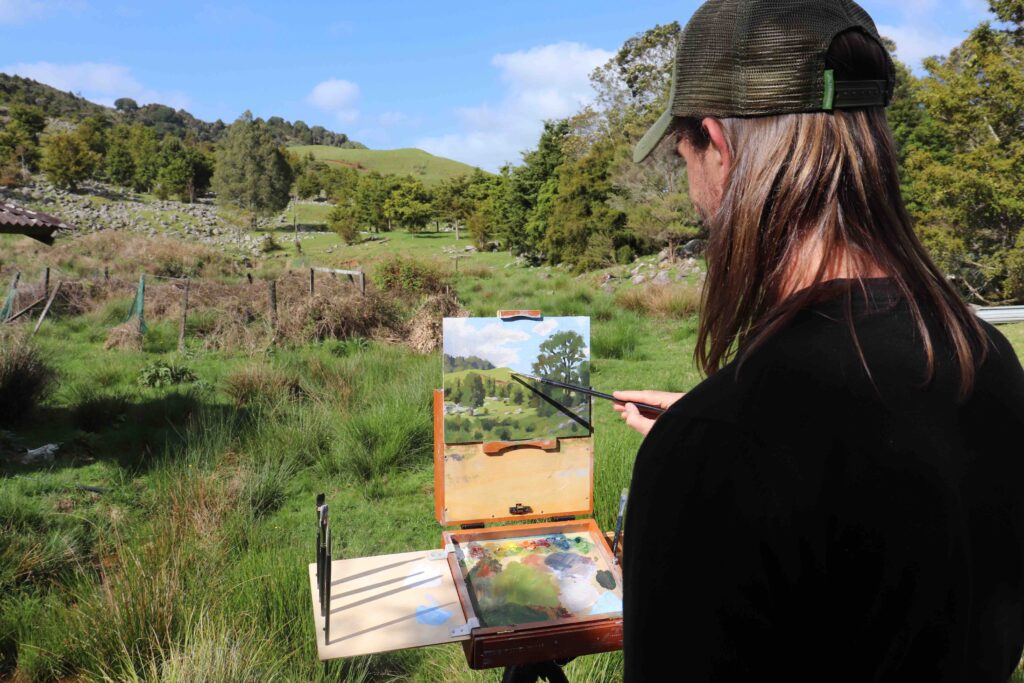
Regardless of the weather, I recommend bringing a hat to help keep the sun off your eyes when painting. I personally like wearing baseball caps for painting en plein air.
The unique challenge of adapting to the changing light, weather, and environmental conditions can enhance your skills as an artist and deepen your appreciation for the world around you.
Through plein air painting, you engage in an intimate dialogue with your surroundings, capturing fleeting moments of beauty and preserving them for posterity.
As you navigate the practical aspects of painting outdoors, remember that every hurdle is a stepping stone toward producing better paintings.
The journey is as rewarding as the end product, bearing testimony to your personal growth as an artist and your enduring connection with nature.
Step-by-step Guide: Painting a Coastal Landscape
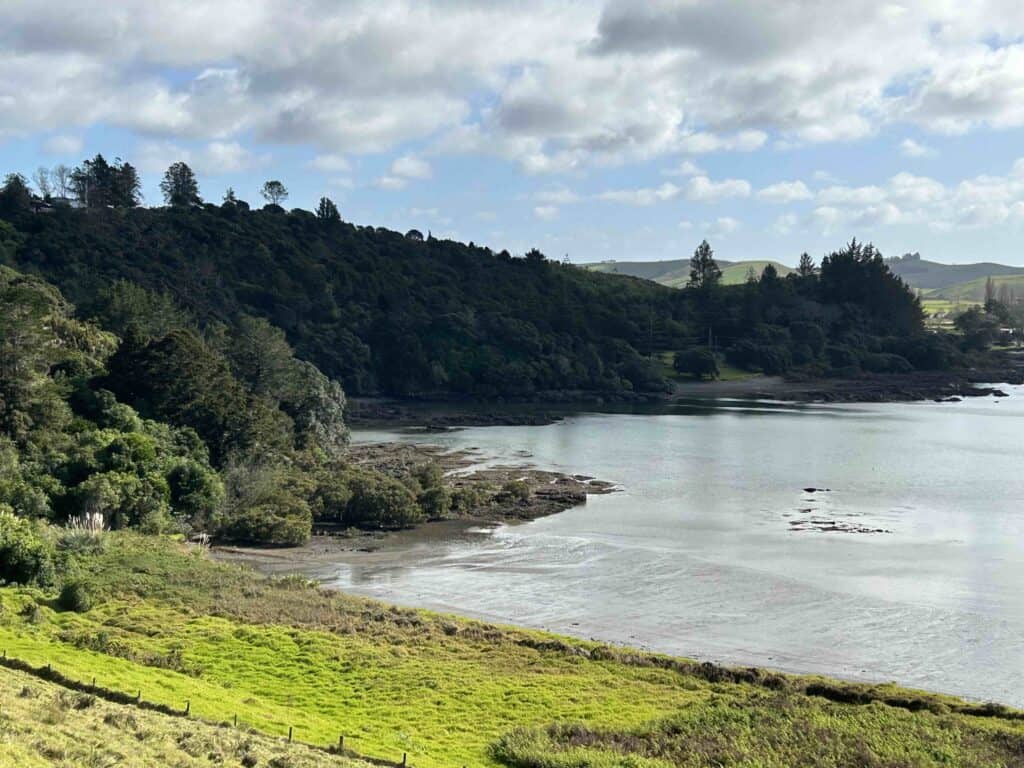
Get ready to bring the vibrant beauty of the coastline to life on your canvas as I show you how to paint a coastal landscape en plein air. This step-by-step demonstration will walk you through capturing the essence of a coastal landscape inspired by the Bay of Islands area in Northland, New Zealand.
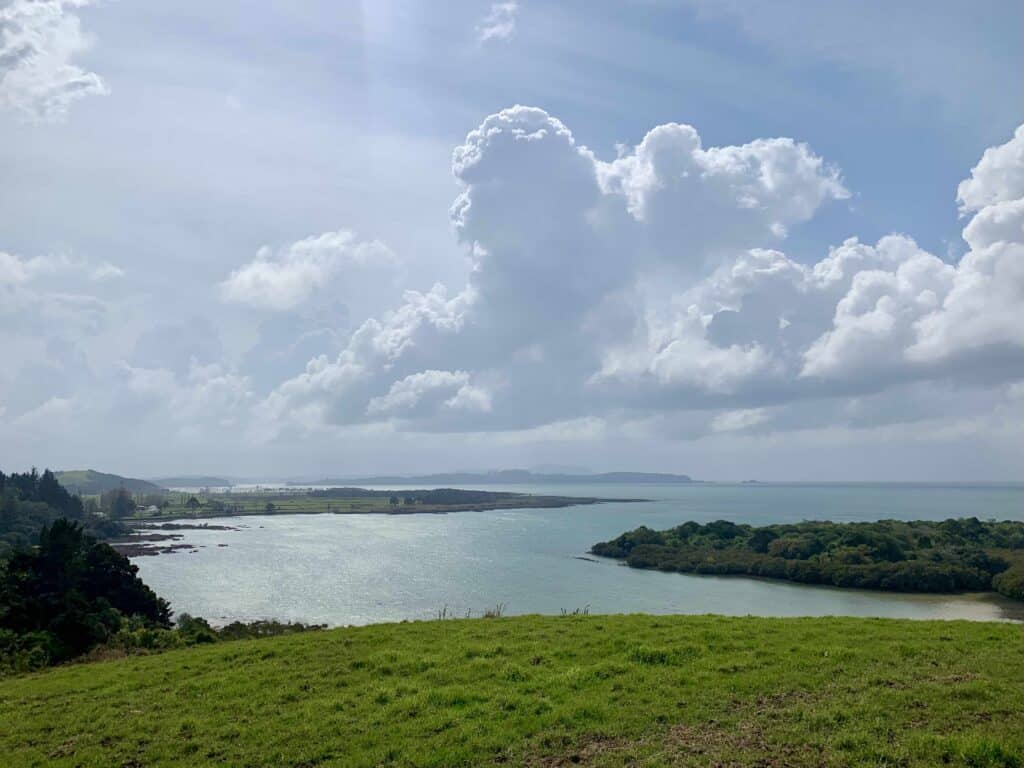
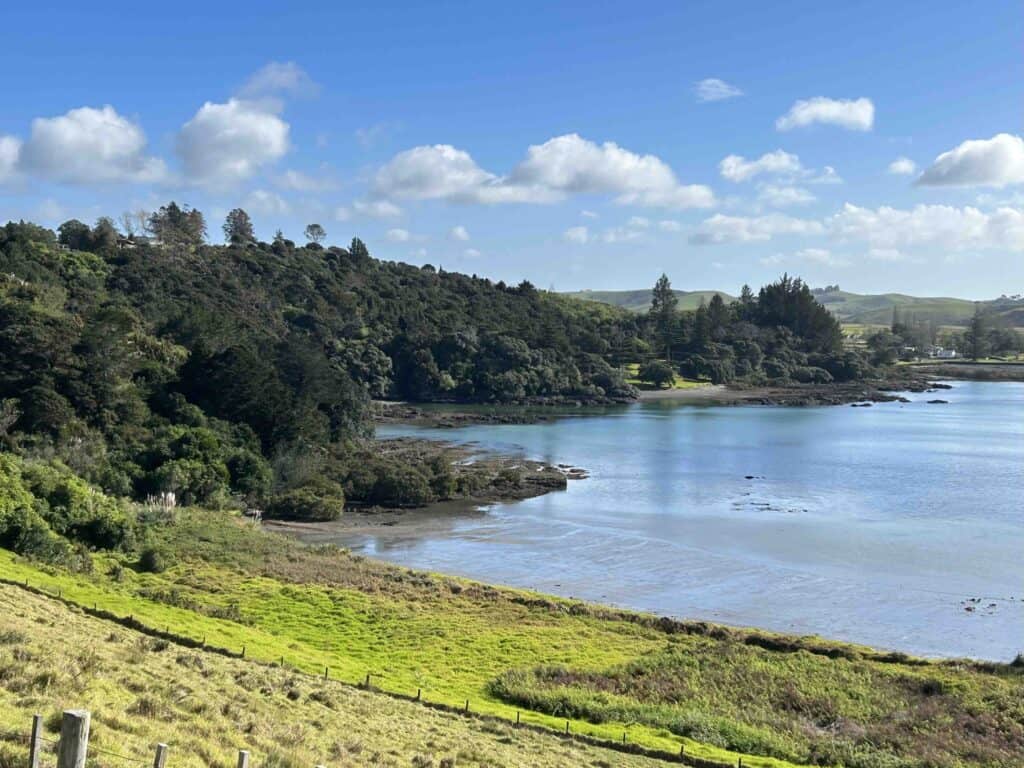
Reference Photos
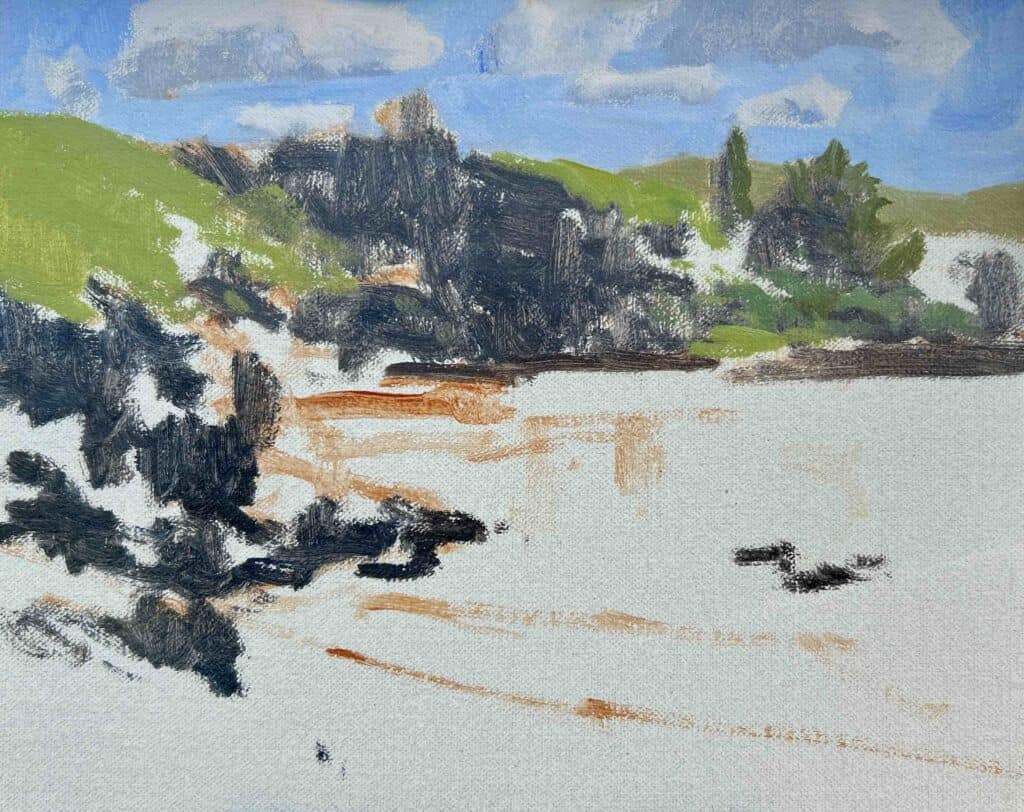
These are the reference photos I used to paint this coastal landscape painting. These photos are copyright free, so please use them if you would like to paint this coastal landscape scene.
COLORS USED
I painted this artwork using oil paint and the colors I used in this particular painting are as follows:
- Titanium white
- Burnt sienna
- Yellow ochre
- Cadmium yellow
- Cadmium red
- Alizarin crimson
- Ultramarine blue
- Thalo green
BRUSHES
Here is a list of the brushes I used in this painting:
- No.5 bristle flat
- No.3 bristle flat
- No.3 Synthetic flat
- No.3 filbert
- No.1 round
- No.0 round
Outlining the Composition
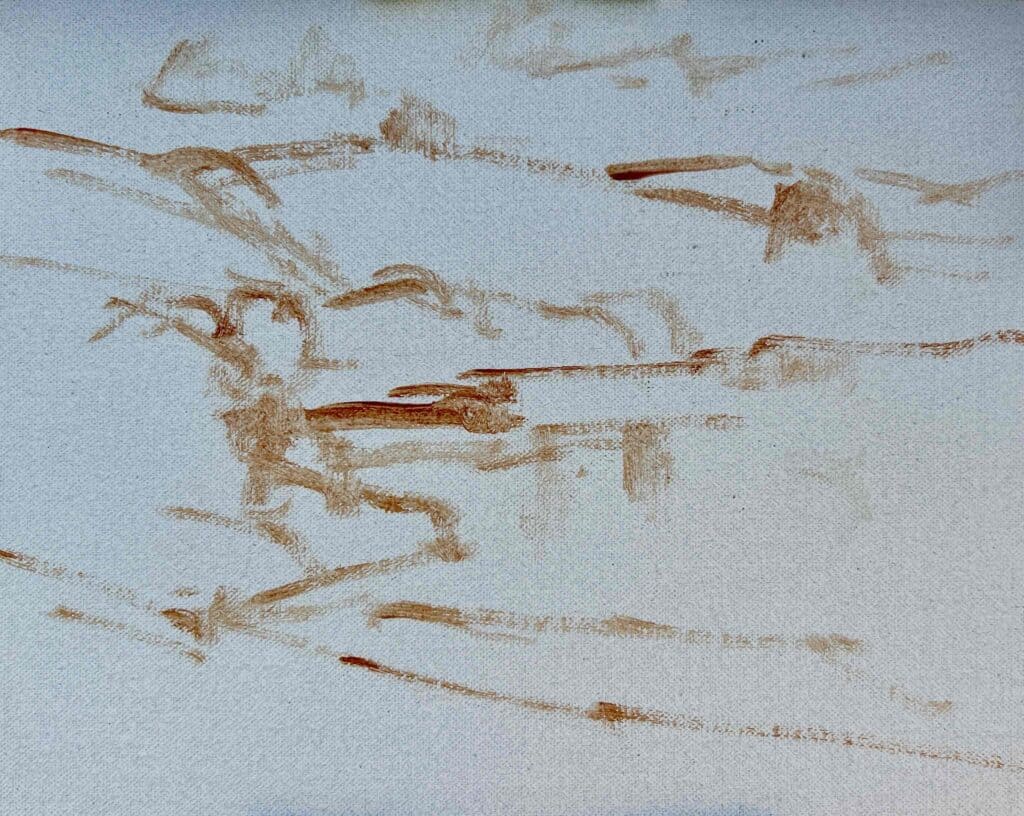
I painted this artwork on a linen canvas panel that measures 8″ x 10″. The linen canvas is a medium weave, oil-primed Belgian linen that is mounted to a Baltic birch panel.
I sketched the composition using burnt sienna mixed with Liquin Original, which improves the flow of the paint and speeds up the drying time. This is advantageous when painting outdoors because often, the paint starts to dry a little within a couple of hours, allowing you to add some extra details at the end.
Establishing the Foundation: Dark Values and Shadows
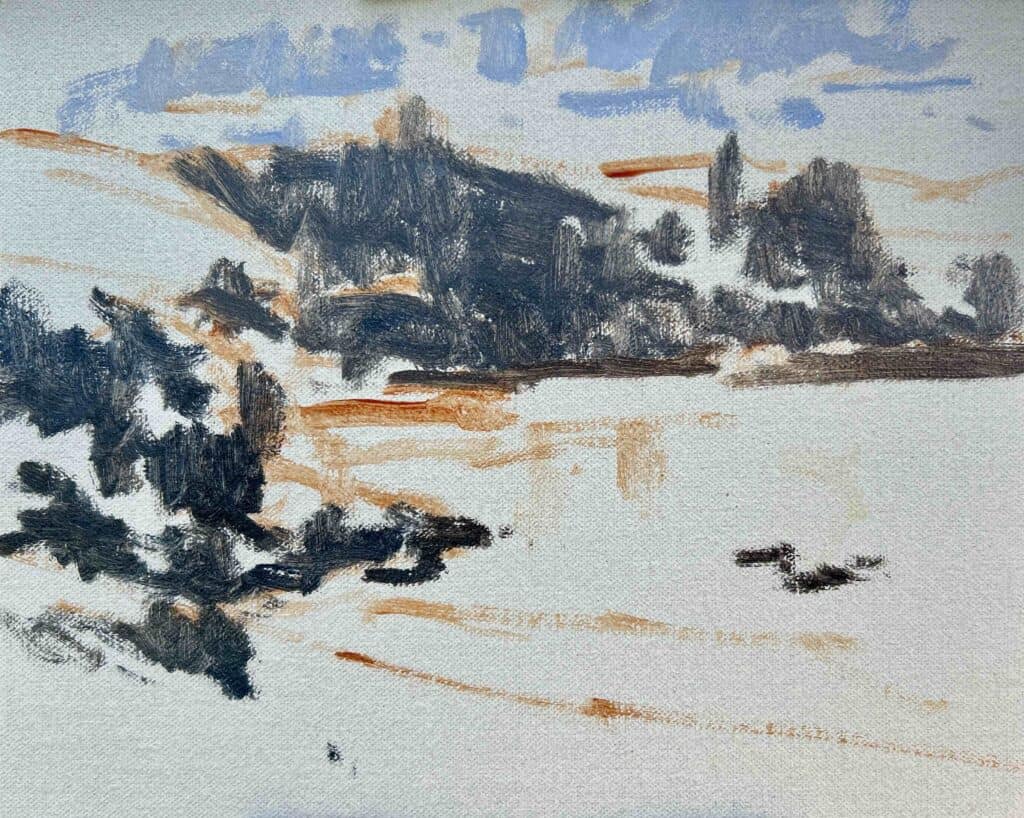
The Importance of Starting with Darks
When painting outdoors, it’s highly beneficial to begin by establishing your dark values and shadows. This approach creates a strong tonal foundation for your painting, setting the stage for later additions of highlights and lighter values.
Painting Cloud Shadows
To create cloud shadows, use a mixture of:
- Ultramarine blue
- Burnt sienna
- Titanium white
- A touch of alizarin crimson
This combination helps achieve the cool, muted tones often seen in cloud shadows.
Capturing Tree Shadows
For shadows within trees, employ a similar color palette:
- Ultramarine blue
- Burnt sienna
- Alizarin crimson
- Minimal titanium white
The reduced use of white helps maintain the depth and darkness necessary for convincing tree shadows.
Creating Tonal Dynamics
By focusing on these dark values early in the painting process, you establish a clear tonal range. This dynamic contrast forms the backbone of your composition, guiding the viewer’s eye and creating a sense of depth and dimension.
Benefits of the Dark-First Approach
- Provides a strong structural foundation
- Helps in accurately judging subsequent light and mid-tone values
- Ensures a balanced overall composition
- Simplifies the process of adding highlights later
Starting with your darkest values allows you to build up the painting methodically, resulting in a more cohesive and visually striking final piece.Painting the Sky and Clouds
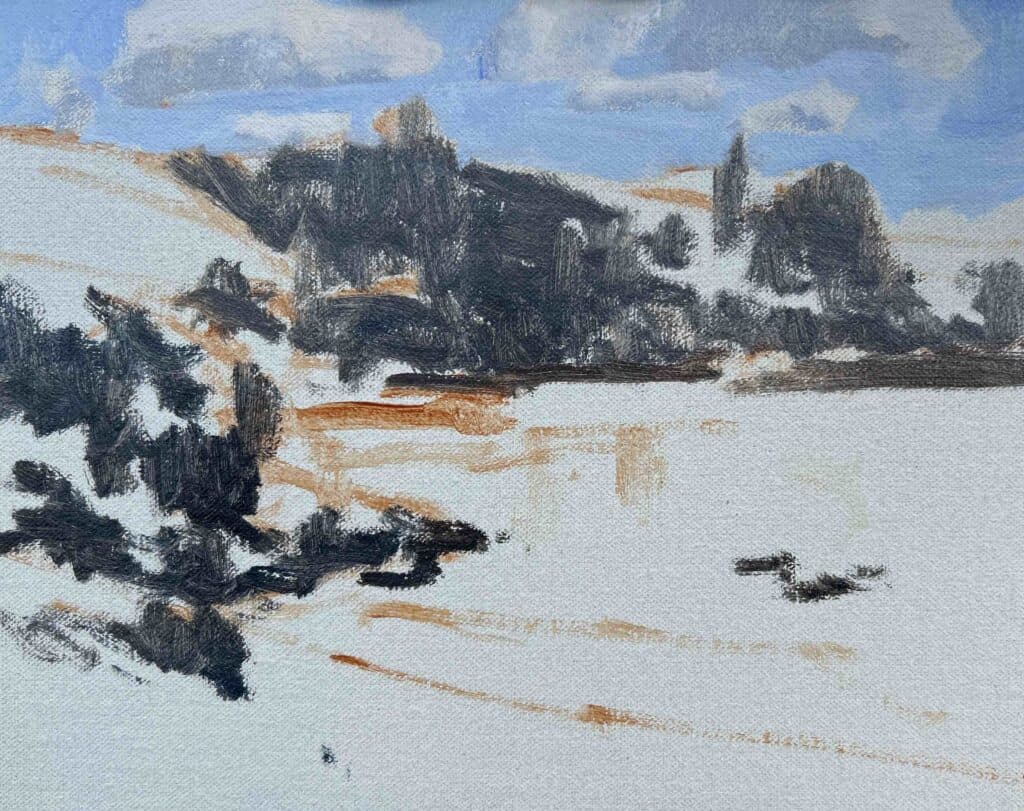
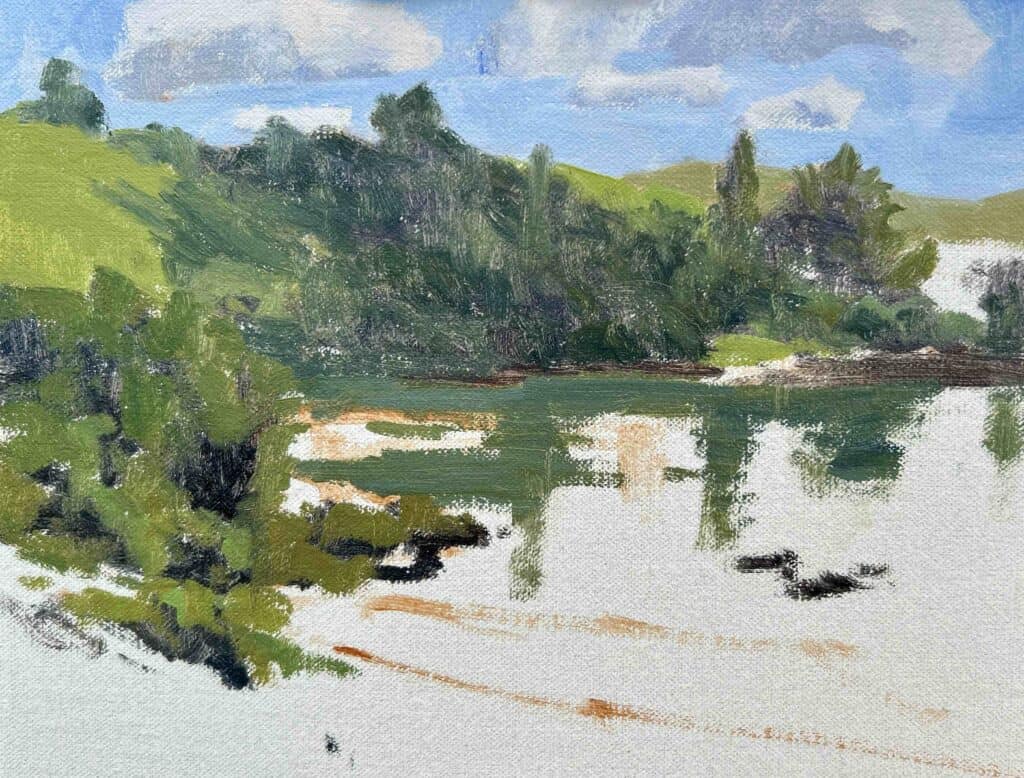
Now that I have painted the cloud shadows, I next paint the highlights using a mix of titanium white and a little burnt sienna. These colors are used in the cloud shadows and mix nicely.
The sky is one of the lighter values to be found in the landscape, and I used a mix of ultramarine blue, and titanium white with a little thalo green.
Painting the Hills
As the hills aren’t too far away, I can use a reasonably saturated color; however, the greens here will be lower in chroma than the greens in the foreground due to the atmospheric perspective.
As the hills recede into the distance, the green of the grass, trees, and other vegetation tends to drop out, and the colors lose their intensity.
I mix the greens for the hills using varying combinations of yellow ochre, cadmium yellow, ultramarine blue, and titanium white, forming my essential green mix. I then adjusted the hue and saturation by mixing in burnt sienna and thalo green.
I mix a darker hue for the trees by adding more ultramarine blue into my mix.
Painting the Trees
The painting is well underway, and next, I paint the trees, adding the areas of their canopies in the light. I painted some of the background trees in shadow to provide some contrast in the painting.
I’ve used the same colors in the trees as the grass, using my essential green mix of yellow ochre, cadmium yellow, ultramarine blue, and titanium white. I then harmonized the green with a little burnt sienna. Adding some thalo green creates beautiful emerald tones.
I keep my green mixes flexible to reflect the diversity of colors within the vegetation.
I began marking in some reflections in the calm water. As the water is reflecting some of the trees I mixed a low chroma green using yellow ochre, ultramarine blue and titanium white.
Painting the Foreground Grass
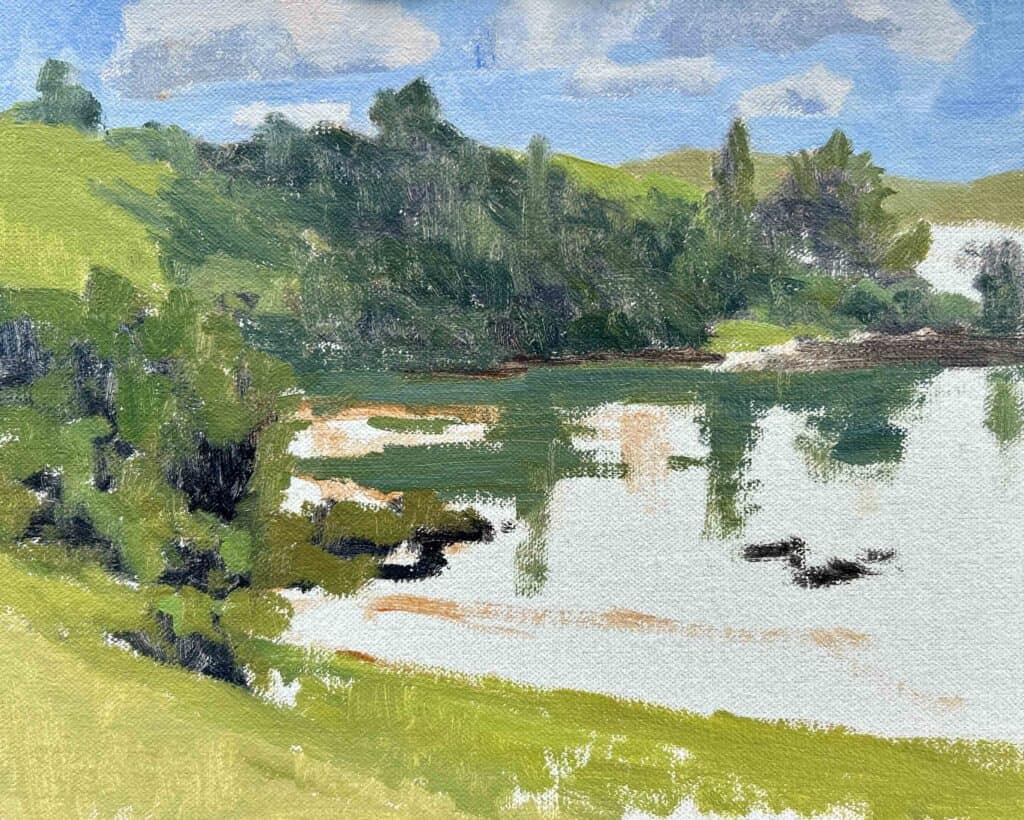
Here is where we will find our most saturated greens. For the grass area by the water, I mix cadmium yellow, a little yellow ochre, ultramarine blue, and titanium white. I then introduce a little cadmium red light and thalo green.
For the more straw-colored grass in the immediate foreground, I took the green mix I made for the grass and added more yellow ochre and titanium white.
Painting the Water, Rocks, and the Beach

As well as the vegetation, the water is also reflecting the sky. It also has a little turquoise undertone to it so I mixed a combination of ultramarine blue, titanium white, yellow ochre, and a little thalo green.
The rocks are a sandy color which I mixed using burnt sienna, titanium white, a little ultramarine blue and alizarin crimson, and a bit of yellow ochre. I also used the color for the beach area which is wet from the tide.
I use my cloud highlight mix to paint in the suggestion of cloud reflections in the water.
Finishing the Painting
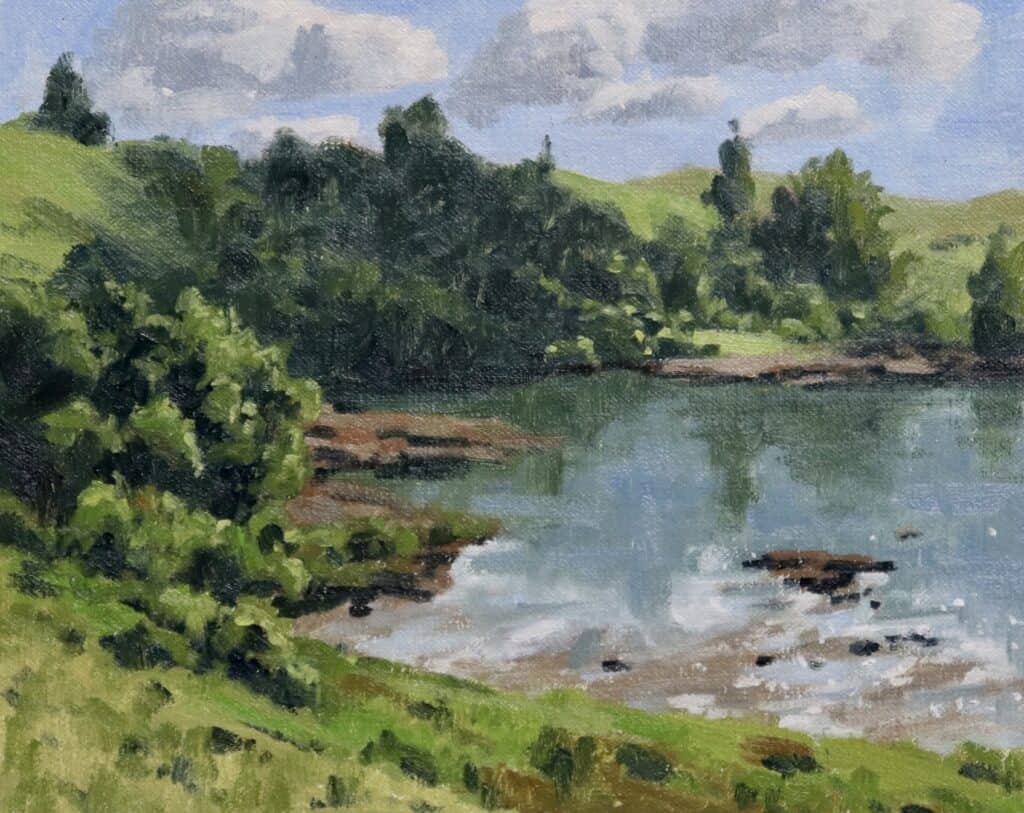
Once I had gotten the entire canvas covered, I went across the whole painting and restated the dark values in the scene. Most of the work was done within the tree shadows, where I mixed ultramarine blue, yellow ochre, and, if required, some titanium white.
The Liquin I mixed in the paint had started to dry a little. This allows me to add more layers of paint over existing ones, add a few subtle details, and refine some of the masses and forms in the painting.
Overcoming Challenges in Outdoor Painting:
Outdoor painting, though rewarding, presents its unique set of challenges. However, these can be effectively managed with proper planning and preparation.
One of the most common issues is unstable weather. A sudden rain shower can ruin your artwork, while harsh sunlight can alter the color perception.
Always check the weather forecast before you venture out and carry necessary protection such as a good jacket for cold weather and even a waterproof.
Lighting changes can also affect your artwork, as the sun’s shift alters shadows and colors. Select a time of day when the light is more stable, either early morning or late afternoon. When painting your artwork, first paint the shadows and dark values; it doesn’t matter if the light or weather conditions change.
Additionally, dealing with insects can be another challenge. Wearing long-sleeved clothing can help in this regard.
Lastly, remember that outdoor painting is about capturing the spirit of the scene rather than depicting every detail. Don’t stress over minor deviations or imperfections; simplify your painting and embrace them as part of the unique charm of plein air painting.
Preserving Your Artwork Outdoors
Preserving your artwork outdoors is crucial, given the potential challenges of weather, dust, and insects. Make sure to use quality materials that can withstand outdoor conditions.
When you are done for the day, cover your artwork to prevent any damage from rain or dust. Many pochade boxes have inbuilt storage compartments for wet paintings.
During painting, if your work is disrupted by rain or wind, don’t despair. If the weather conditions are too extreme, it’s best to pack up and continue another day or take some reference photos and finish the painting in your studio.
Finally, once you’ve finished your painting and it’s completely dry, consider applying a protective varnish to shield it from environmental factors and increase its longevity. This step is essential if you plan to exhibit or sell your work.
Conclusion: Embracing Nature’s Art Studio
Embracing the great outdoors as your art studio presents an unparalleled opportunity to connect with nature and translate its essence onto canvas.
