
Skies and clouds in landscape painting have been captivating viewers’ hearts and imaginations for centuries, and there’s no doubt that they add an extra bit of splendor.
In this blog post, we will explore the power of skies and clouds in landscape painting with two painting demonstrations and the impact it can have on the viewer.
Suitable for oils and acrylics.

Choosing the Right Brushes and Colors
Colors Used
I painted this artwork using oil paint and the colors I used in this painting are as follows:
- Titanium white
- Burnt sienna
- Yellow ochre
- Cadmium yellow
- Cadmium red
- Quinacridone magenta
- Ultramarine blue
- Cobalt teal
Brushes
Here is a list of the brushes I used in this painting:
- No.5 flat
- No.3 flat
- No.2 flat
- No.3 filbert
- No.1 round
- No.0 round
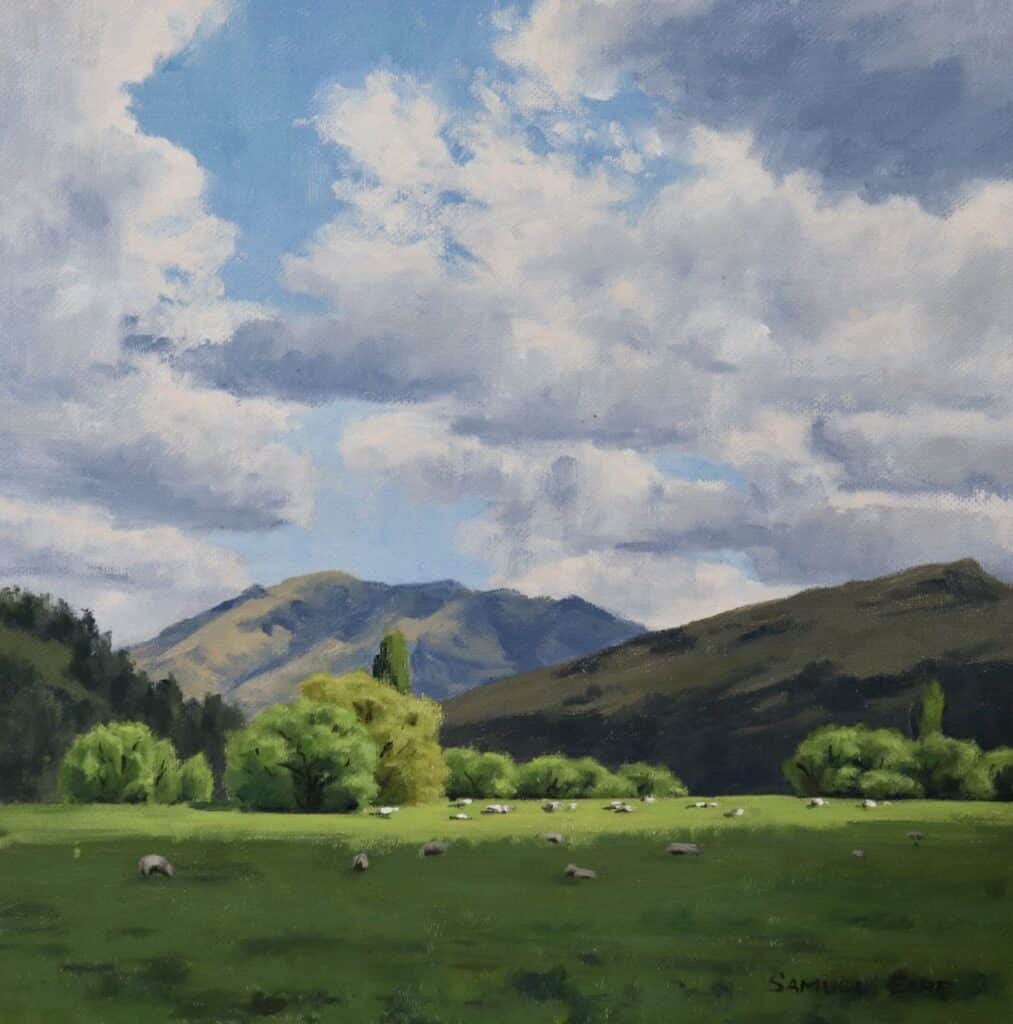
Painting Demonstration #1 – Painting High Clouds
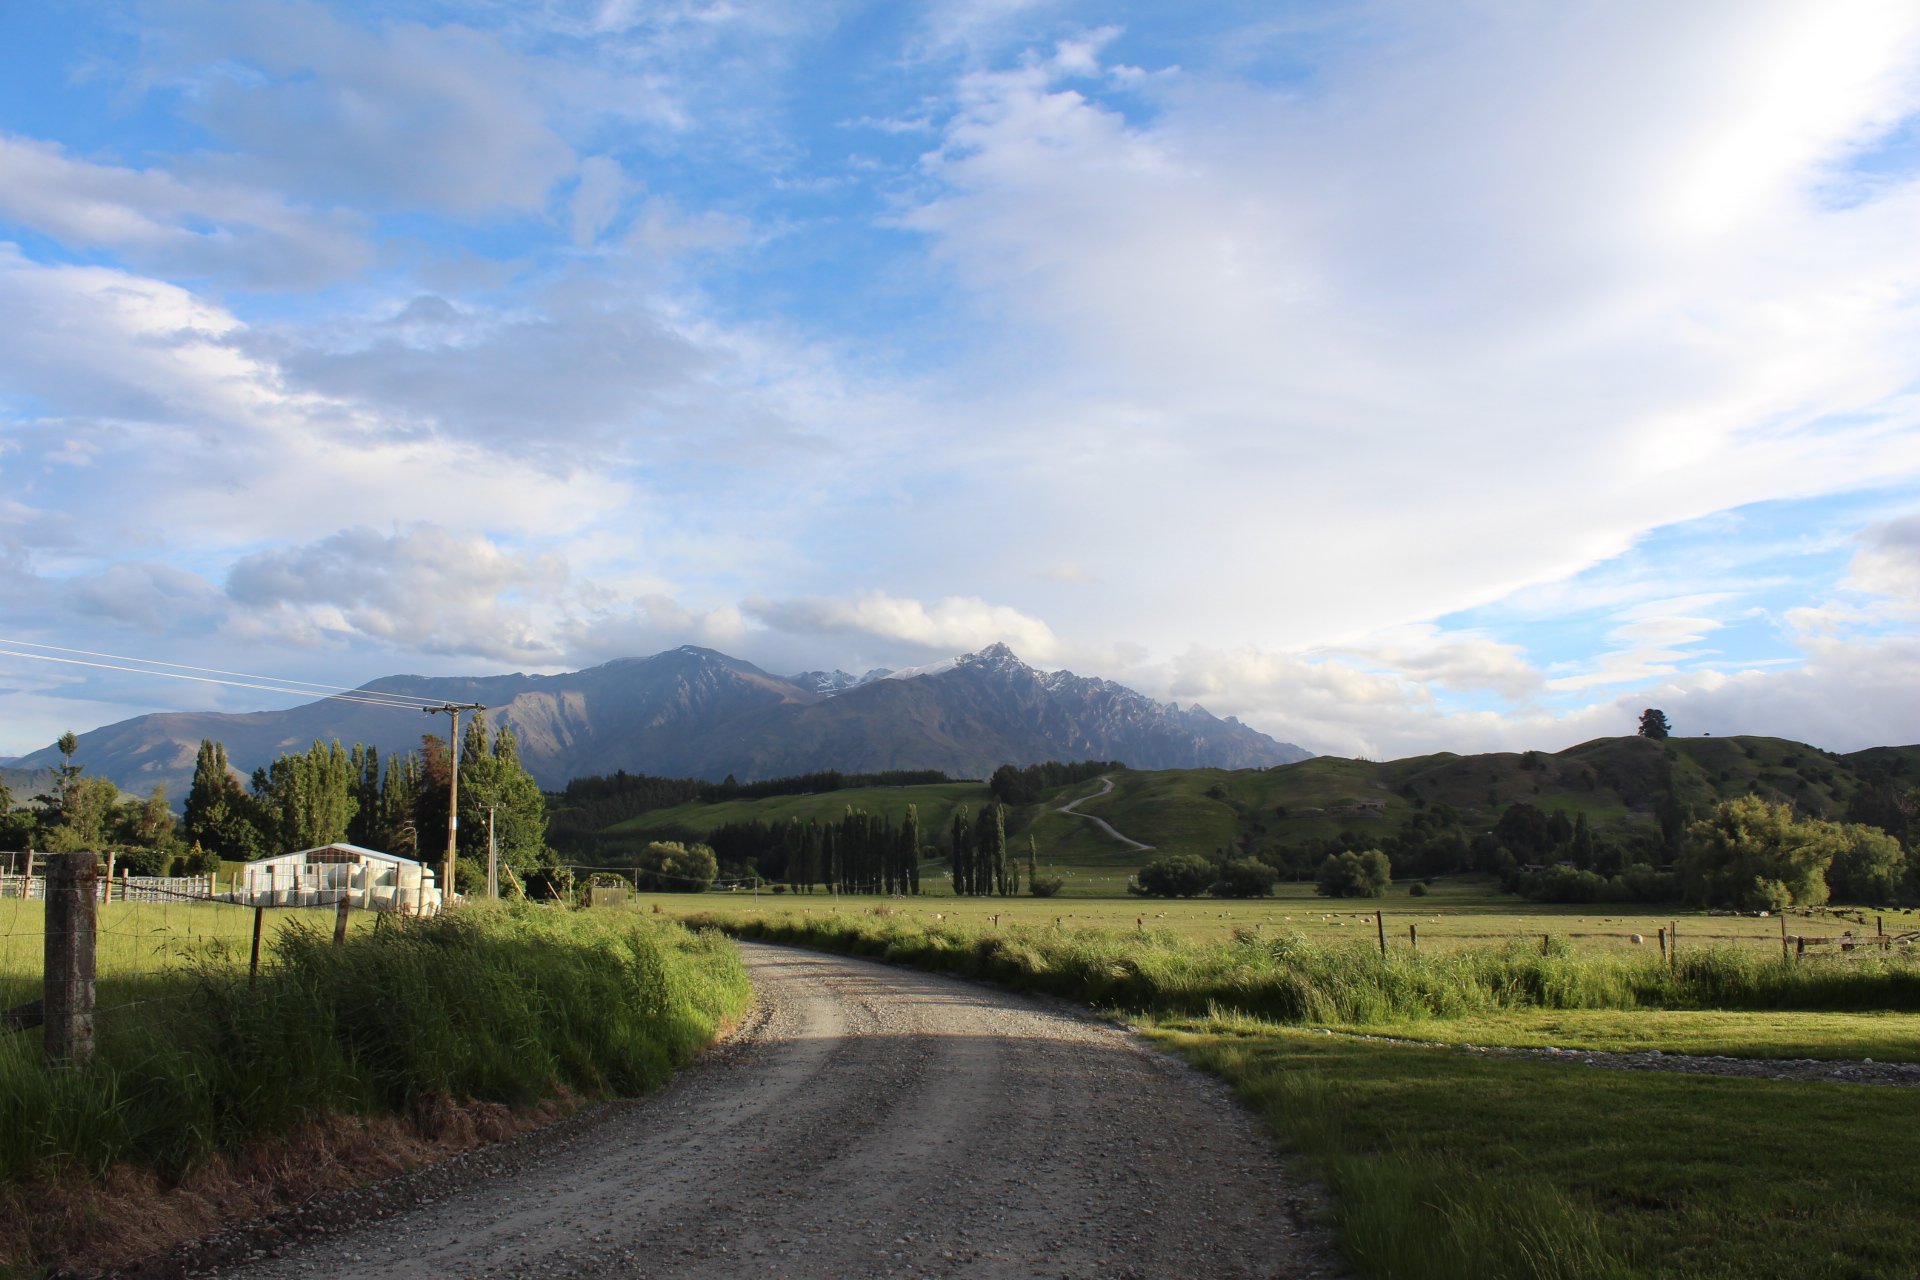
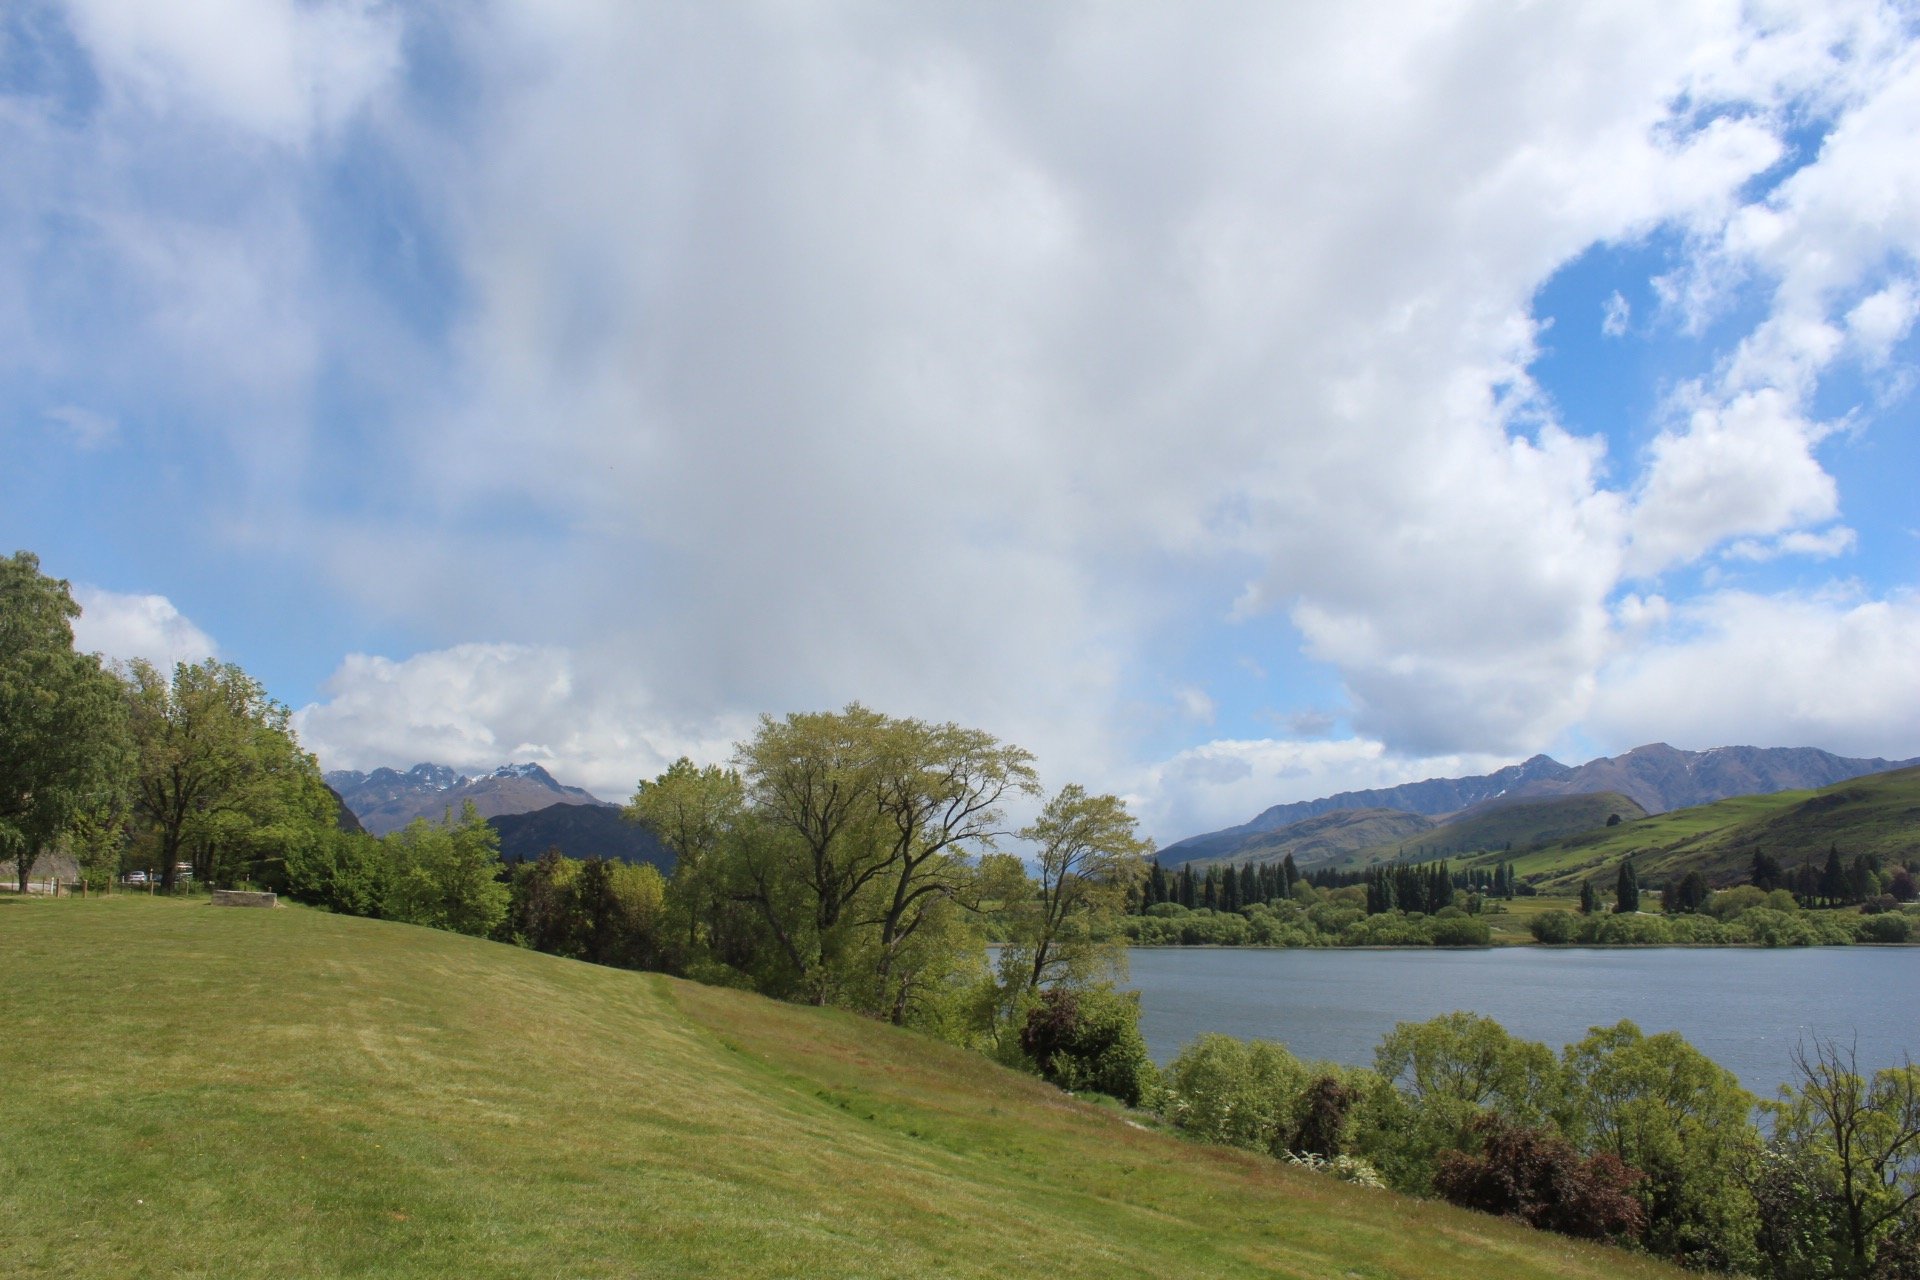
Reference Photo
Please feel free to use or copy this photo if you would like to have a go at painting this artwork.
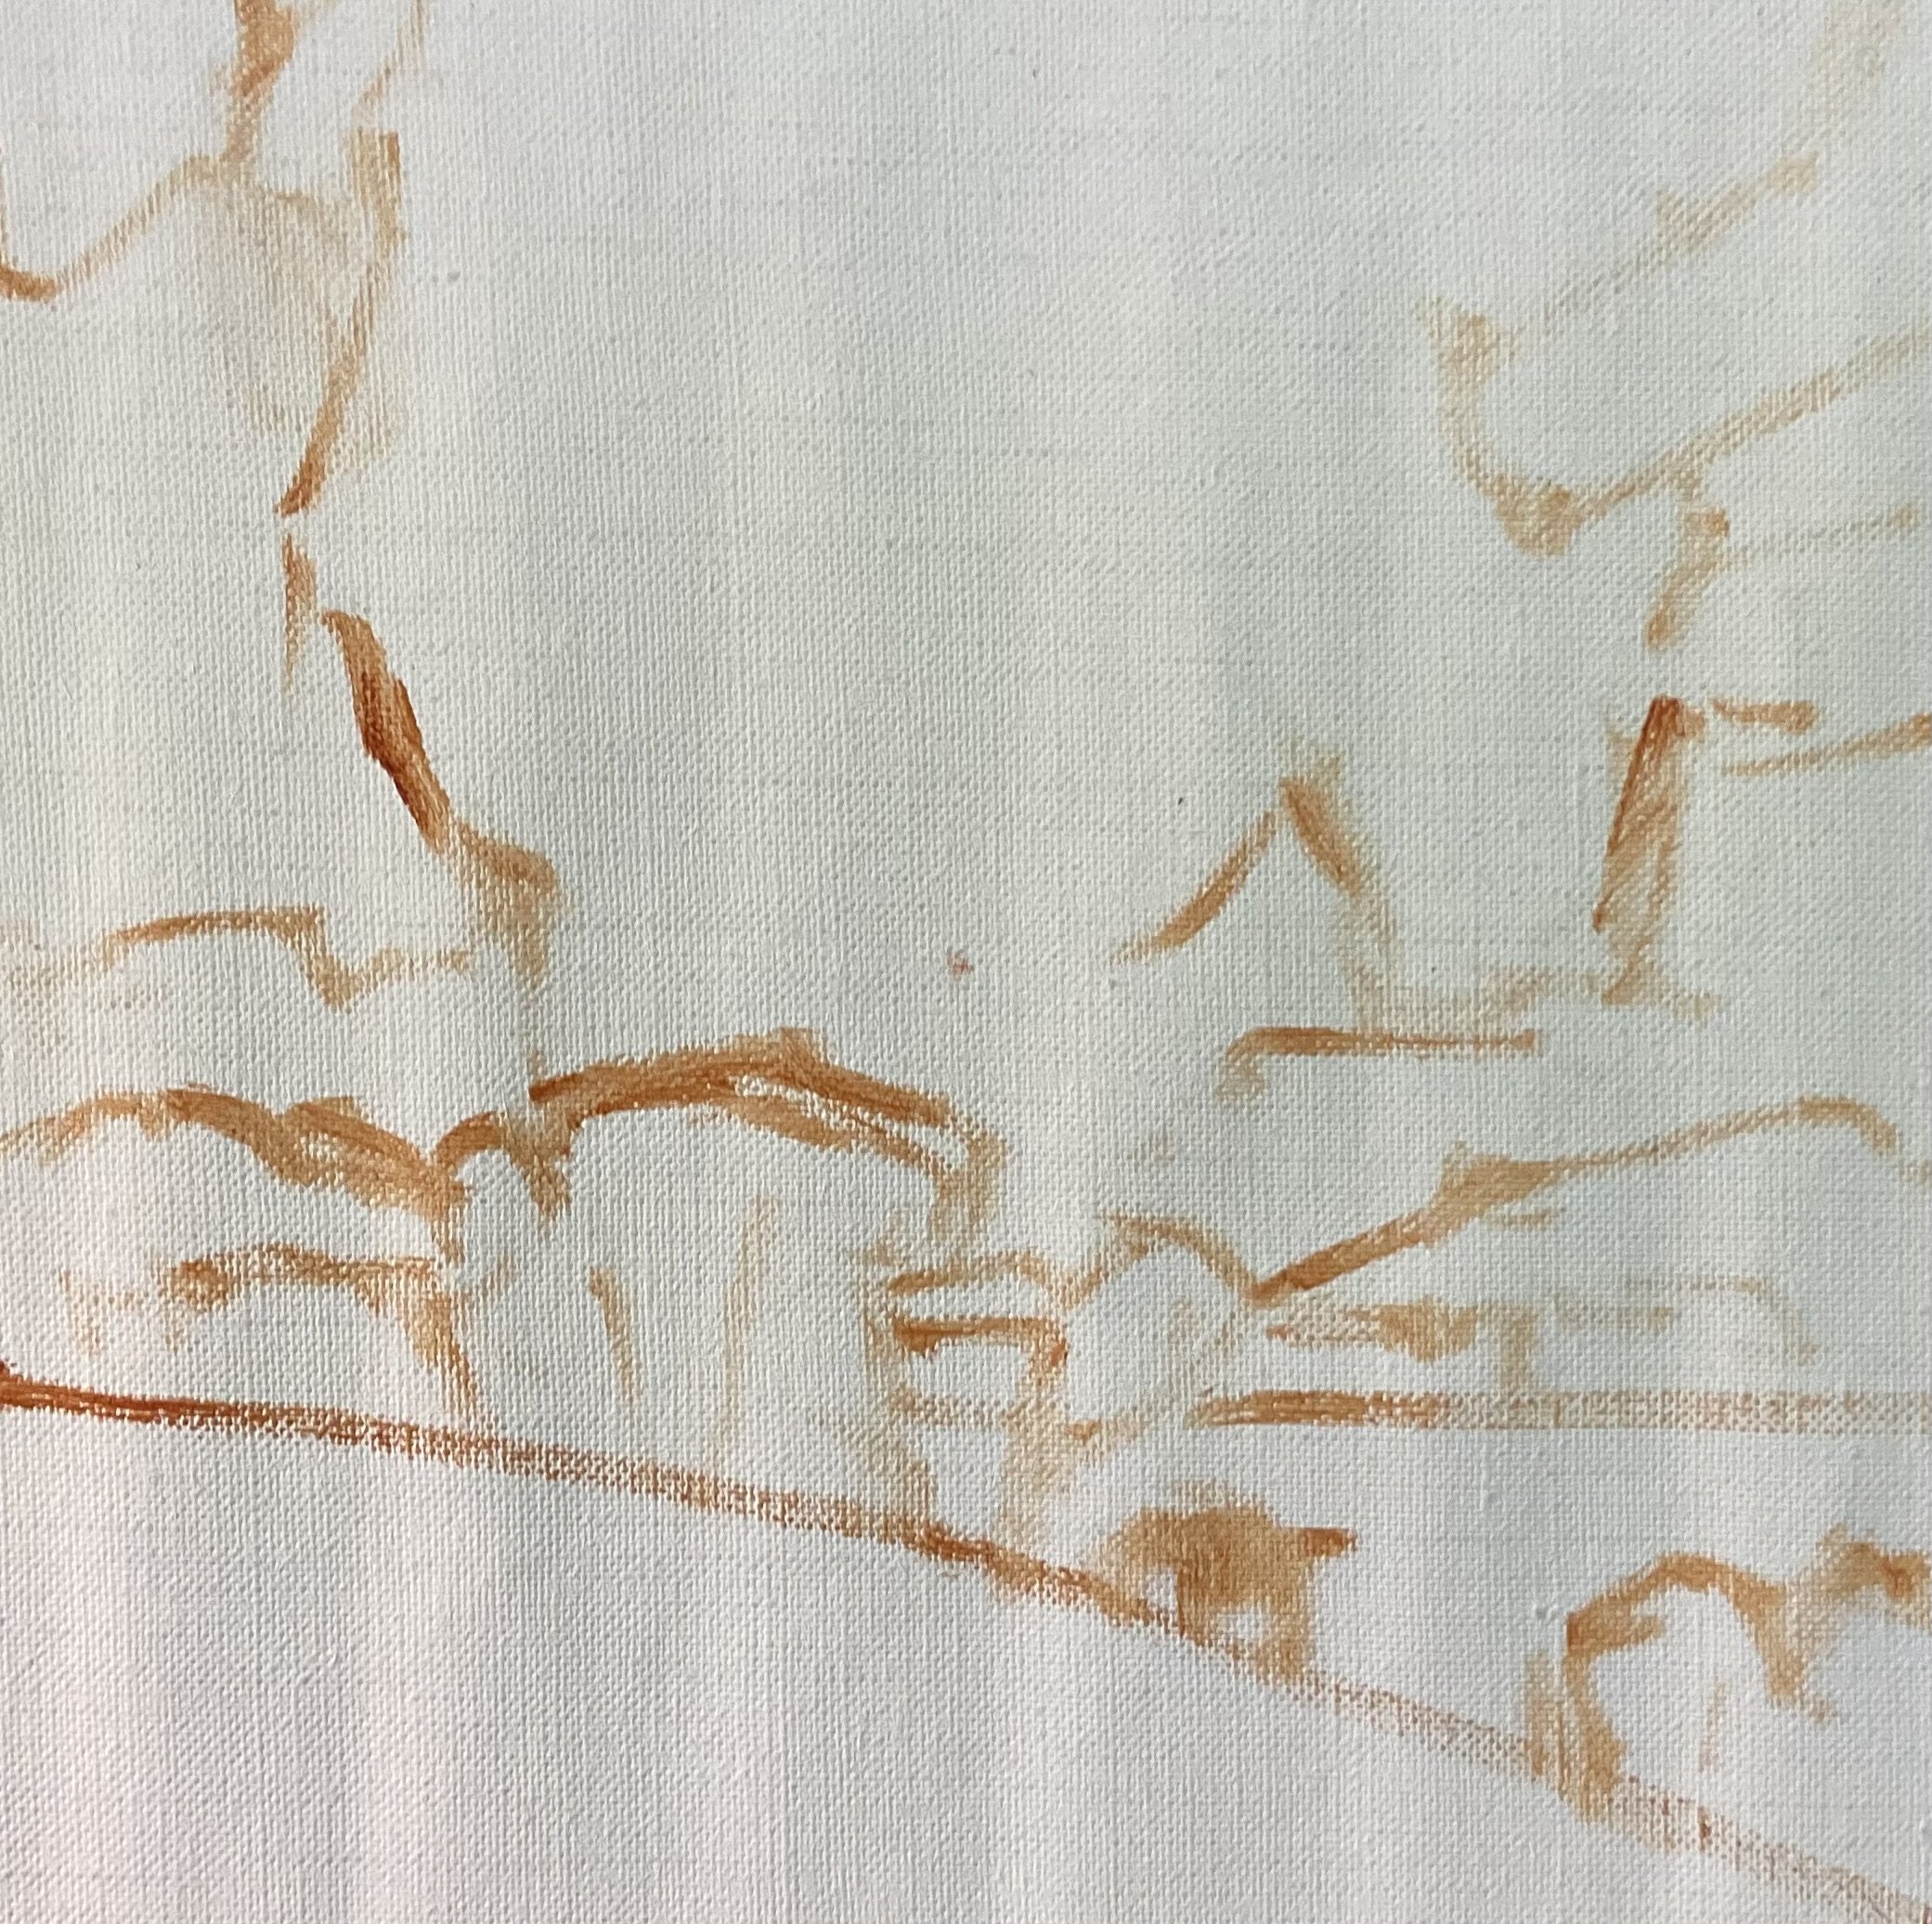
Starting the Painting
I painted this artwork on oil-primed, medium-weave Belgian linen that is mounted to a panel. The painting itself measures 10” x 10”.
I sketched the composition using a No.1 round brush with burnt sienna mixed with Liquin Original (Liquin). I am using Liquin Original as a medium to thin the paint and it also has the advantage of speeding up the drying time.

Capturing Light and Shadows in Your Paintings
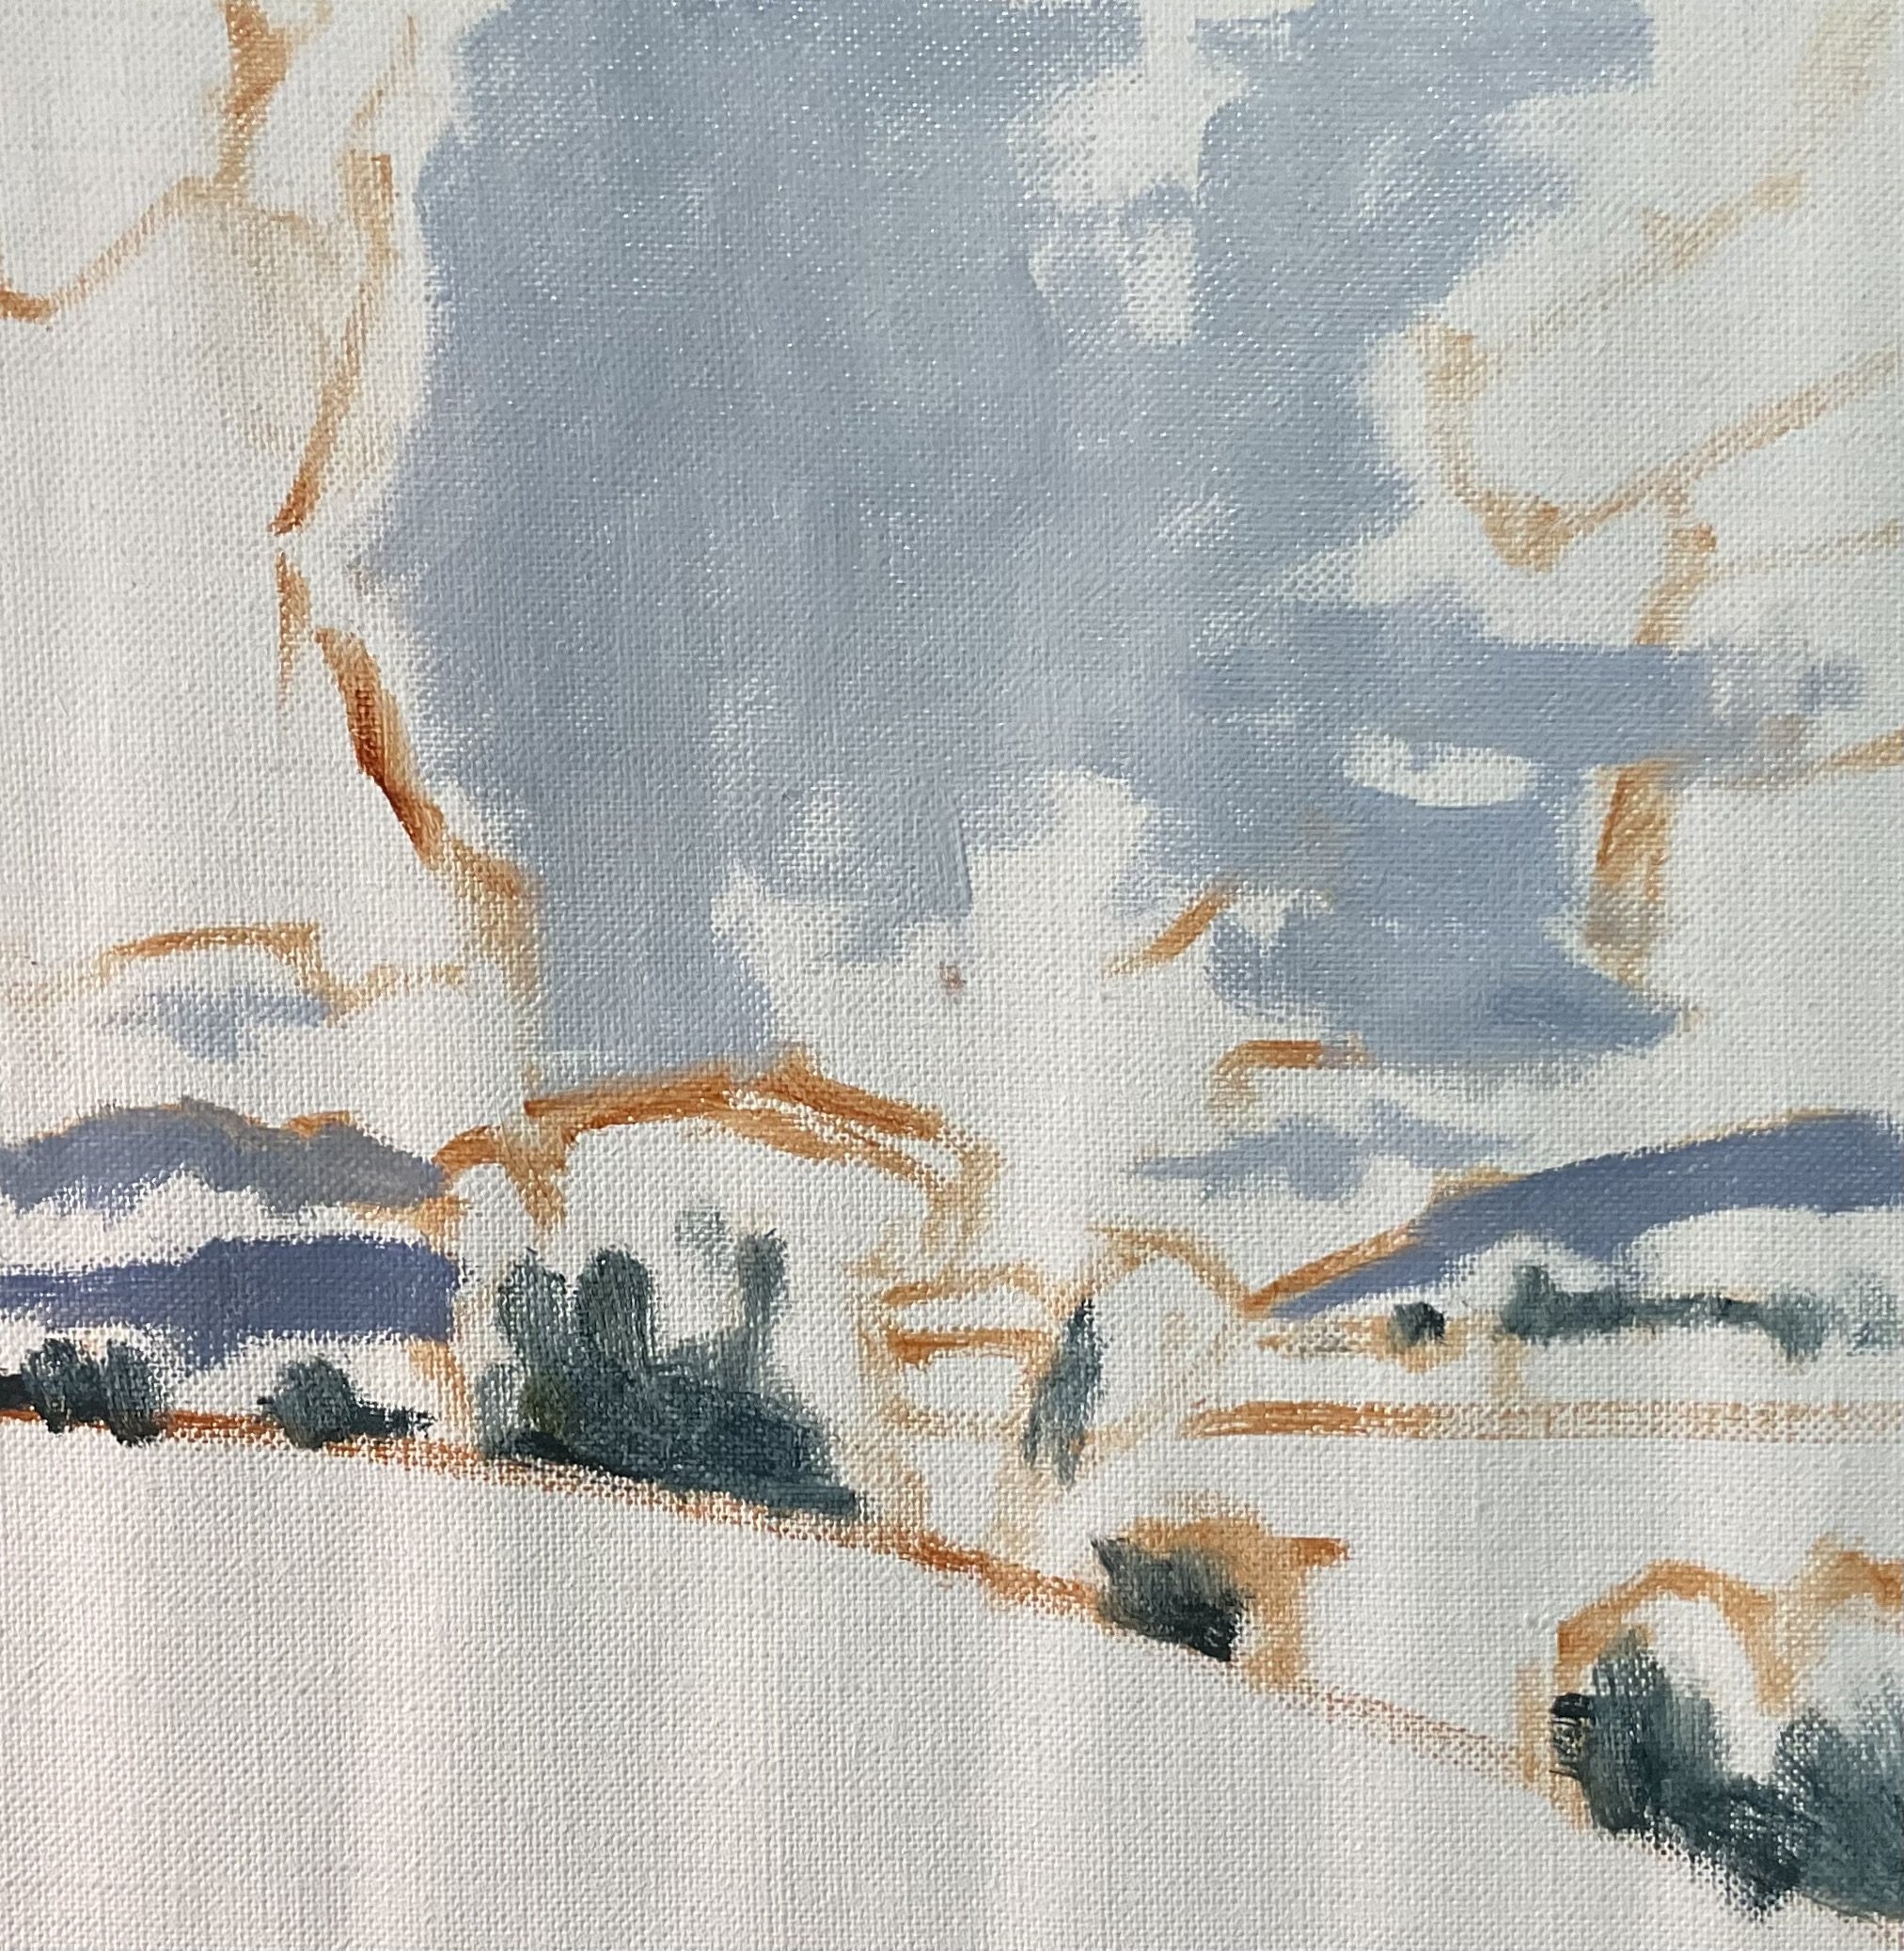
I begin this artwork by painting all the shadow areas first and this is where most of the dark values are in the painting using a No.5 flat brush to paint the clouds.
I paint the cloud shadows with a mix of ultramarine blue, burnt sienna, titanium white and a little quinacridone magenta and I use the same colors for the mountain shadows but with less titanium white in the mix which makes the value darker.
The trees in the foreground are some of the darkest values in the landscape and for this, I use a mix of ultramarine blue, yellow ochre and a little titanium white to make the value a little lighter for the mid-ground trees.
Art Tip: Paint Your Dark Values and Shadows First
Whenever I start a painting, I always identify where the dark values and shadows are first in the scene I am painting. Value refers to how light or dark a subject is and by painting in the dark values first I personally find it is much easier to create atmospheric perspective in my paintings. It also makes it easier to add the areas in light and to get the saturation of your colors correct once you have painted your dark values.
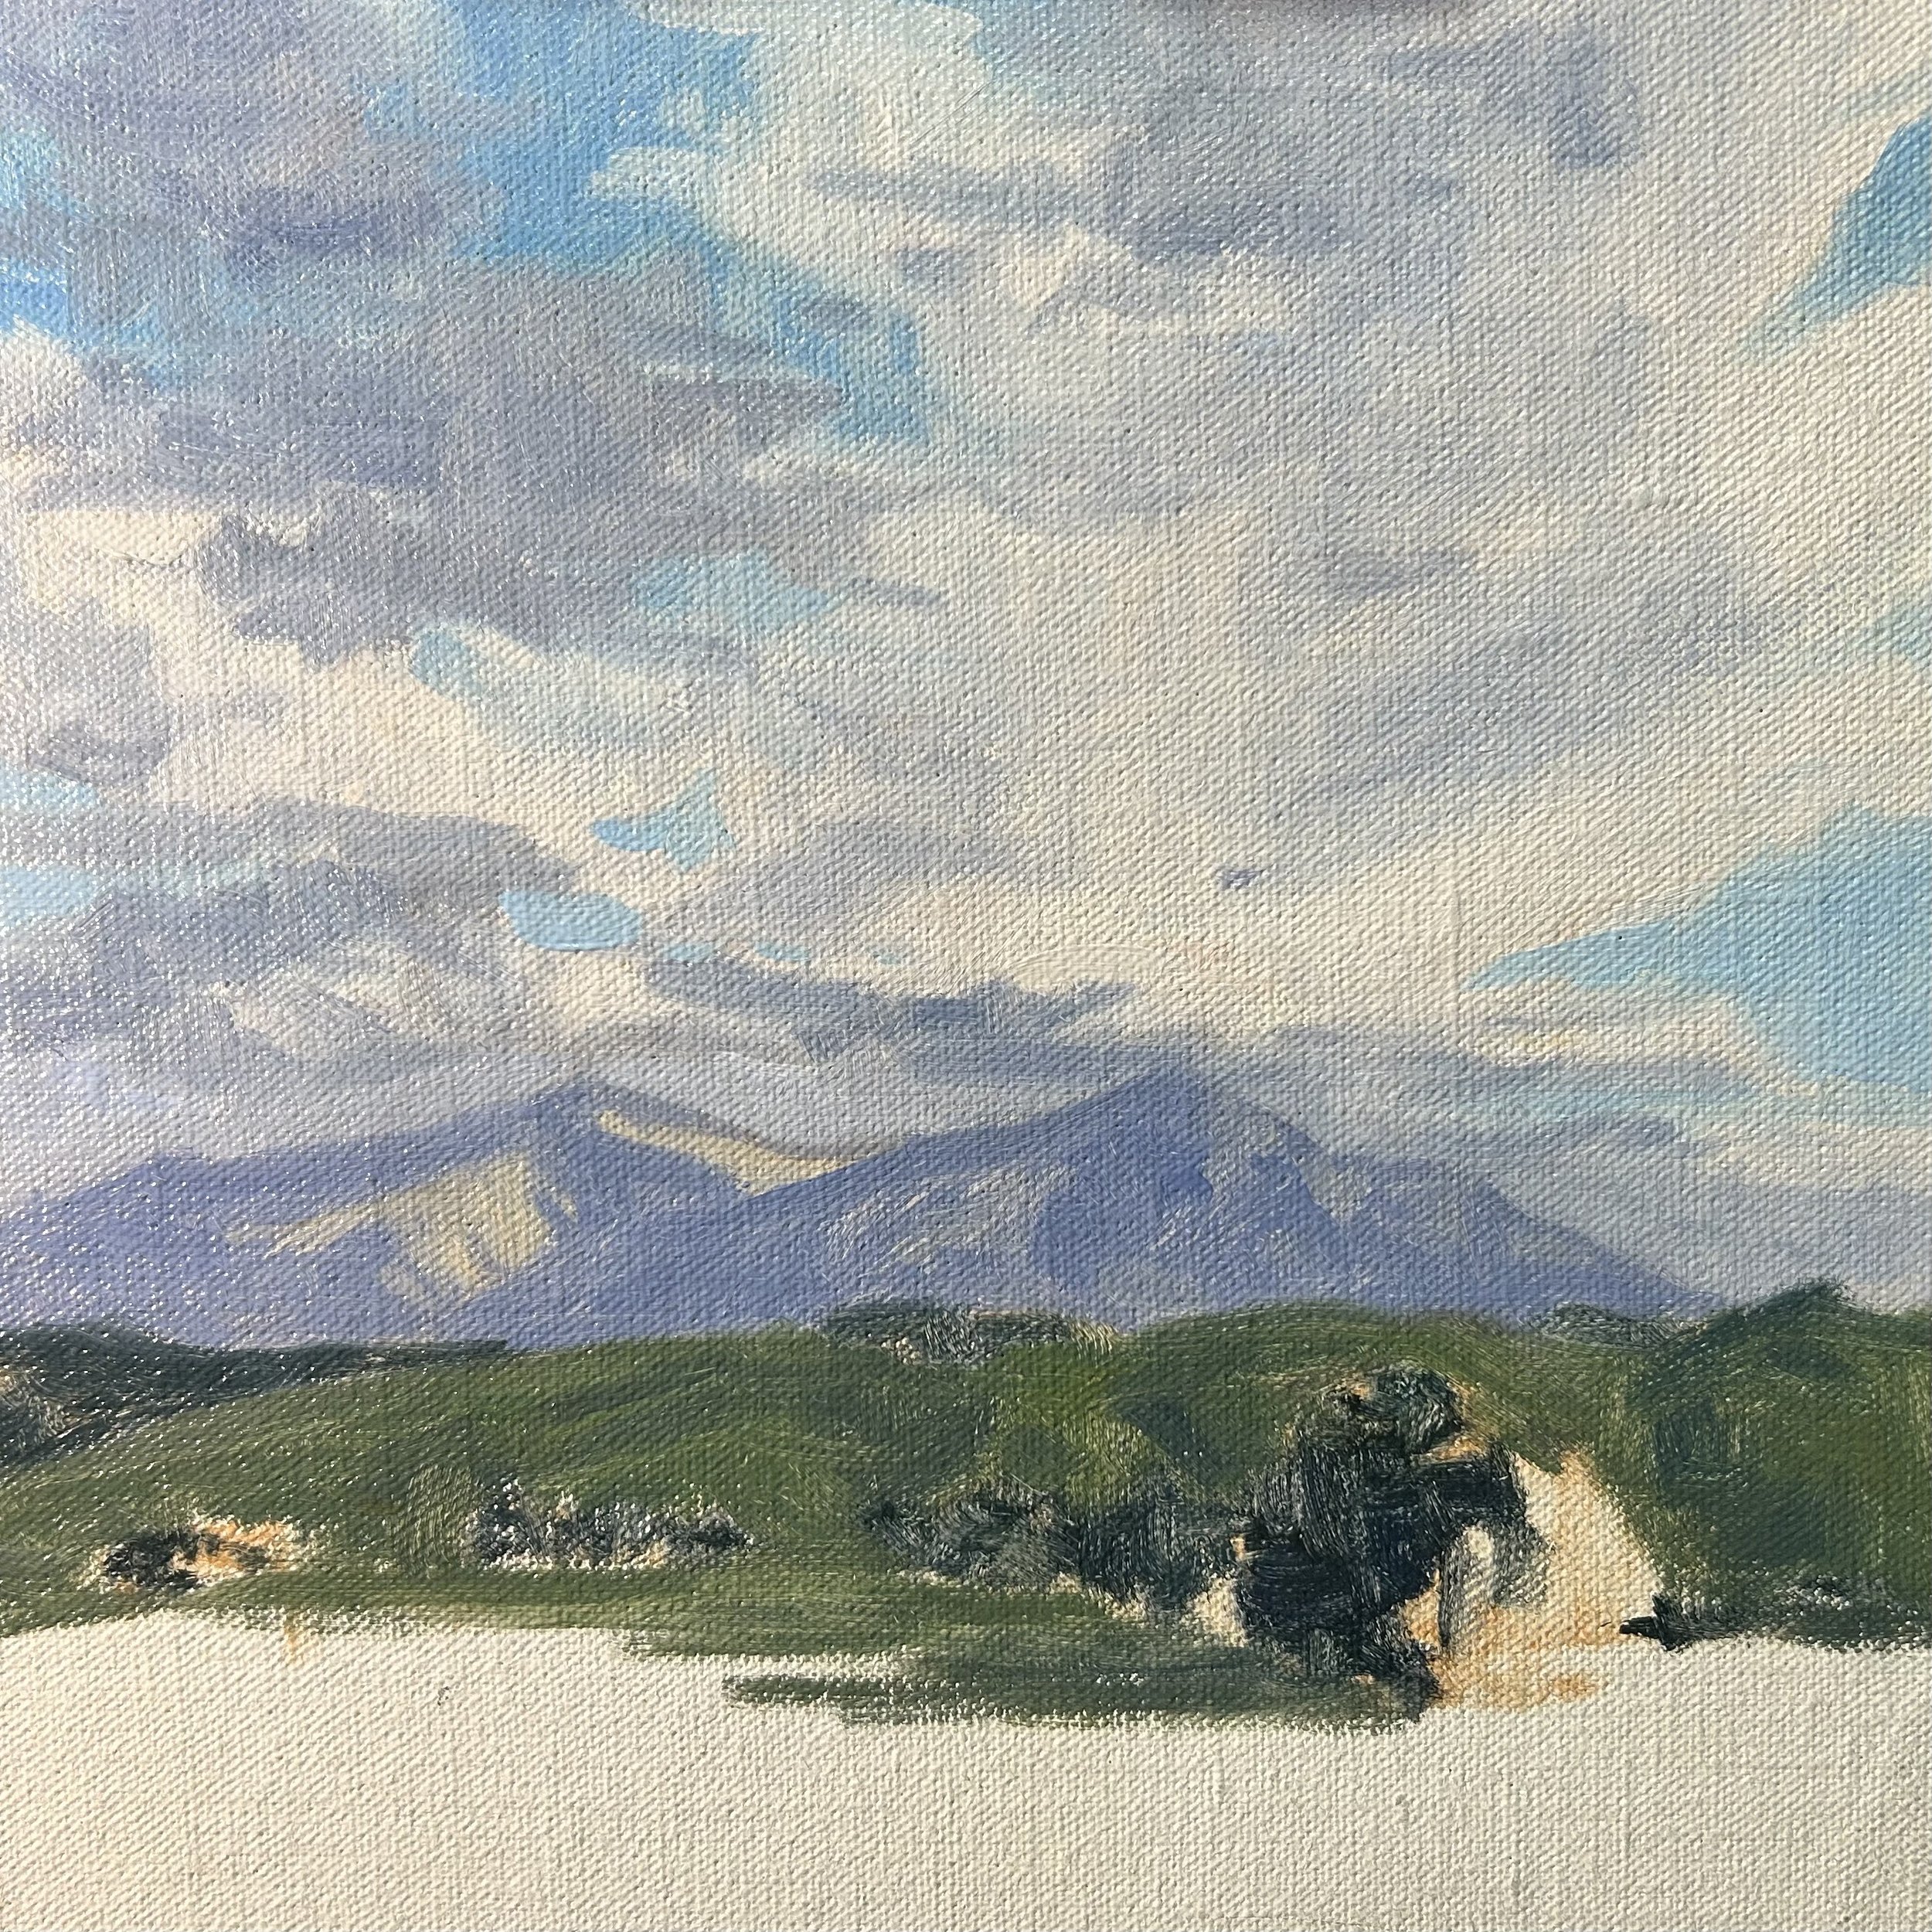
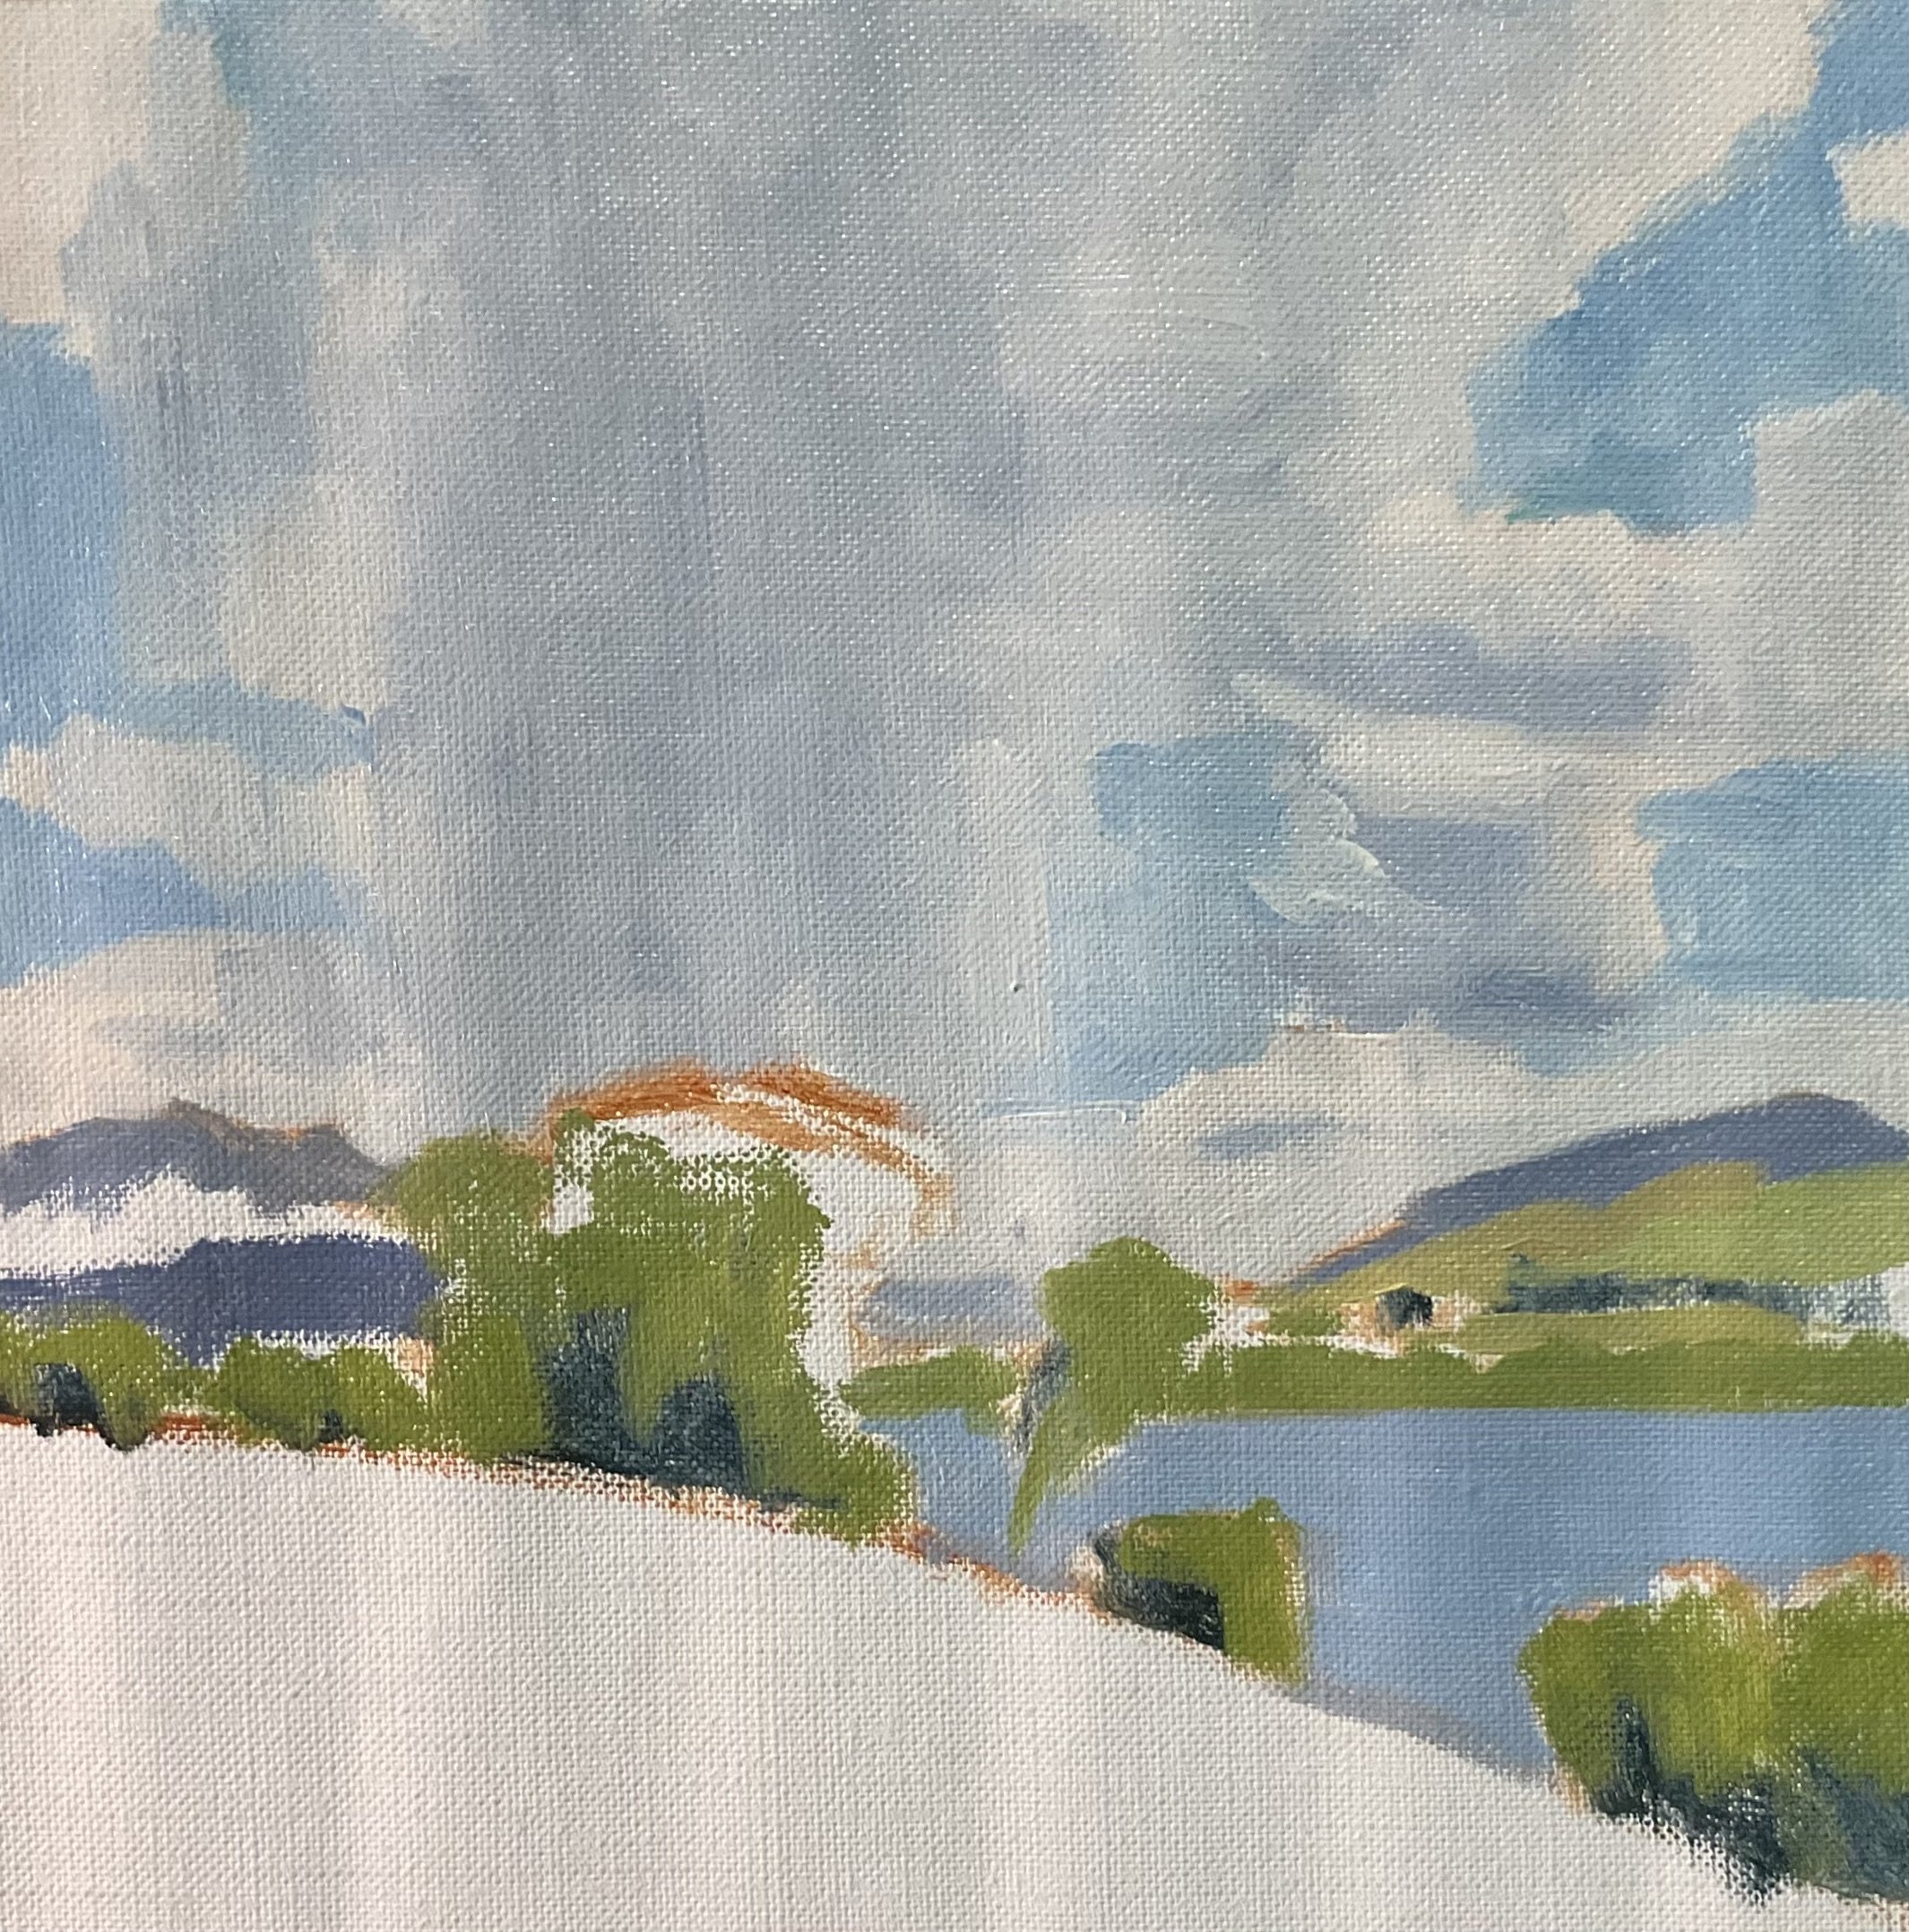
Painting the Sky and Clouds
Once my main areas of dark values and shadows have been established I begin painting the highlights in the clouds using a mix of titanium white with a little burnt sienna. I allow the cloud shadows to mix in a little with the highlights.
I keep the cloud mixtures a little lighter near to the summits of the mountains. The sky is a mix of ultramarine blue, cobalt teal and titanium white.
I paint some subtle highlights on the left side mountain using a low chroma color mix of yellow ochre, burnt sienna, ultramarine blue and titanium white. It is important to use desaturated color here so the light on the mountain sits in the background. If the color is too saturated, it will come forward in the painting.
Painting the Mid Ground
Now that I have blocked-in the sky and the mountains I move onto the mid-ground to paint the hills and trees. The mid-ground is in shadow so I use varying mixes of ultramarine blue, yellow ochre, cobalt teal, quinacridone magenta and titanium white.
For the cooler tones in the grass, I use more cobalt teal and yellow ochre in the mix and for the darker areas in the grass, I add more ultramarine blue.
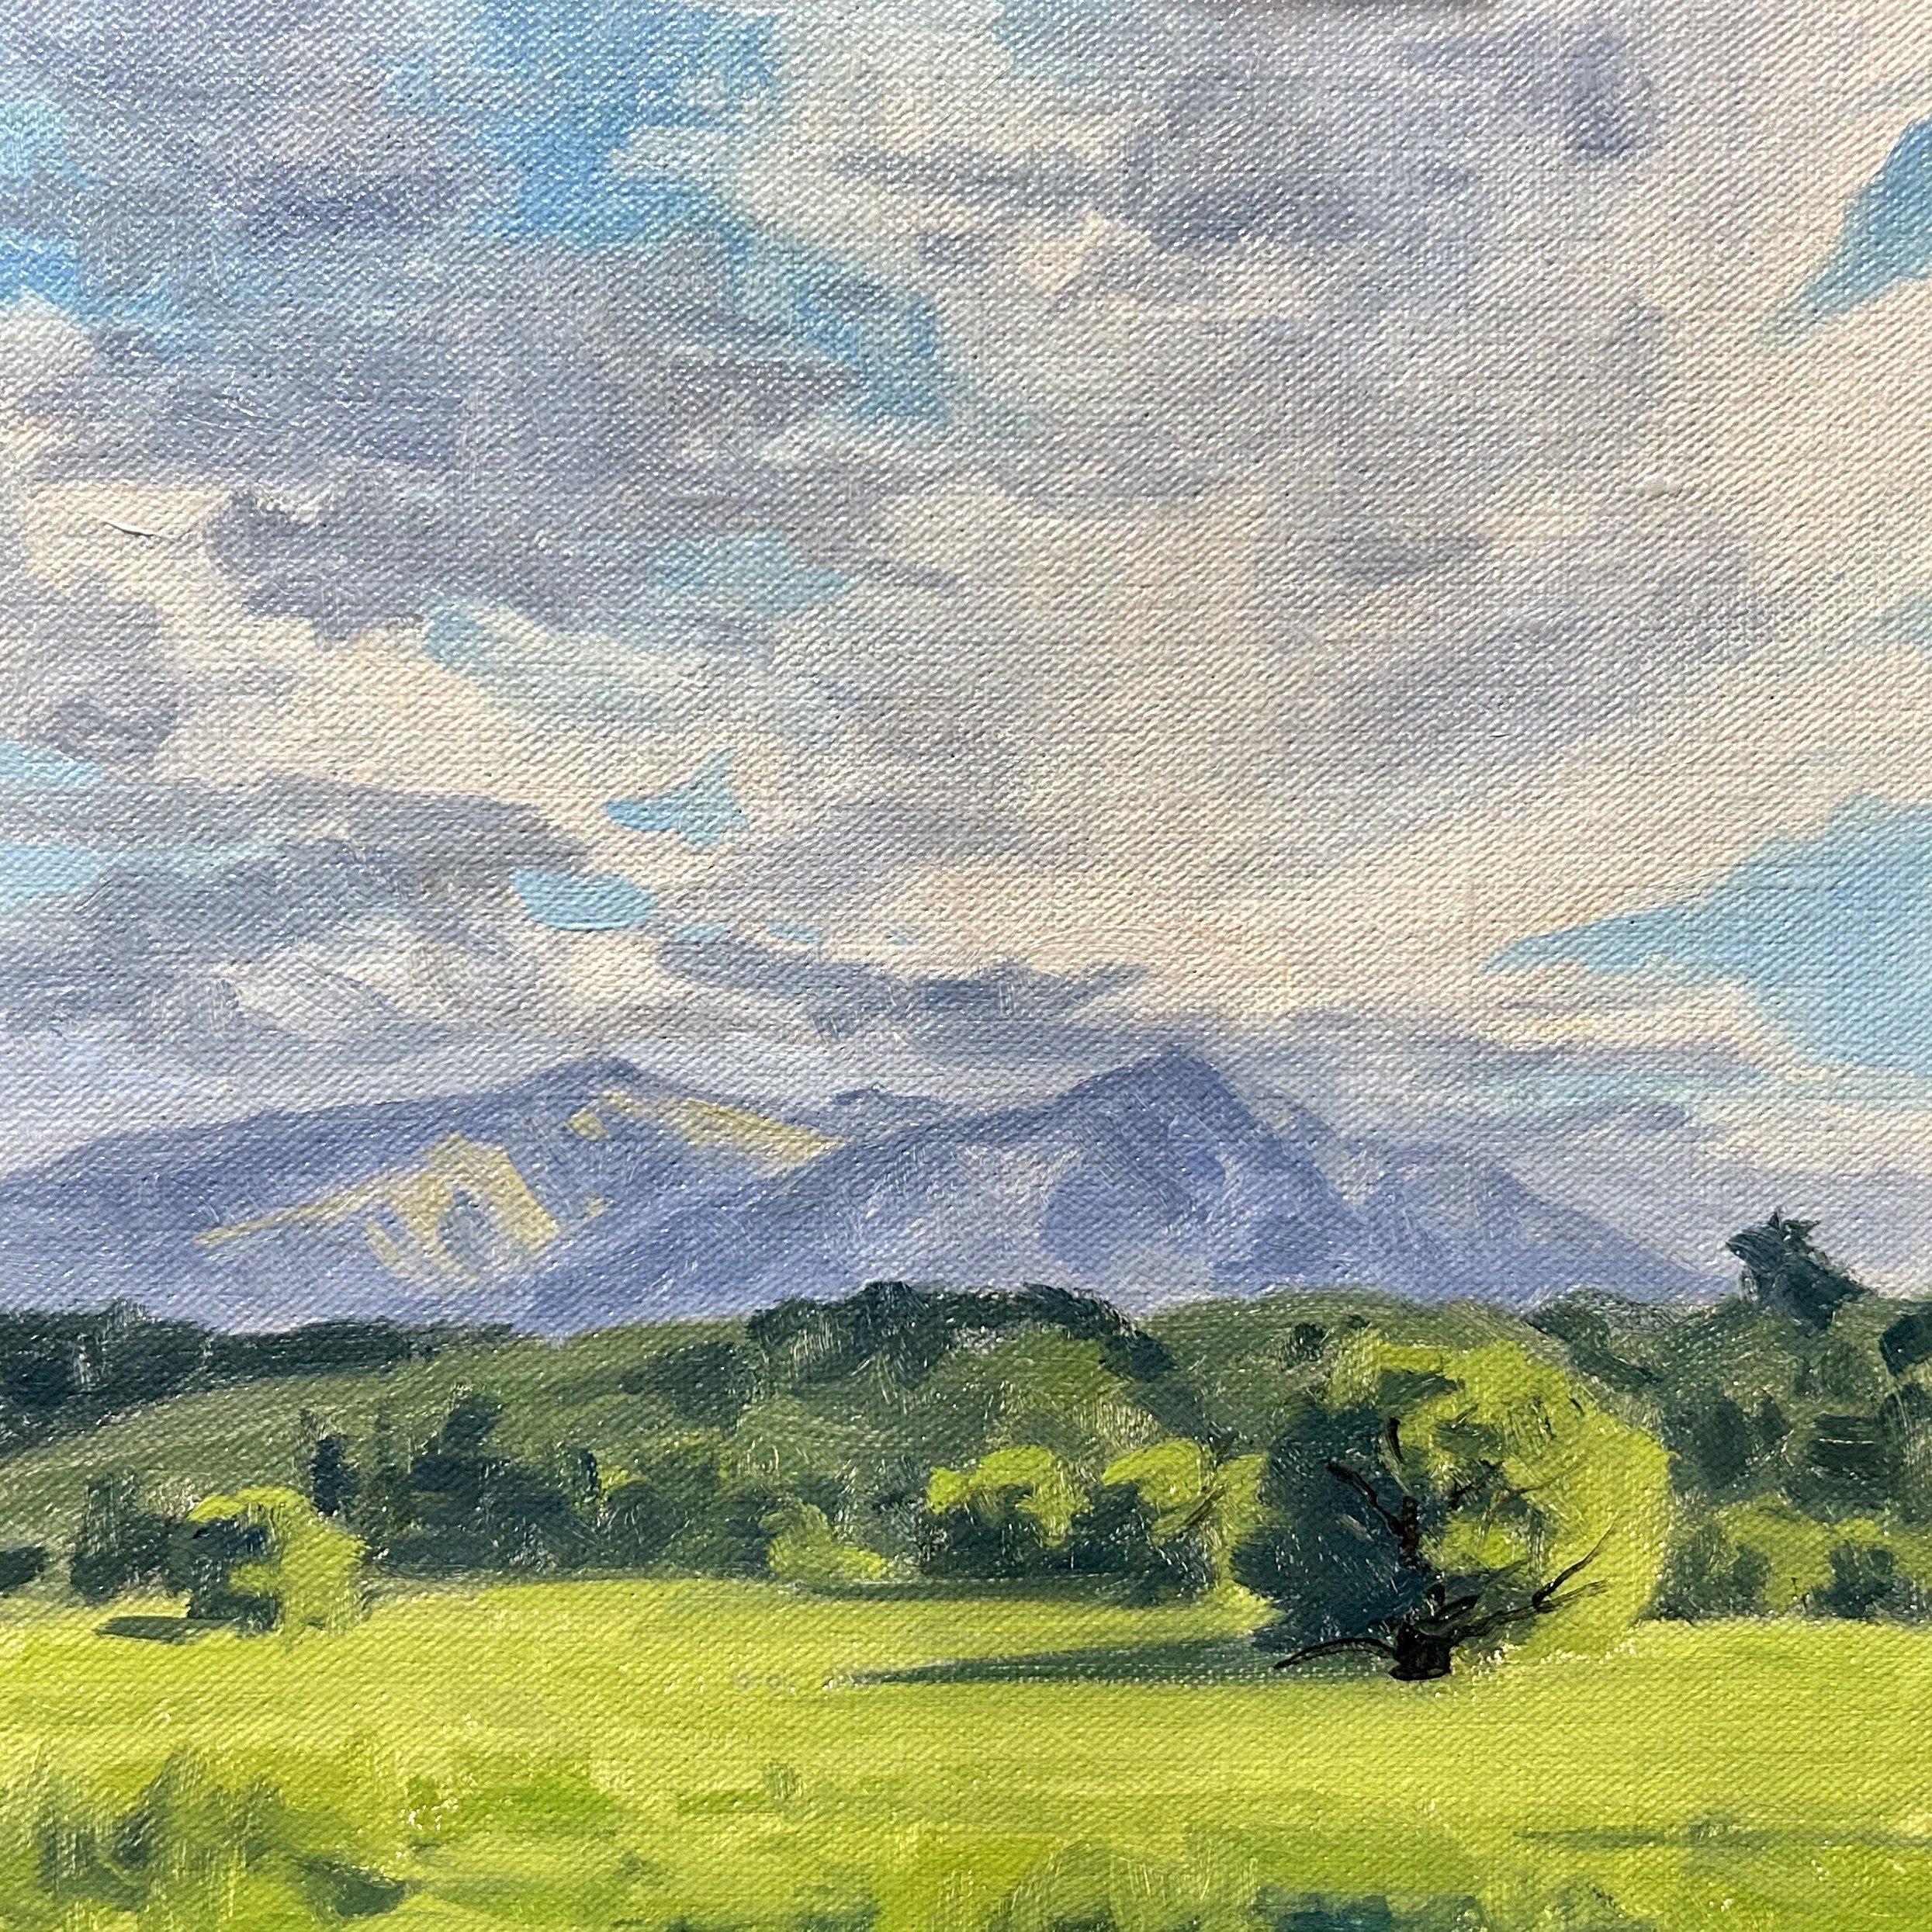
Painting the Foreground
The foreground is in full sunlight which creates a nice contrast in the painting especially when juxtaposed against the mid-ground hill which is in shadow.
For the grass in the foreground, I use a mix of ultramarine blue, cadmium yellow, titanium white, cobalt teal and a little cadmium red light. The cadmium red light helps to desaturate the green. For those richer greens in the foreground, I use more ultramarine blue, cadmium yellow and cobalt teal in my mix. I am able to use similar colors for the willow tree highlights. The willow tree colors are similar in value to the grass but a little darker.
Keep in mind that grass is one of the lighter values to be found in the landscape.
Modeling
At this stage of the painting I had allowed it to dry and I began adding a little detail and texture to the clouds. I am using the same colors as I was before however, when adding the cloud highlights, I mix in a little yellow ochre along with plenty of titanium white.
When adding details to the mountains, I use a No.3 Ivory flat and a No.3 Ivory Filbert brush to paint the jagged edges of the mountain slopes. These brushes have a synthetic bristle for more detailed and defined marks.
When building up the form of the foreground willow tree I paint a large area of reflected light in the shadow of the tree’s canopy. I use varying mixes of yellow ochre, ultramarine blue, cobalt teal, quinacridone magenta and a little cadmium yellow and titanium white. For the dark accents in the tree’s canopy, I use a mix of ultramarine blue and yellow ochre.
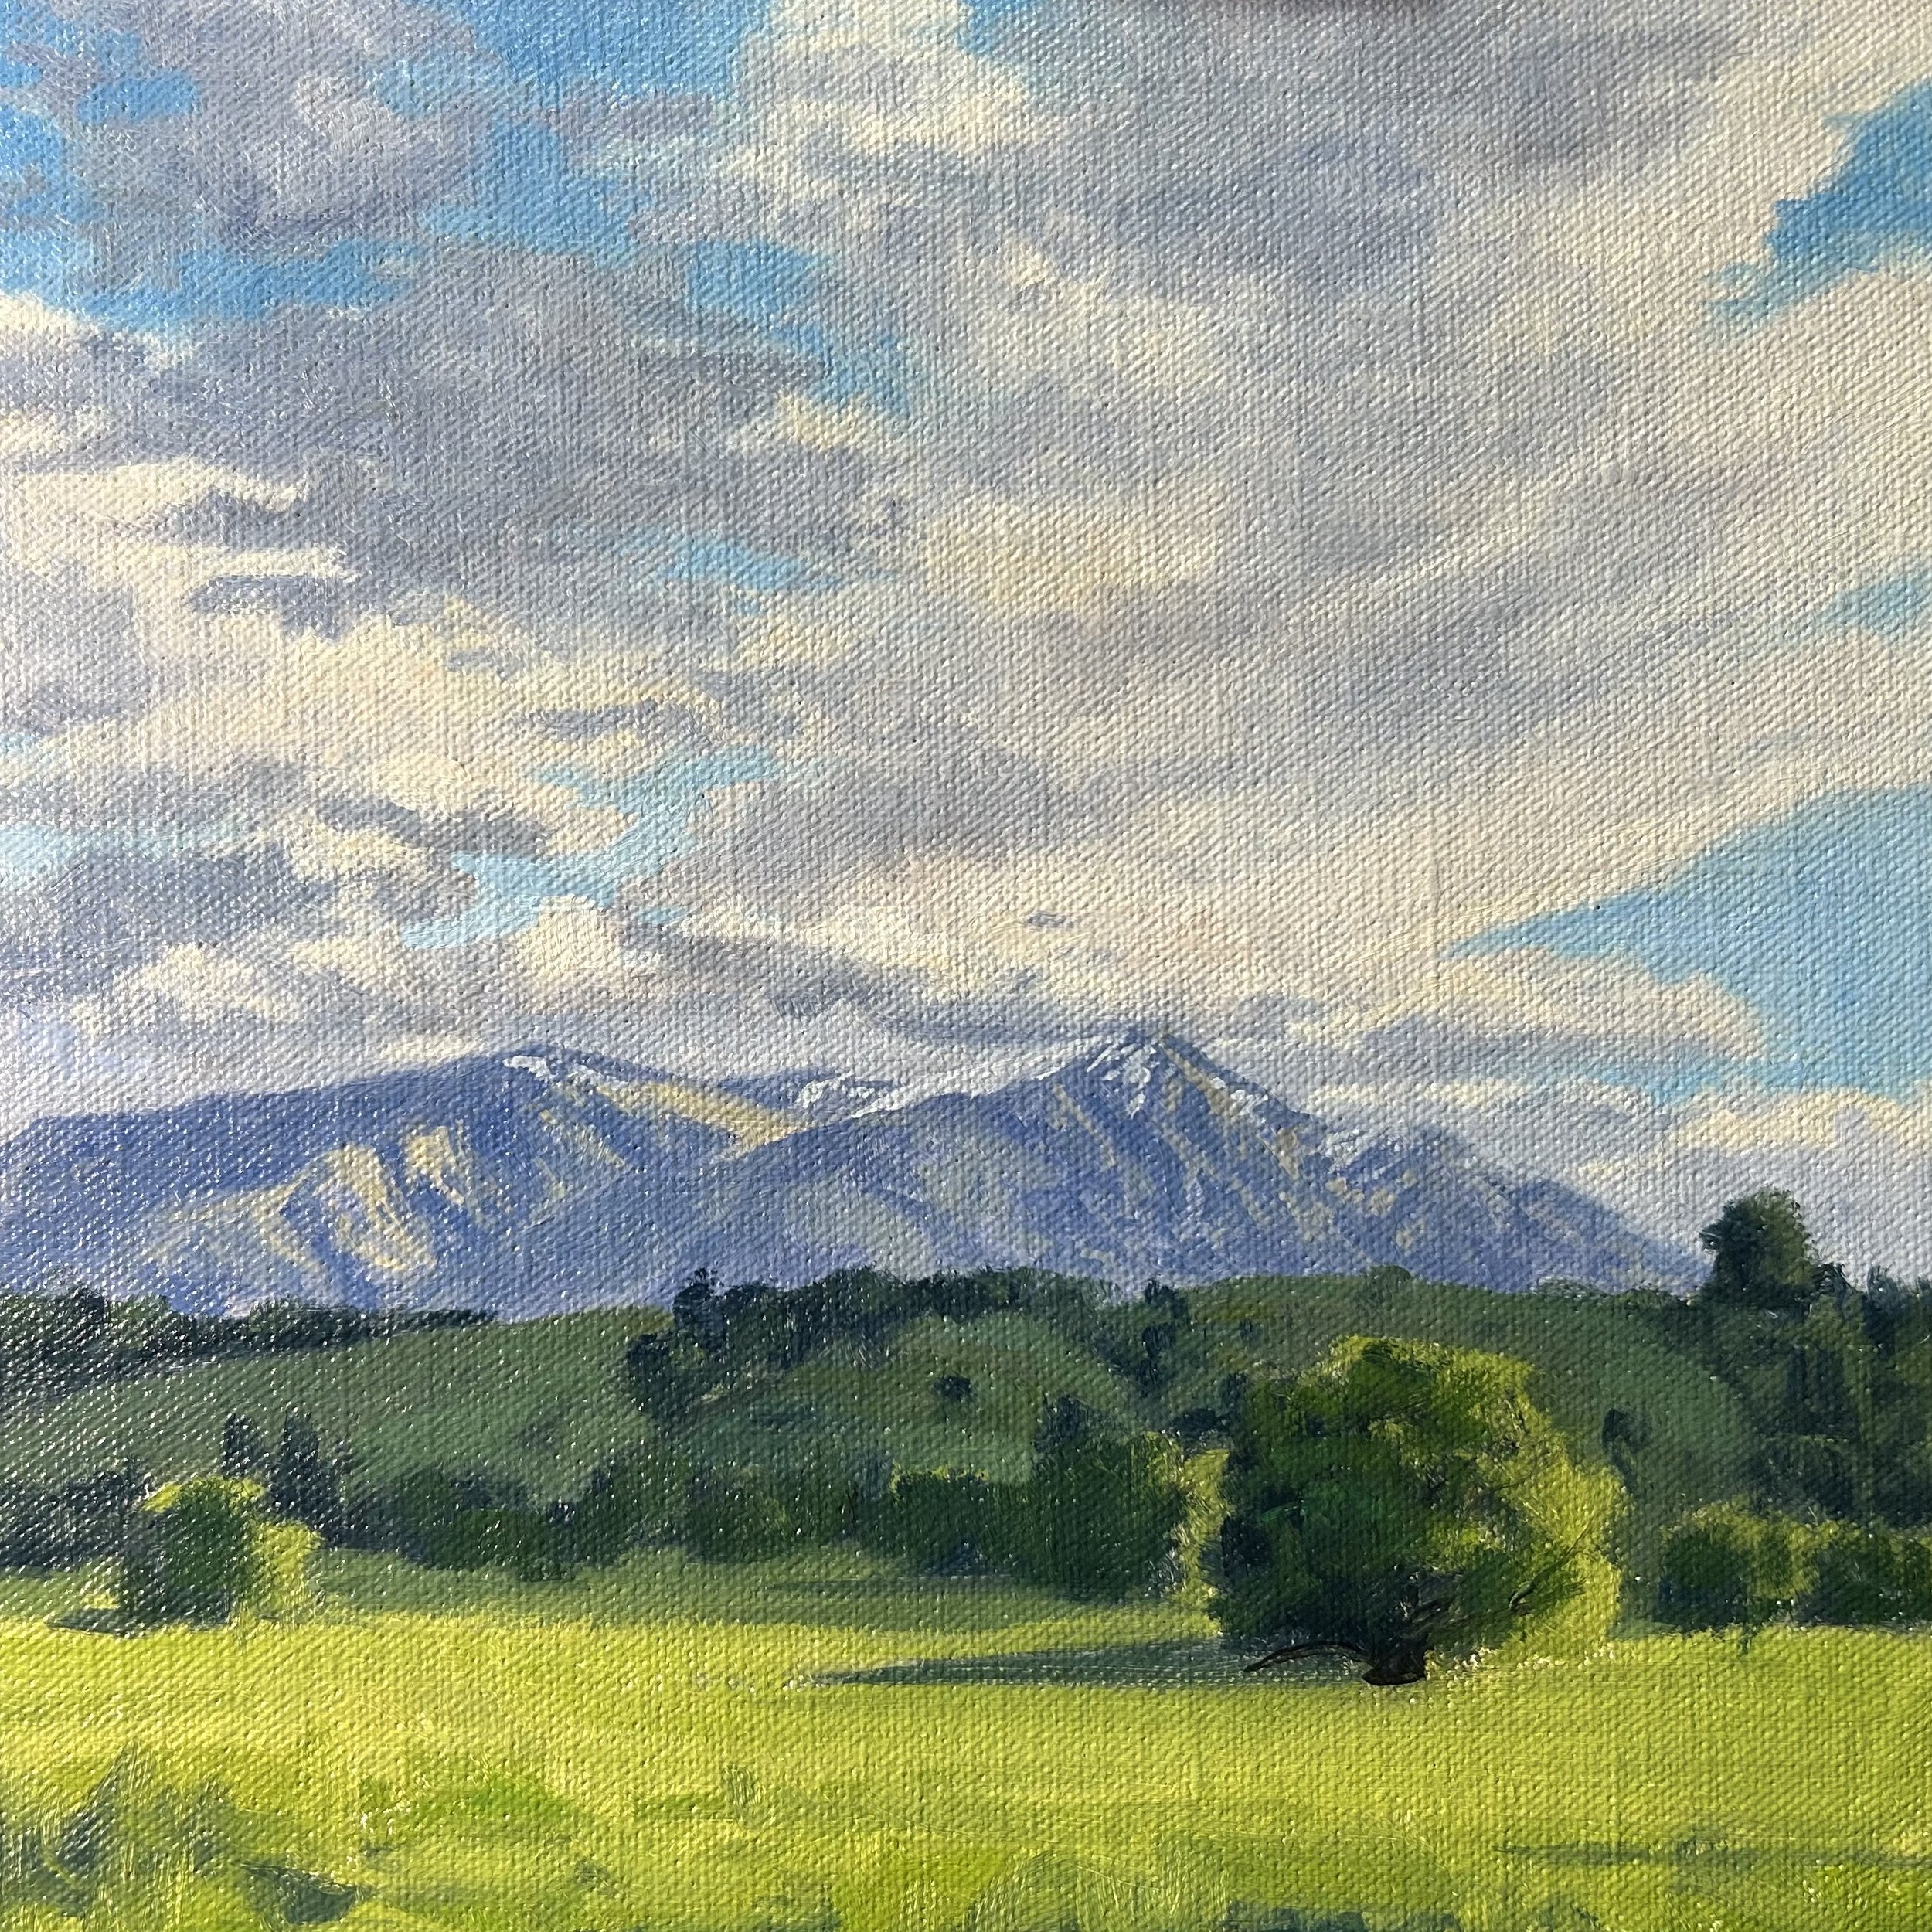
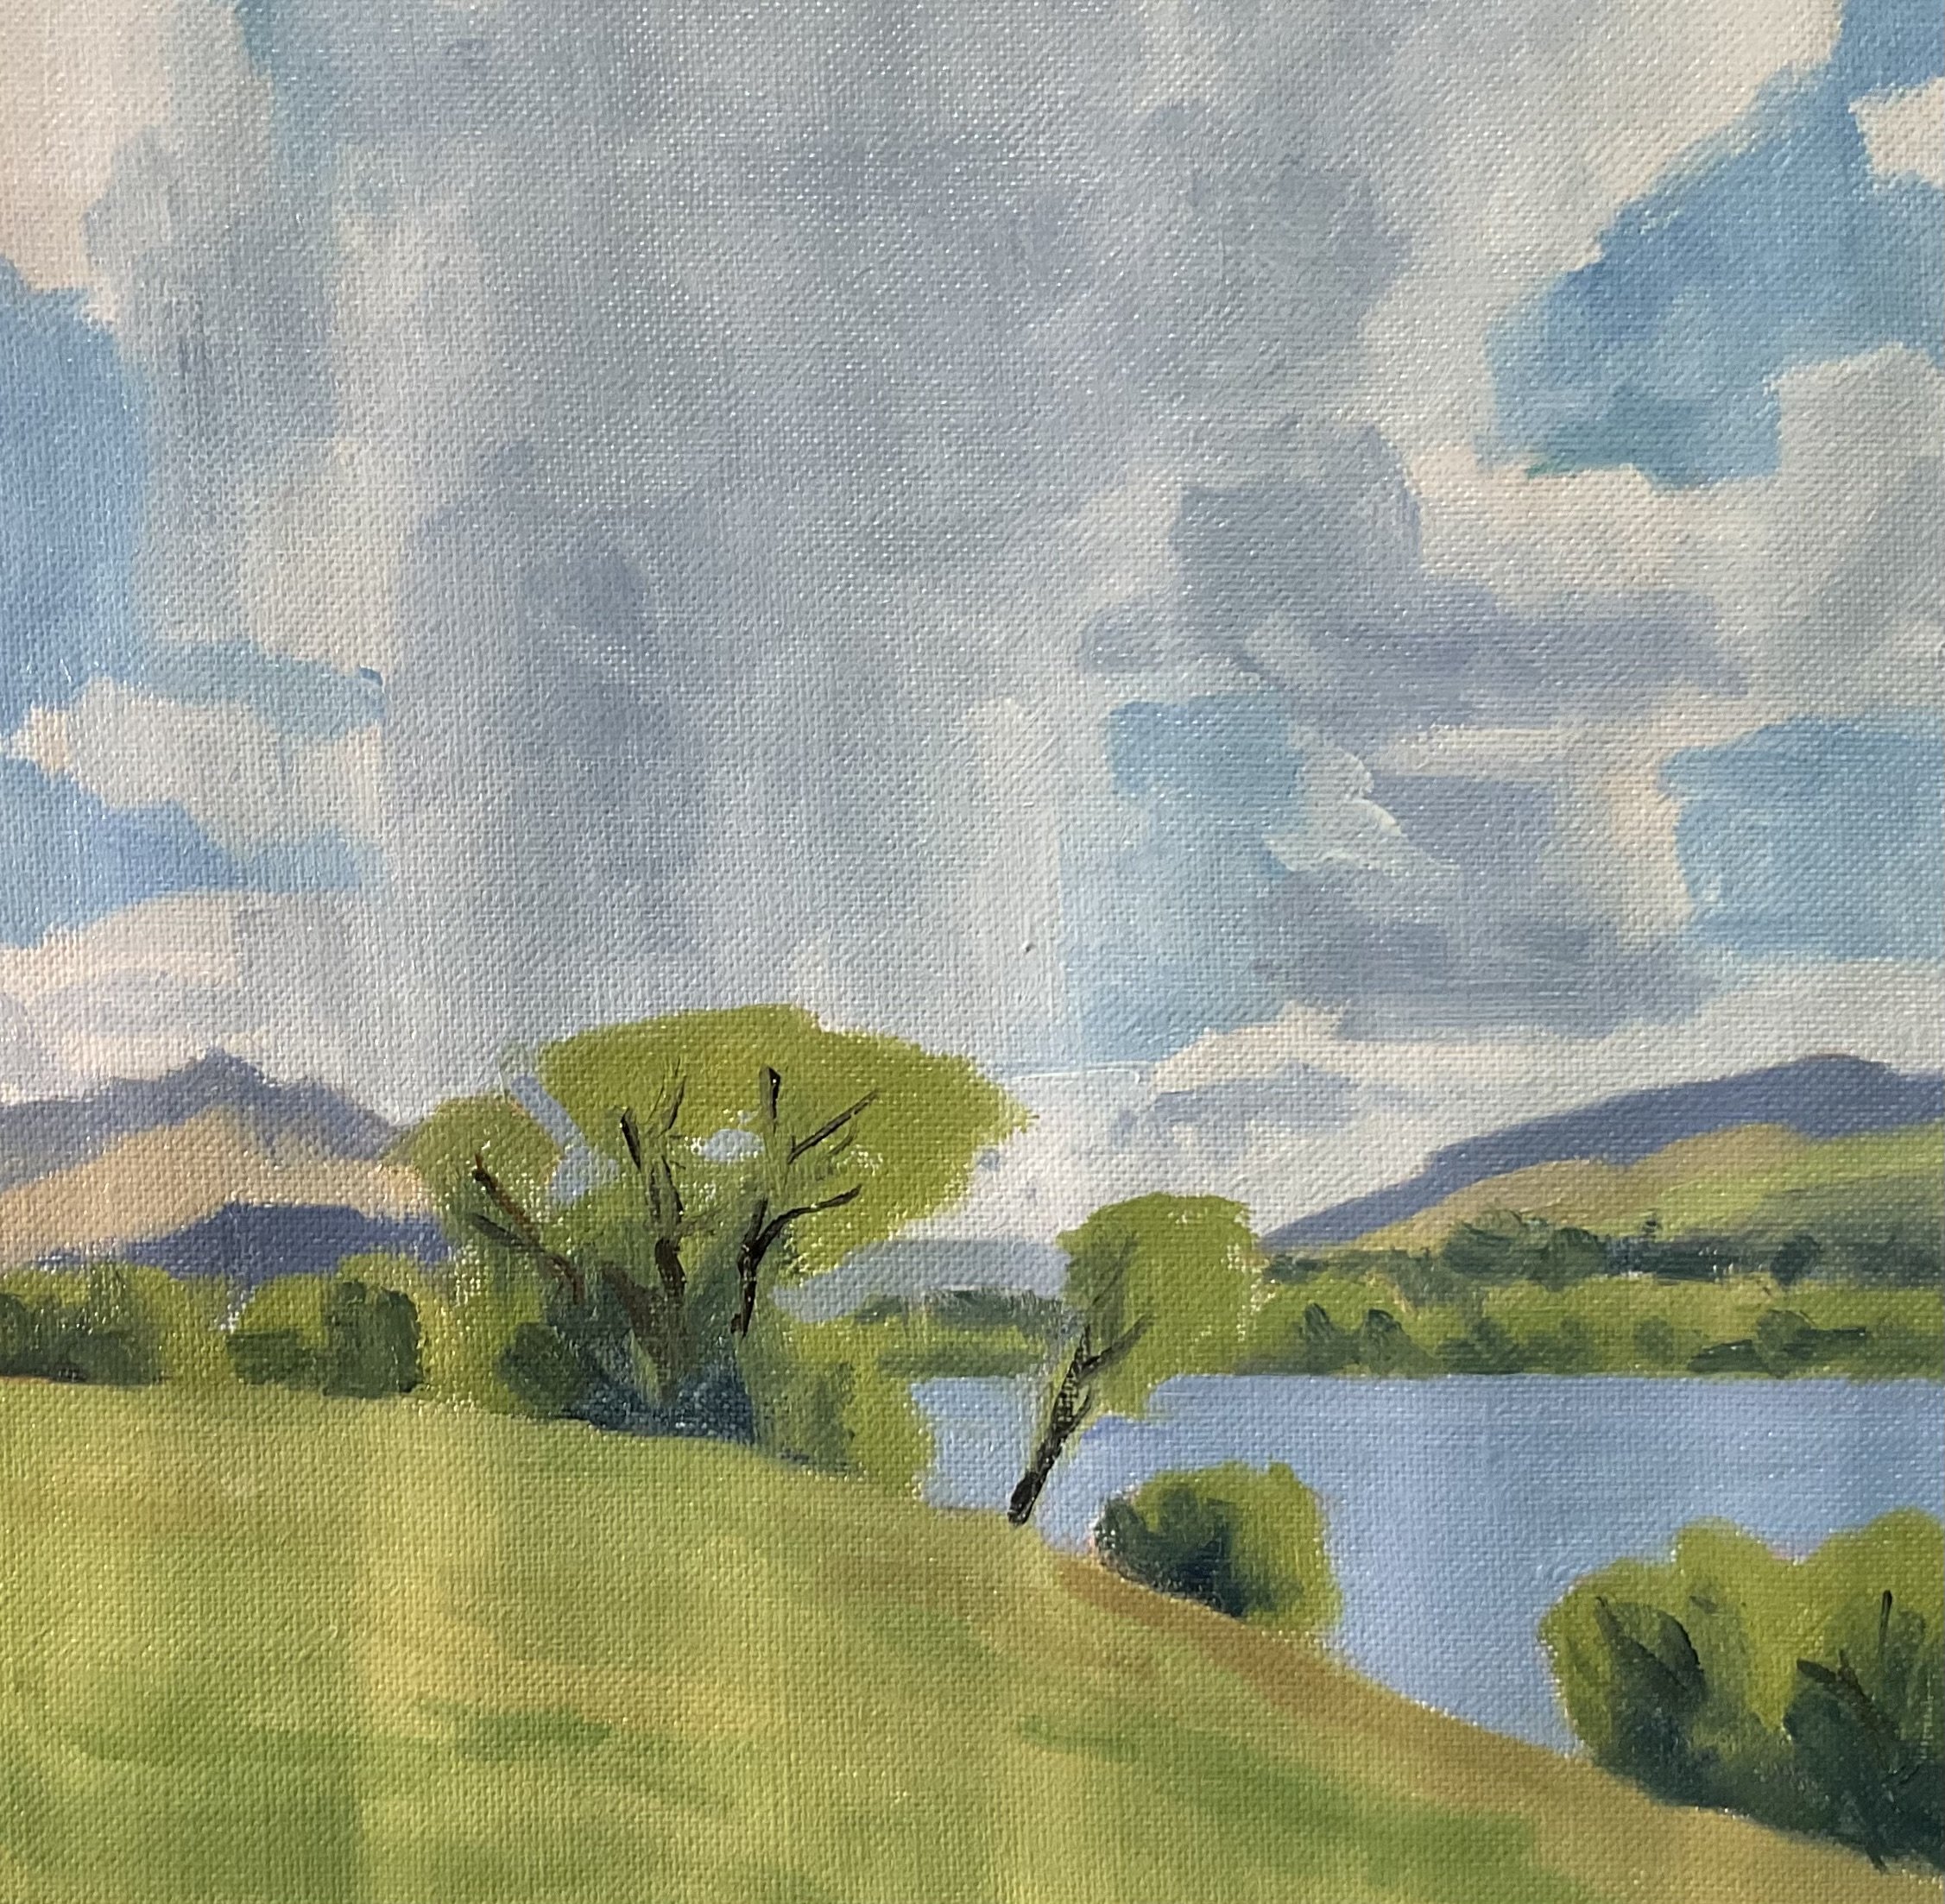
Adding Details and Finishing The Painting
I finish the painting by adding the last highlights to the willow trees using varying mixes of cadmium yellow, ultramarine blue, cobalt teal, cadmium red and titanium white. For those last highlights, I use a small amount of my green mixture and add titanium white and some cadmium yellow. I sparingly apply the paint with a No.0 synthetic round brush.
I paint some more cool reflected light in the hills using a mix of ultramarine blue, cobalt teal, yellow ochre, cadmium yellow, quinacridone magenta and titanium white.
Finally, I paint the suggestion of a network of branches within the willow trees using a No.0 rigger brush and I also paint some cows in the field to finish.
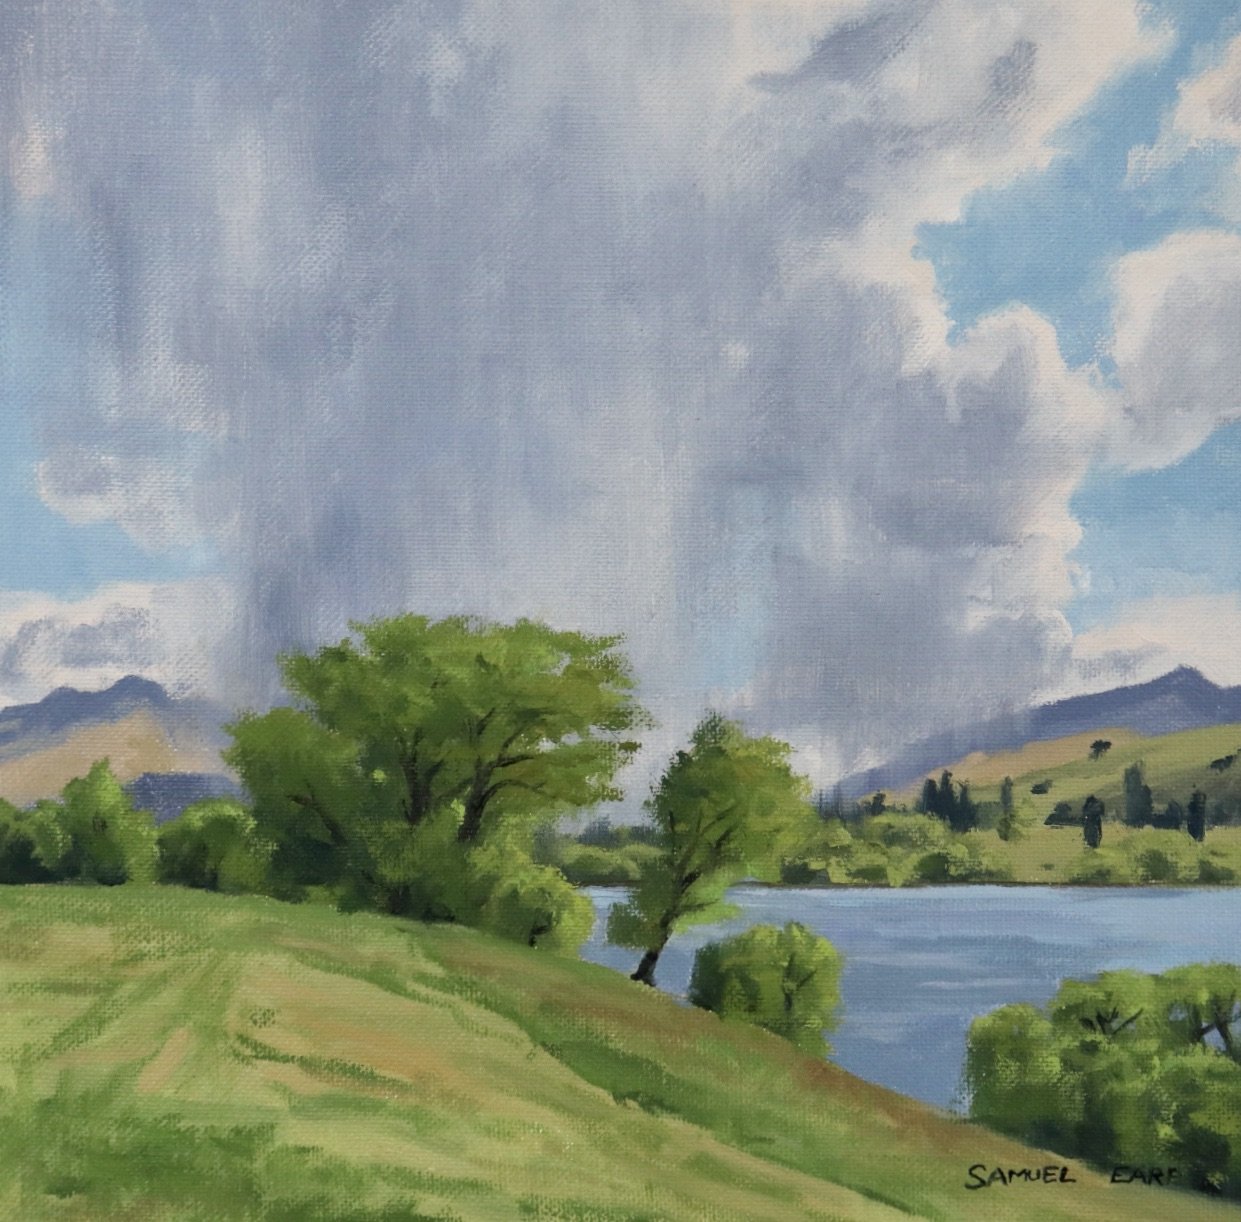
Painting Demonstration #2 – Painting Rainy Clouds
Reference Photo
Please feel free to use or copy this photo if you would like to have a go at painting this artwork.
Colors Used
The colors I used in this painting are as follows:
- Titanium white
- Burnt sienna
- Yellow ochre
- Cadmium yellow
- Cadmium red light
- Alizarin crimson
- Ultramarine blue
- Phthalo green
Brushes
Here is a list of the brushes I used in this painting:
- No.5 flat
- No.3 flat
- No.2 flat
- No.3 filbert
- No.1 round
- No.0 round
Just like with the previous painting demonstration, I sketched out my composition using burnt sienna mixed with Liquin Original.
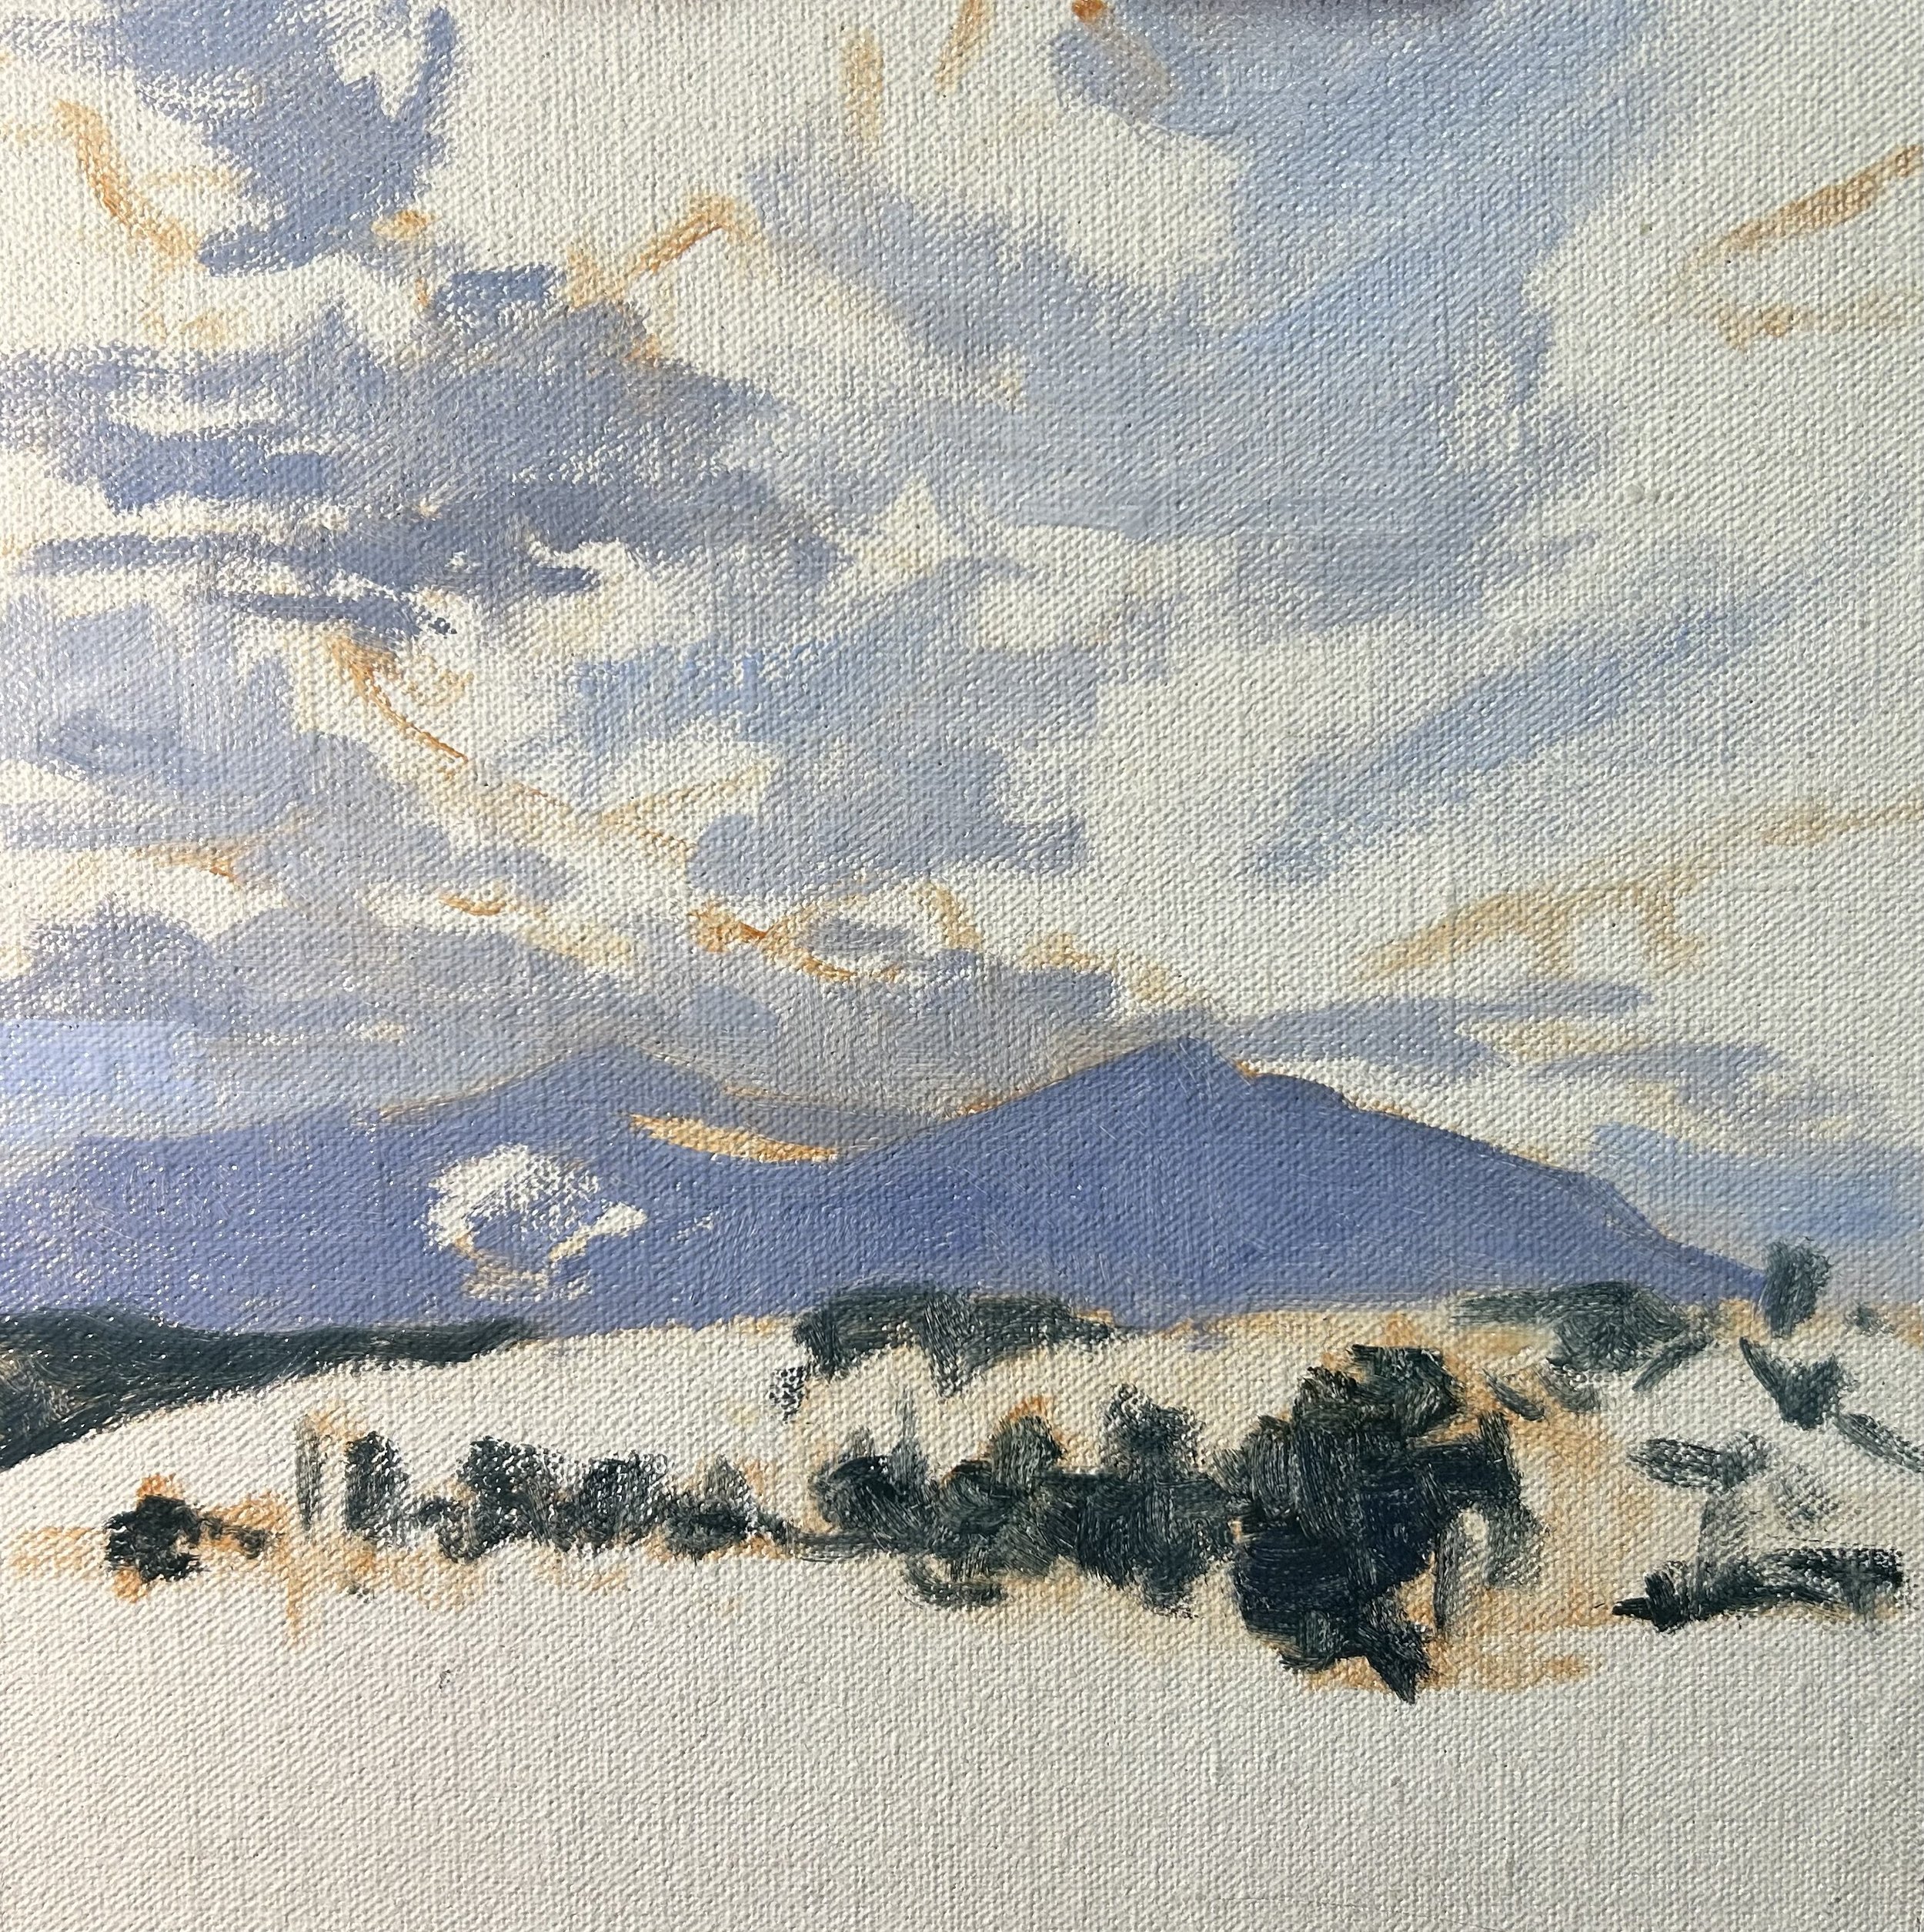
Painting the dark values and shadows
I paint the dark values and shadows first and I paint the bulk of the rainy cloud with a mix of ultramarine blue, burnt sienna, titanium white and a little alizarin crimson.
I mark in the other shadow areas in the painting including the distant hills and the tree shadows.
For the distant hills, I use the same colors as I used for the clouds but with less titanium white in the mix and for the trees I use a mix of ultramarine blue and yellow ochre.
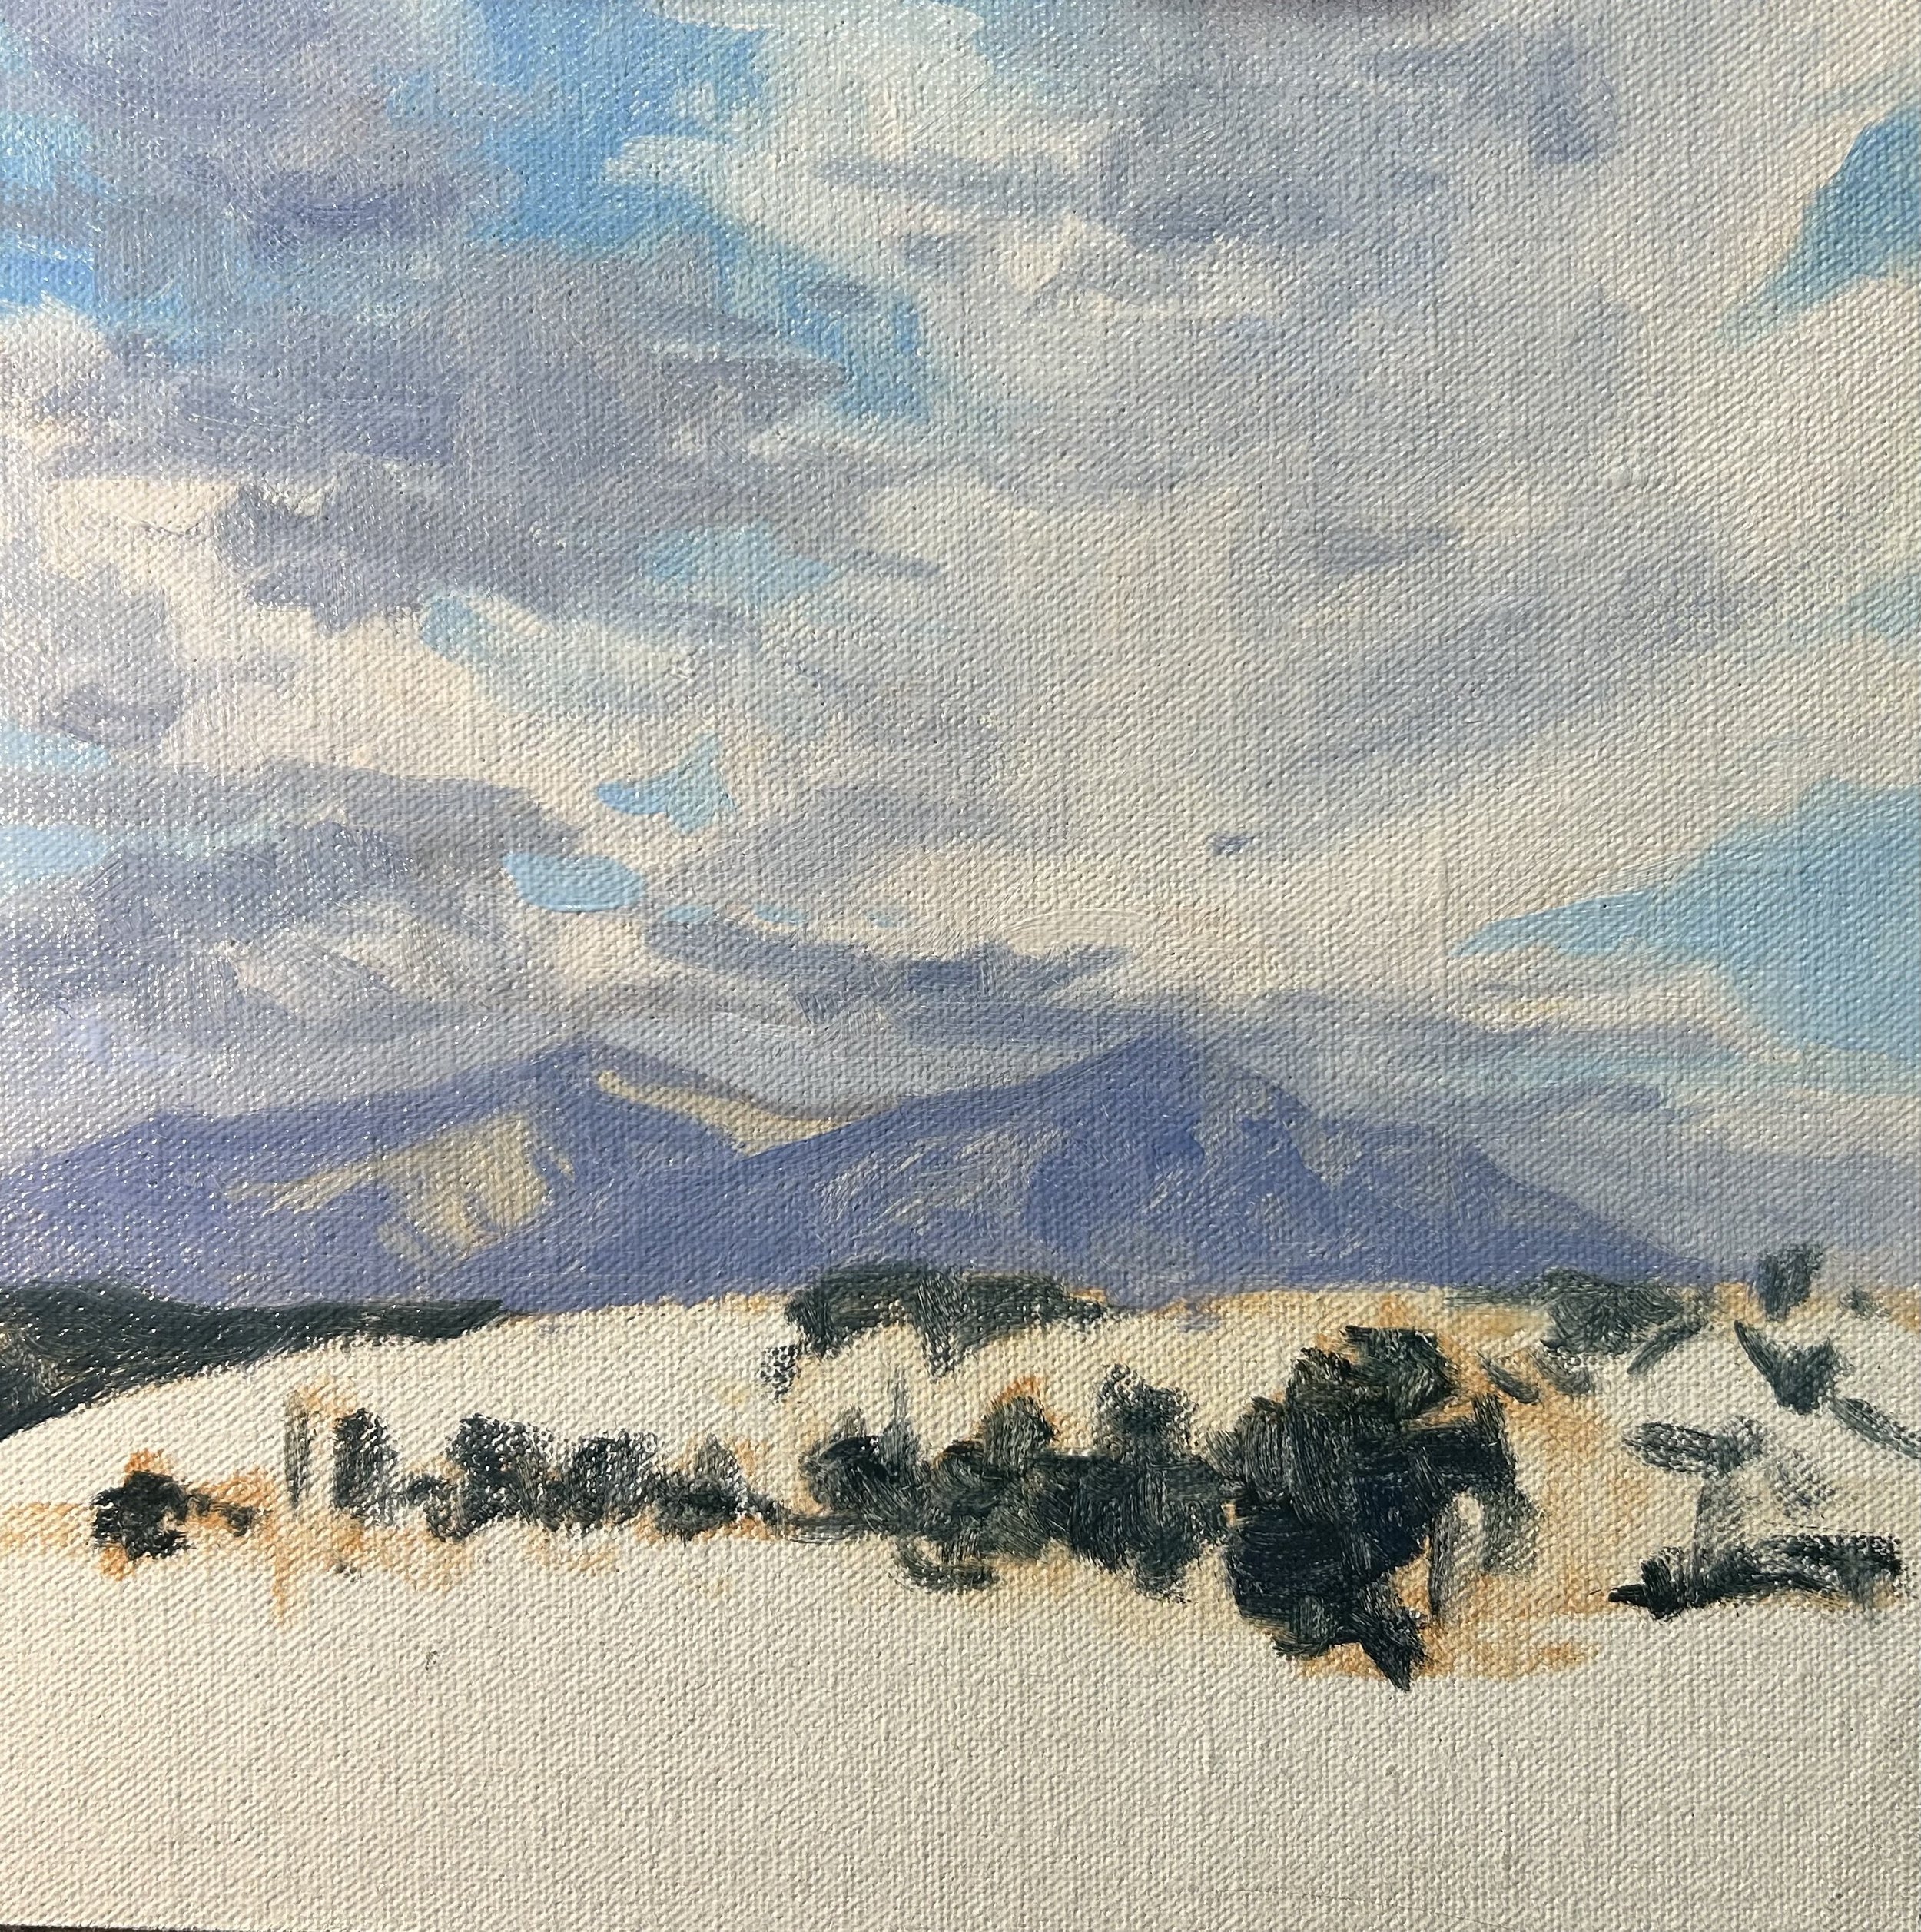
painting the sky and clouds
I paint the cloud highlights using titanium white and burnt sienna. The sky is a mix of ultramarine blue, phthalo green and titanium white.
For the tree foliage, I use varying combinations of yellow ochre, cadmium yellow, ultramarine blue, titanium white, phthalo green and a little cadmium red light.
Painting the grass
I paint the grass using similar colors to the trees but I keep in mind the value of grass is generally lighter than tree foliage. I let the painting dry so I can add some details to it.
Adding Details and Finishing The Painting
To give the clouds a rainy effect, I dry brush the wet paint in a downward direction, giving the illusion of distant showers. I also tidy up the clouds by adding highlights using titanium white and a little burnt sienna.
I finish the painting by adding details to the trees and grass in the foreground.
Final Thoughts
I hope you enjoyed this written painting demonstration; however, I have only scratched the surface as there is way more to this painting. Check out my painting tutorial videos and other content on my Patreon channel.
