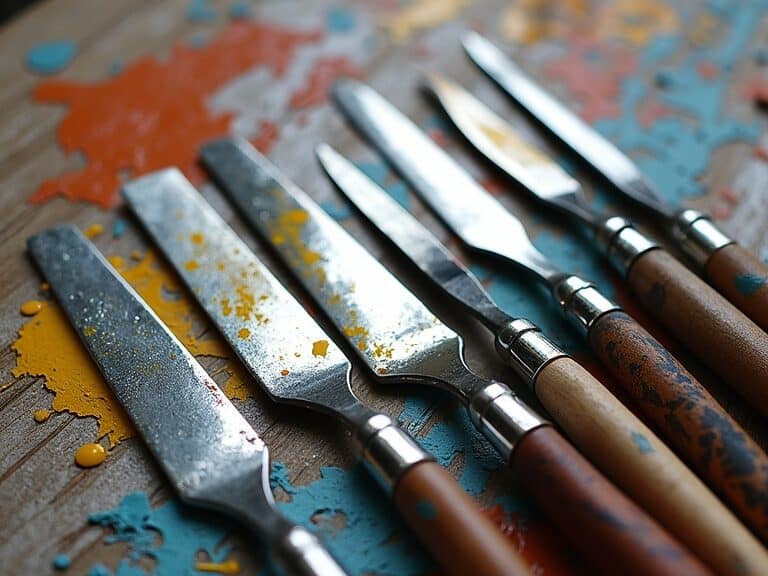
Have you ever stood before a Van Gogh painting, mesmerized by those thick, swirling strokes that seem to dance off the canvas? I certainly have, and that moment sparked my love affair with palette knife painting. After years of creating textured landscapes, I’ve learned that the secret isn’t just in the technique – it’s in choosing the right tools.
Whether you’re a beginner who’s tired of brushes or an experienced artist looking to add more dimension to your work, I’m here to share everything I know about selecting and using palette knives for landscape art.
Why Choose Palette Knives for Landscapes
Now, I’ll be honest: as a landscape painter, I don’t often use palette knives; however, I am interested in artists who do use them, and so I wrote this article as I want to find out more!
Unlike brushes, palette knives offer unparalleled control over texture and depth. They allow you to build layers, create bold strokes, and achieve effects that aren’t possible with traditional brushes. Plus, there’s something incredibly satisfying about sculpting paint directly onto the canvas.
Understanding Impasto Technique
The impasto technique is where palette knives truly shine. By applying thick layers of paint, you can create stunning three-dimensional effects that capture light and shadow uniquely.
Key Benefits of Palette Knife Painting
From creating realistic rock formations to crafting delicate tree leaves, palette knives offer versatility that might surprise you. They’re also easier to clean than brushes, more durable, and can help you develop a distinctive artistic style.
Recommended Palette Knives
Blick Palette Knives by RGM
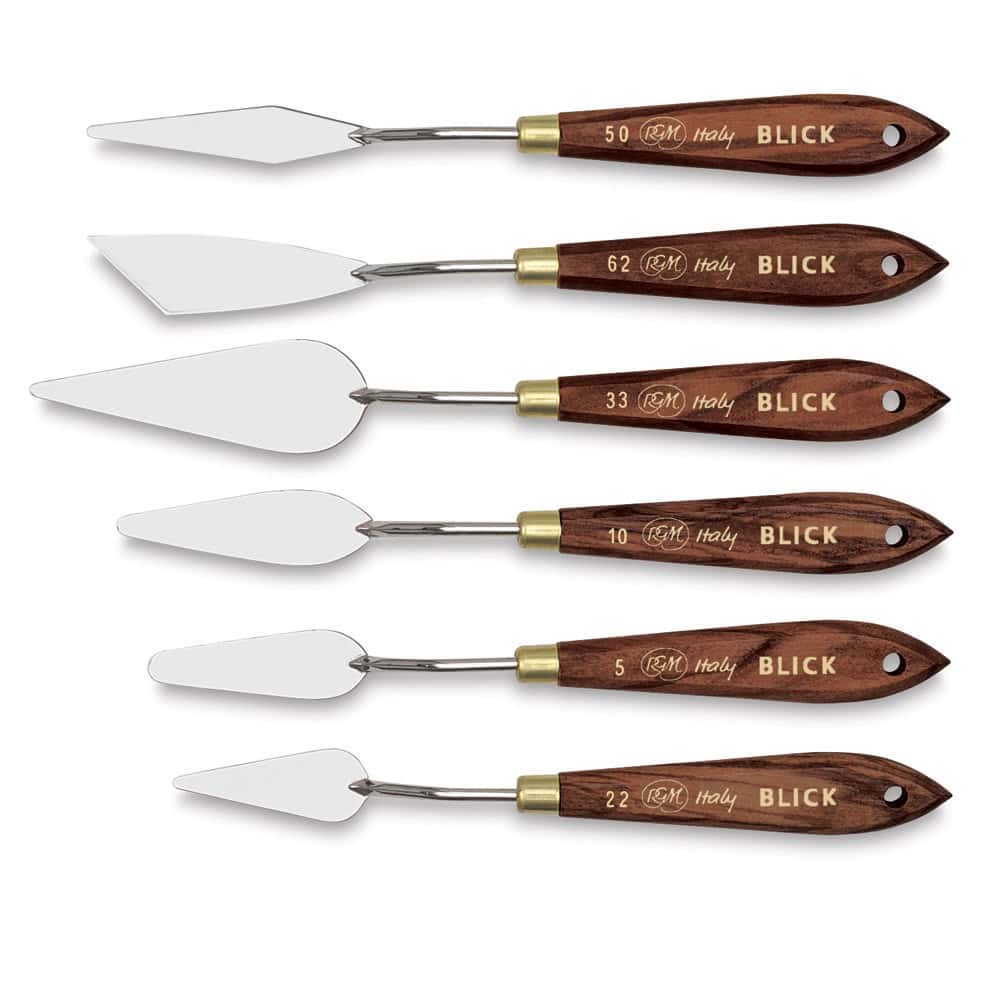
Blick Palette Knives by RGM are handcrafted in Italy with tempered steel blades and ergonomic wood handles, available in 3-piece and 6-piece sets designed for various painting techniques from detailed work to large-area coverage.
Price Range:
$5.53 – $31.31
Utrecht Palette Knives
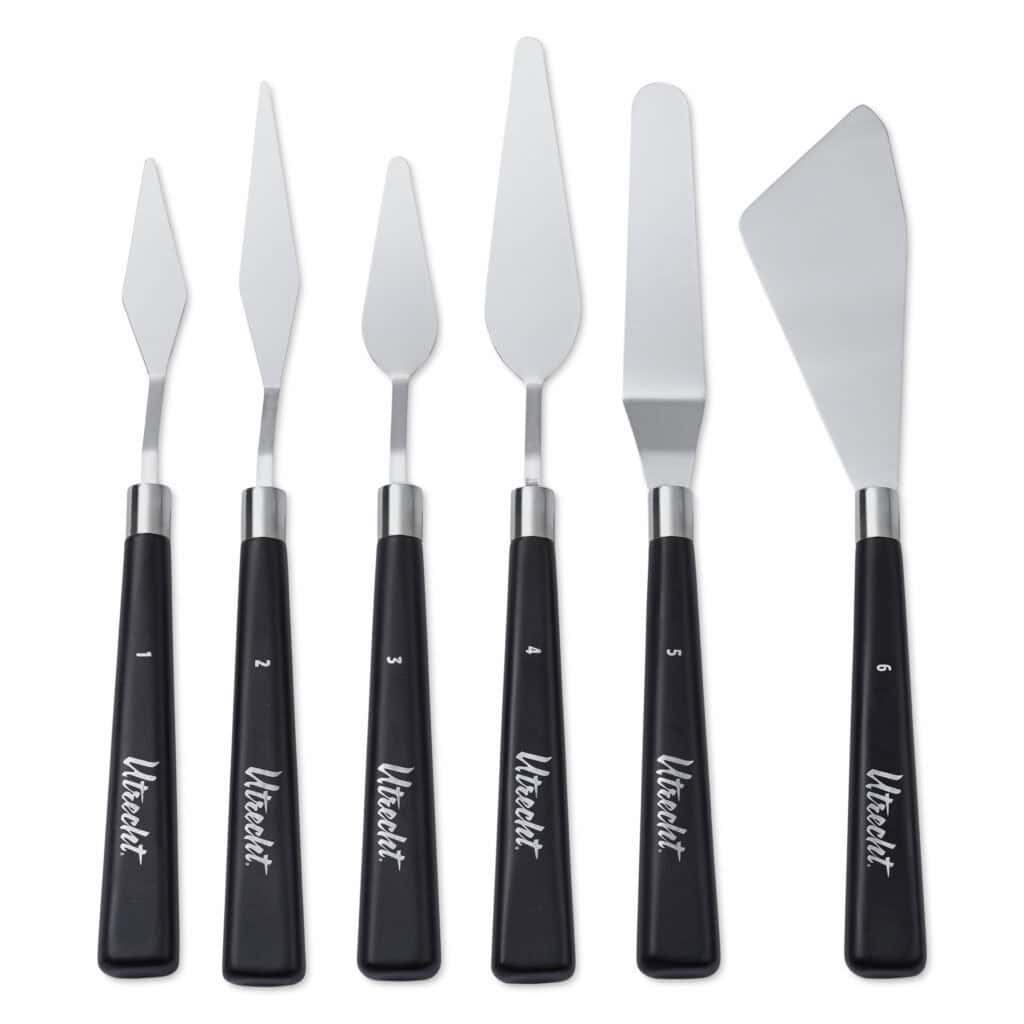
Utrecht Palette Knives feature single-piece steel construction with flexible blades and comfortable wooden handles, available in six shapes for various painting techniques from color mixing to detailed work with oils and acrylics.
Price Range:
$9.99
Utrecht Palette Knives
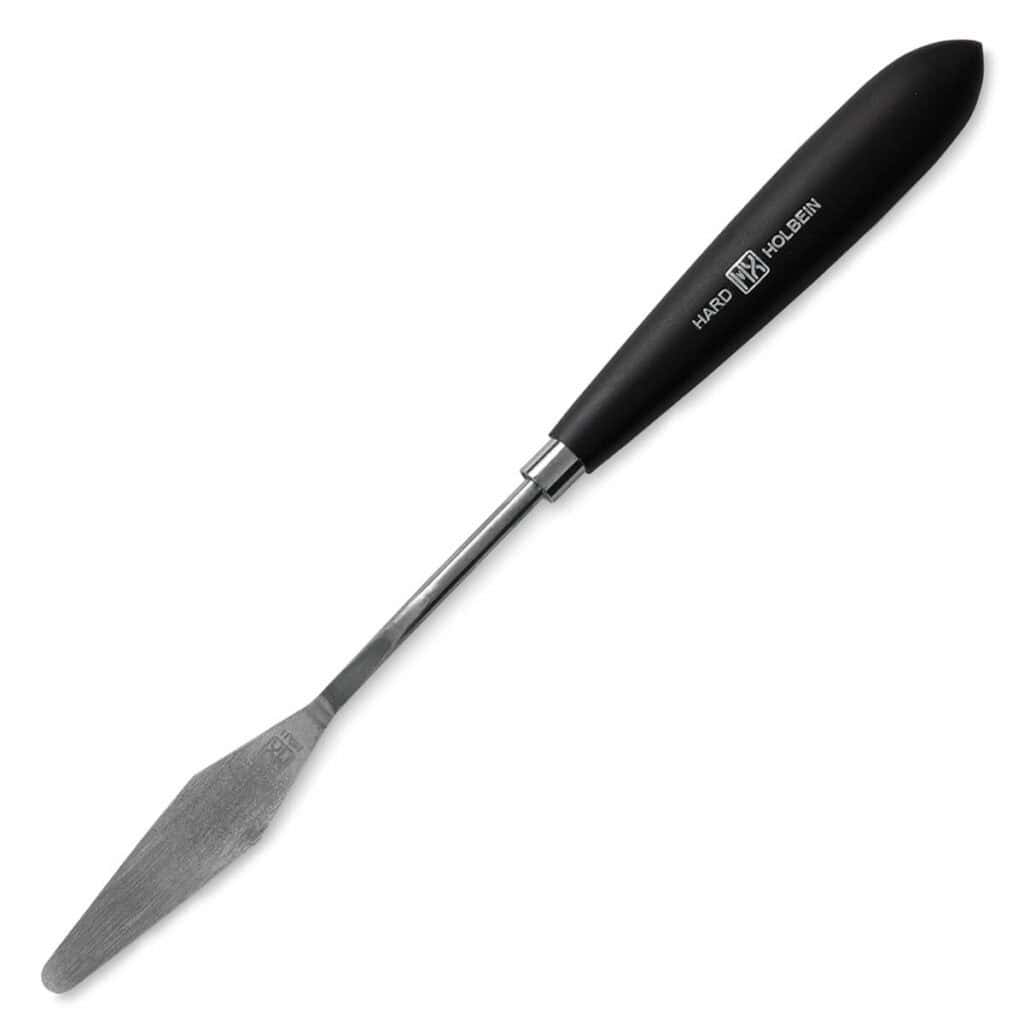
Holbein MX Series Painting Knives are Japanese-made with single-piece stainless steel construction, featuring a unique 12-degree neck angle and 0.1mm blade thickness, available in both soft and hard flexibilities for precise control with oils and acrylics.
Price Range:
$55.20 – $57.60
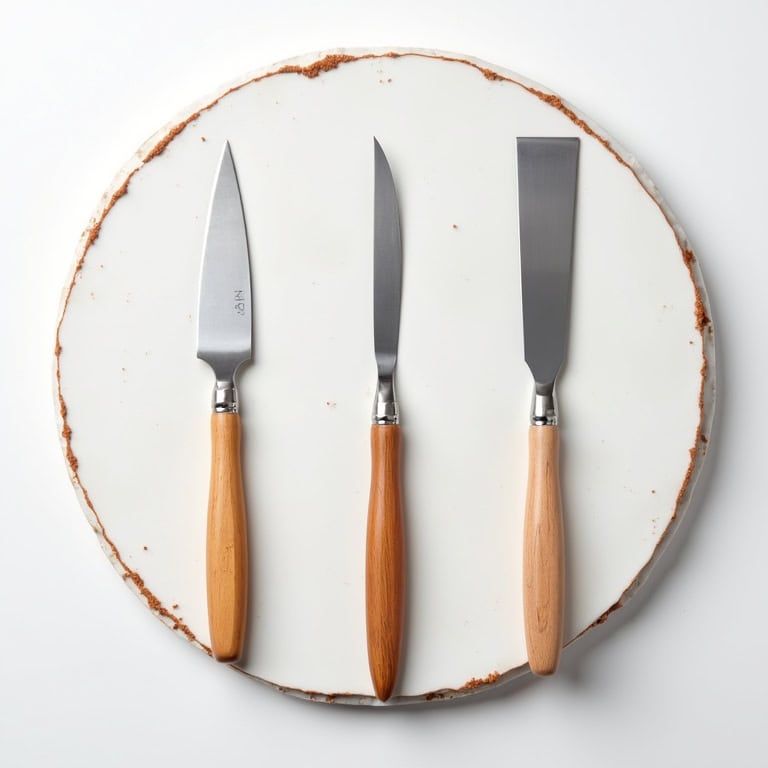
Types of Palette Knives and Their Shapes
There is an overwhelming variety of palette knives, and each shape serves a unique purpose in landscape painting. From broad strokes for skies to precise cuts for tree details, understanding these differences will transform your artistic journey.
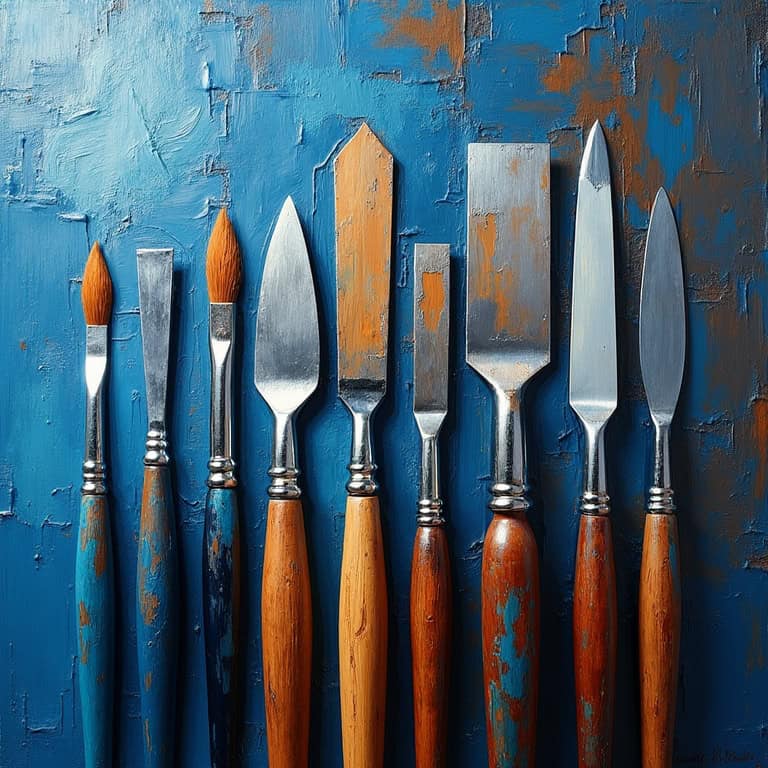
Diamond-Shaped Knives
These are my go-to tools for creating sharp, decisive marks. The pointed tip is perfect for fine details like tree branches or grass blades, while the wider middle section helps in blending larger areas. I particularly love using these for creating rocky textures in mountain scenes.
Trowel-Style Palette Knives
Think of these as your workhorses. With their rounded tips and balanced design, they’re incredibly versatile. They can be used for everything from laying down broad sky strokes to creating gentle cloud formations. The curved edge is especially useful for creating smooth, sweeping motions.
Curved and Specialty Shapes
Curved knives are fantastic for creating organic shapes like rolling hills or wave patterns. I’ve discovered that different curves can create different effects – gentle curves for distant mountains and sharper ones for dramatic cloud formations.
Multi-Purpose Options
If you’re just starting out, these are your best friends. I always recommend beginners start with a good multi-purpose knife. They’re designed to handle various techniques, and I still use mine regularly for quick studies or when I want to travel light.
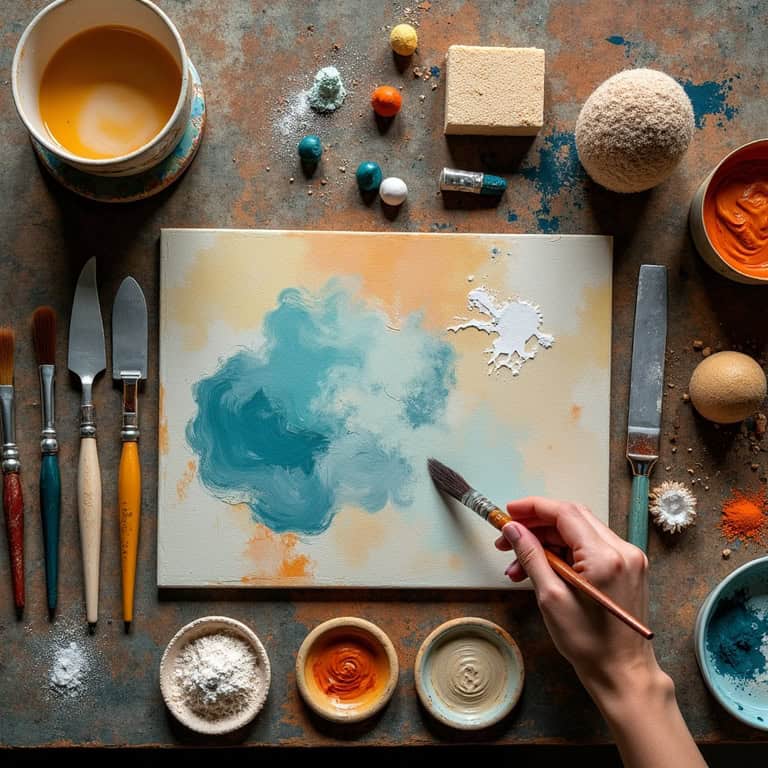
Essential Materials and Preparation
Creating stunning textured landscapes isn’t just about the knives – it’s about having the correct setup and materials. Proper preparation can distinguish between a good painting and a great one.
Surface Preparation
Your canvas choice matters more than you might think. I learned this the hard way when I first started, using flimsy low-quality canvases that couldn’t handle thick paint applications. Now, I always use high-quality, properly primed canvas, Belgian linen, or panels. The surface needs to be smooth yet have enough tooth to hold the paint.
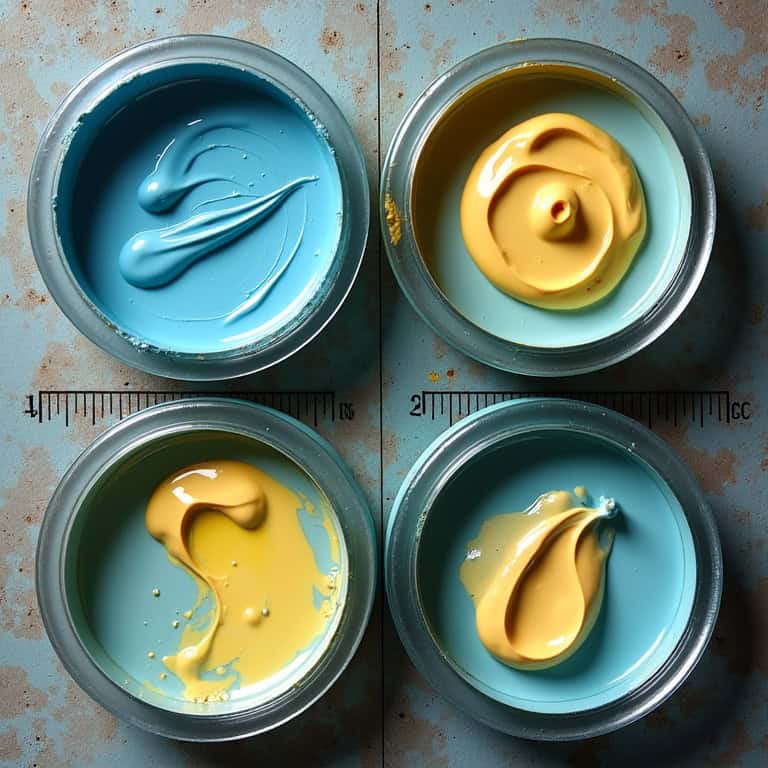
Paint Consistency
Here’s something crucial I’ve discovered: the consistency of your paint can make or break your brushwork and, therefore, likely your palette knife work also. Too thin, and you’ll lose those beautiful textures; too thick, and it becomes unmanageable. I use oil paint, and I embrace its butter-like consistency. Sometimes I’ll mix in a small amount of painting medium to achieve the perfect texture.
Supporting Tools and Equipment
Beyond the knives themselves, I keep a few essential items handy. A sturdy easel that won’t wobble when I apply pressure, plenty of paper towels (trust me, you’ll need them), and a good cleaning solution.
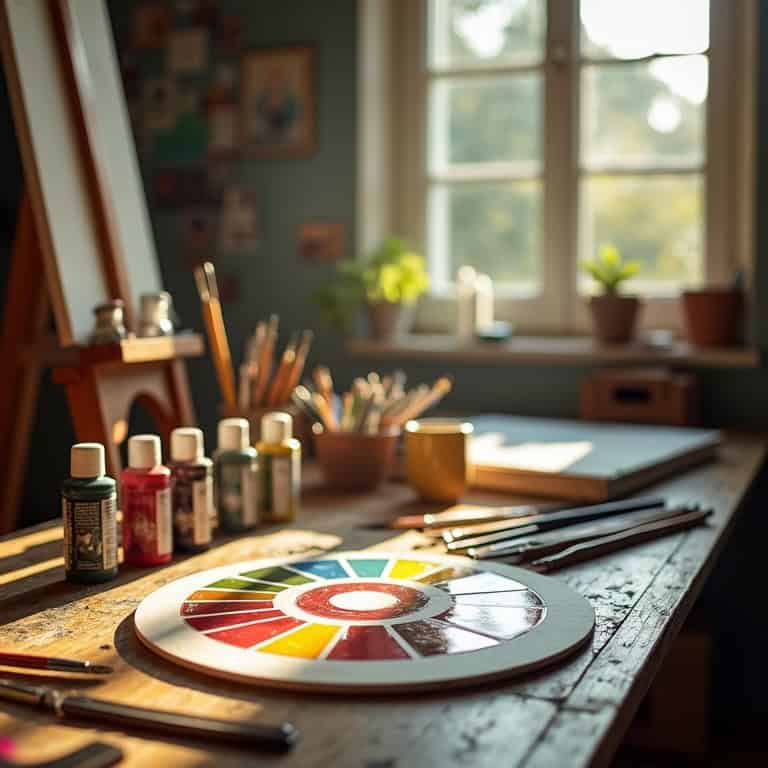
Workspace Setup
Your workspace needs to be organized and well-lit. I arrange my paints in a specific order, including earth colors, warm and cool, and keep my most-used knives within easy reach. Good lighting is crucial; I prefer natural light but supplement it with daylight-balanced lamps when needed.
Choosing the Right Size for Different Techniques
The size and selection of your palette knives can dramatically impact your work. The right knife size can make specific techniques effortless, while the wrong one can leave you frustrated and your painting awkward.
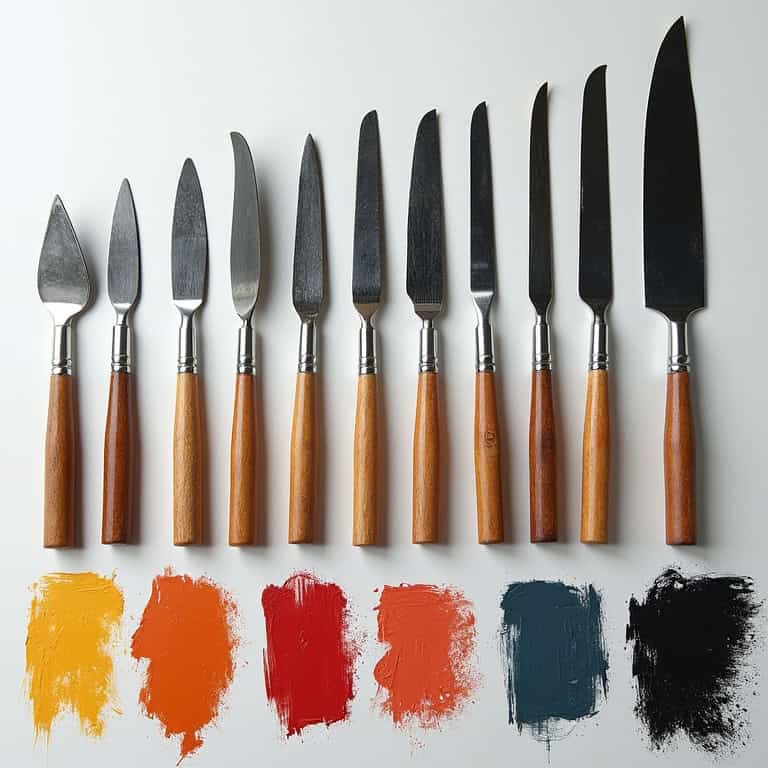
Small Detail Work
Small knives are an obvious choice for intricate details like distant trees or delicate flowers, usually around 1-2 inches long. These allow for precise control and can create surprisingly delicate effects. They can also be used to add highlights to water or create texture in foreground elements.
Medium-Scale Textures
Medium-sized knives (3-4 inches) are perfect for creating mid-ground elements like rocks, bushes, and smaller clouds. The balance between control and coverage makes them incredibly versatile.
Large Area Coverage
When I’m working on bigger canvases or need to cover large areas like skies or water surfaces, I use my large brushes, and therefore, I would use large palette knives (5+ inches) too. These will help maintain consistency in texture across broader areas and save considerable time.
Specialized Size Requirements
Sometimes, a particular effect requires a specific size. For instance, using a medium-sized curved knife could work when creating wave patterns. Several sizes of palette knives can be used for mountain ranges to achieve varying degrees of detail and perspective.
Blade Flexibility and Material Quality
Not all palette knives are created equal, and on the few occasions I have used palette knives, I’ve learned this through a few painting sessions and some disappointing purchases. The quality of your knife’s material and flexibility directly influence the textures you can create.
Stainless Steel vs Carbon Steel
After trying both, I’ve settled on stainless steel as my preferred material. While carbon steel can be slightly more flexible, stainless steel is more durable and rust-resistant. I’ve had some stainless steel knives for a while that still perform beautifully.
Understanding Flex Points
The flex point of a knife is crucial for creating different effects. I look for knives with a consistent flex along the blade for smooth applications, but sometimes I specifically choose ones with more rigid points for detailed work. The sweet spot varies depending on your style and technique.
Edge Types and Their Uses
Different edge profiles serve different purposes. I use straight-edged knives for clean lines and sharp details, while slightly rounded edges are perfect for blending and creating smooth transitions. Some of my knives have one straight edge and one curved edge, offering versatility in a single tool.
Impact of Material on Performance
Quality materials make a noticeable difference in performance. I’ve found that well-crafted knives maintain their shape better, clean more easily, and provide more consistent results. The initial investment in good quality tools has always paid off in the long run.
Budget-Friendly vs Professional-Grade Options
Over the years, I’ve used everything from basic starter sets to high-end professional tools. Through this experience, I’ve learned that while quality matters, you don’t always need the most expensive options to create beautiful work. The key is knowing where to invest and where to save.
Entry-Level Palette Knives Sets
I bought an affordable set of basic palette knives when I first started. They were perfect for learning techniques without a substantial financial commitment. Many of these sets include 5-7 knives of different shapes and sizes. While they may not last forever, they’re great for discovering which shapes you use most frequently.
Mid-Range Options
This is where I find the best value for money. Mid-range knives offer good-quality steel, comfortable handles, and reliable performance. I still use several mid-range knives in my daily work, especially for larger paintings where I need multiple knives of the same size.
Professional Investments
After identifying my most-used shapes, I invested in some professional-grade knives. The difference in quality is noticeable – better balance, more consistent flex, and superior durability. I particularly recommend investing in professional knives for your most-used shapes and sizes.
Value for Money Analysis
From my experience, spending more on the knives you use most frequently is worth spending more on. I’ve found that a mix of mid-range and professional tools gives me the best balance of quality and value. Remember, a well-maintained knife can last for many years.
Maintaining and Cleaning Your Palette Knives
Proper maintenance extends the life of your tools and ensures consistent performance. I’ve developed a cleaning routine that keeps my knives in excellent condition without taking too much time away from painting.
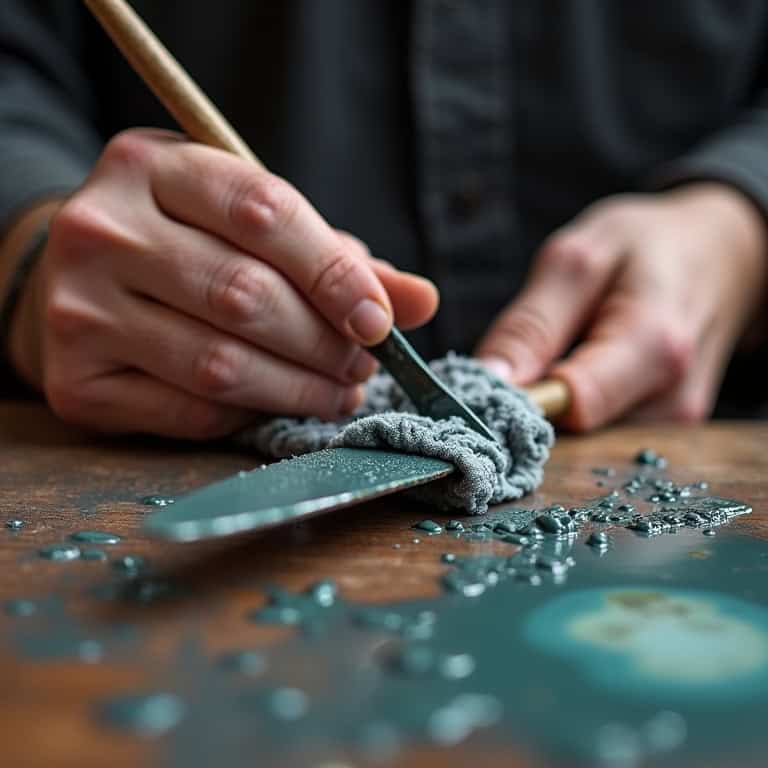
Daily Cleaning Routine
After each painting session, I clean my knives immediately. A quick wipe removes most paint with a cloth or paper towel, followed by a thorough cleaning with soap and warm water. This prevents paint from drying and building up on the blade.
Deep Cleaning Methods
Once a month, you could give your knives a deep clean. I use a mixture of gentle soap and warm water, carefully removing any built-up residue. For stubborn paint, I’ve found that soaking the blades briefly in an appropriate solvent (depending on your paint type) works wonders.
Preventing Rust and Damage
Moisture is the enemy of steel tools. I always dry my knives thoroughly after cleaning them and store them in a dry place. A light coating of oil on rarely-used knives prevents rust. I also check the handles regularly for any signs of loosening.
Sharpening and Edge Care
While palette knives don’t need sharpening like cutting knives, their edges should be maintained. You can gently smooth any nicks or rough spots with fine-grit sandpaper. This prevents unwanted marks in your paintings and ensures smooth paint application.
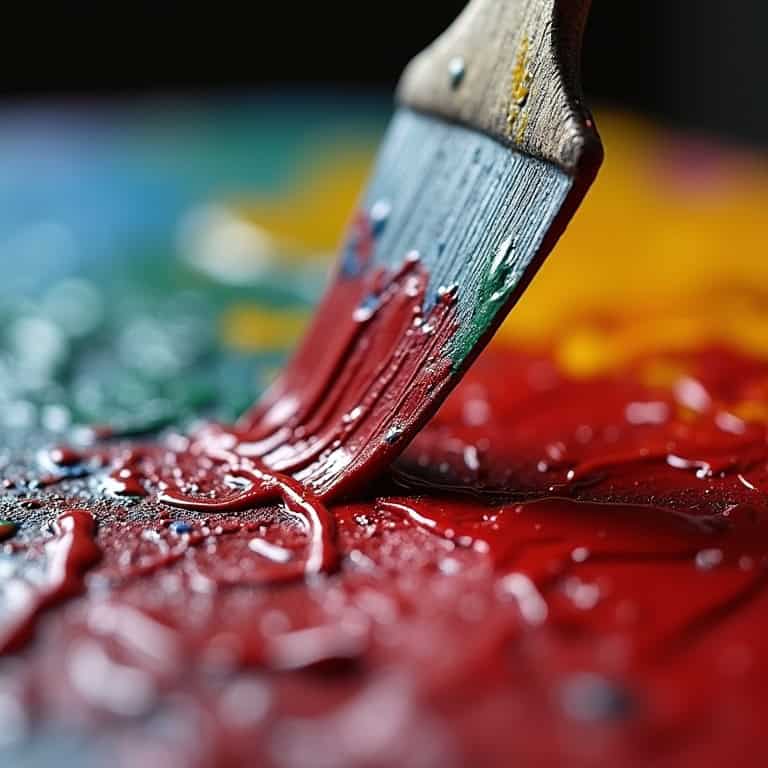
Basic Techniques for Creating Texture
The beauty of palette knife painting lies in its ability to create incredible textures. I have used these techniques in a few of my landscape paintings.
Spreading and Layering
This fundamental technique is all about control and consistency. When spreading paint with a palette knife, hold it at roughly a 45-degree angle to the canvas. The amount of paint on your knife matters significantly – too much will create uneven globs, while too little won’t give you adequate coverage.
Start with small amounts and build up gradually. For landscapes, try laying down broad strokes of your base colors (like greens for meadows or blues for skies) using the flat of the knife. The key is maintaining even pressure throughout each stroke to create a consistent foundation layer.
Creating Peaks and Valleys
This technique transforms flat paint into dynamic, three-dimensional textures. By adjusting the angle of your knife (from nearly parallel to almost perpendicular to the canvas) and varying the pressure, you can create an array of textures. For dramatic peaks, press harder and pull the knife upward at the end of your stroke.
For subtle ripples, use a lighter touch and shorter strokes. This technique is particularly effective for creating rocky cliffs, turbulent waves, or textured foliage. The paint’s consistency is crucial here – it should be thick enough to hold its shape but not so stiff that it won’t spread.
Blending Techniques
Unlike brush blending, which can sometimes smooth away all texture, palette knife blending preserves the paint’s dimensional quality while creating smooth color transitions. Use gentle, rolling motions with the flat of the knife, almost like spreading butter.
The key is to work with the paint while it’s still wet and to use very light pressure. This technique works beautifully for creating atmospheric effects in skies, where you might want to blend different times of day, or in water reflections, where colors need to merge seamlessly while maintaining some texture.
Building Depth
This advanced technique requires patience and planning. Start with your base layer and let it become tacky (but not completely dry). Then, add subsequent layers, varying the thickness and direction of your strokes. Each layer should only partially cover the previous one, allowing glimpses of underlying colors.
This creates rich, complex surfaces that interestingly capture and reflect light. The technique is particularly effective for creating the illusion of distance in landscapes or adding complexity to abstract works. The key is timing – each layer should be stable enough to support the next without being so dry that the layers won’t bond properly.
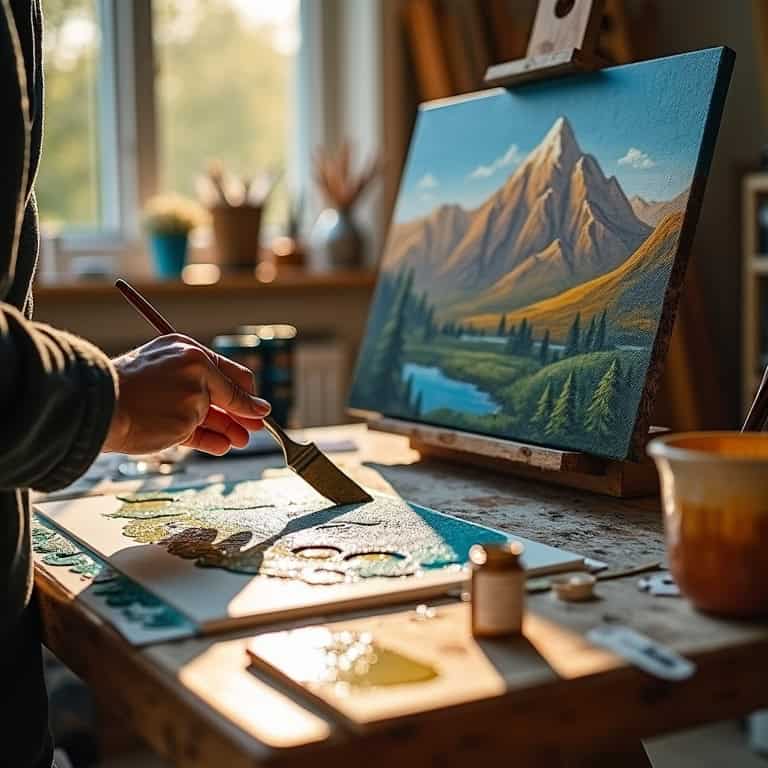
Advanced Applications in Landscape Painting
Again, I must emphasize that I paint landscapes mainly with brushes; however, mastering the basics of landscape painting with palette knives, I believe, can open up a world of creative possibilities.
Tree and Foliage Effects
As an experienced brush painter transitioning to palette knife techniques, one might approach foliage similarly to traditional brushwork. The artist could use a combination of dabbing and quick flicking motions with smaller knives for detailed leaves, much like the brushwork techniques that have proven successful over years of landscape painting. For larger masses of trees, layering different greens with varied pressures could create depth, while using the knife’s edge to scratch through wet paint might effectively create detailed branch patterns.
Rock and Mountain Textures
Palette knives seem particularly well-suited for capturing rocky textures, perhaps even more so than brushes. An approach that would translate well from brush to knife would be starting with broad strokes for the basic shapes, then building texture using choppy, angular movements. By varying the thickness of paint and the angle of application, one could create convincing rocky surfaces. The knife’s point could even be used to carve in small cracks and crevices, offering a level of texture that might be harder to achieve with brushes alone.
Water and Reflection Techniques
When approaching water with a palette knife, the principles of brush painting still apply, though the technique differs. Smooth, horizontal strokes with occasional vertical cuts could create realistic ripples. While brush techniques often involve building up multiple thin layers for water, with knife work, thin applications of paint might prove more effective. For reflections, long, smooth strokes followed by gentle drags with a clean knife could create subtle disturbances that mirror natural water movements.
Sky and Cloud Formations
Cloud formations offer an interesting challenge when transitioning from brush to knife work. The sweeping, curved strokes used for main shapes could mirror the flowing brushwork typically used in sky painting. Building up layers of white and gray with varying pressure might achieve the same depth traditionally created with brush blending. Keeping one’s wrist loose and movements fluid would be essential, and working wet-in-wet could create the soft, blended edges that make clouds appear natural.
Common Mistakes to Avoid
Understanding common pitfalls can save you time and frustration while helping you develop your skills more effectively.
Pressure Control Issues
The most common is inconsistent pressure. The key is to start with gentle pressure and gradually build up. Think of it like icing a cake – you wouldn’t stab at the frosting, would you?
Paint Consistency Problems
Getting the paint consistency wrong can be frustrating. Too thick, and it becomes difficult to spread; too thin, and you lose the textural effects. I’ve learned to test the consistency on a spare canvas before applying it to my painting. It should be like soft butter, spreadable but able to hold its shape.
Technique Pitfalls
One mistake I made early on was trying to use palette knives like brushes. They’re different tools with different strengths. Don’t fight against the natural movement of the knife. Let it guide you in creating textures that are unique to this medium.
Combining Palette Knives with Other Tools
While I love palette knife techniques, you can also combine them with other tools to create extraordinary effects. The key is knowing when and how to use each tool to its best advantage.
Working with Brushes
For artists new to palette knife painting, brushes remain a reliable foundation. One might use brushes for initial sketching or adding fine details that seem challenging with knives. Traditional brush techniques could be useful for softening edges or creating atmospheric effects in the background, before experimenting with knife textures in the foreground. Small round brushes might prove particularly valuable for adding delicate elements like distant tree lines or subtle cloud wisps while developing confidence with knife techniques.
Incorporating Sponges
Natural sponges could be an interesting addition to palette knife experimentation. Research suggests they can create organic textures in foliage or clouds, providing a base layer for subsequent knife work. Some artists recommend slightly dampening the sponge before use to create interesting patterns that add dimension to the underlying texture. This combination of tools might create depth that could be challenging to achieve with either tool alone.
Using Scrapers
Wide scrapers appear to be effective tools for creating smooth horizons or water surfaces in landscape paintings. An artist might use a scraper to establish large flat areas before adding texture with palette knives. This approach could help create a sense of depth and distance in landscapes. The clean, sharp edges produced by scrapers likely provide an interesting contrast to the more textured areas created with palette knives, particularly in larger works.
Mixed Media Applications
While exploring palette knife techniques, artists often experiment with various materials that could enhance their work:
- Light molding paste might create softer, cloud-like effects
- Modeling paste and gel mediums could create deep, sculptural textures
- Acrylic glazes may add subtle color variations and depth
- Sand or pumice gel could provide rough, naturalistic textures
These materials represent possibilities for artists to explore as they develop their palette knife techniques, with each medium potentially opening new artistic directions.
Storage and Transportation Tips
Proper storage and transportation of your palette knives isn’t just about organization – it’s about preserving your investments and ensuring they’re always ready to use.
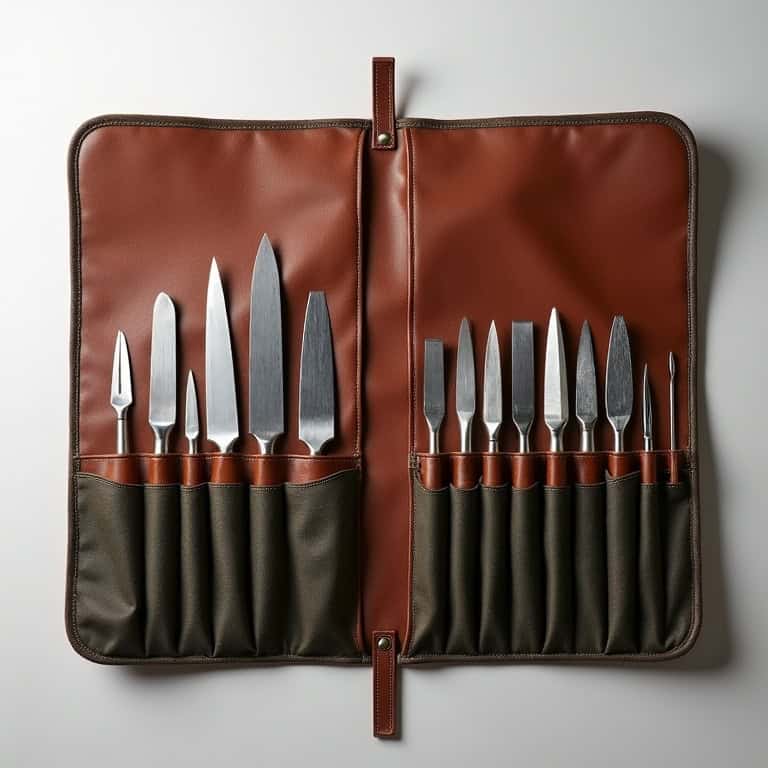
Protective Cases and Rolls
After ruining a few knife edges by storing them loosely, I invested in a proper knife roll. It’s similar to what chefs use for their tools. Each knife has its pocket, protecting the blades from damage and making them easy to transport. Rolls made of heavy canvas or leather provide excellent protection while allowing the tools to breathe, preventing moisture buildup.
Travel Considerations
When I travel for plein air painting, I’ve learned to pack my knives carefully. Here are my essential packing tips:
- Never pack them in carry-on luggage – they must go in checked baggage I learned the carry-on lesson the hard way at airport security!
- Always wrap knives individually in soft, lint-free cloth to prevent scratches
- Use rubber bands to secure each wrapped knife, then bundle them together
- Pack them in the middle of your luggage, surrounded by soft items
Studio Storage Solutions
In my studio, I keep my knives in a vertical holder, handles up, sorted by size. This makes it easy to grab exactly what I need without rummaging through drawers. I also keep frequently used knives in a separate section for quick access. The vertical storage saves space and prevents the blades from touching each other, which can cause damage over time.
Maintenance During Storage
Even in storage, knives need care. I check them periodically for rust or damage, especially in humid conditions. A light coating of oil on the metal parts helps prevent corrosion during long-term storage. I’ve found that storing them in a climate-controlled environment and using silica gel packets in the storage container can significantly extend their lifespan. Remember, these tools are extensions of your artistic vision. Treat them well, and they’ll help you create beautiful landscapes for years to come.
conclusion
Exploring the intricate world of palette knife painting reveals these versatile tools offer unique possibilities for creating dynamic, textured landscapes. Every aspect contributes to artistic success, from selecting the right knife for each technique to maintaining tools properly. Mastering palette knife techniques takes time and patience – even experienced brush painters learn something new with each artwork as they transition to knife work.
The journey from selecting a first palette knife to creating complex, layered landscapes can be both challenging and rewarding. Whether working with budget-friendly tools or investing in professional-grade equipment, the most important factors are understanding the tools, practicing consistently, and experimenting with different techniques. The distinctive textures and effects possible with palette knives can transform artwork, adding depth and dimension that brushes alone cannot achieve.
As artists develop their style with these tools, they should feel encouraged to combine techniques, mix different tools, and push the boundaries of what’s possible. The beauty of palette knife painting lies not just in the final result, but in the journey of discovery and the unique artistic voice that develops along the way. Every artist brings their perspective to these techniques, which makes this medium endlessly fascinating and rewarding.
Like any artistic tool, palette knives extend creative vision. Proper care, technique, and practice can help bring artistic visions to life in dramatic and nuanced ways. Whether just starting out or looking to refine technique, this exploration of palette knife painting offers a foundation for artists to begin their own journey into this expressive medium. The world of palette knife painting awaits discovery!
