This article may contain affiliate links, please read my affiliate disclosure for more information
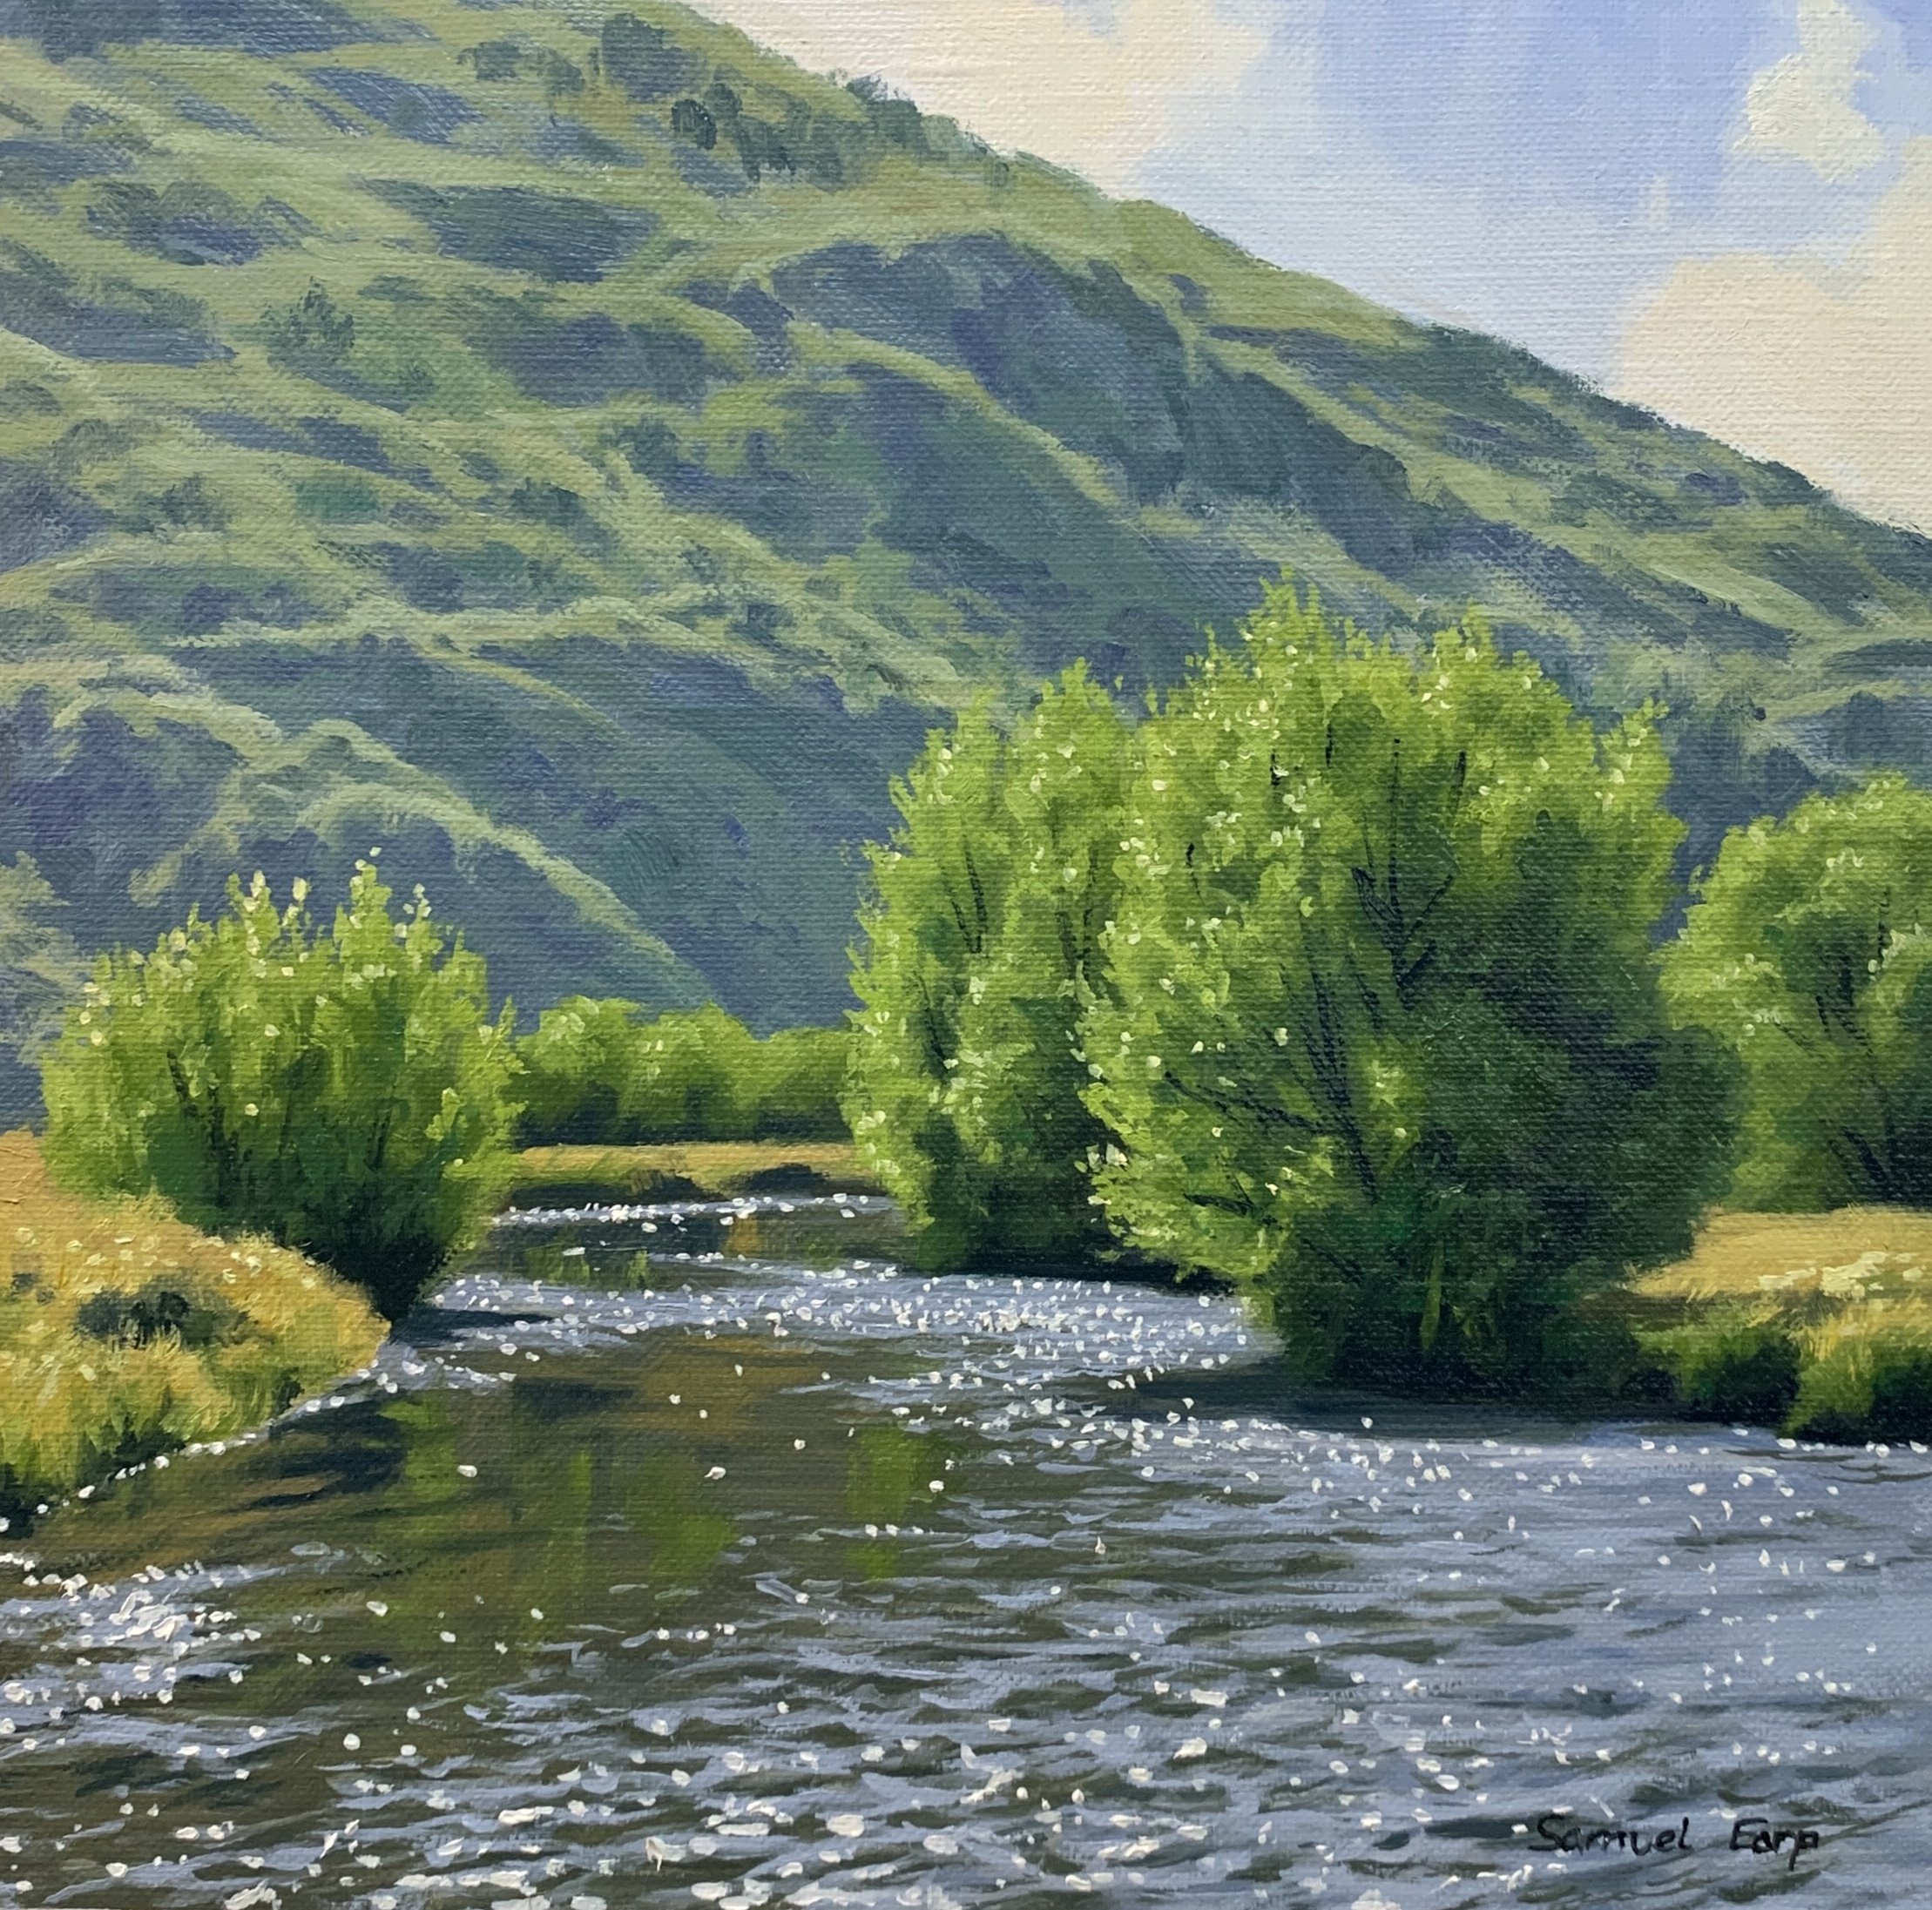
In this painting demonstration, I show you how to paint a landscape that features willow trees and a river shimmering in the bright summer sun.
Suitable for oils and acrylics.
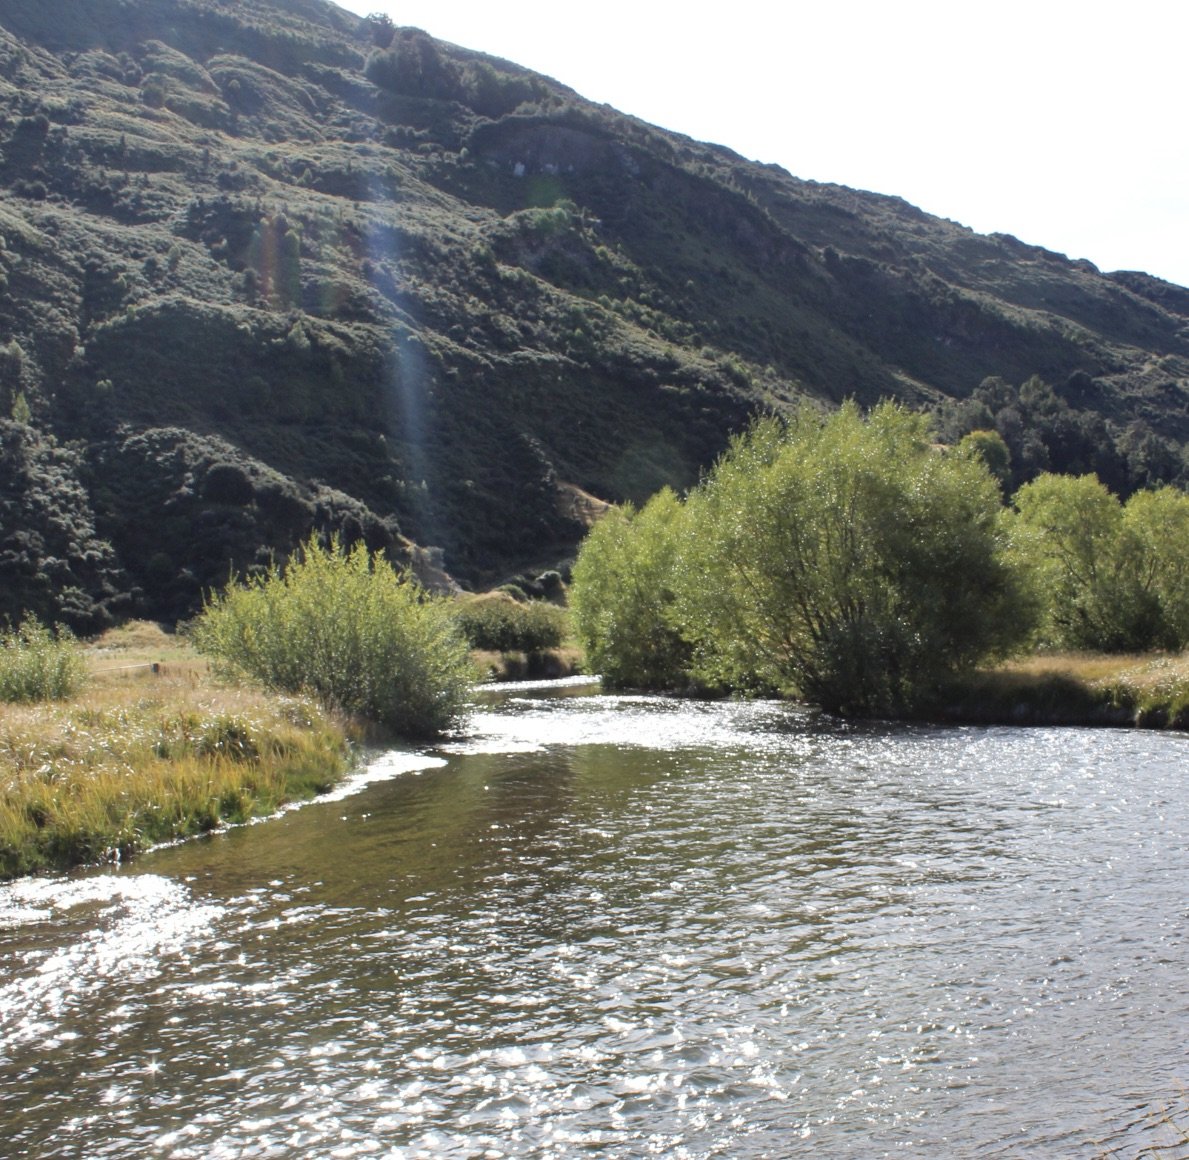
Reference Photo
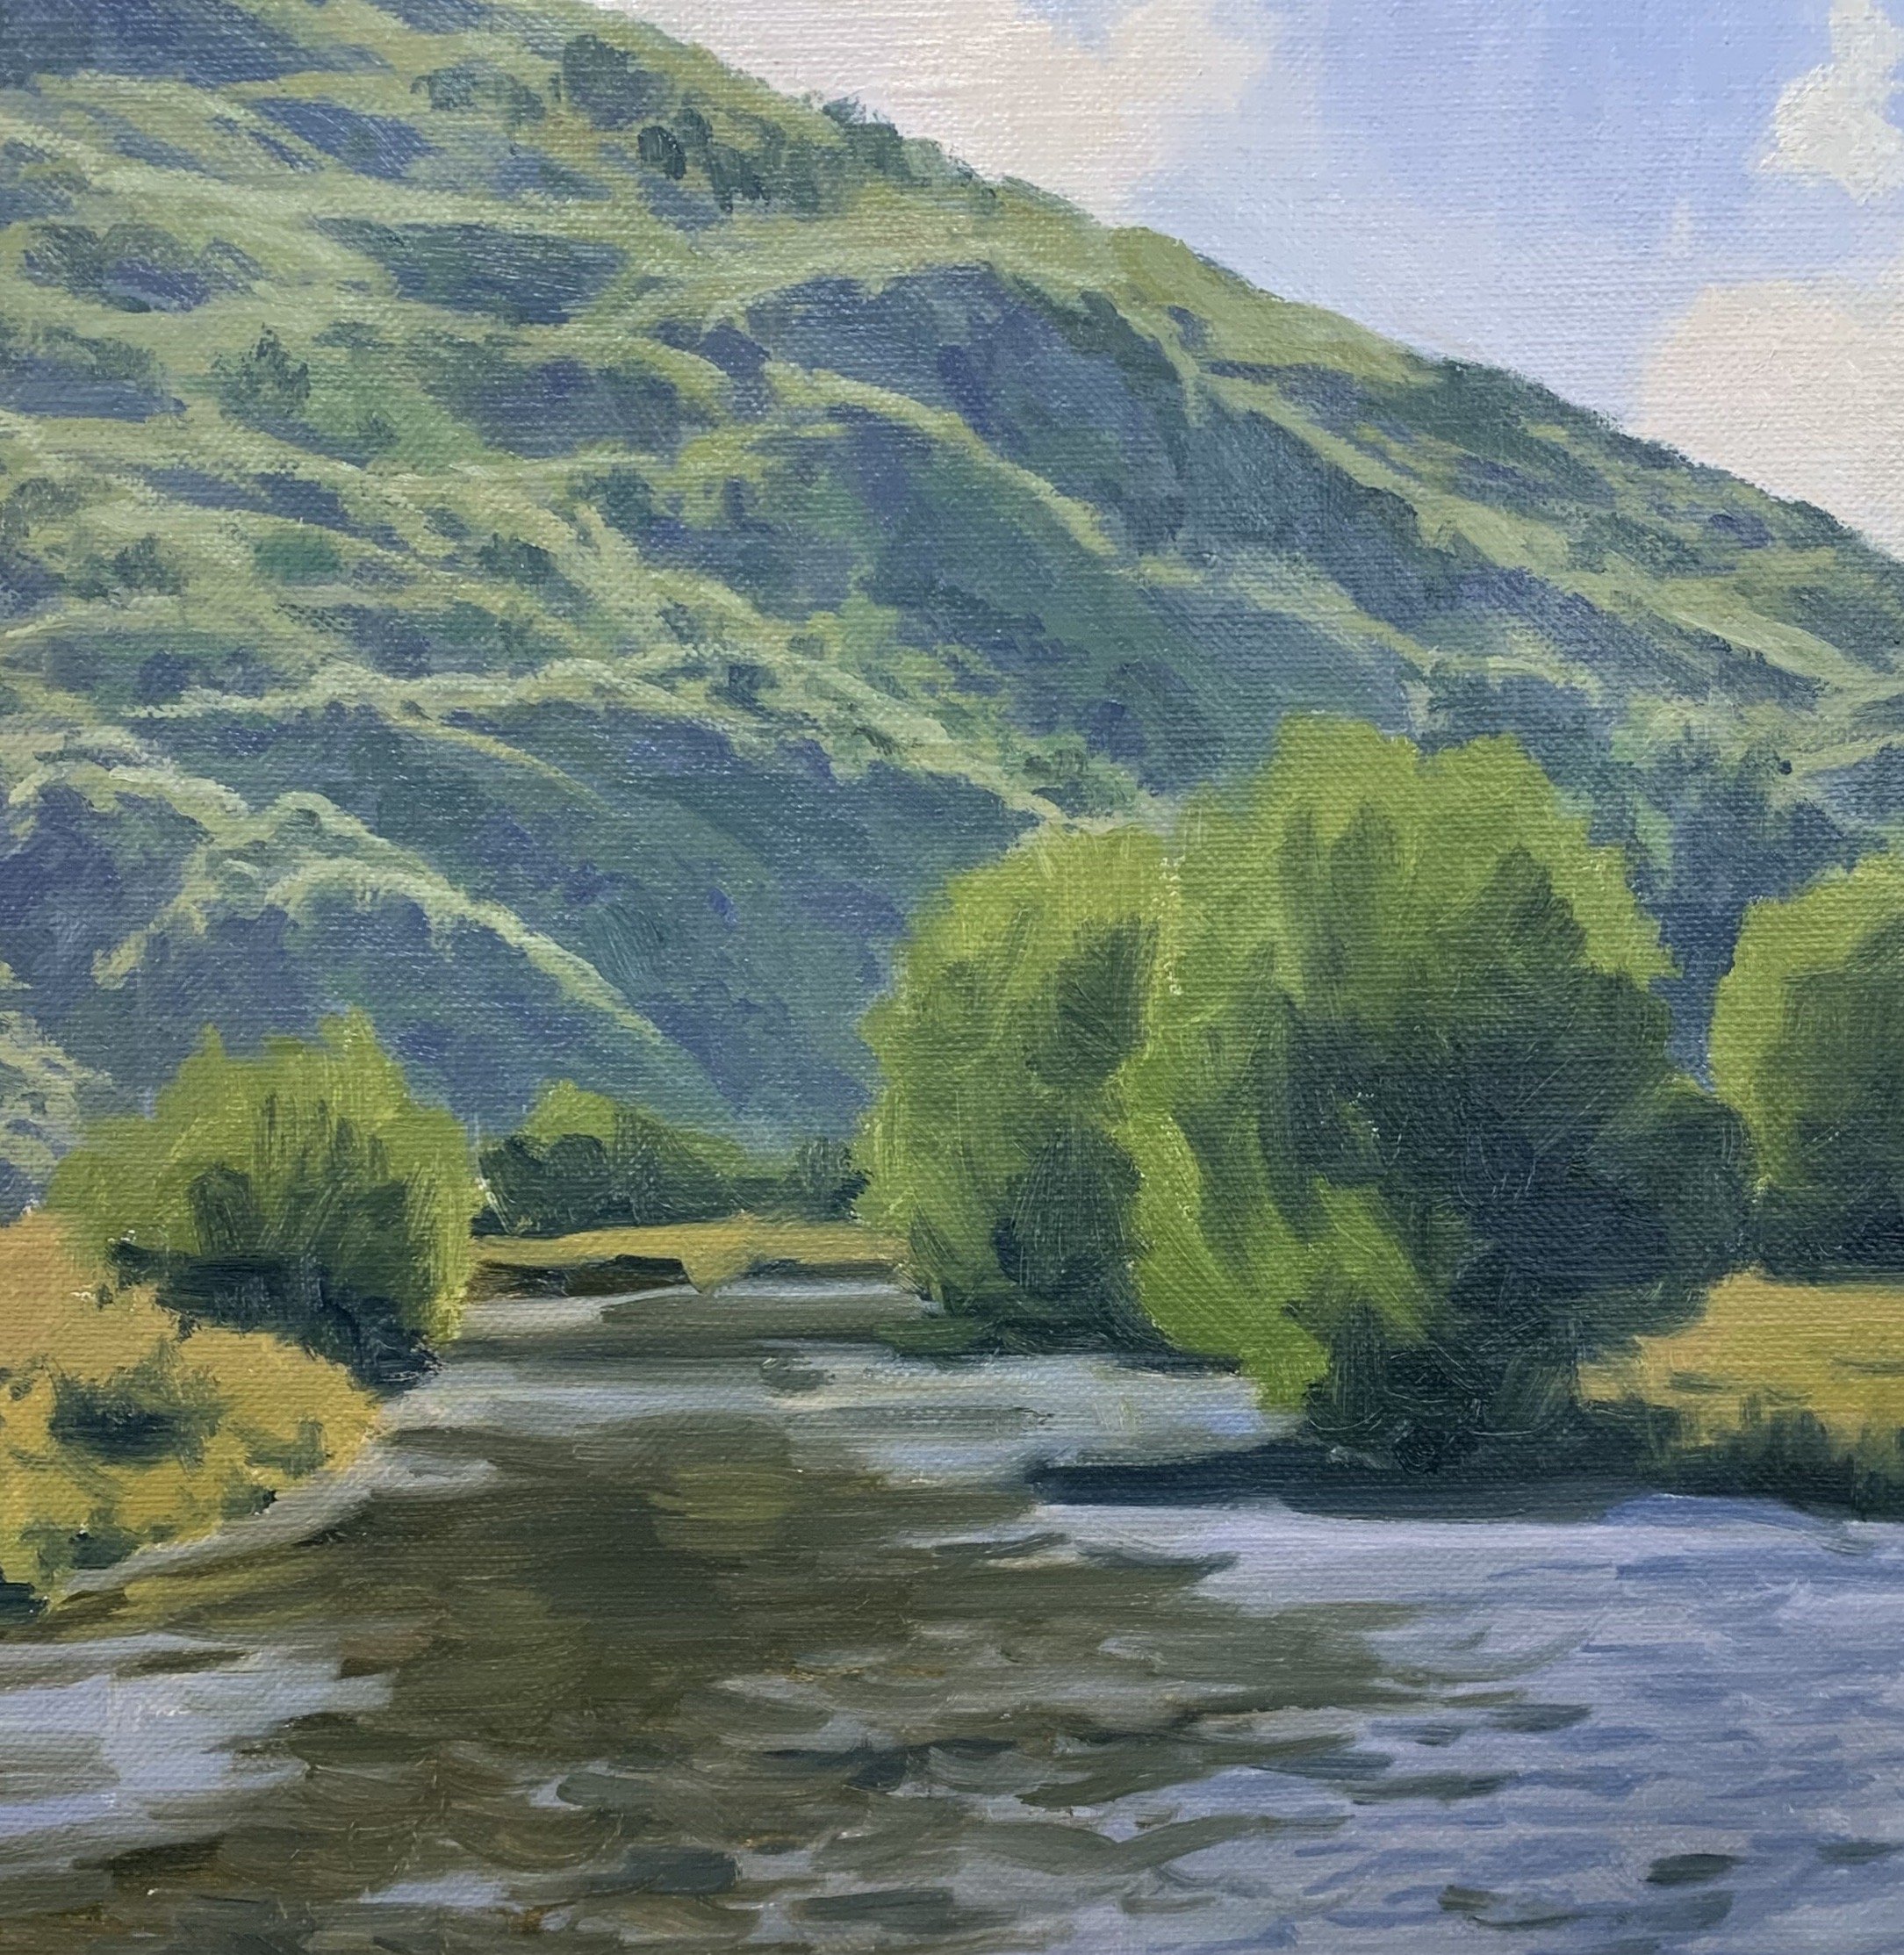
Here is the reference photo I took and used in this painting. Please feel free to use or copy this photo if you would like to have a go at painting this artwork. Also, check out the painting tutorial video where I demonstrate how to paint this artwork from start to finish.
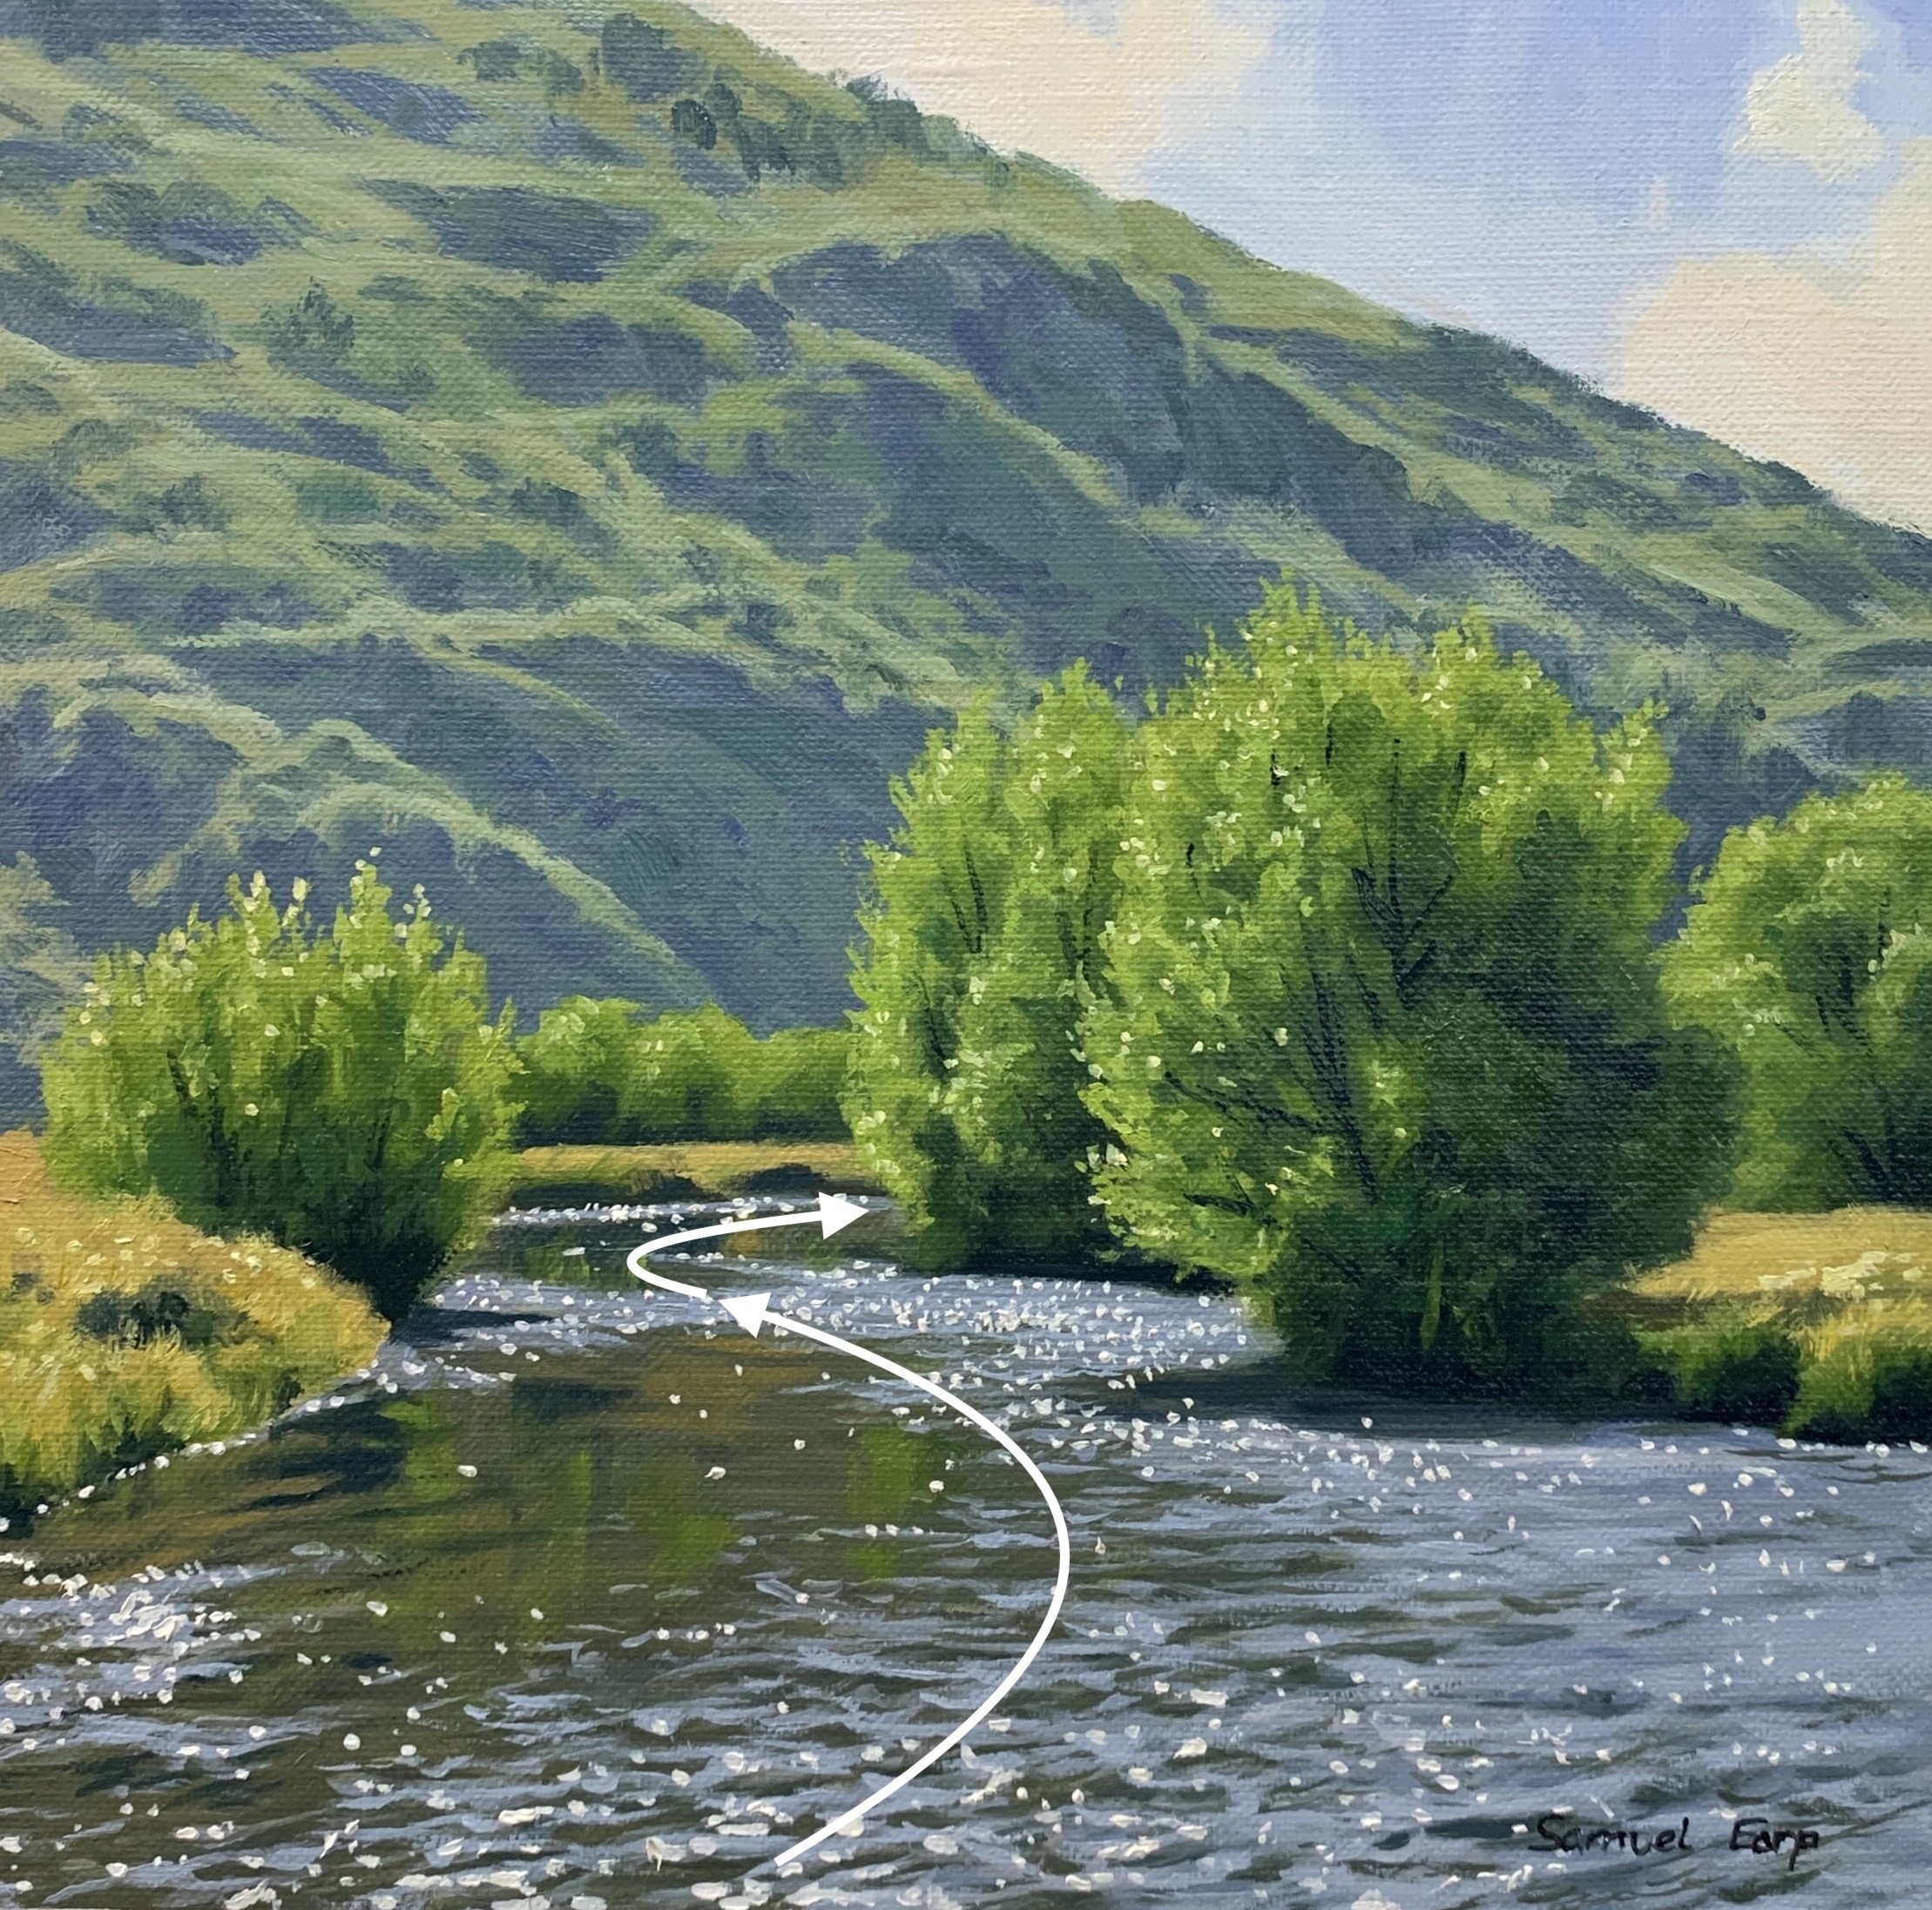
Composition
This painting implies rhythm as the river forms an ‘S’ composition also known as a ‘compound curve’.
ART TIP
Never have your main focal area in the middle of the painting as it spoils the composition and forms a displeasing static. You will see that the river is to the left of the centre.
Colours
I painted this artwork using oil paint and the colours I used in this painting are as follows:
- Titanium white
- Burnt sienna
- Yellow ochre
- Cadmium yellow
- Cadmium red light
- Alizarin crimson
- Ultramarine blue
- Phthalo green
Brushes
Here is a list of the brushes I used in this painting:
- No.5 flat
- No.3 flat
- No.2 flat
- No.3 filbert
- No.1 round
- No.0 round
- 1/4” synthetic dagger
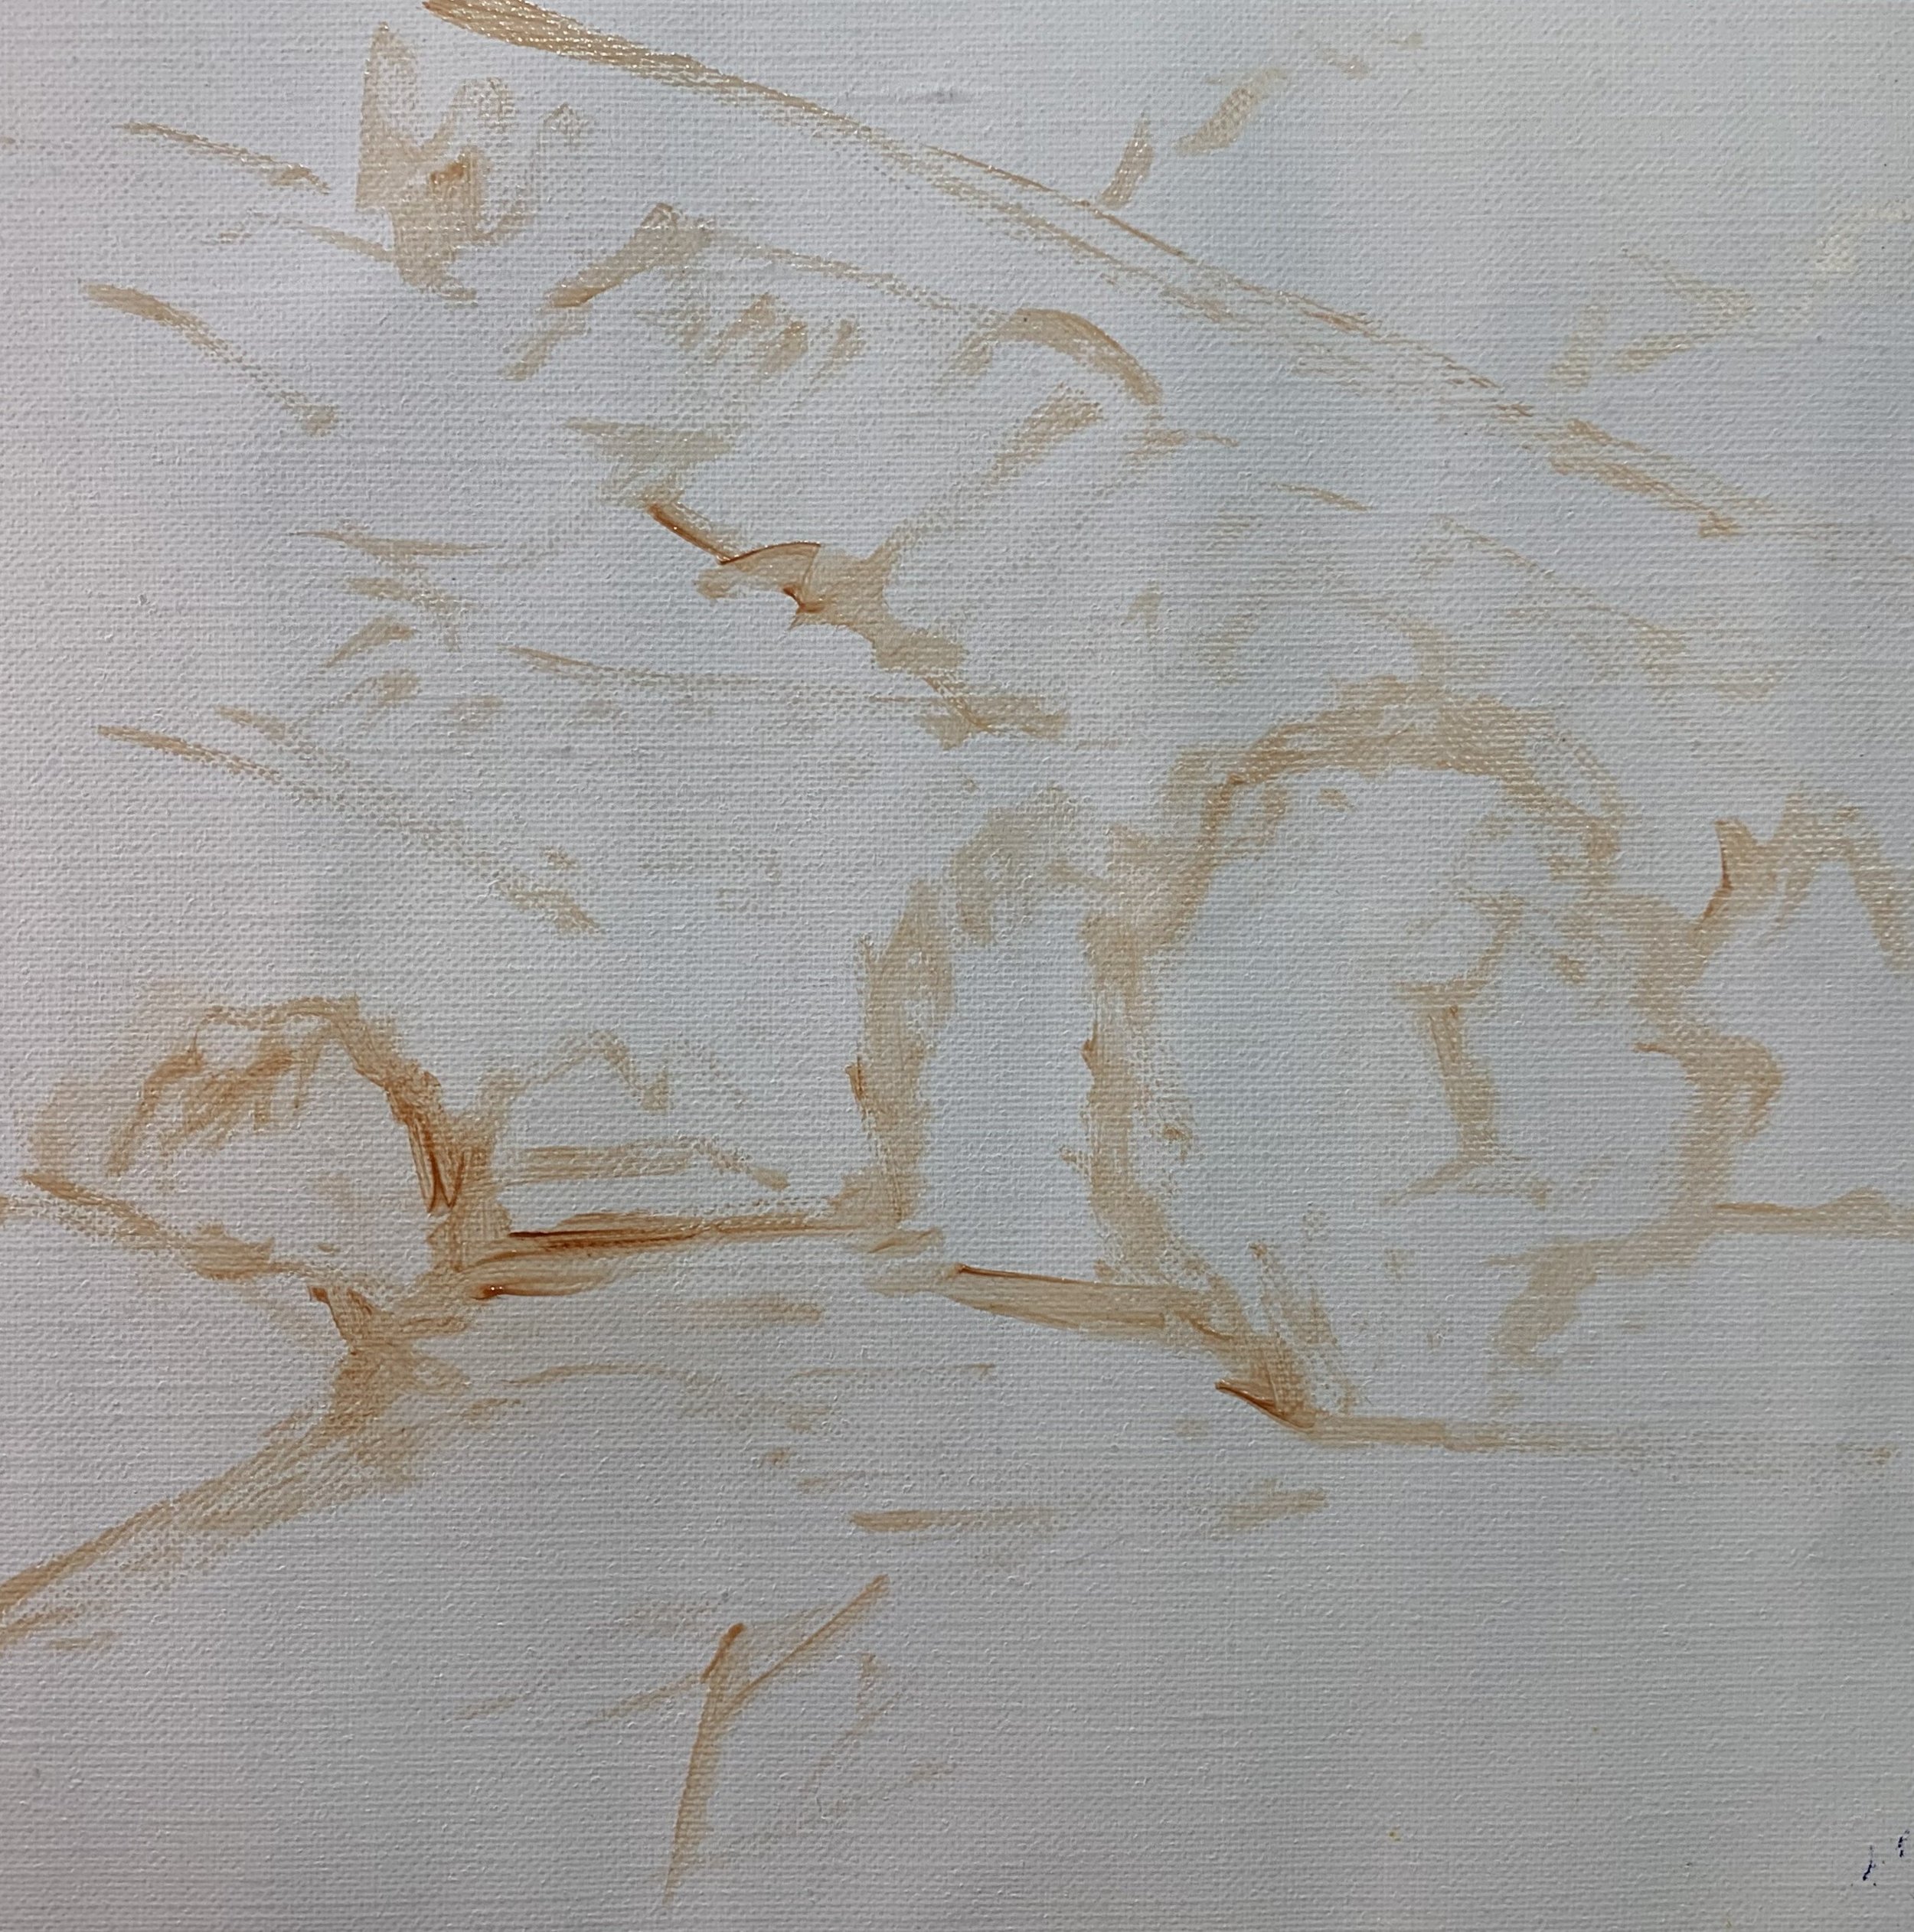
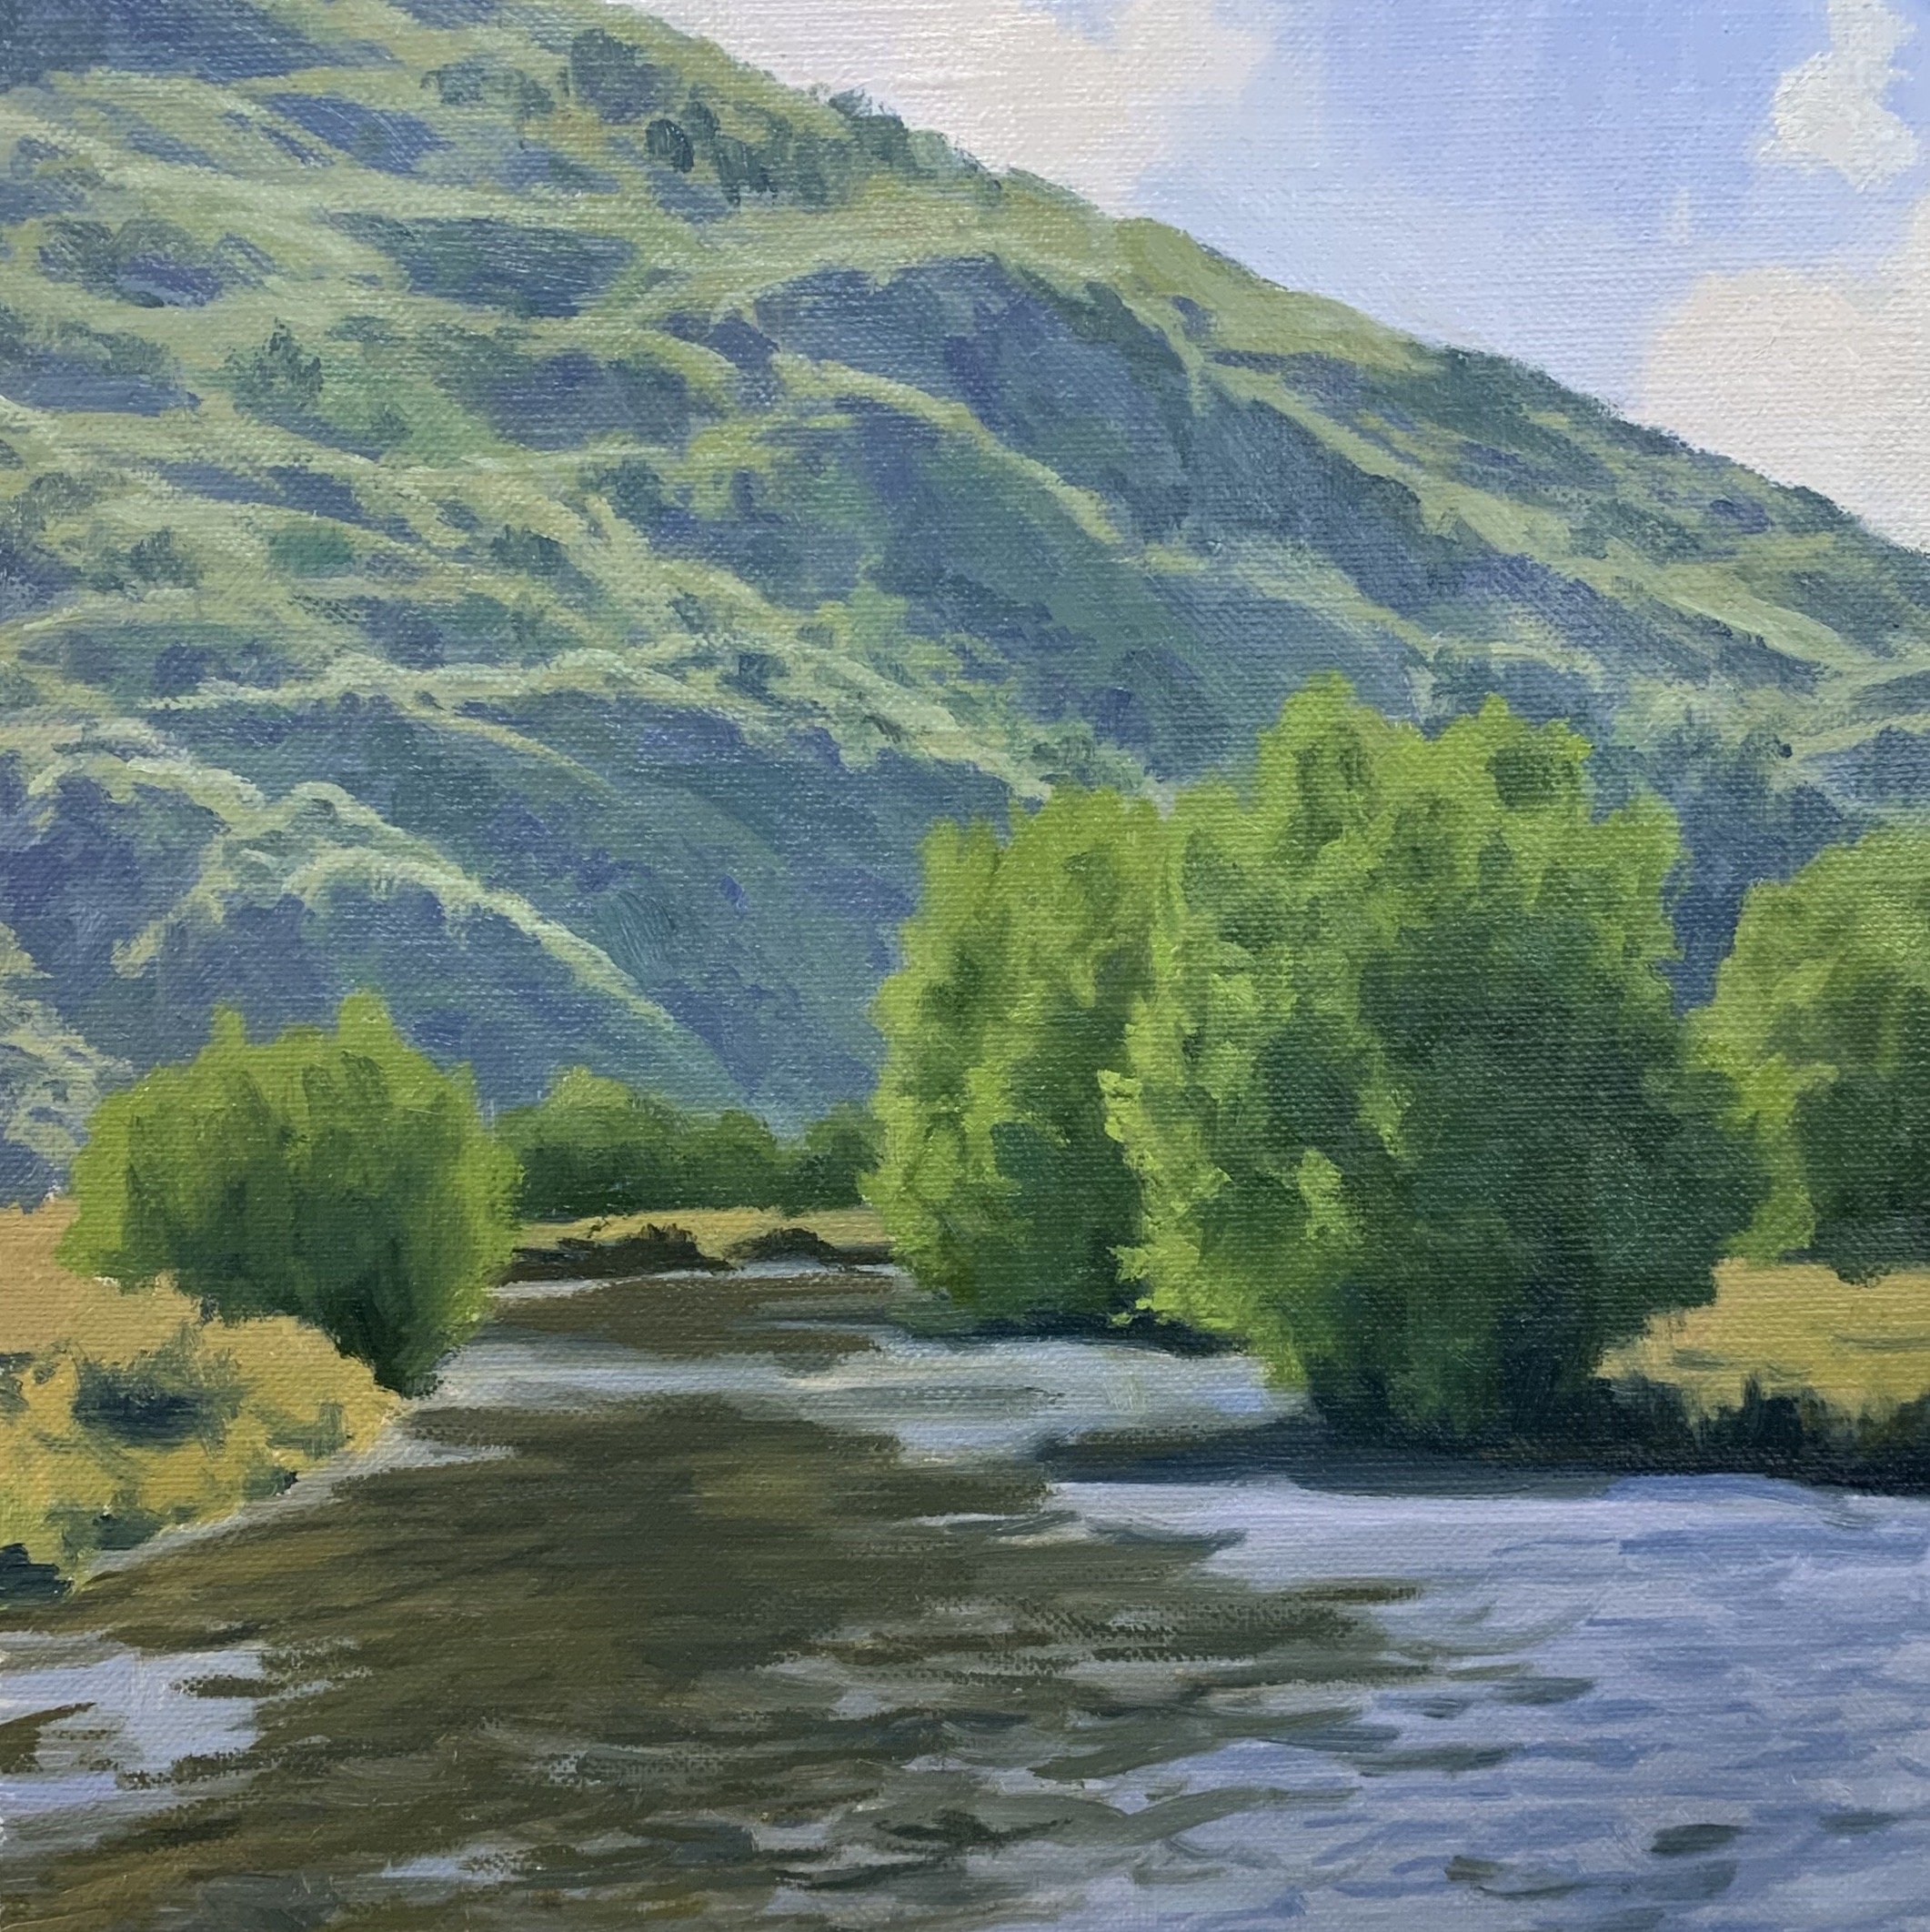
Painting Demonstration: Stage 1 – Blocking-In The Painting
I painted this artwork on oil primed, medium weave Belgian linen and the painting itself measures 12” x 12”.
I sketched the composition using a No.1 round brush with burnt sienna mixed with Liquin Original (Liquin). I am using Liquin as a medium to thin the paint and it also has the advantage of speeding up the drying time.
Paint Your Dark Values and Shadows First
Whenever I start a painting I always identify where the dark values and shadows are first in the scene I am painting. Value refers to how light or dark a subject is and by painting in the dark values first I personally find it is much easier to create atmospheric perspective in my paintings. It also makes it easier to add the areas in light and to get the saturation of your colours correct once you have painted your dark values.
There are two main zones of shadows in this painting and that is within the background hills and the willow trees in the foreground. The shadows in the background are lighter in value than the shadows in the willow trees.
I mix the shadows in the background hills using ultramarine blue, yellow ochre and titanium white. I use the same colour mix for the shadows in the willow trees but with no titanium white.
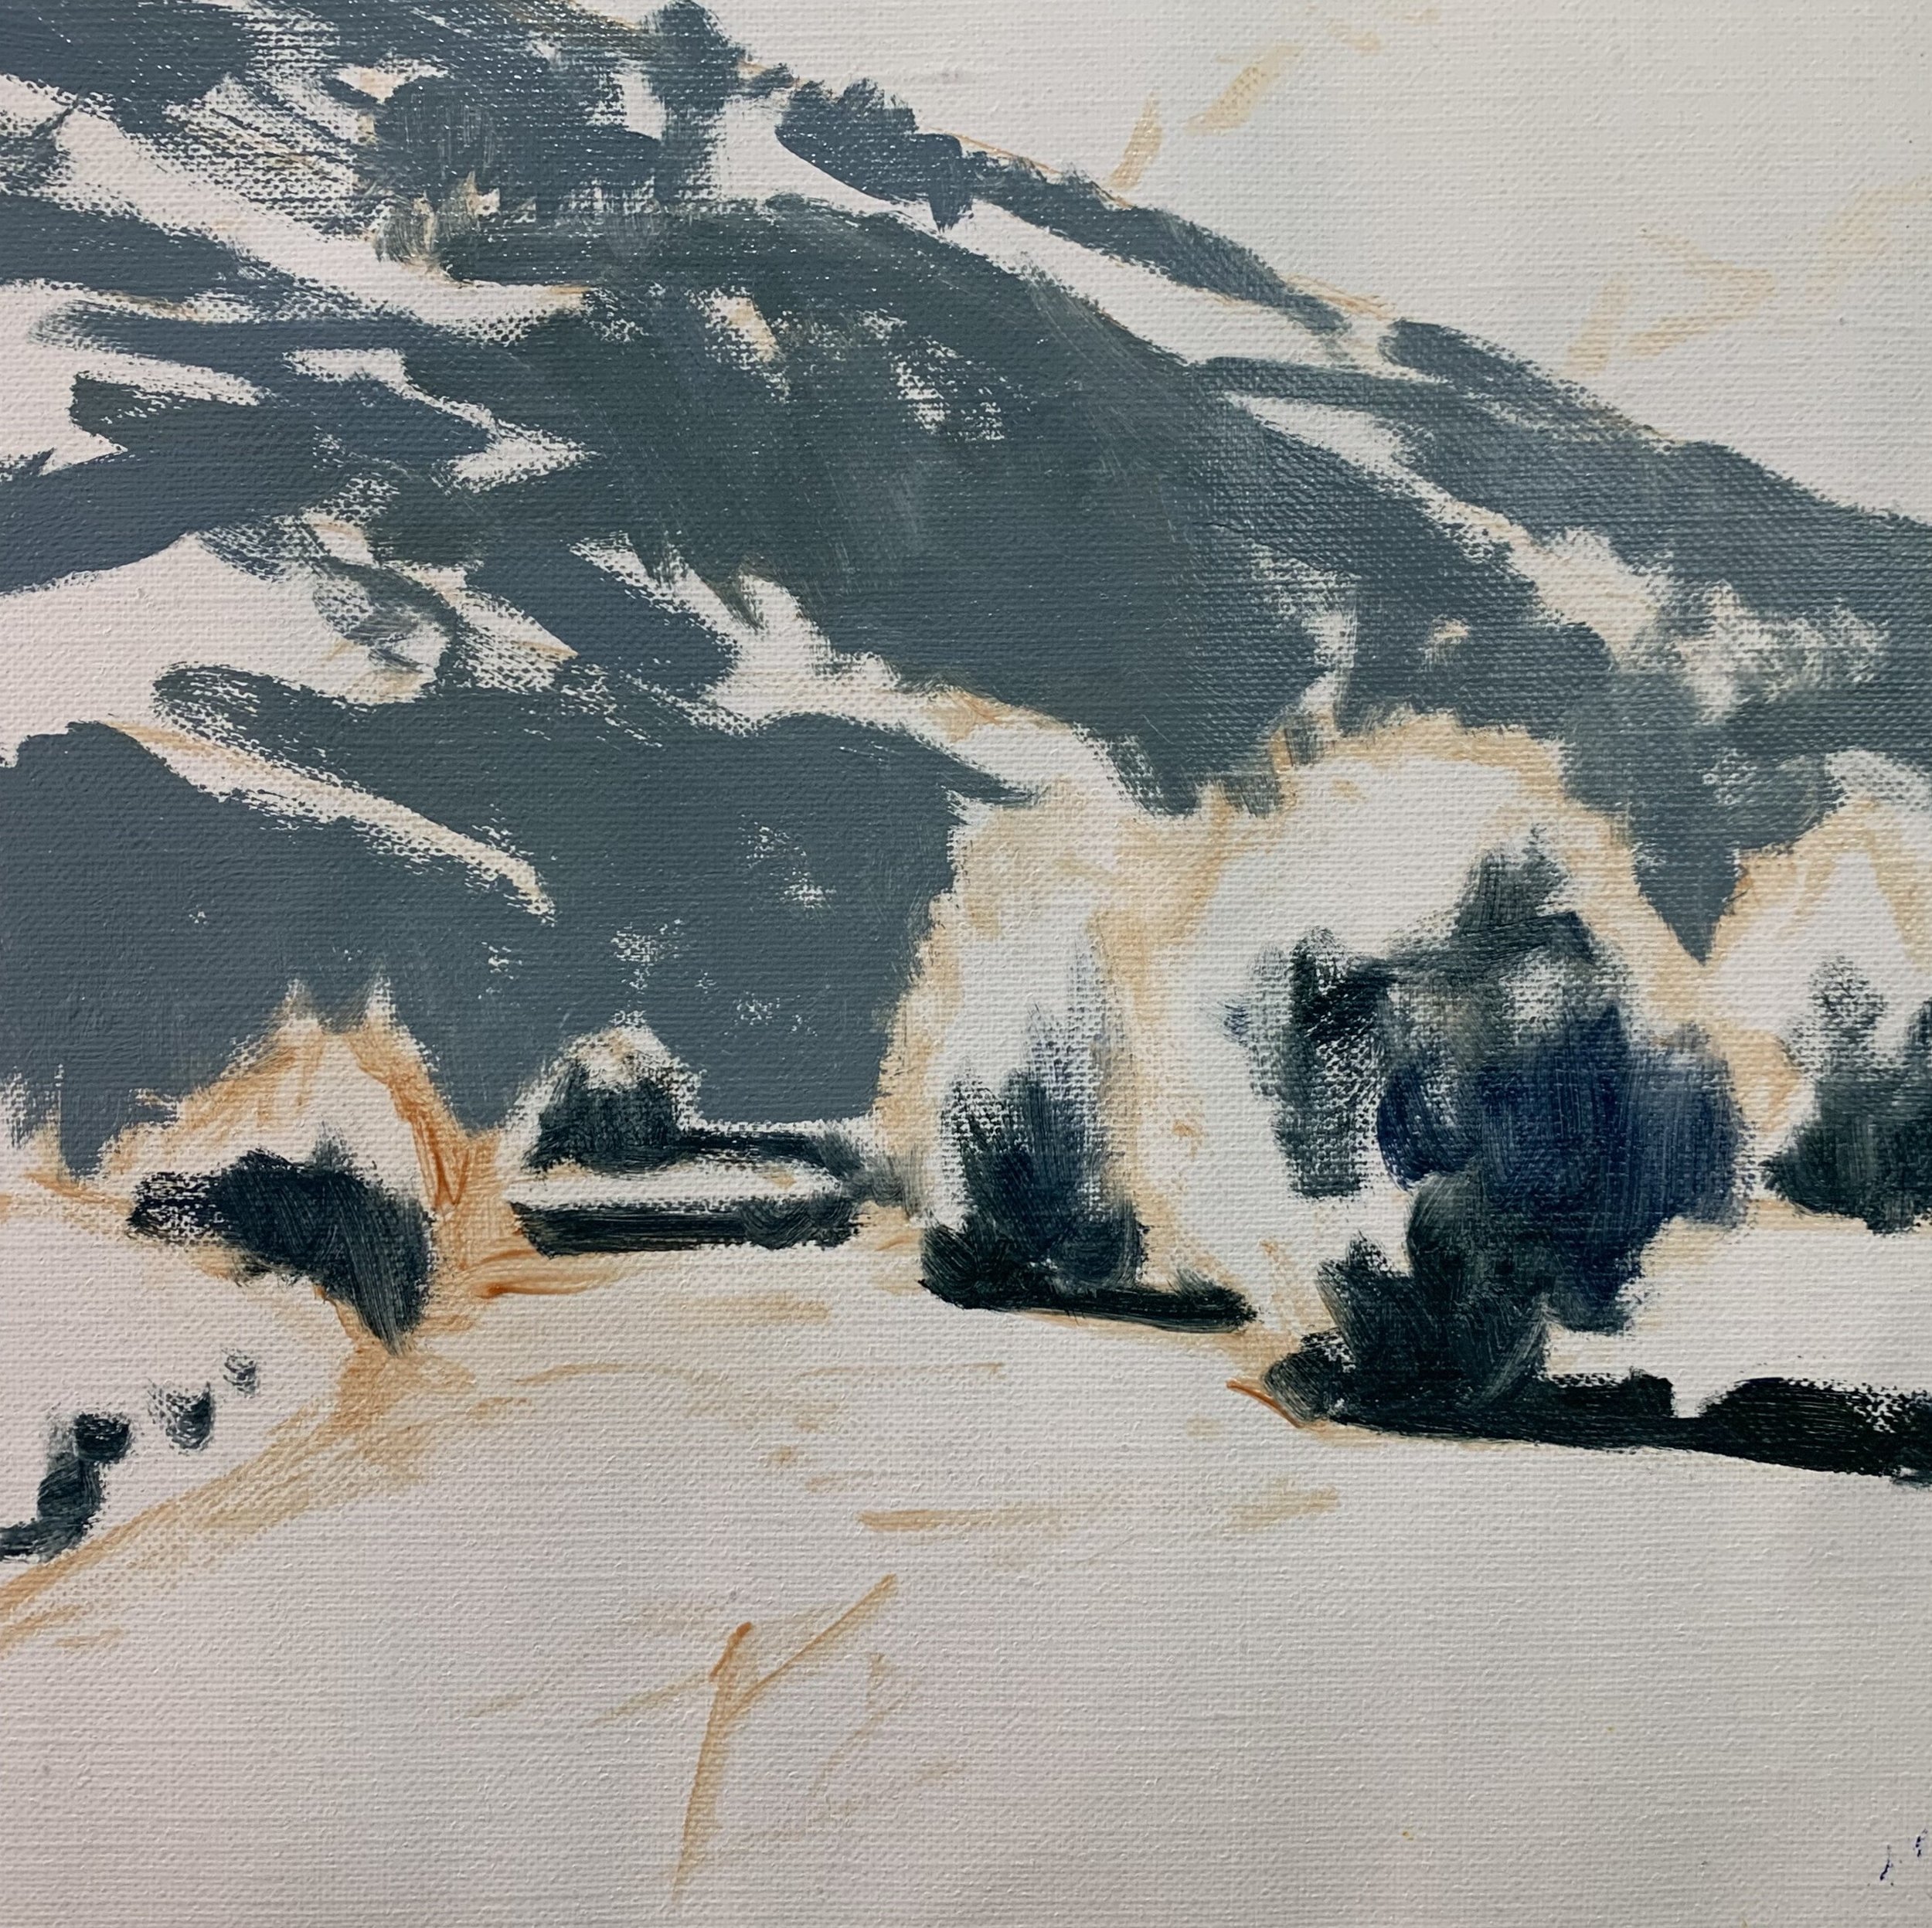
I paint the sky and clouds using titanium white and a little burnt sienna for the clouds and titanium white and ultramarine blue for the sky.
The vegetation that is in light on the background hill is a low chroma green because it is further away into the distance. For this, I used a mix of ultramarine blue, yellow ochre and titanium white, the same colours I used for the shadow areas.
The foliage in the willow trees is much more saturated and for this I used a mix of ultramarine blue, yellow ochre and cadmium yellow for my basic green mix. I then introduced a little titanium white and alizarin crimson into the mix. To increase the saturation of the green and create some emerald tones within the tree canopies I also mixed in a little phthalo green.
The straw-coloured grass is lighter in value than the trees and for this, I used a mix of yellow ochre, alizarin crimson, a small amount of ultramarine blue and titanium white.
I used loose gestural brush marks for the river which is split into two areas. The more still parts of the water is reflecting the background hill and vegetation and for this, I used a mix of yellow ochre, burnt sienna, ultramarine blue and titanium white.
The more rapidly moving areas of water are reflecting the sky and for this, I used a mix of ultramarine blue, burnt sienna, alizarin crimson and titanium white. Ultramarine blue and titanium white are the dominant colours within the mix.
This is where I completed the block-in stage. I allowed the painting to dry so I could begin adding details to it.
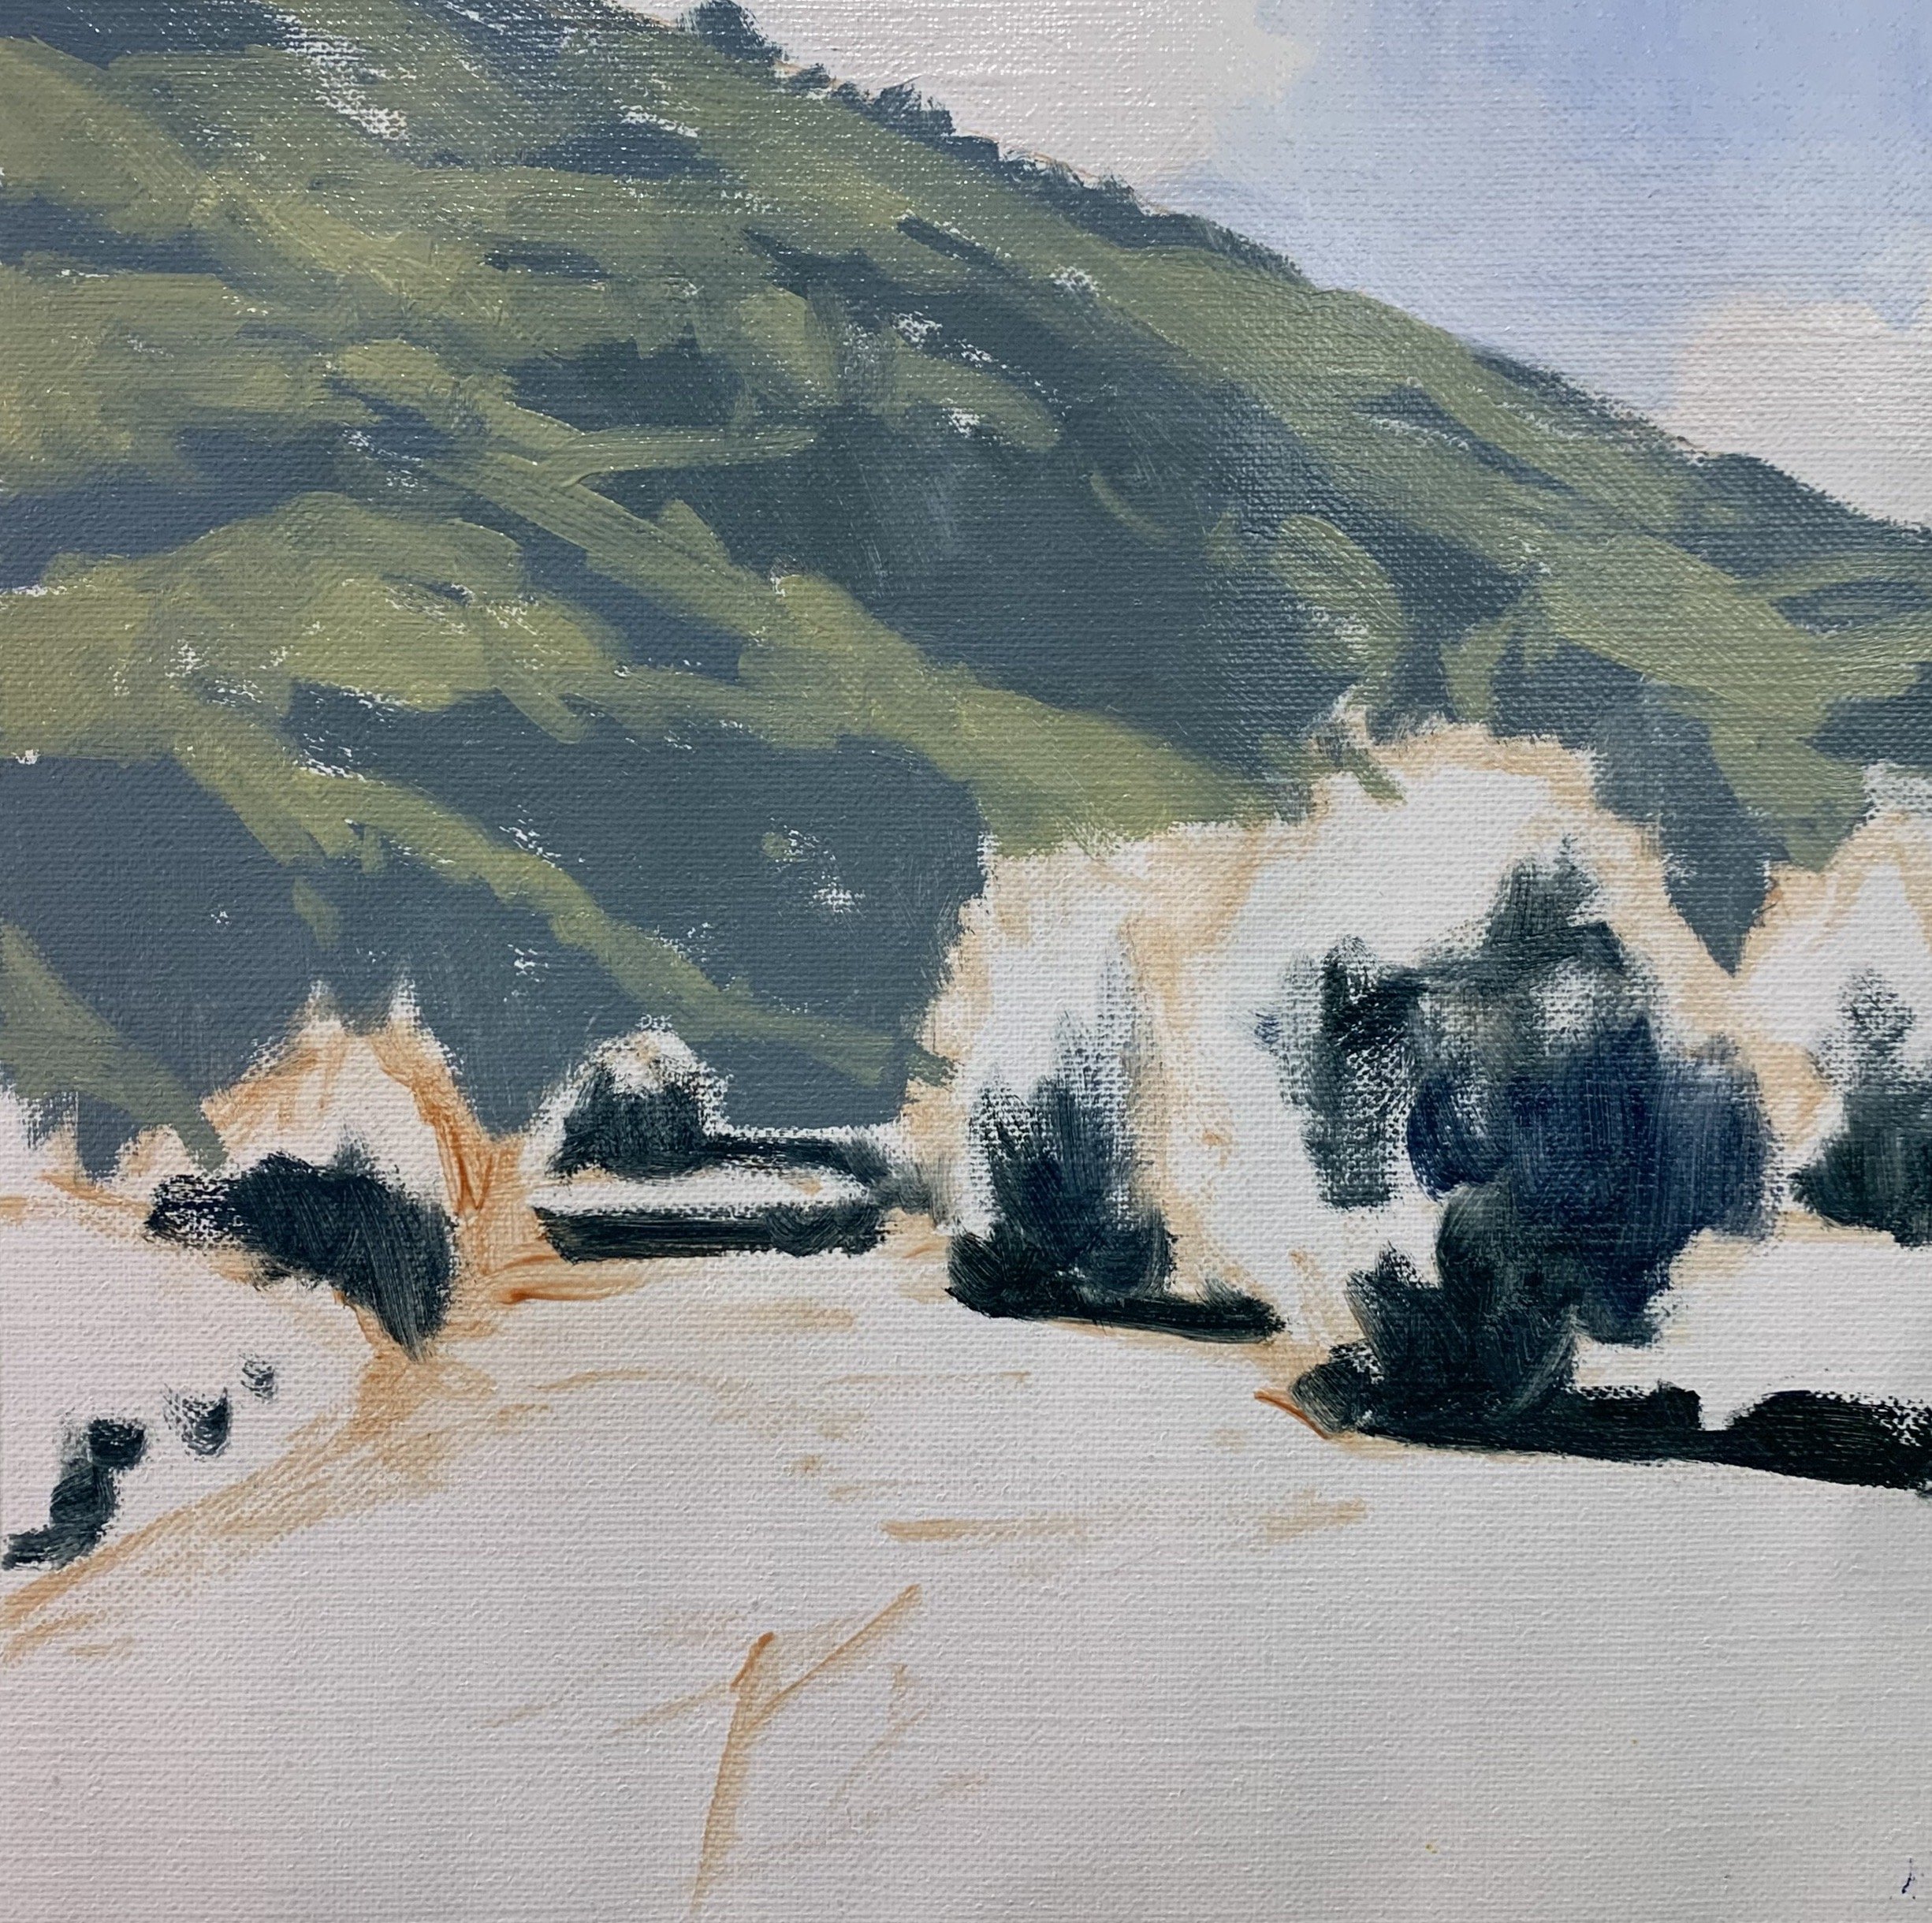
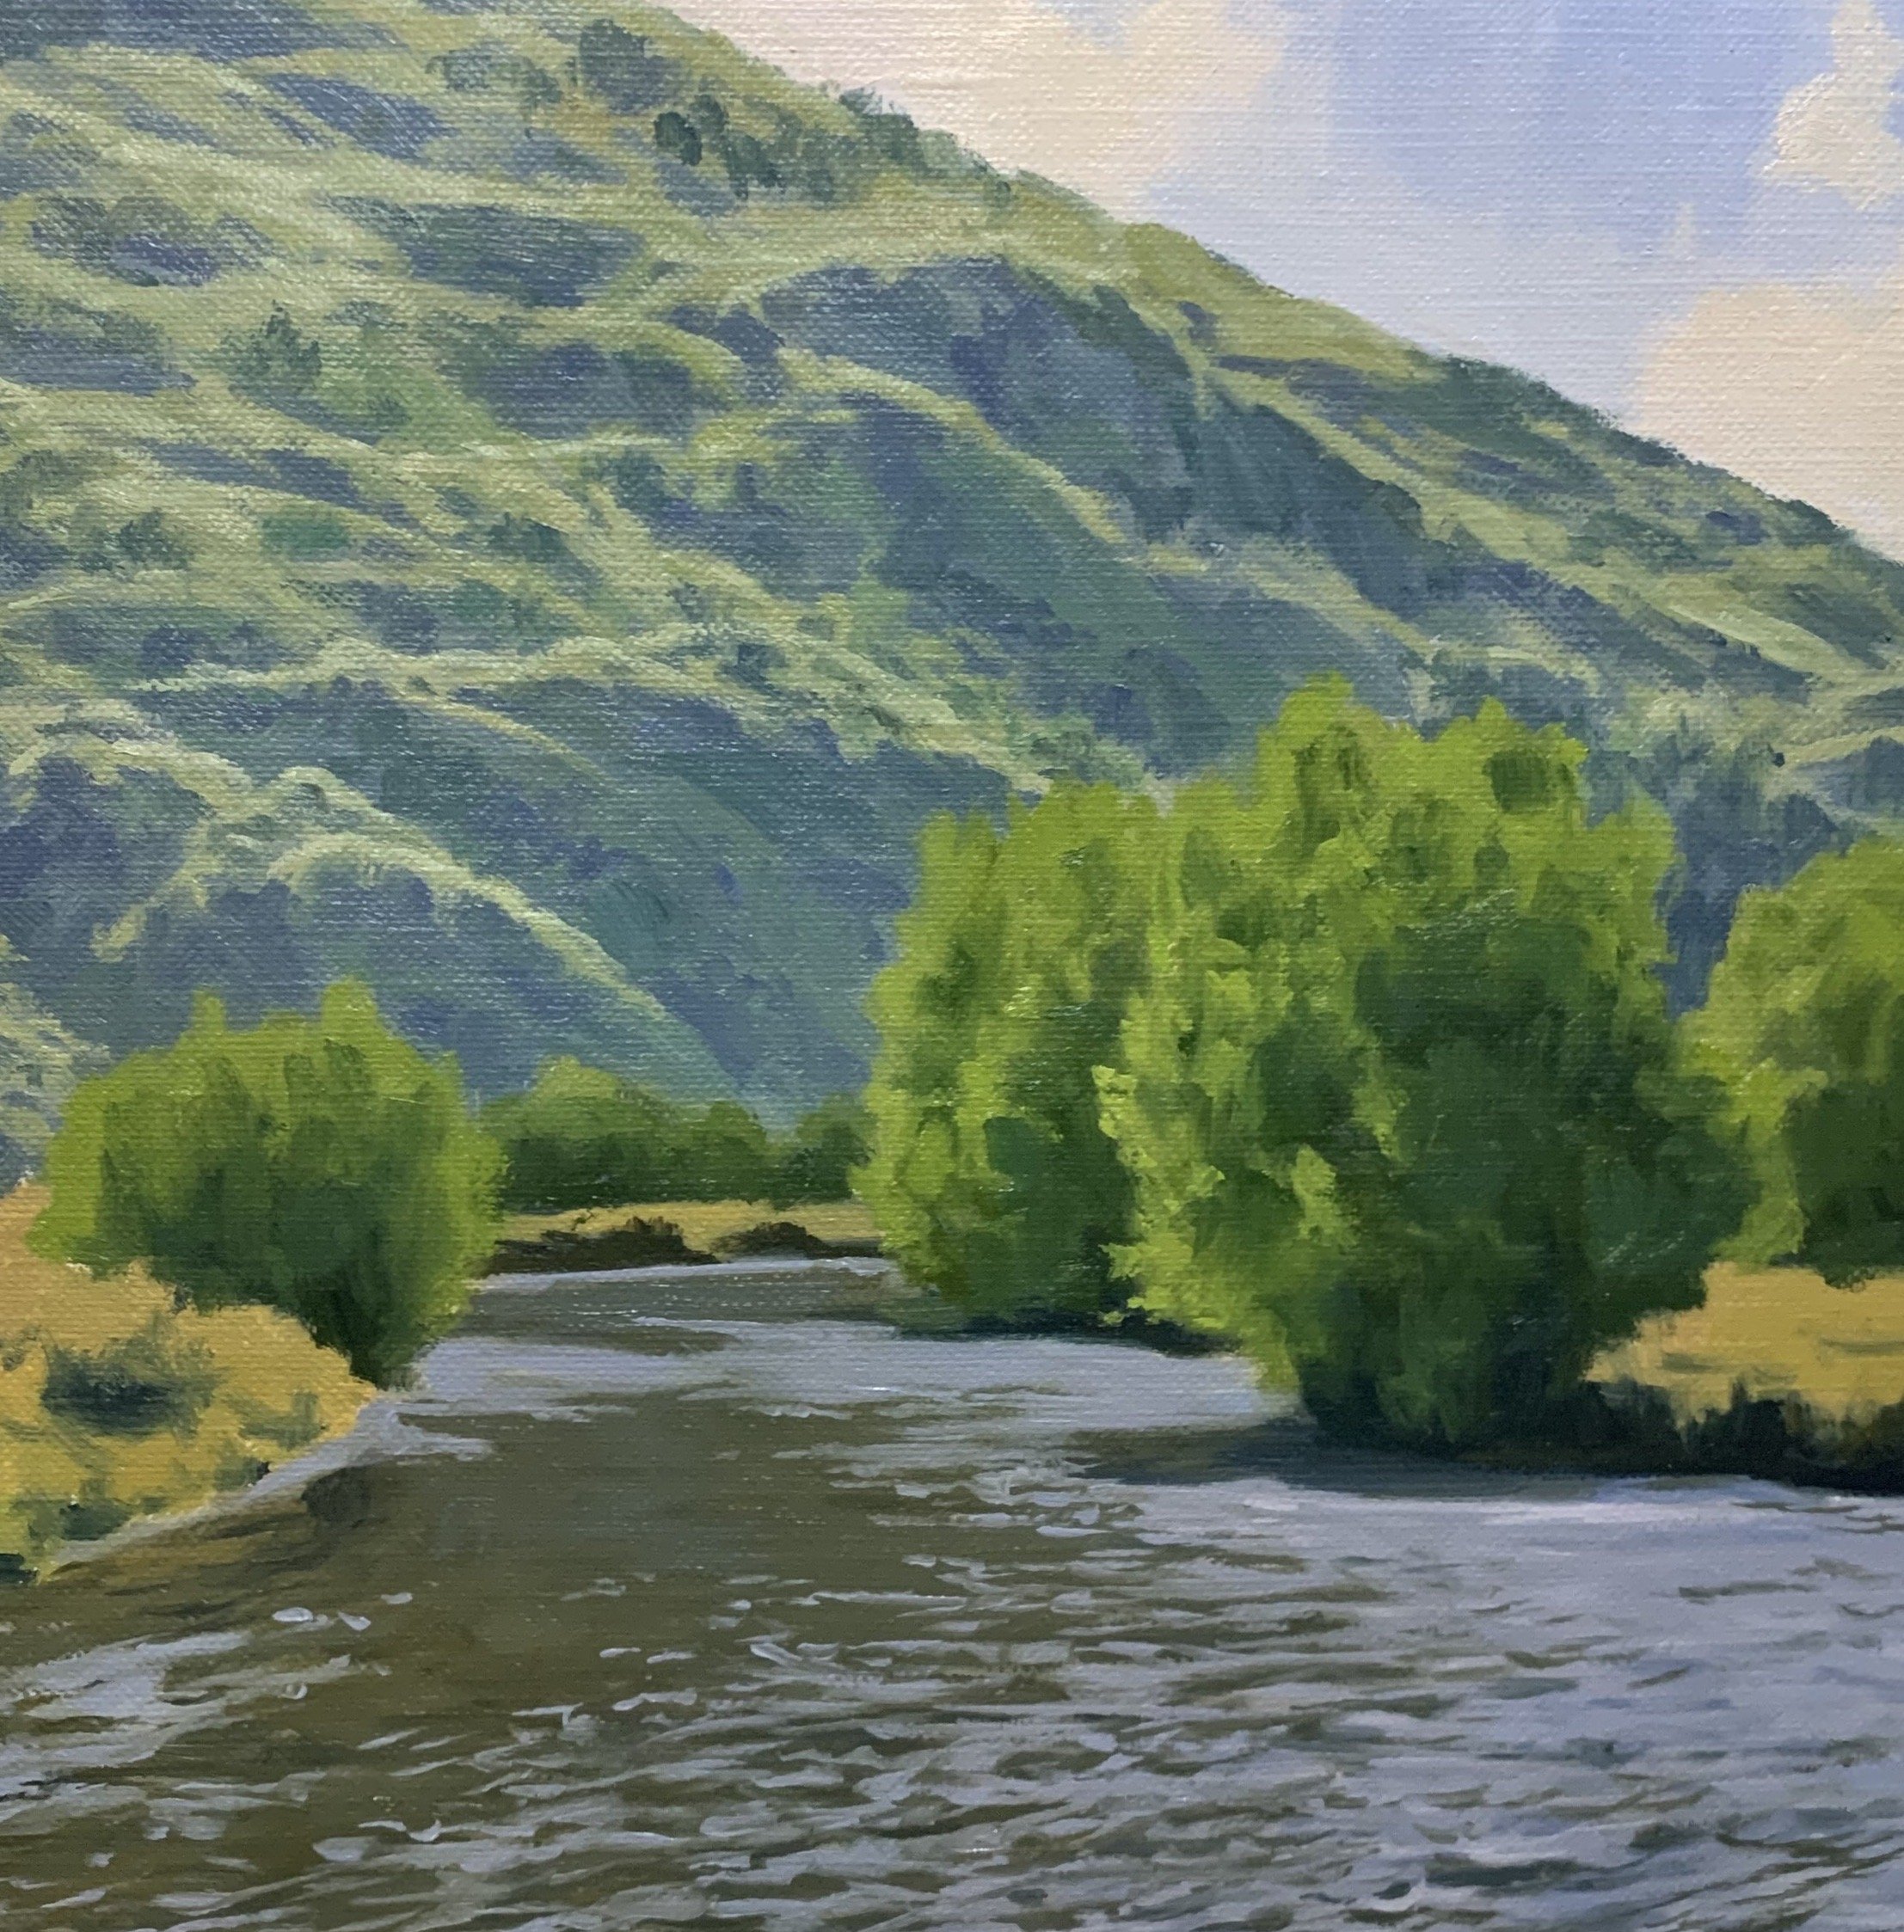
Stage 2 – Adding Details, Modelling and Refining the Painting
Once the painting was dry I was then able to begin the modelling stage where I added details to the painting and refined the various forms and masses.
In this stage of the painting, I focussed on the sky and background hill where I added more paint layers. I have gone sparingly with the details in the background hill so it does not overcomplicate the composition and distract from the trees and river in the foreground.
I still used the same colours for the vegetation as I used in the block-in stage, a mix of yellow ochre, ultramarine blue and titanium white however I also added some additional colours to create a variety of greens. I still keep in mind the value of the green and I make sure that the colours are not saturated.
I added a little cadmium yellow, phthalo green and alizarin crimson to my green mix to communicate the different trees, shrubs and plants on the hill.
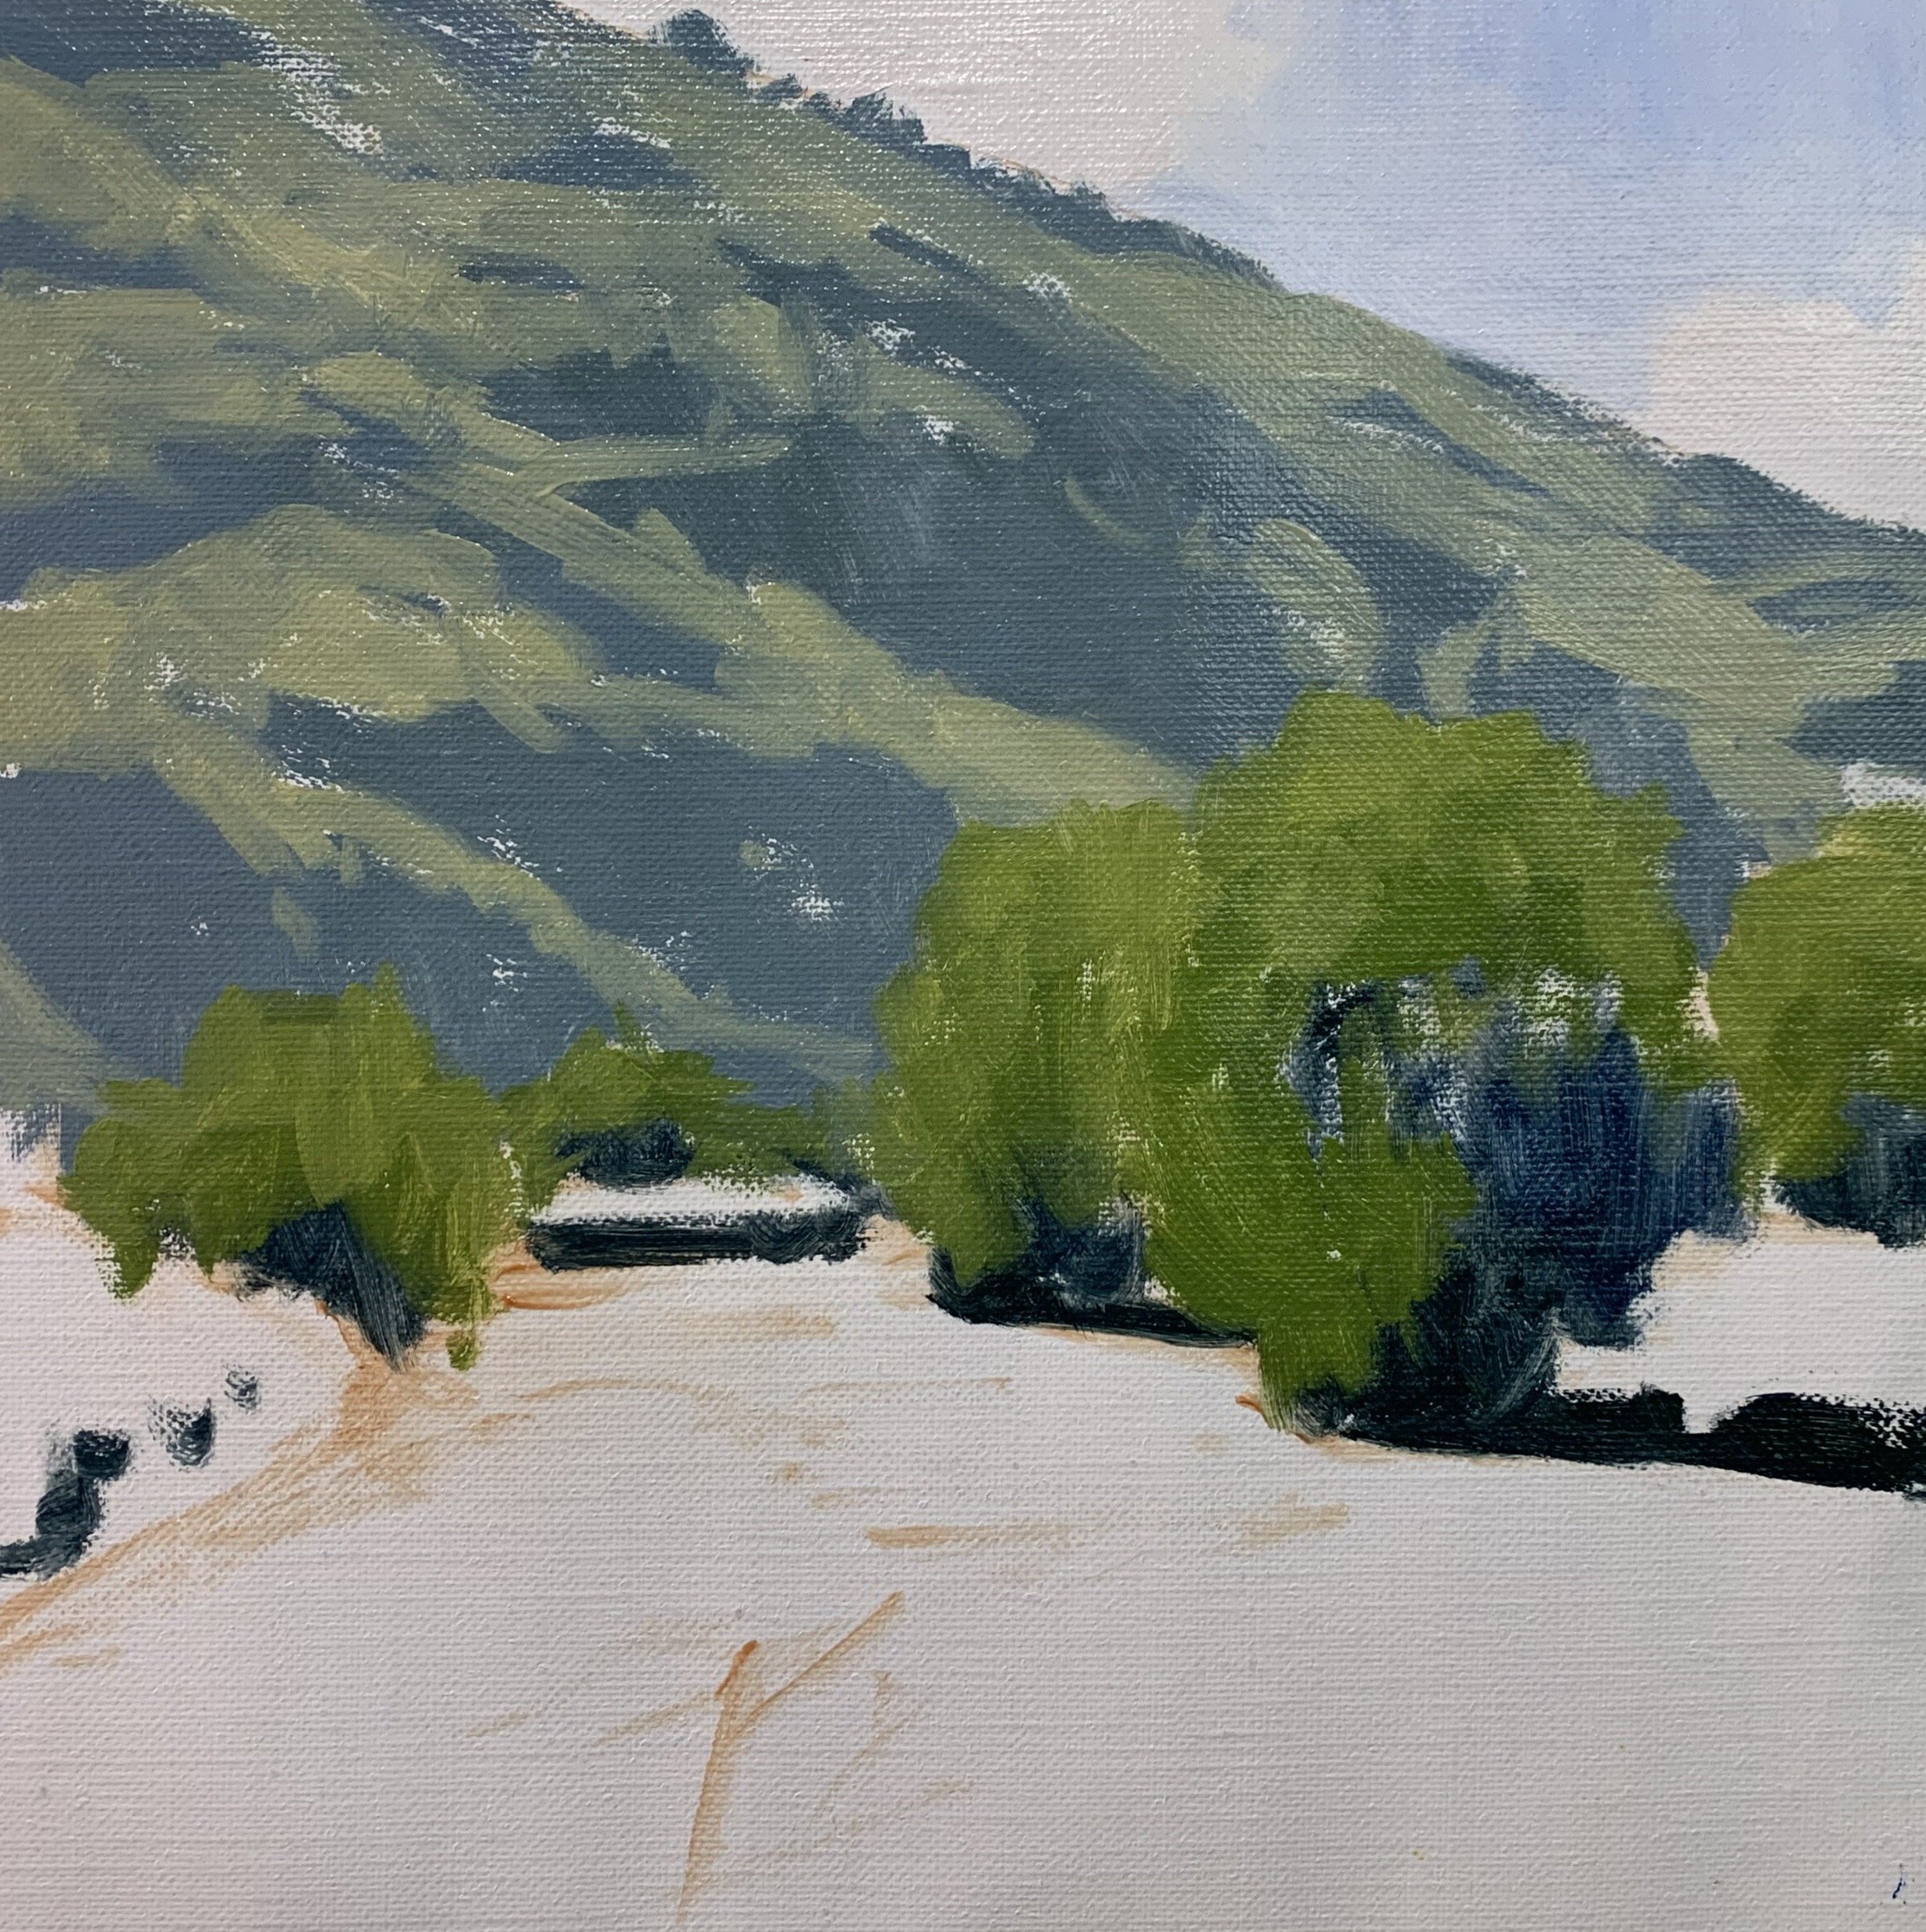
Next comes the modelling stage of the willow trees where I was building up the detail within the tree canopies. The main thing I was doing at this stage was creating the form of the trees and establishing the shadows, halftones and highlights within the tree canopies.
I have made a few different green mixes for the trees that are mostly centred around yellow ochre, cadmium yellow, ultramarine blue and titanium white. I have also made the greens look more natural by mixing in a small amount of colour that contains red such as alizarin crimson or cadmium red light. This helps to reduce the saturation of the greens as green is opposite to red on the colour wheel.
I start adding details to the river, painting the reflections and forming the ripples. I used the same colour mixes that I used in the block-in stage and I found using a synthetic 1/4” ivory dagger very useful for painting the ripples.
At this point in the painting, I had allowed it to dry again and once dry I was able to add further details to the willow trees. I was using lighter-value greens to start building up the illuminated side of the tree canopies. I used a mix of yellow ochre, cadmium yellow, ultramarine blue and titanium white. I also added a very small amount of cadmium red light and phthalo green into the mix.
I painted the suggestion of a network of stems and branches in the willow trees using a mix of ultramarine blue with a little yellow ochre.
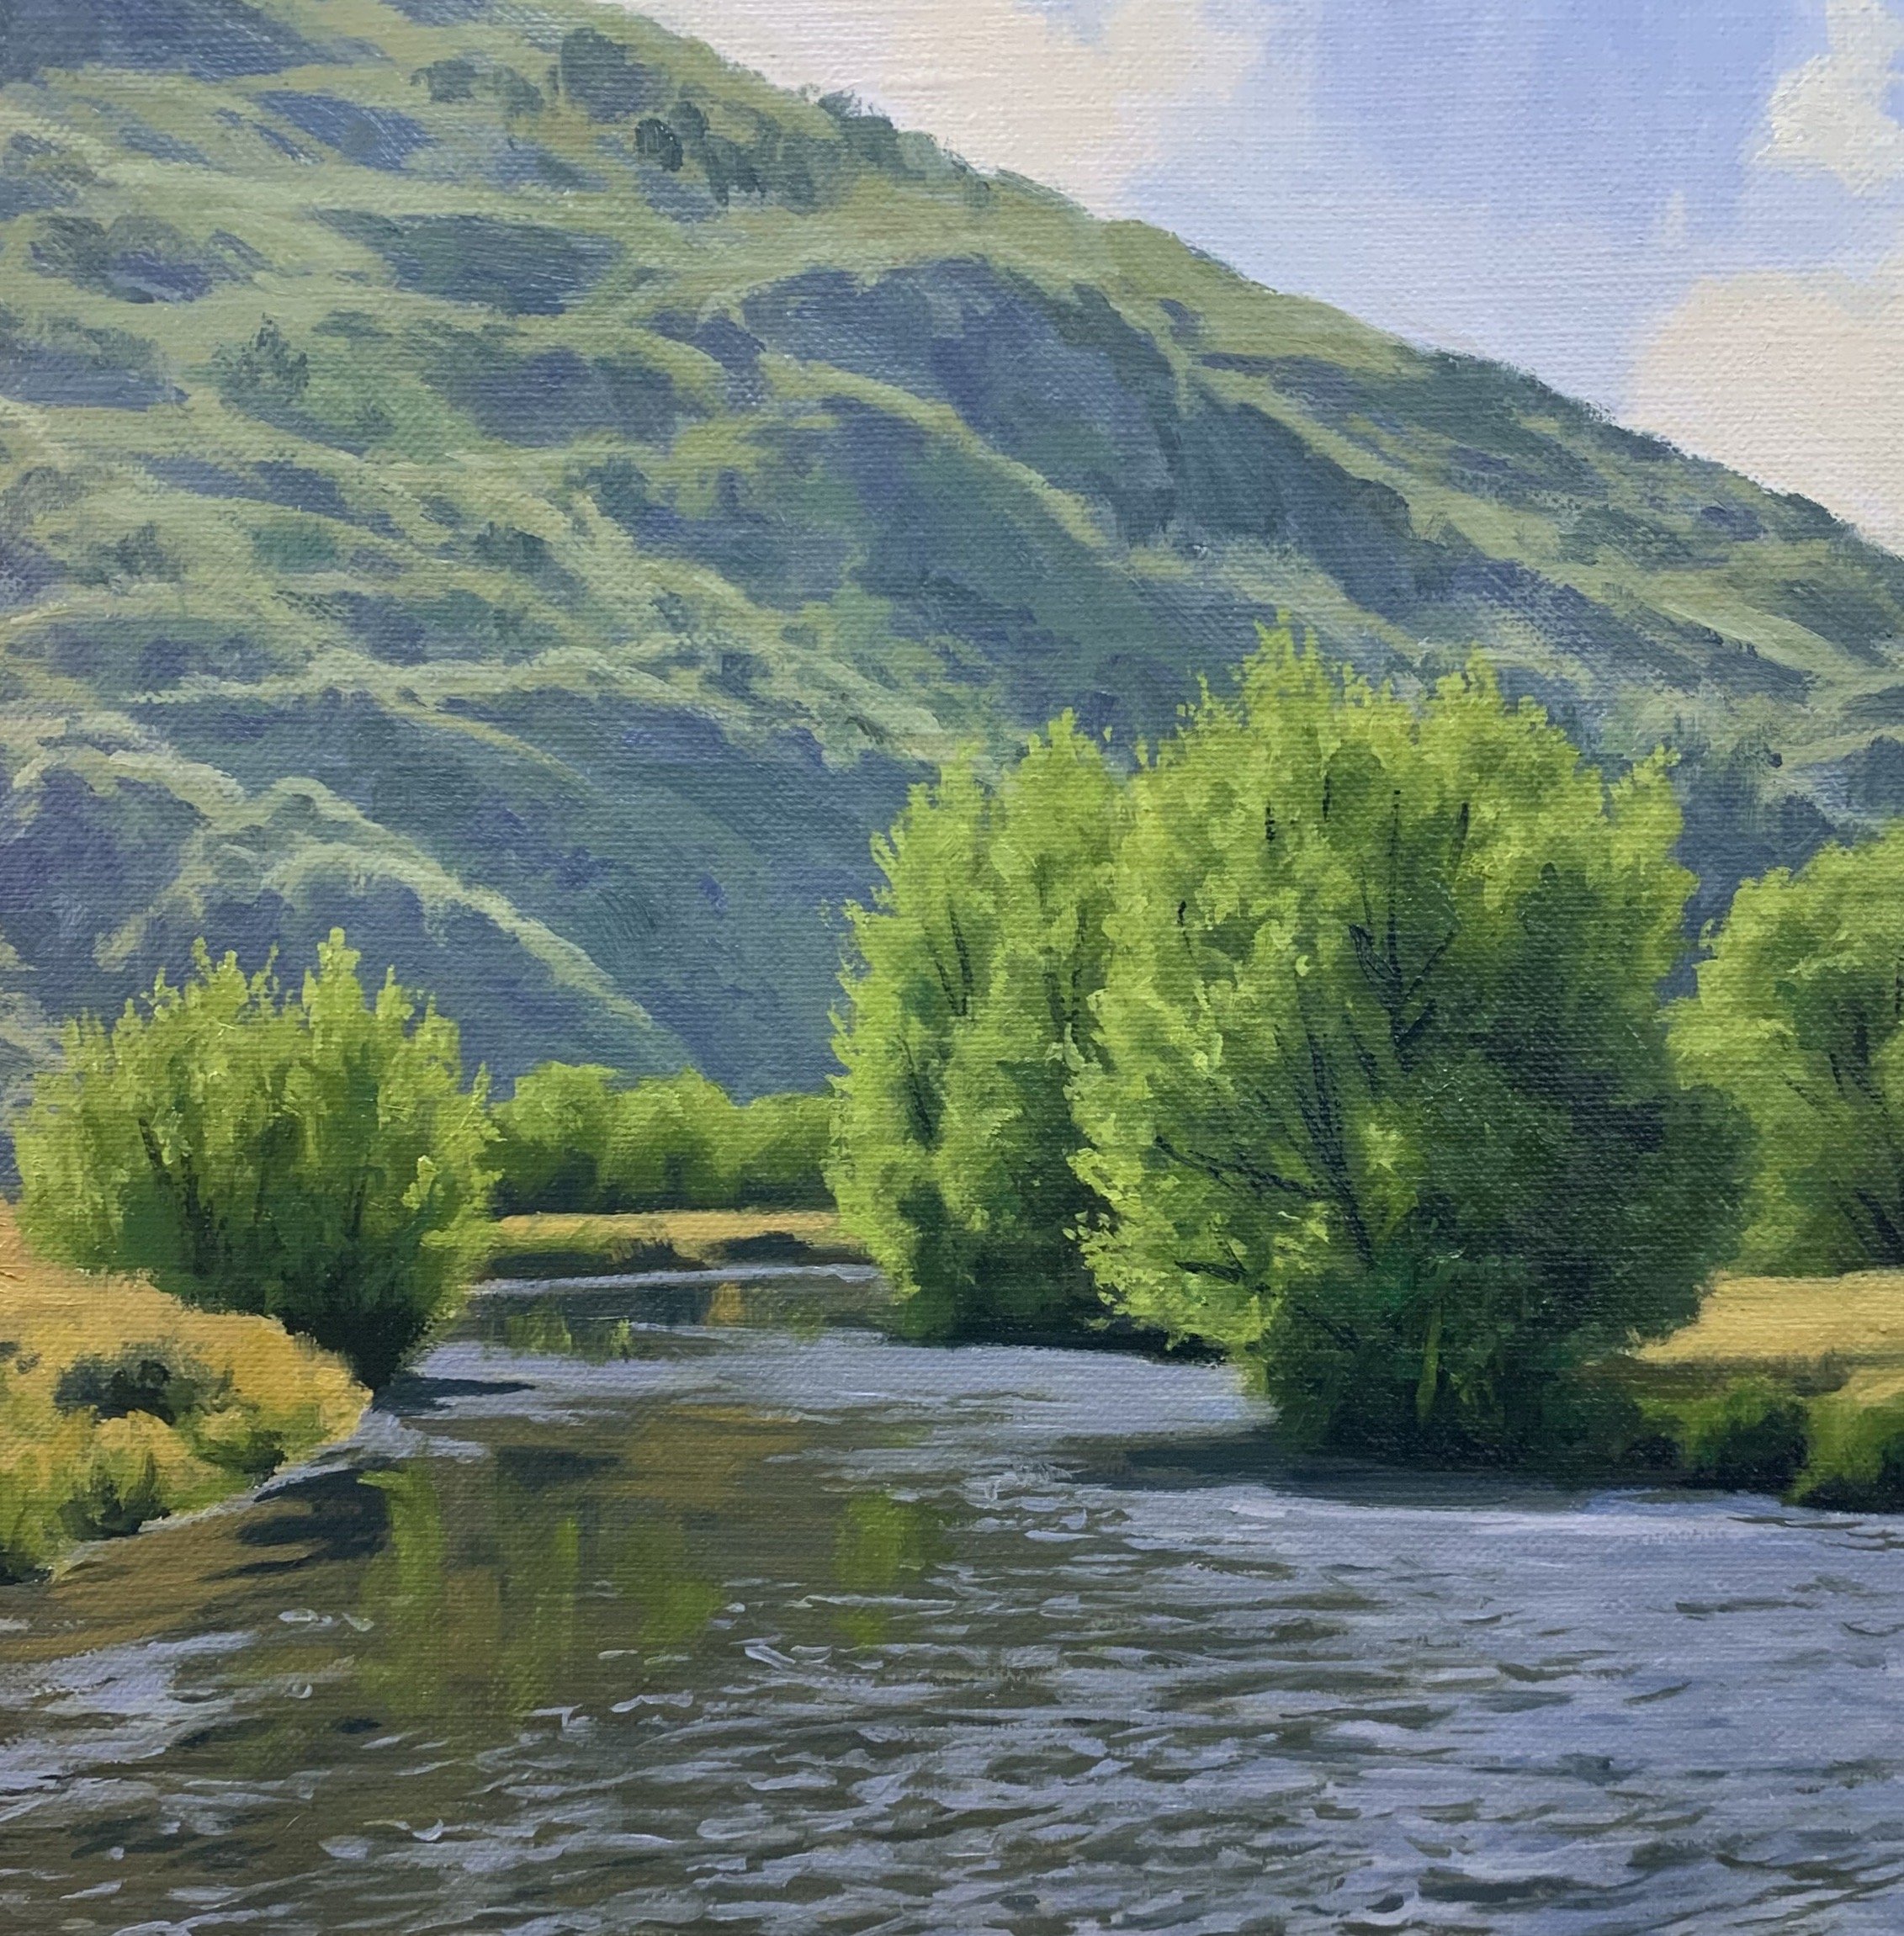
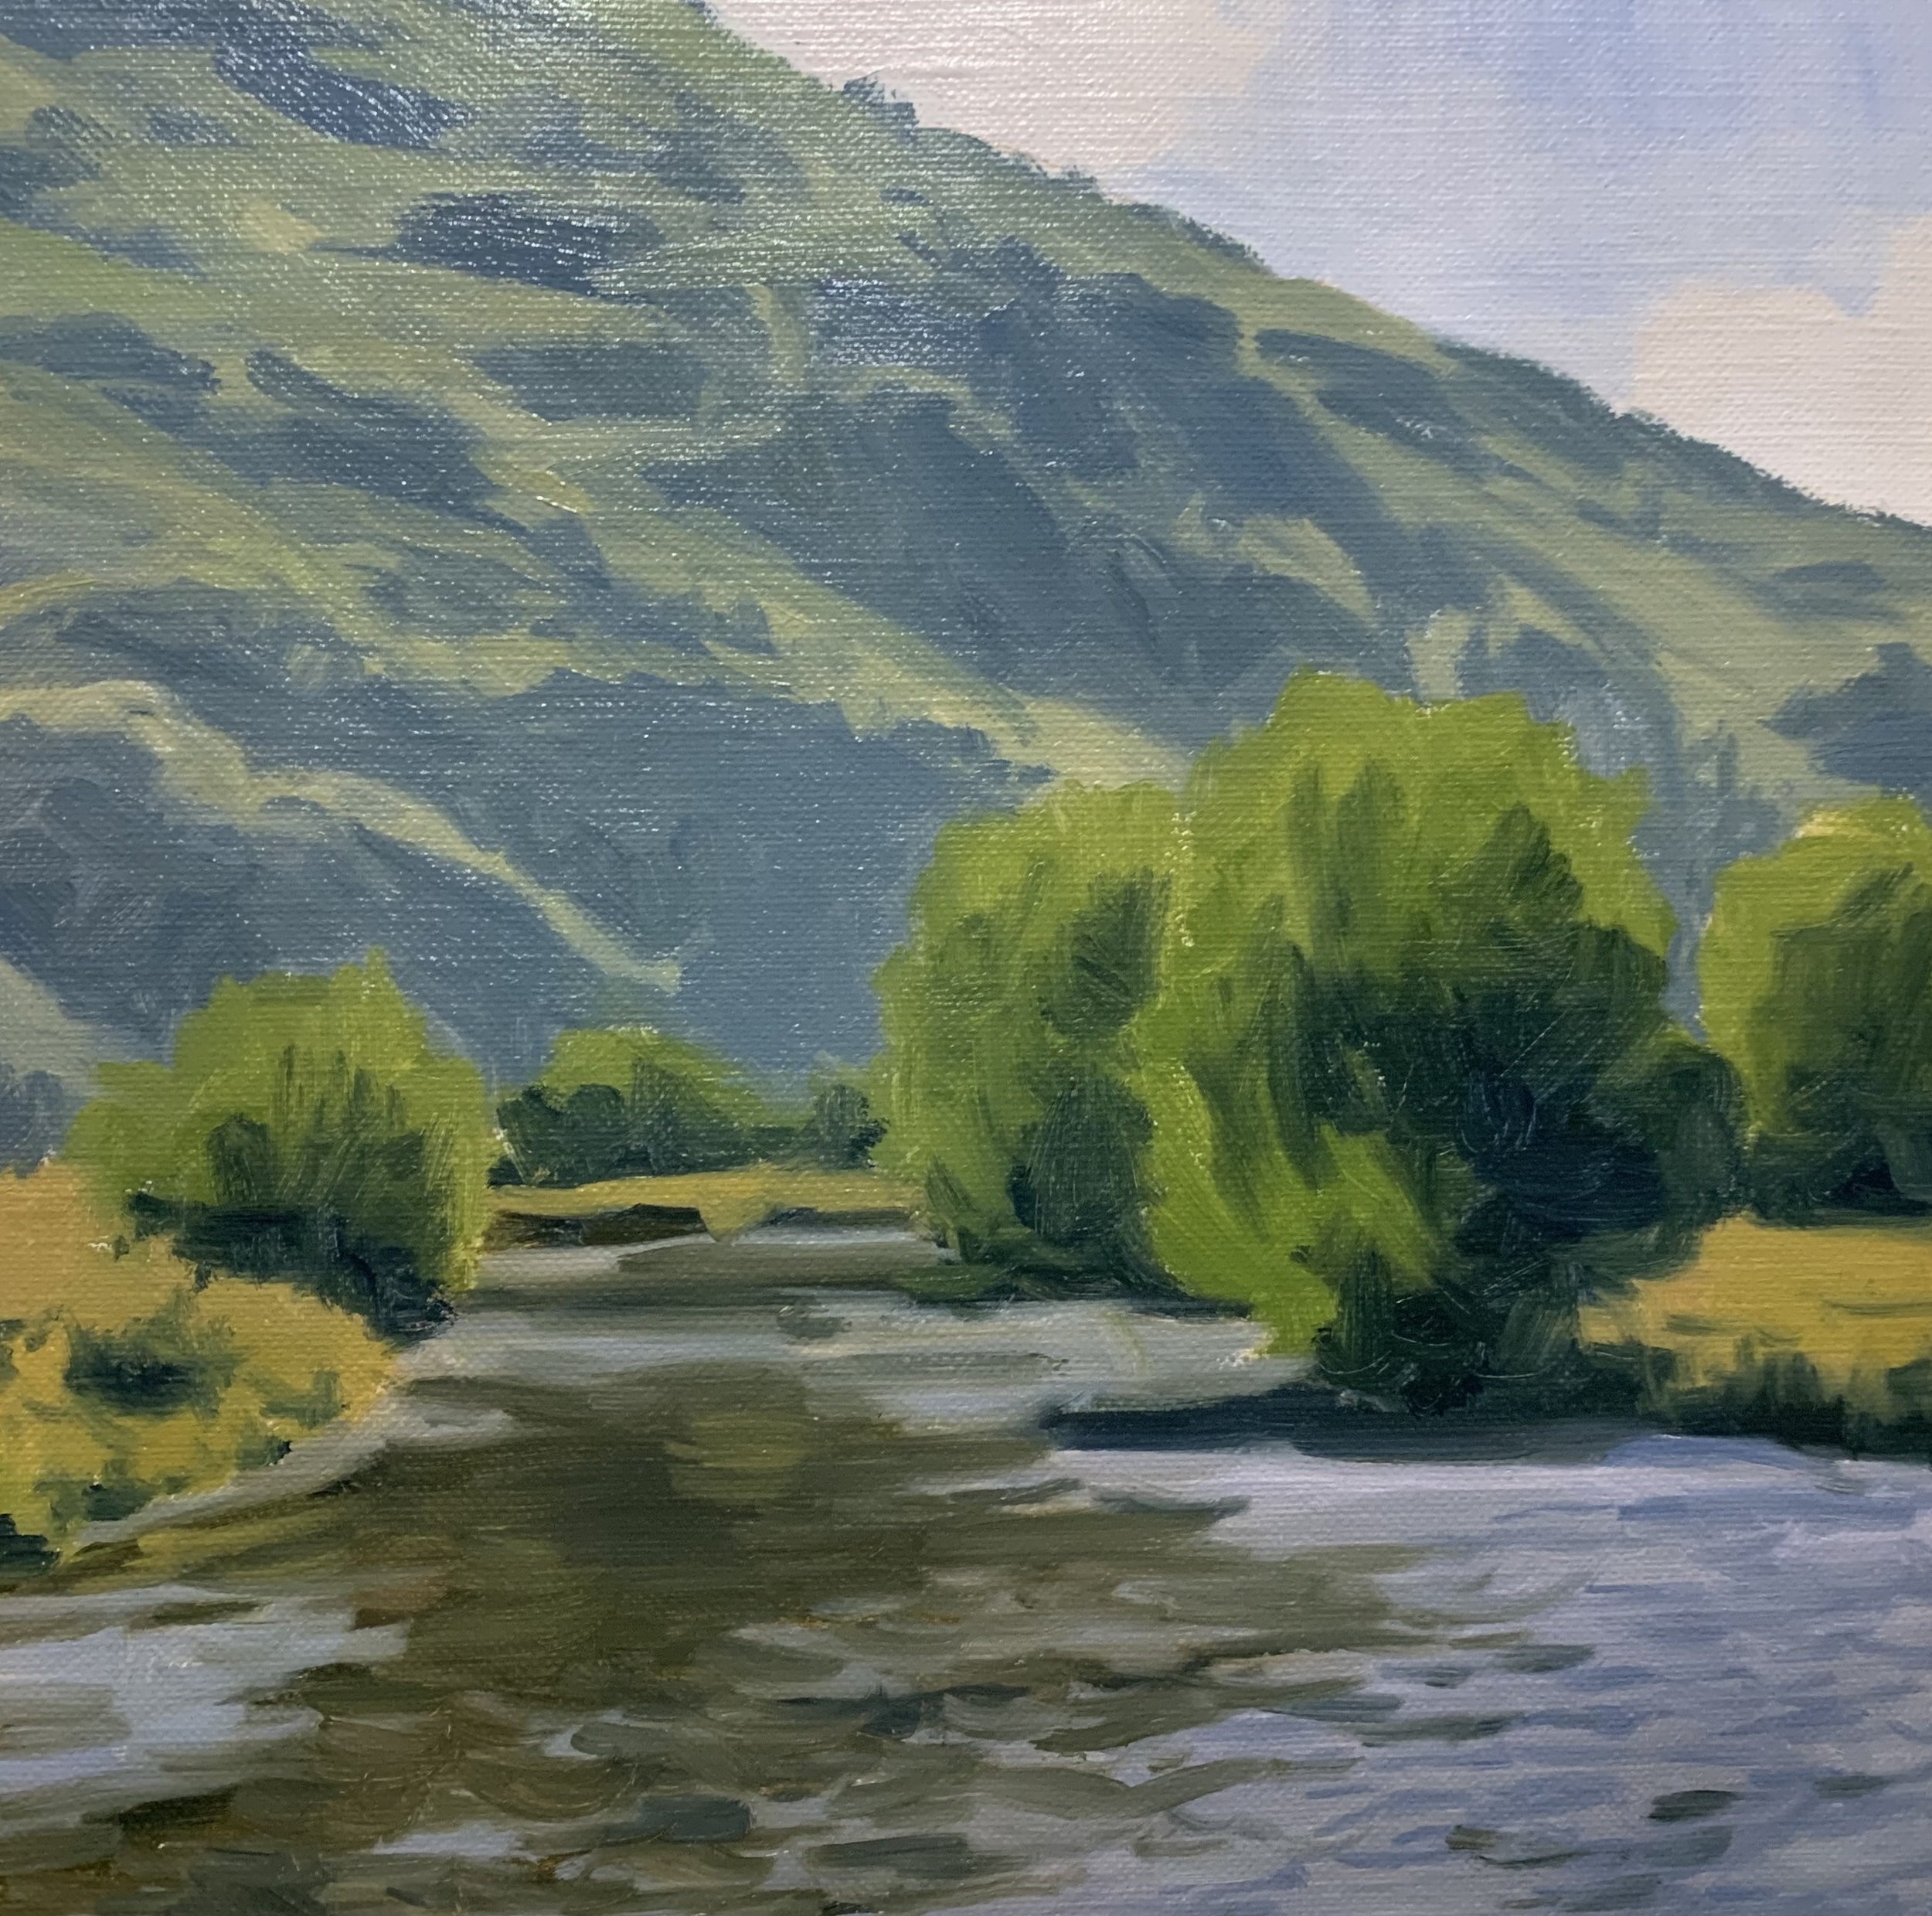
Stage 3 – Final Details
I finished this painting by adding a few highlights to the willow trees to communicate a few leaves shimmering in the sun. The leaves have glossy surfaces so they reflect the direct sunlight. To paint the shimmering leaves I used a mix of titanium white with a little cadmium yellow.
The last part of the painting was where I added the sparkles to the water using a mix of titanium white with a little yellow ochre. I applied the paint with a No.00 round brush.

Thanks for reading 😊
