Have you ever tried painting outdoors? Painting outdoors is challenging but really good fun, if you are a landscape painter that is wanting to quickly improve your painting skills then painting outdoors could really help you.
Painting outdoors teaches you to paint quickly as the light and weather conditions are always changing and it really helps you with colour mixing and understanding of tone as it really make you look at the landscape.
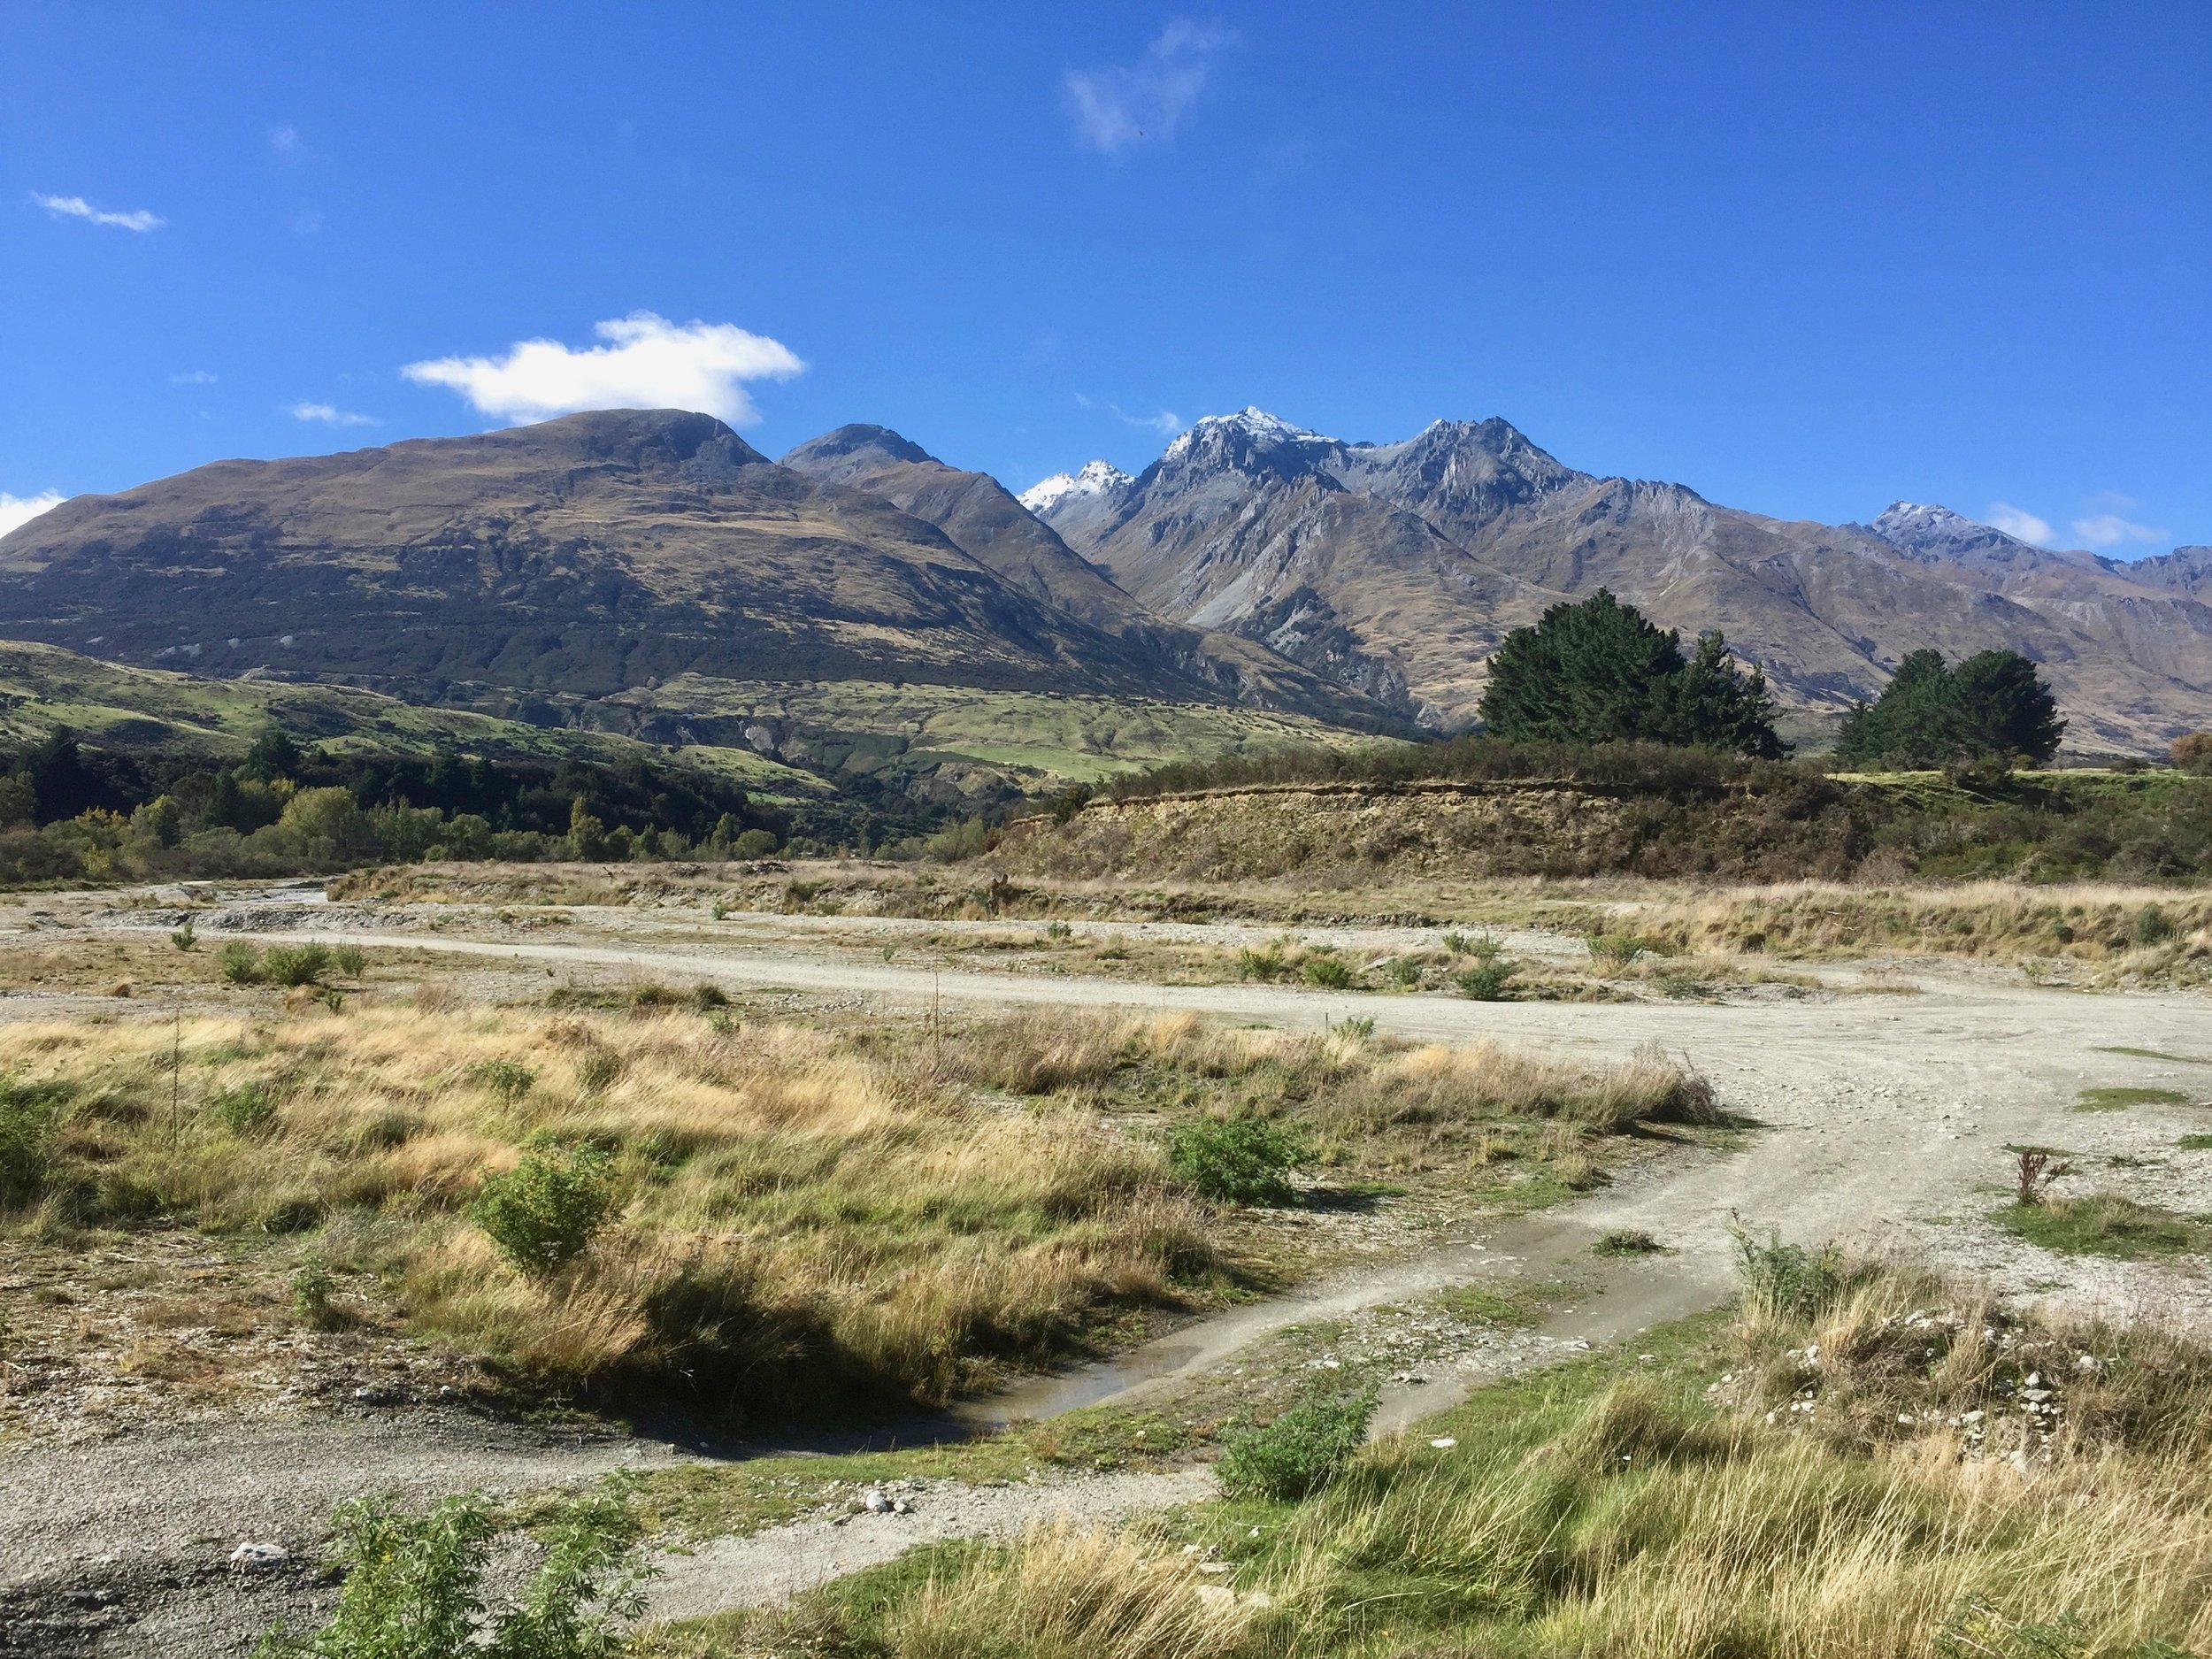
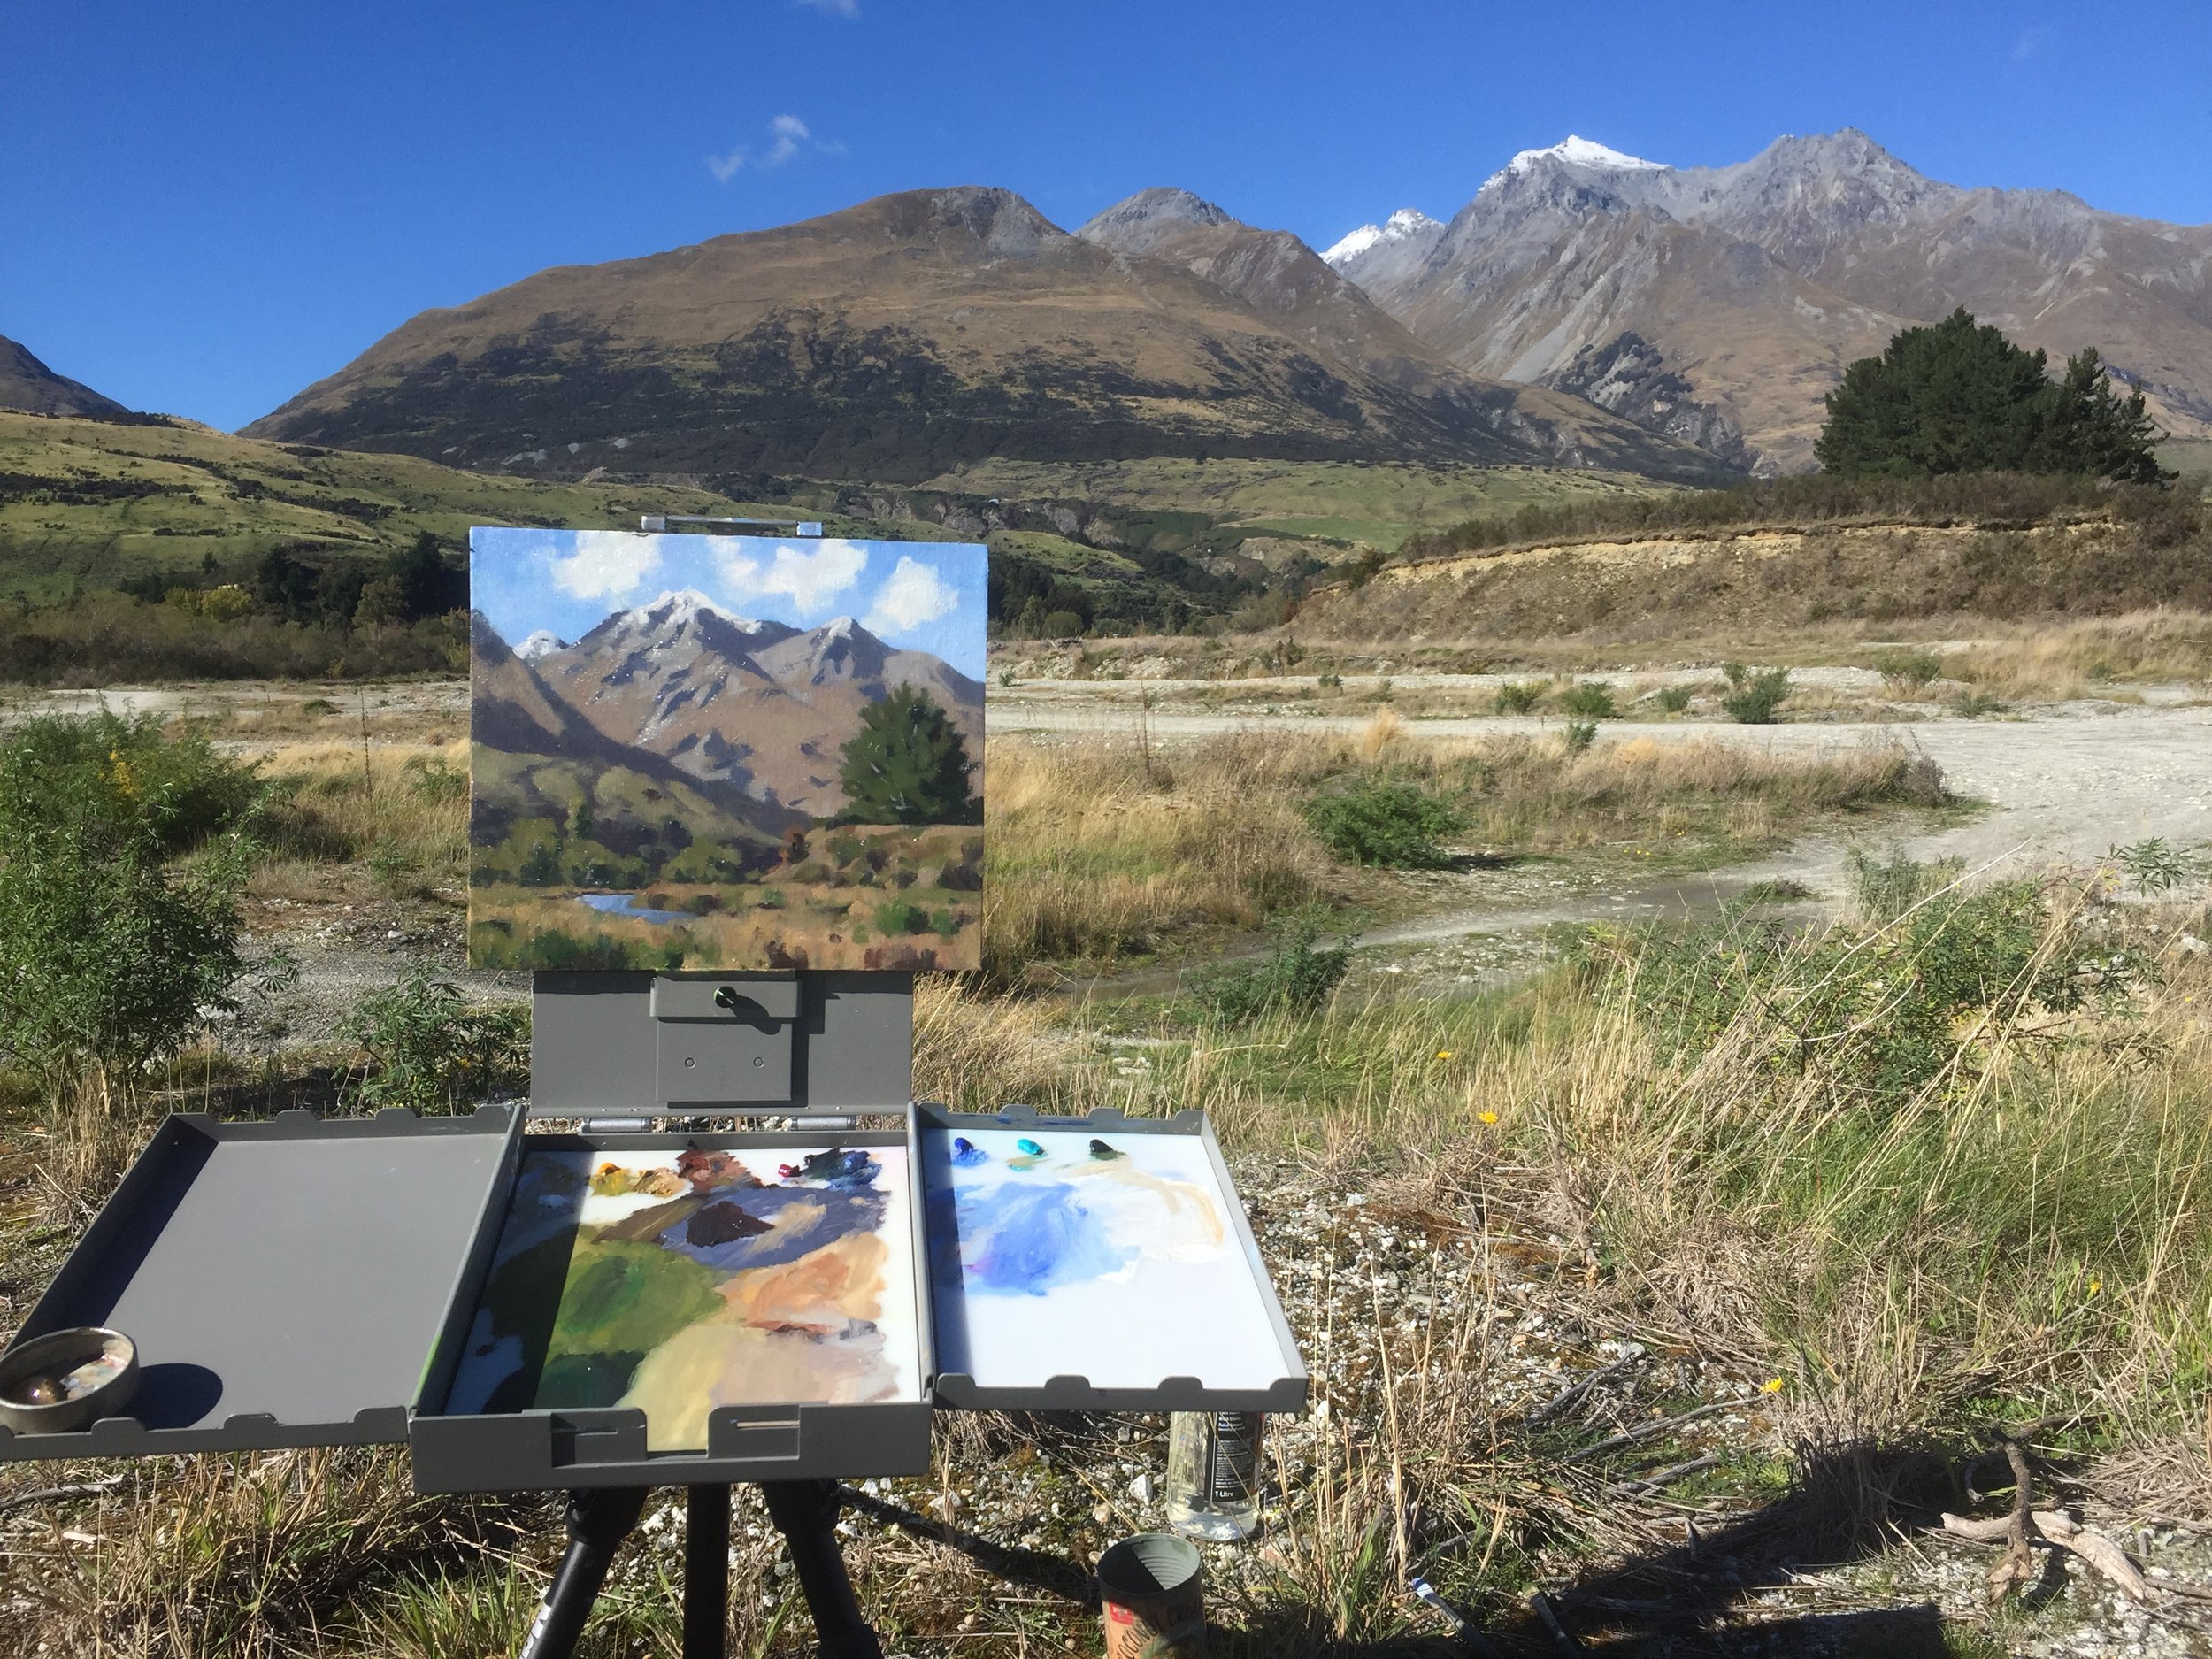
One of my favourite places to paint outdoors is a place called Glenorchy in New Zealand, it’s surrounded by high mountains and they are often covered in snow.
In this painting tutorial I will show you the step by step process of how I painted this mountain landscape, outdoors on location. The whole painting was done in one session and took about two hours to paint.
Choosing the Subject to Paint
This was the view I painted, the mountain is Mt Alaska. I loved the mountain view with the tussock grass and the pine trees.
Colours
The colours I used to create this painting included:
- Titanium white
- Cadmium yellow deep
- Yellow oxide
- Burnt sienna
- Quinacridone magenta
- Ultramarine blue
- Cobalt blue
- Cobalt teal
- Phthalo green
Brushes
Generally for painting outdoors I mainly use large brushes to achieve a looseness and painterly style. The brushes I mainly use include:
- No.6 flat
- No.2 flat
- No.2 filbert
- No.1 round
Painting
I’m painting on a 10″ x 12″ canvas panel which I made myself in the studio by glueing canvas to an MDF panel. I prepared the canvas with a layer of burnt sienna which helps me with colour and tone.
When painting outdoors I always have my painting in the shade as it helps keep you painting tonally lighter and you are less likely to get dazzled from the wet paint reflecting in the sun.
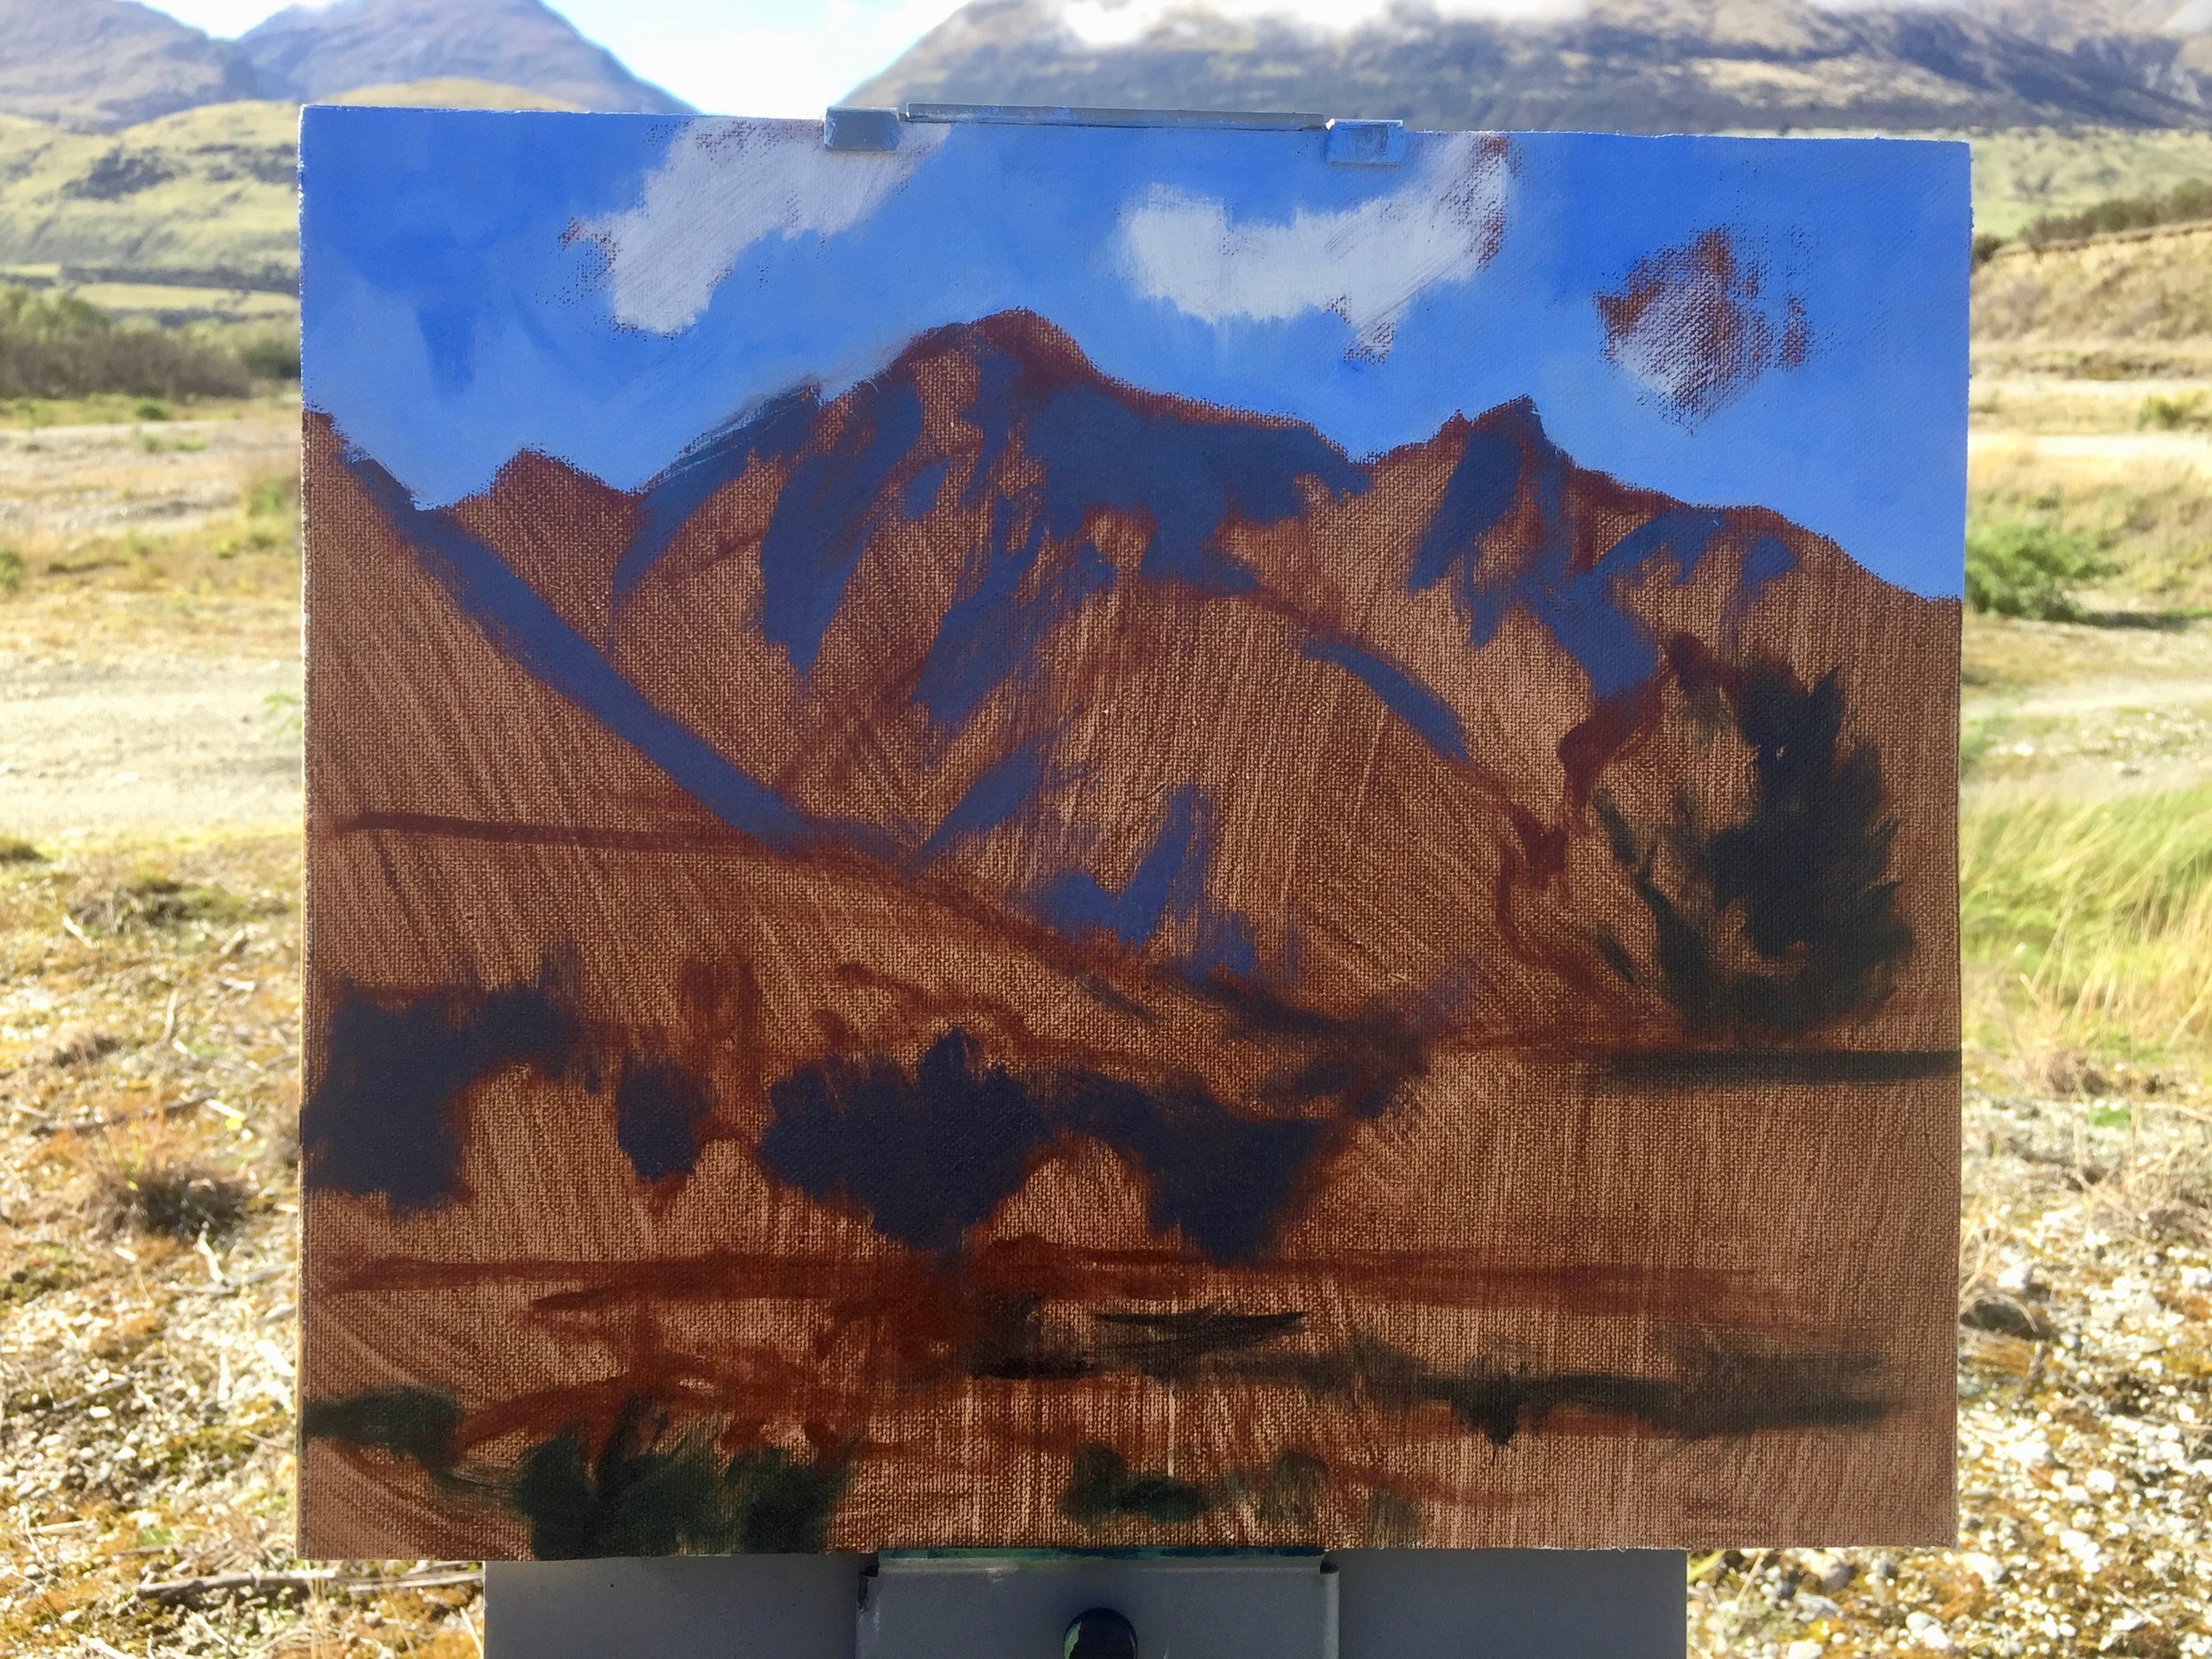
I sketch out the composition with burnt sienna using a no.1 round brush
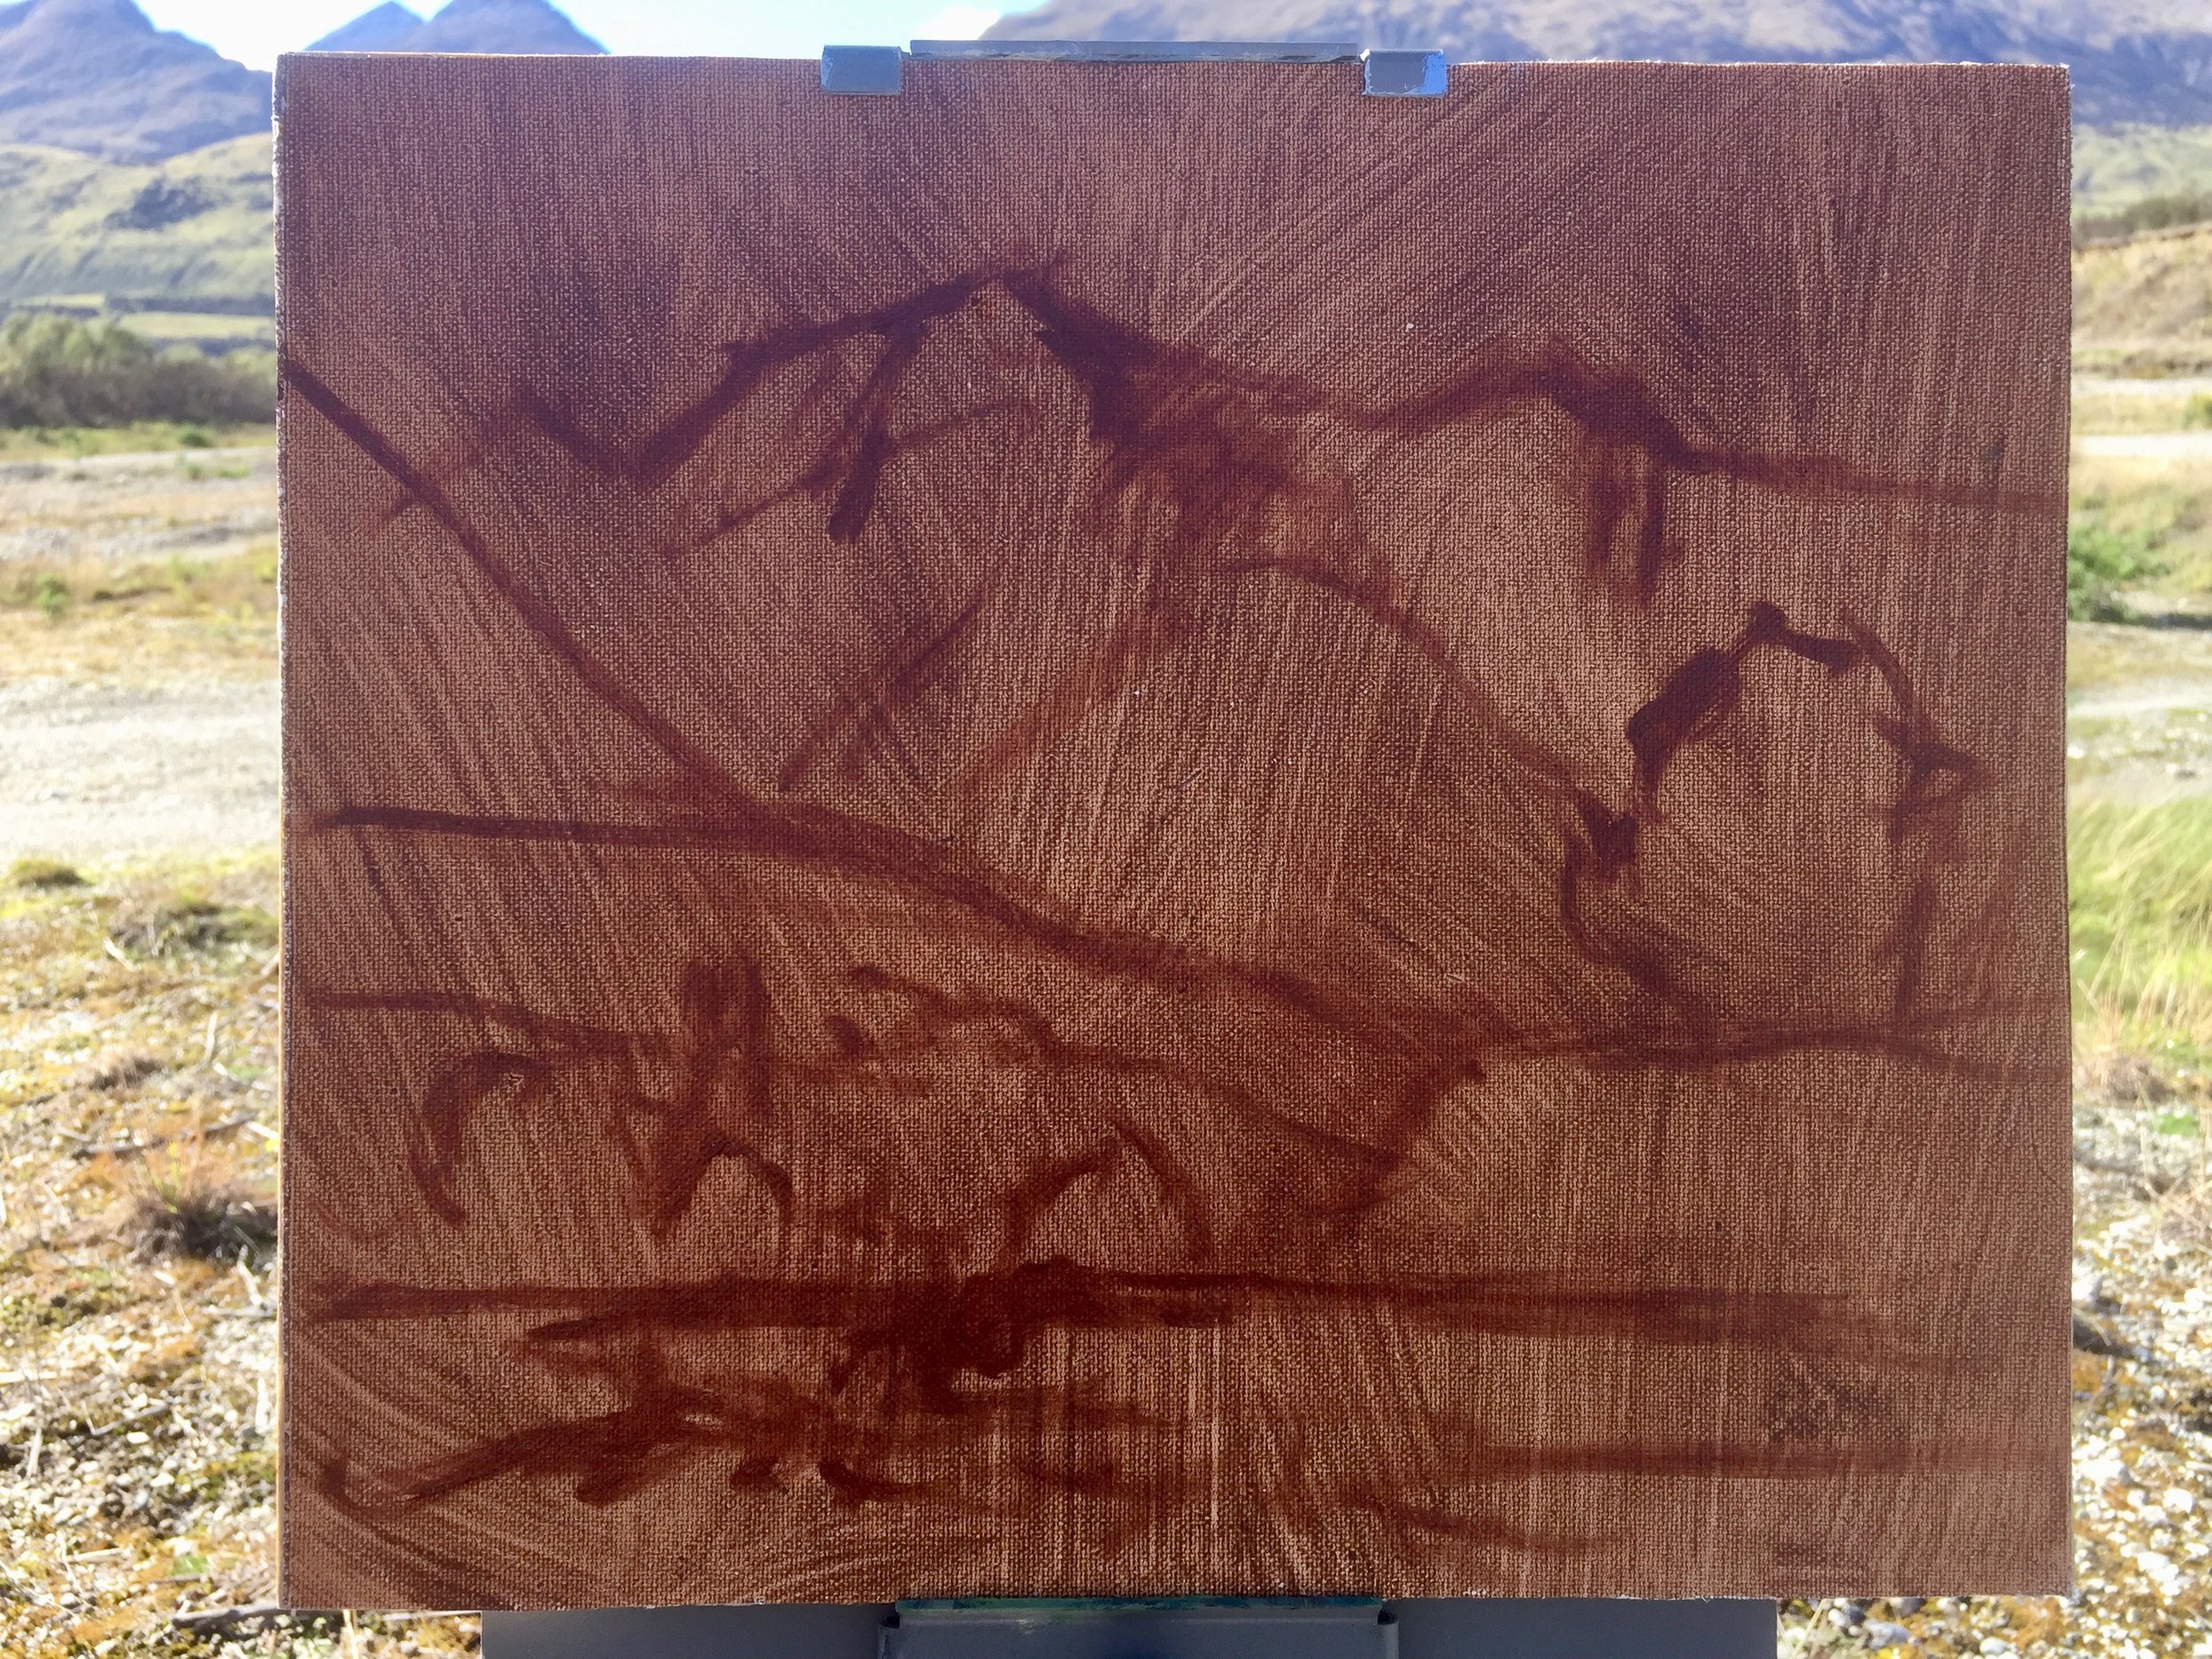
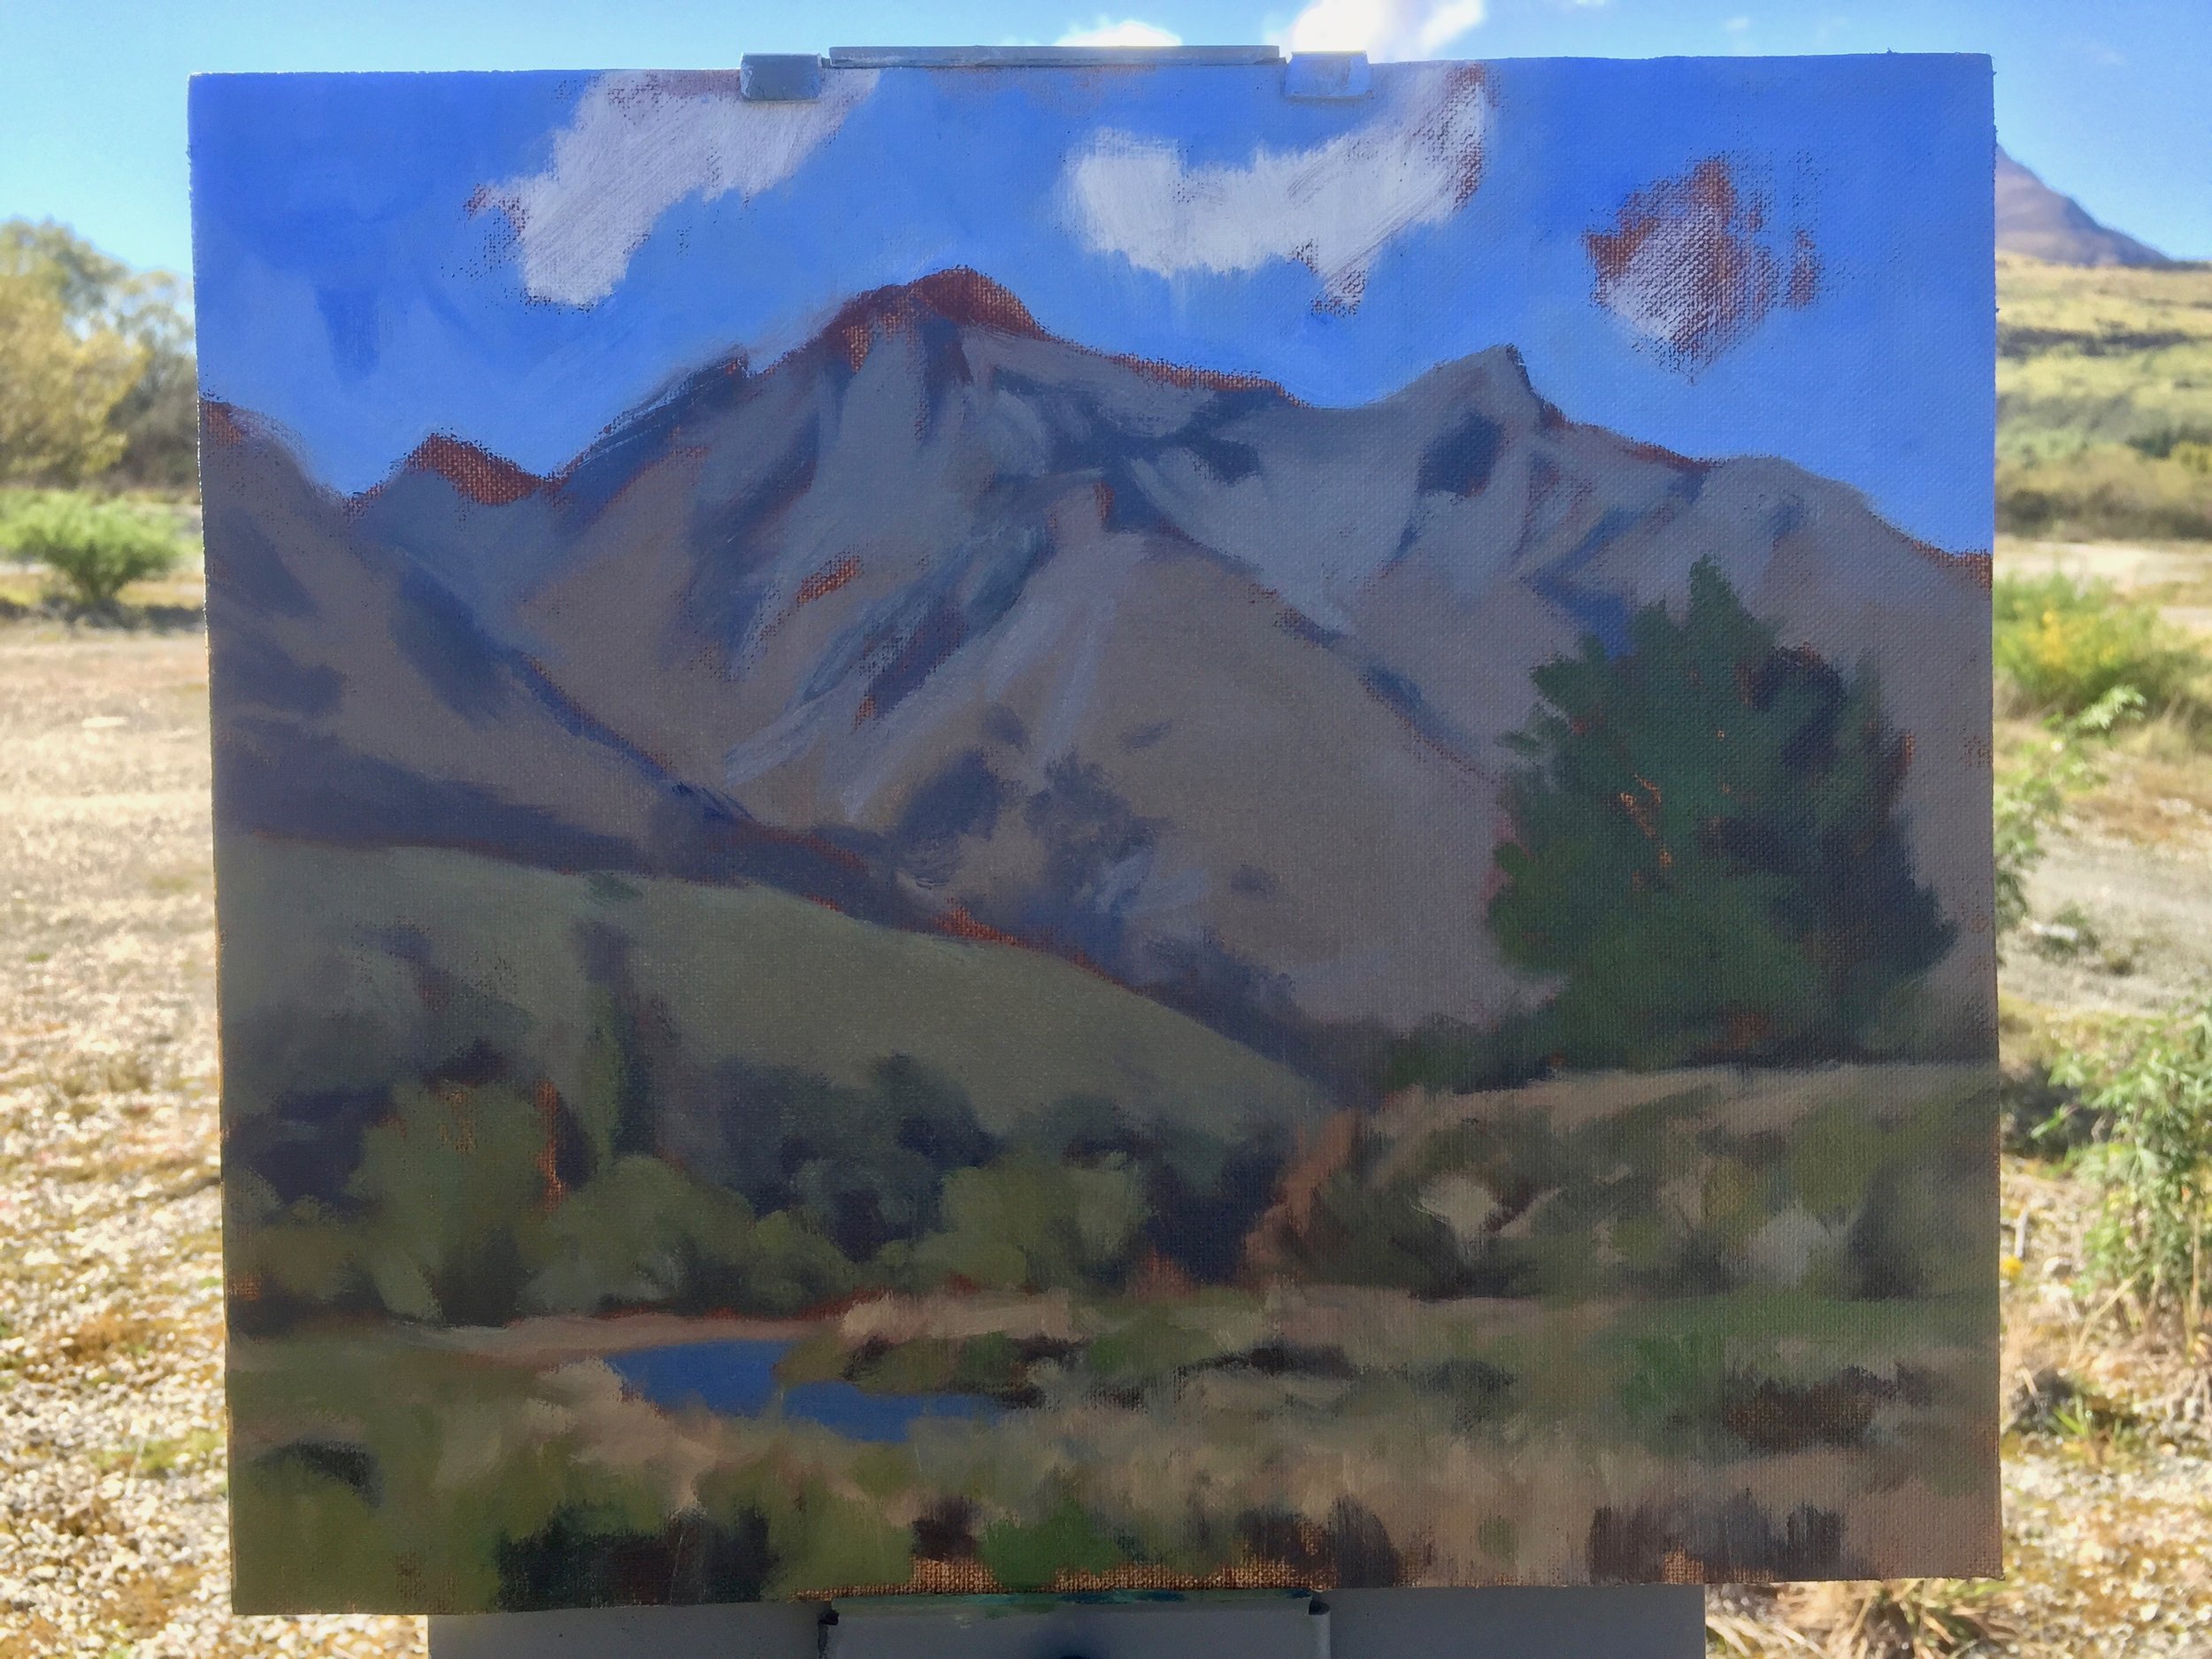
When painting outdoors the first thing you need to do is get your dark tones established as quickly as possible, then it doesn’t matter that the light will change or if the sun disappears behind the clouds. It’s also a good idea to take a photo of the scene you are painting with a smart phone just in case the weather does change and you need to refer to it.
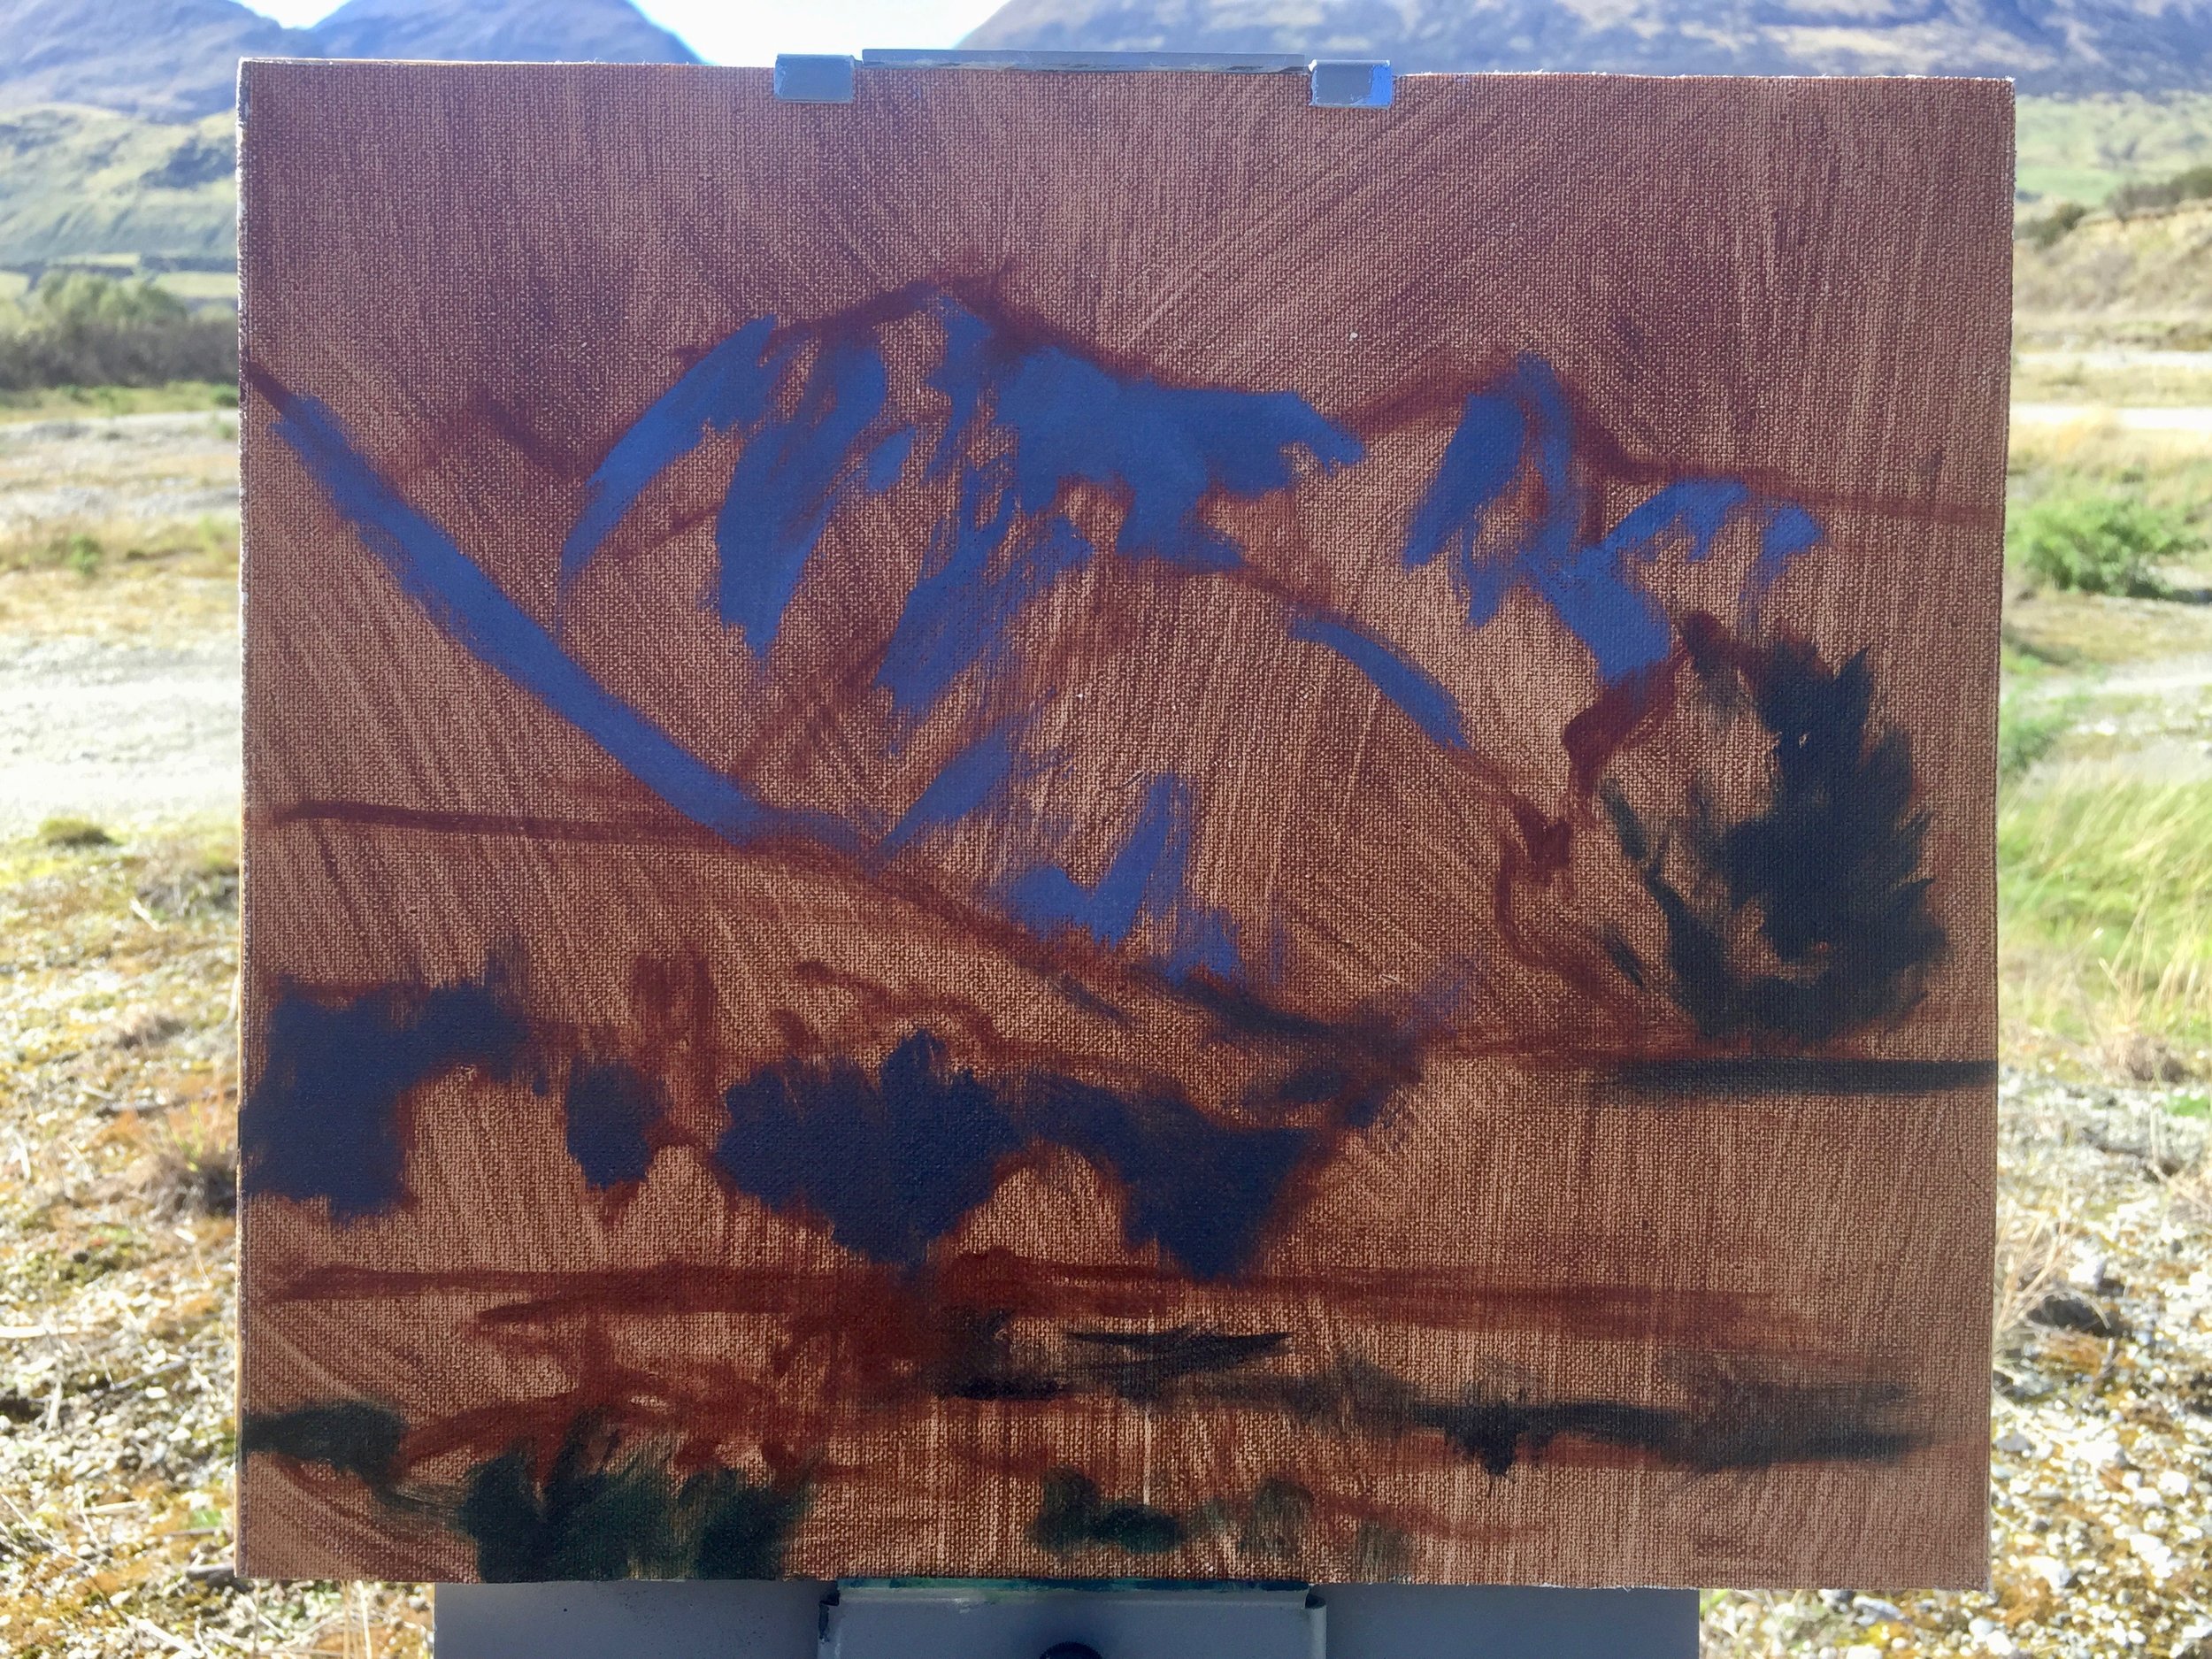
I start by painting the mountain shadows in Mt Alaska, this is the furthest away landform in the painting so tonally the shadows will be lighter than the shadows in the foreground. The shadows appear to be a desaturate blue so I mix ultramarine blue, burnt sienna to reduce the saturation, quinacridone magenta to give the mixture a violet tint and titanium white to lighten the tone.
I use the same colour combination for the mid ground shadows but with less titanium white.
My shadows in the foreground will be much darker, as darks are darkest and lights are lightest. The shadows in the pine trees are dark and I mix this dark tone using a combination of ultramarine blue, burnt sienna and phthalo green.
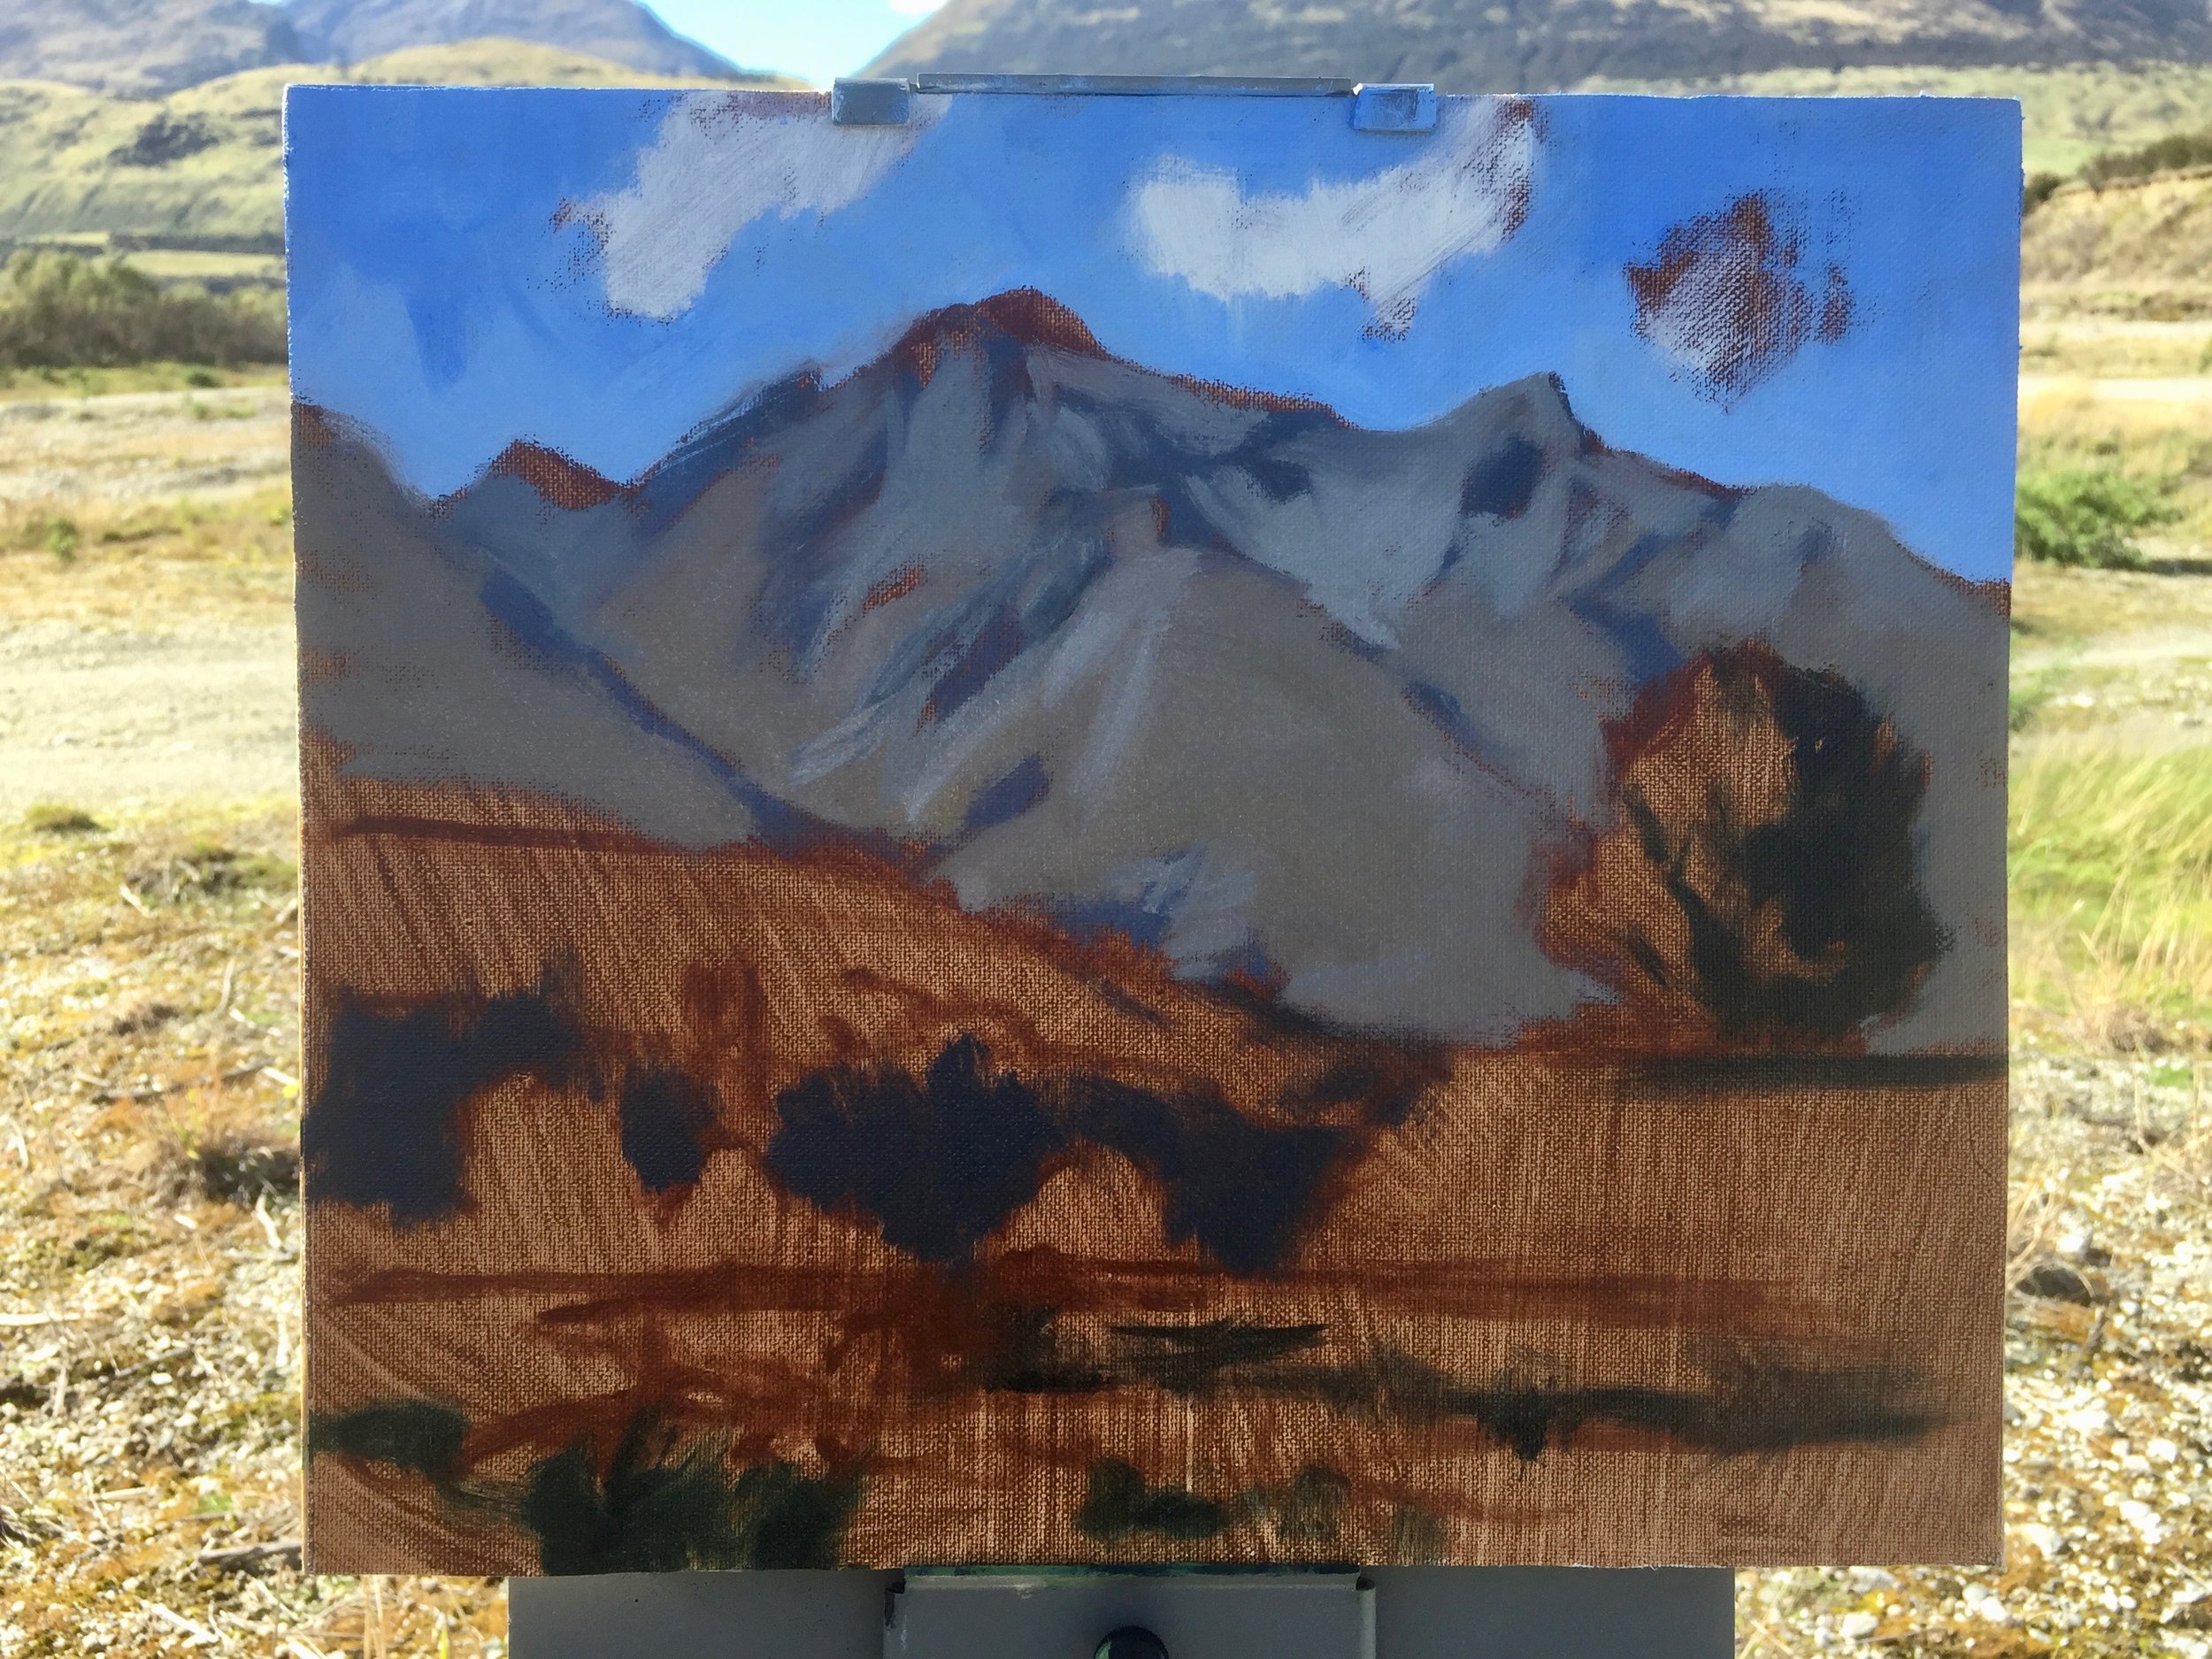
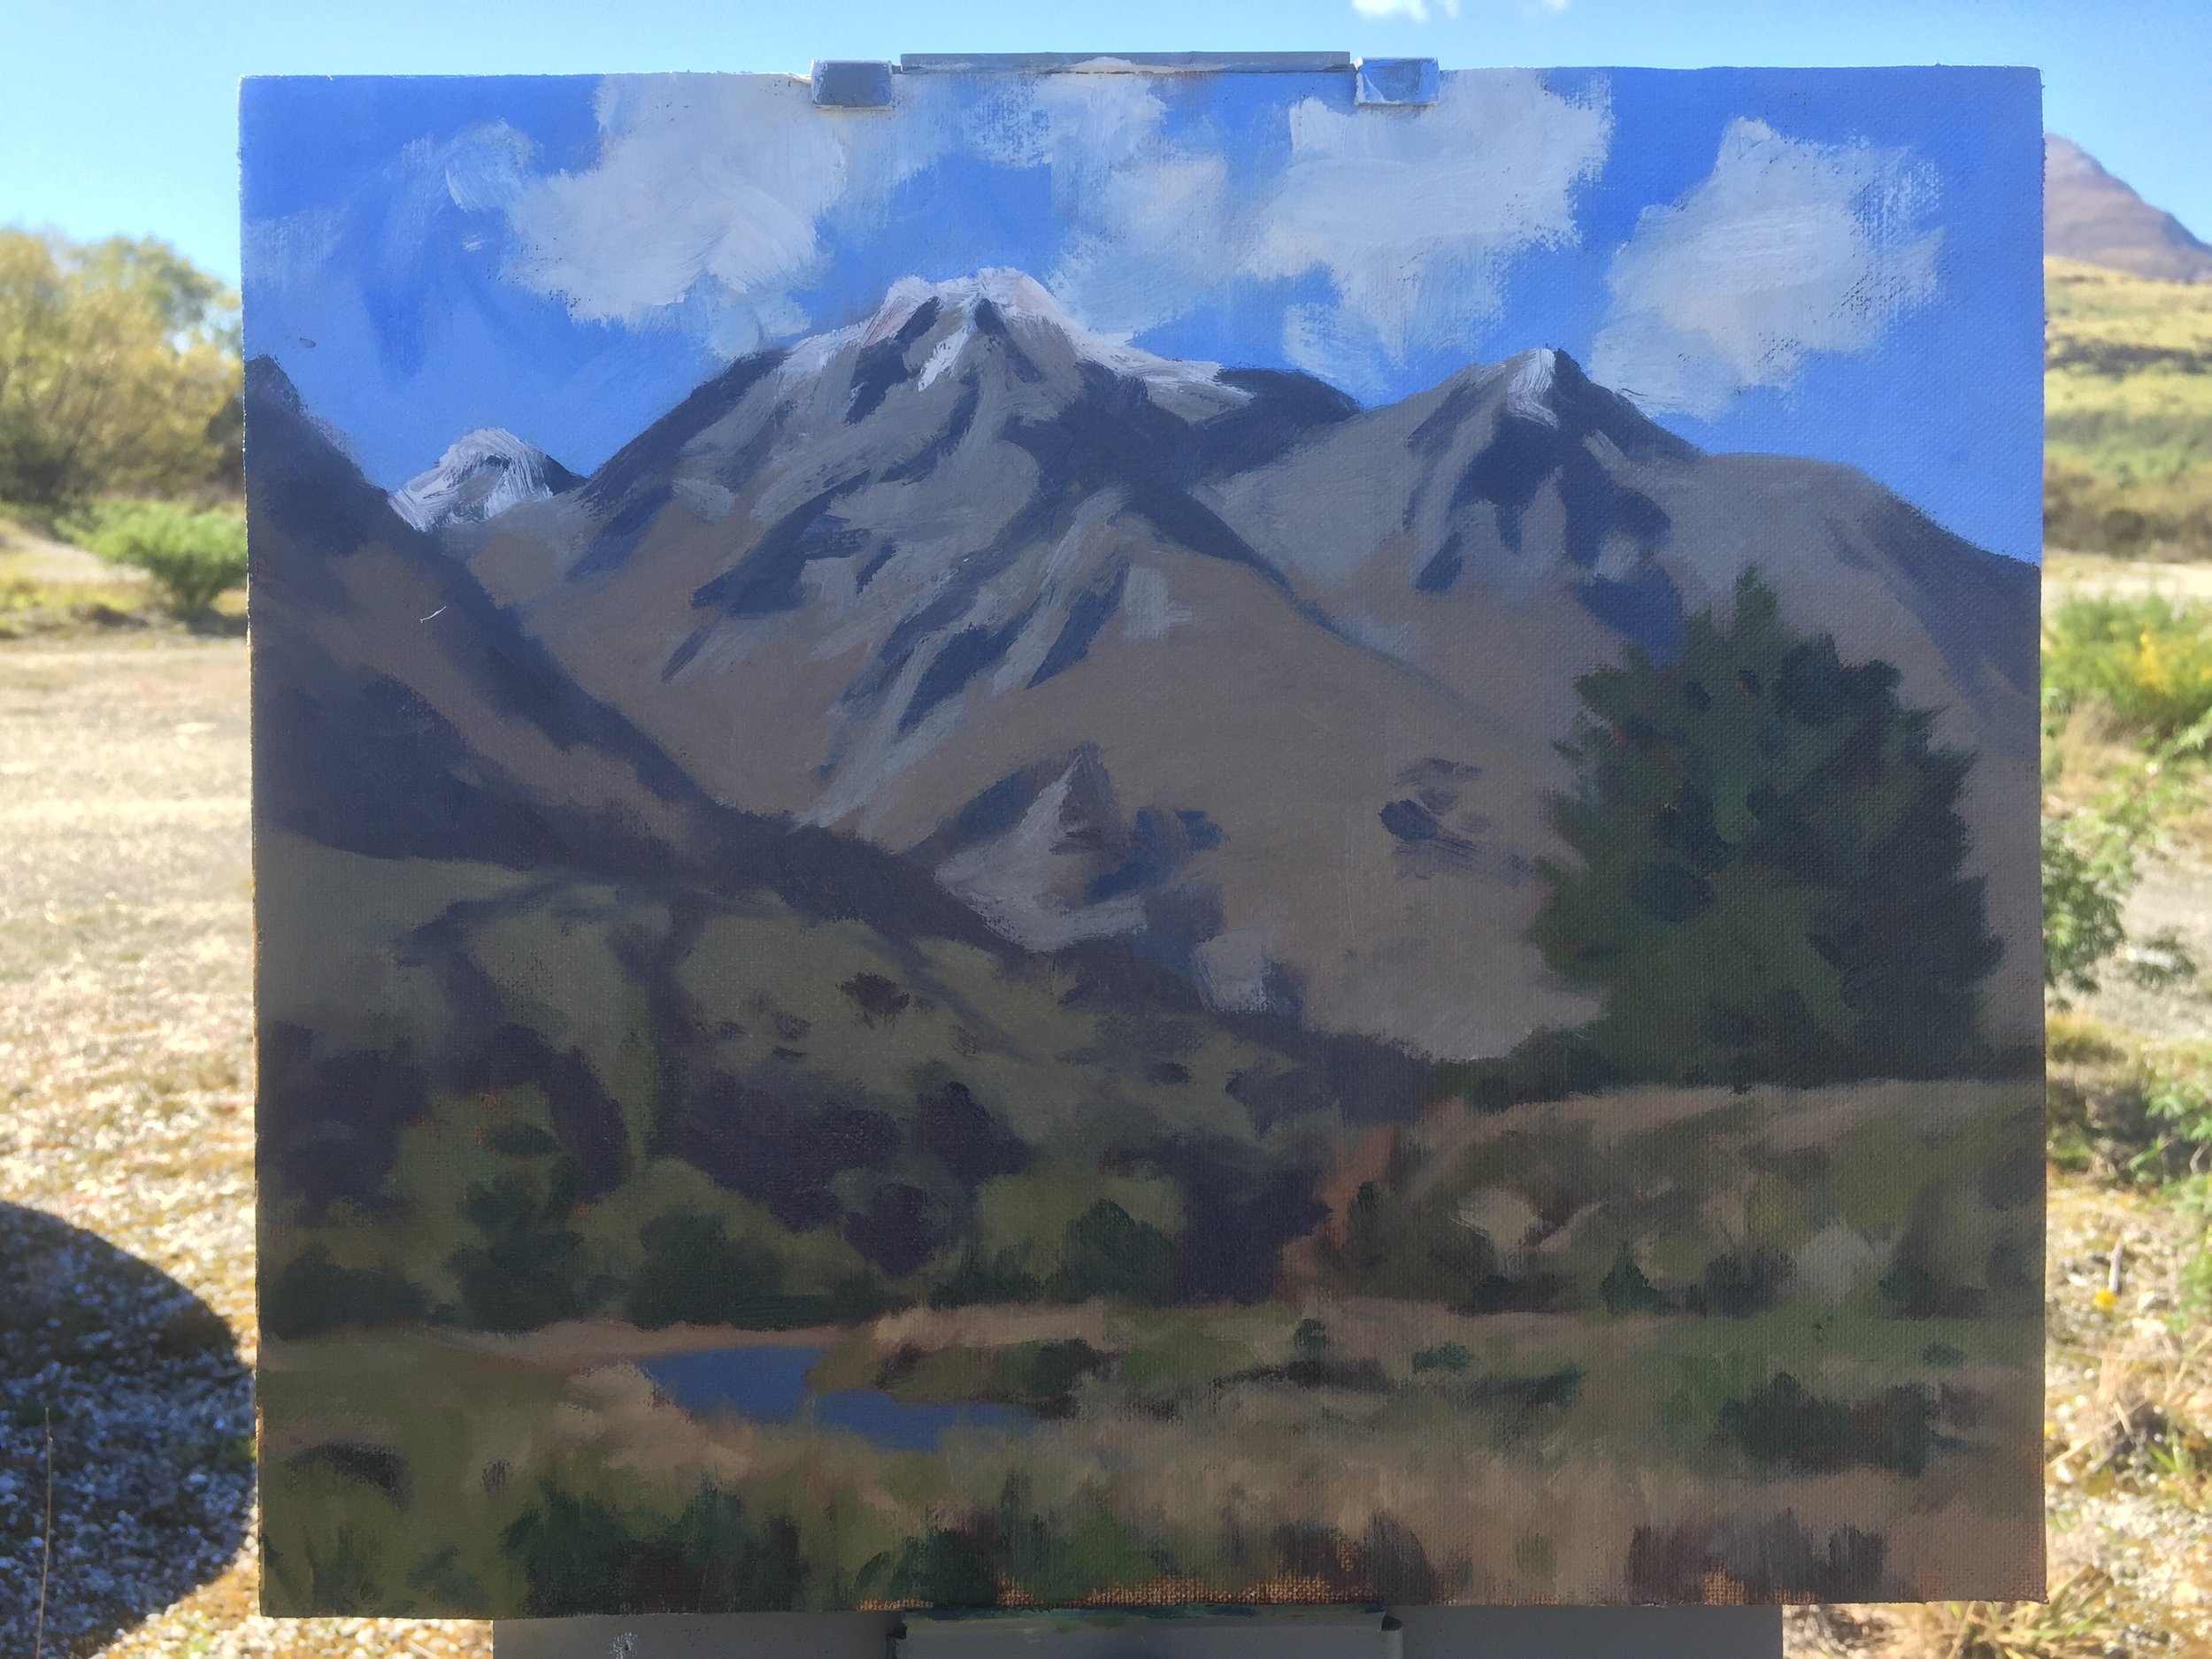
Next I paint the sky, I start with the clouds first and using a No.6 flat I apply titanium white mixed with a very small amount of yellow oxide.
I paint the sky using ultramarine blue, cobalt blue and titanium white. Sometimes I will also add a little cobalt teal or quinacridone magenta into the sky to add a bit of texture.
I start painting the areas in light on the mountain, the colour is a low chroma pale yellow brown, this is from the tussock grass that grows on the mountain. I need to mix a desaturated yellow brown so it recedes in the painting.
I mix the hues on the mountain using a combination of burnt sienna, yellow oxide, titanium white and ultramarine blue to desaturate.
The jagged rock formations in the upper part of the mountain is mixed using ultramarine blue, burnt sienna and titanium white.
Using a No.6 flat brush I start mixing the colours for the green paddocks on the mountain in the mid ground. The green here will still be partly desaturated as I don’t want to to come forward in the painting so I mix yellow oxide, ultramarine blue and titanium white. I also add burnt sienna and / or quinacridone magenta to desaturate the colour and create different hues and textures.
I increase the saturation of the greens in the distant willow trees by adding a little cadmium yellow deep and ultramarine blue to my mid ground paddock mix. I’m basically turning up the volume on the greens as I come forward in the painting.
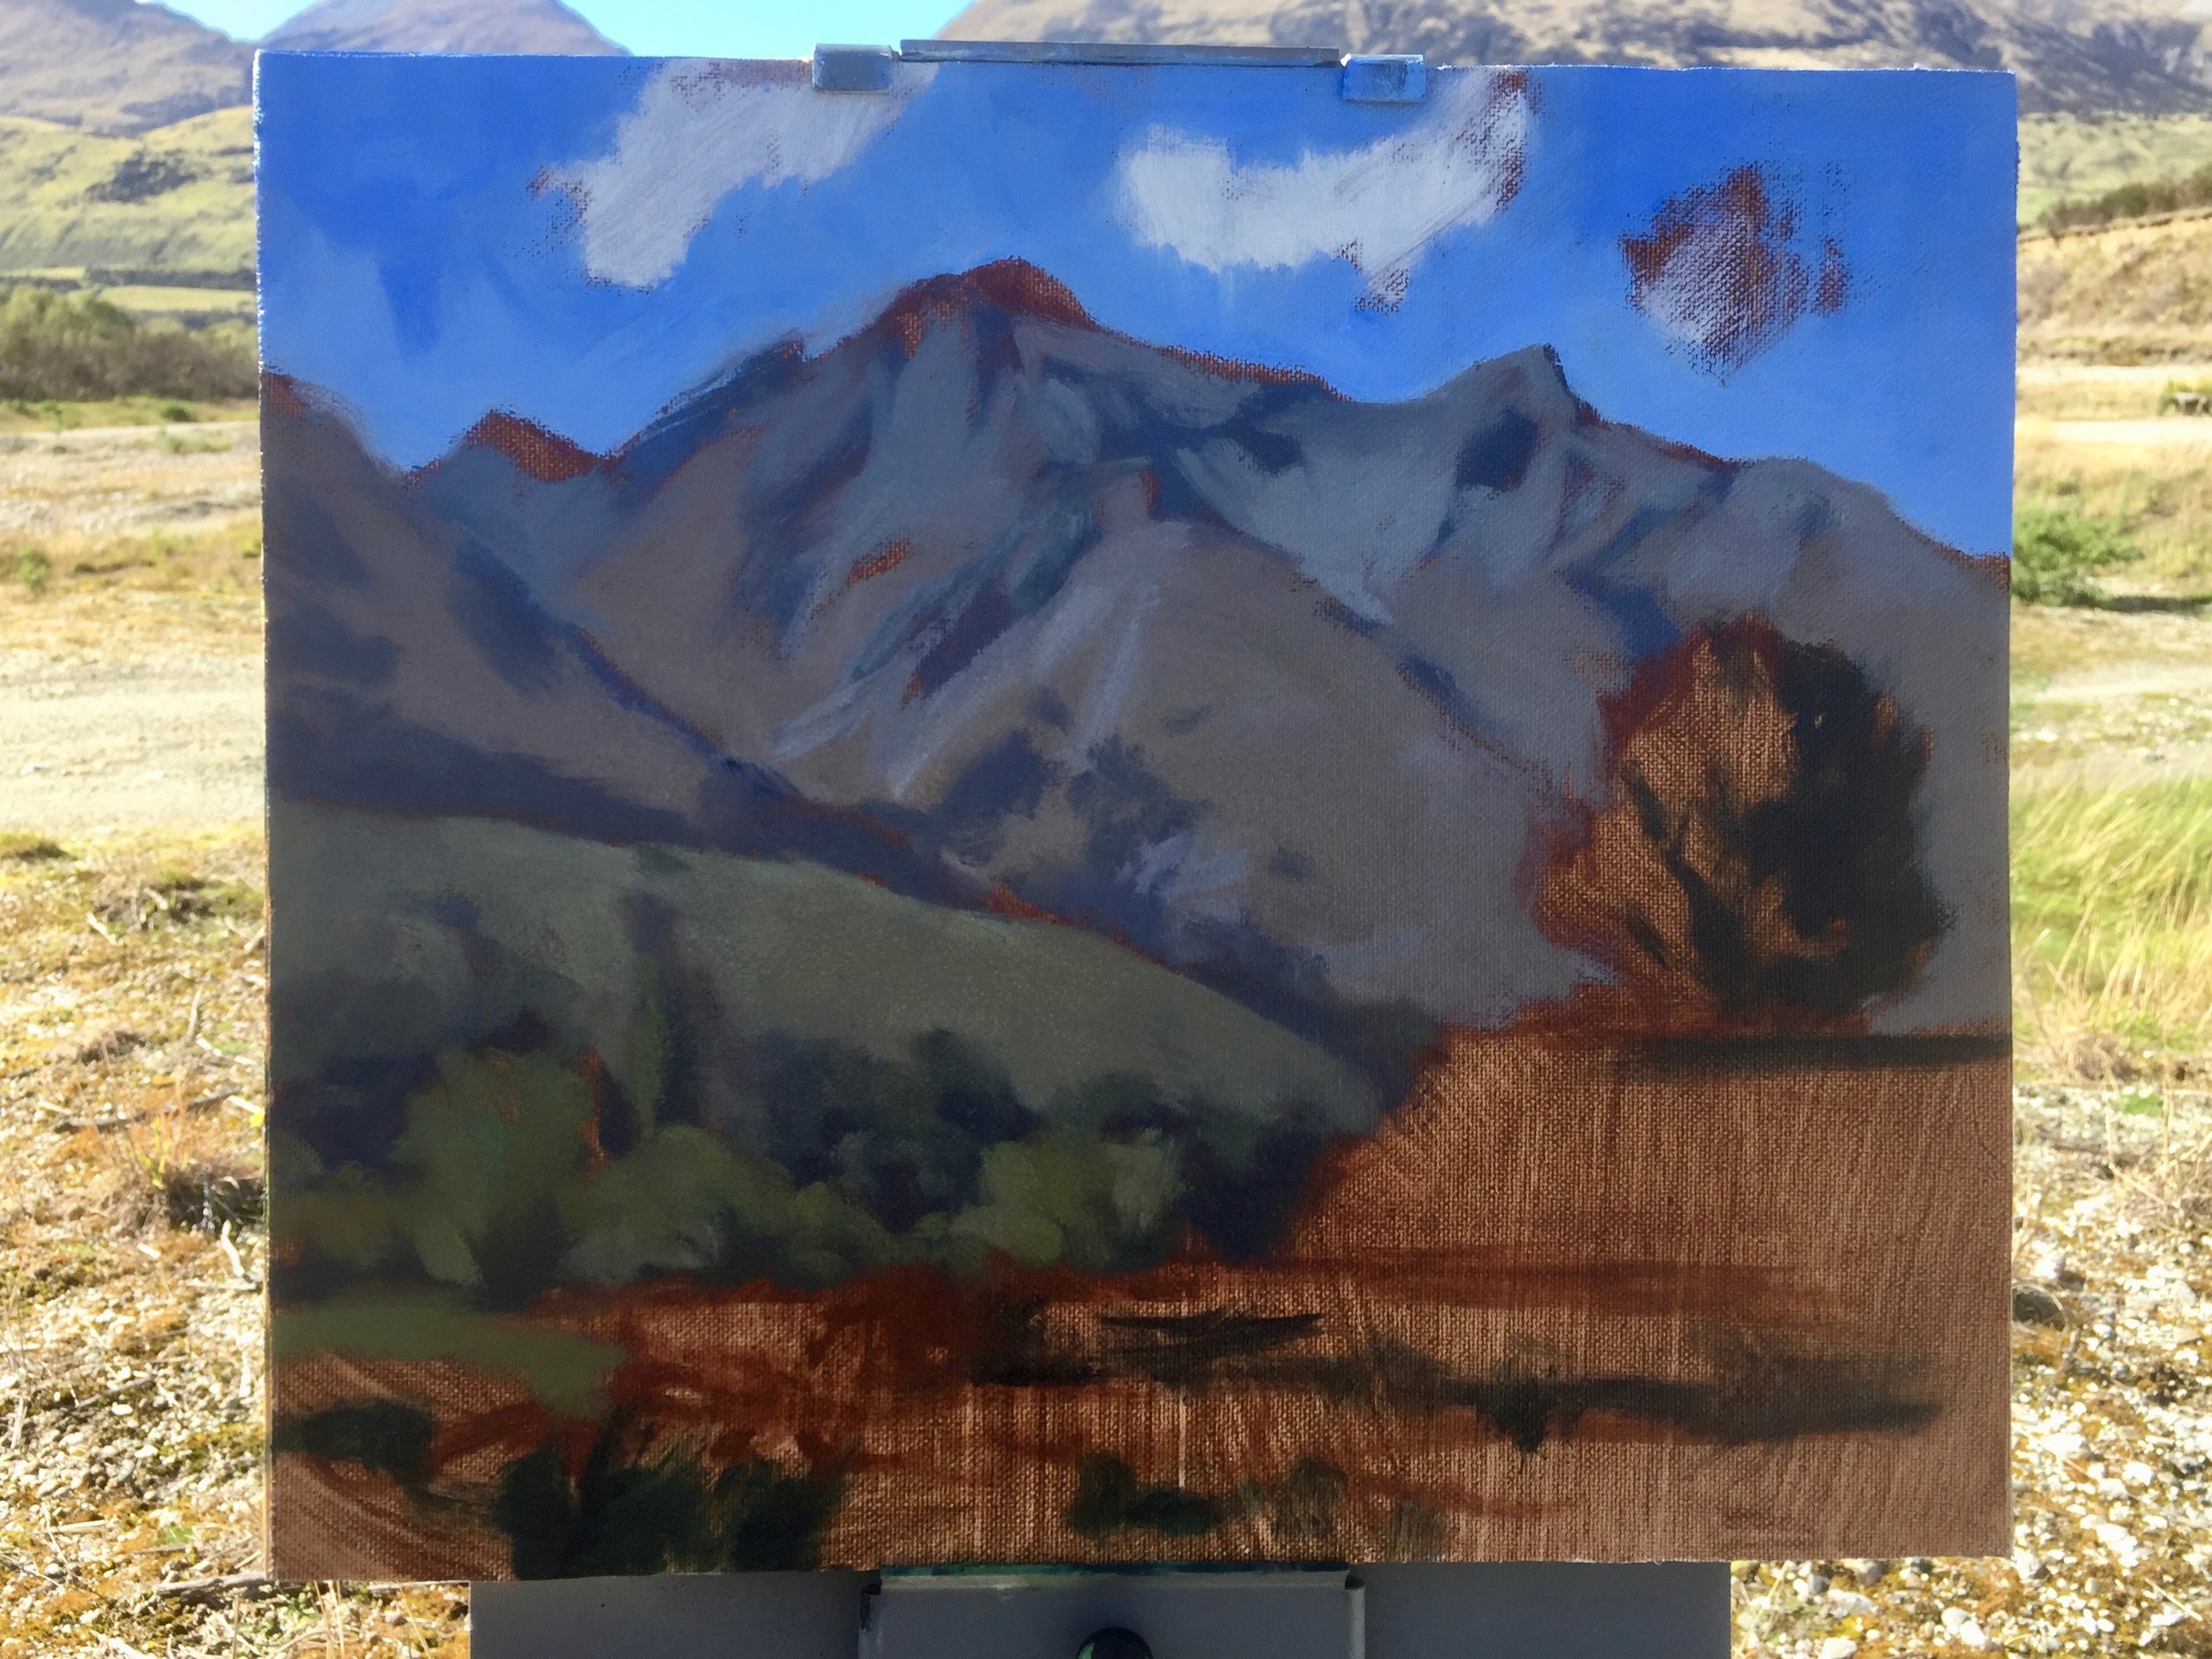
I start painting the straw coloured grass in the foreground using a No.6 flat brush and mixing yellow oxide, burnt sienna and titanium white. I don’t want the colour to be too rich as it’s naturally of a lower chroma.
I vary the colours and textures by mixing different amounts of these colours and if needed I can desaturate it with a little ultramarine blue.

Now I paint the grass in the foreground and this is where I can use my most saturated green, which I mix using cadmium yellow deep, ultramarine blue and titanium white. I can create a really rich green by adding a little phthalo green to the mix and I can earth my greens by mixing burnt sienna and / or quinacridone magenta.
I vary the mixtures of these colours to create different hues, textures and tones.
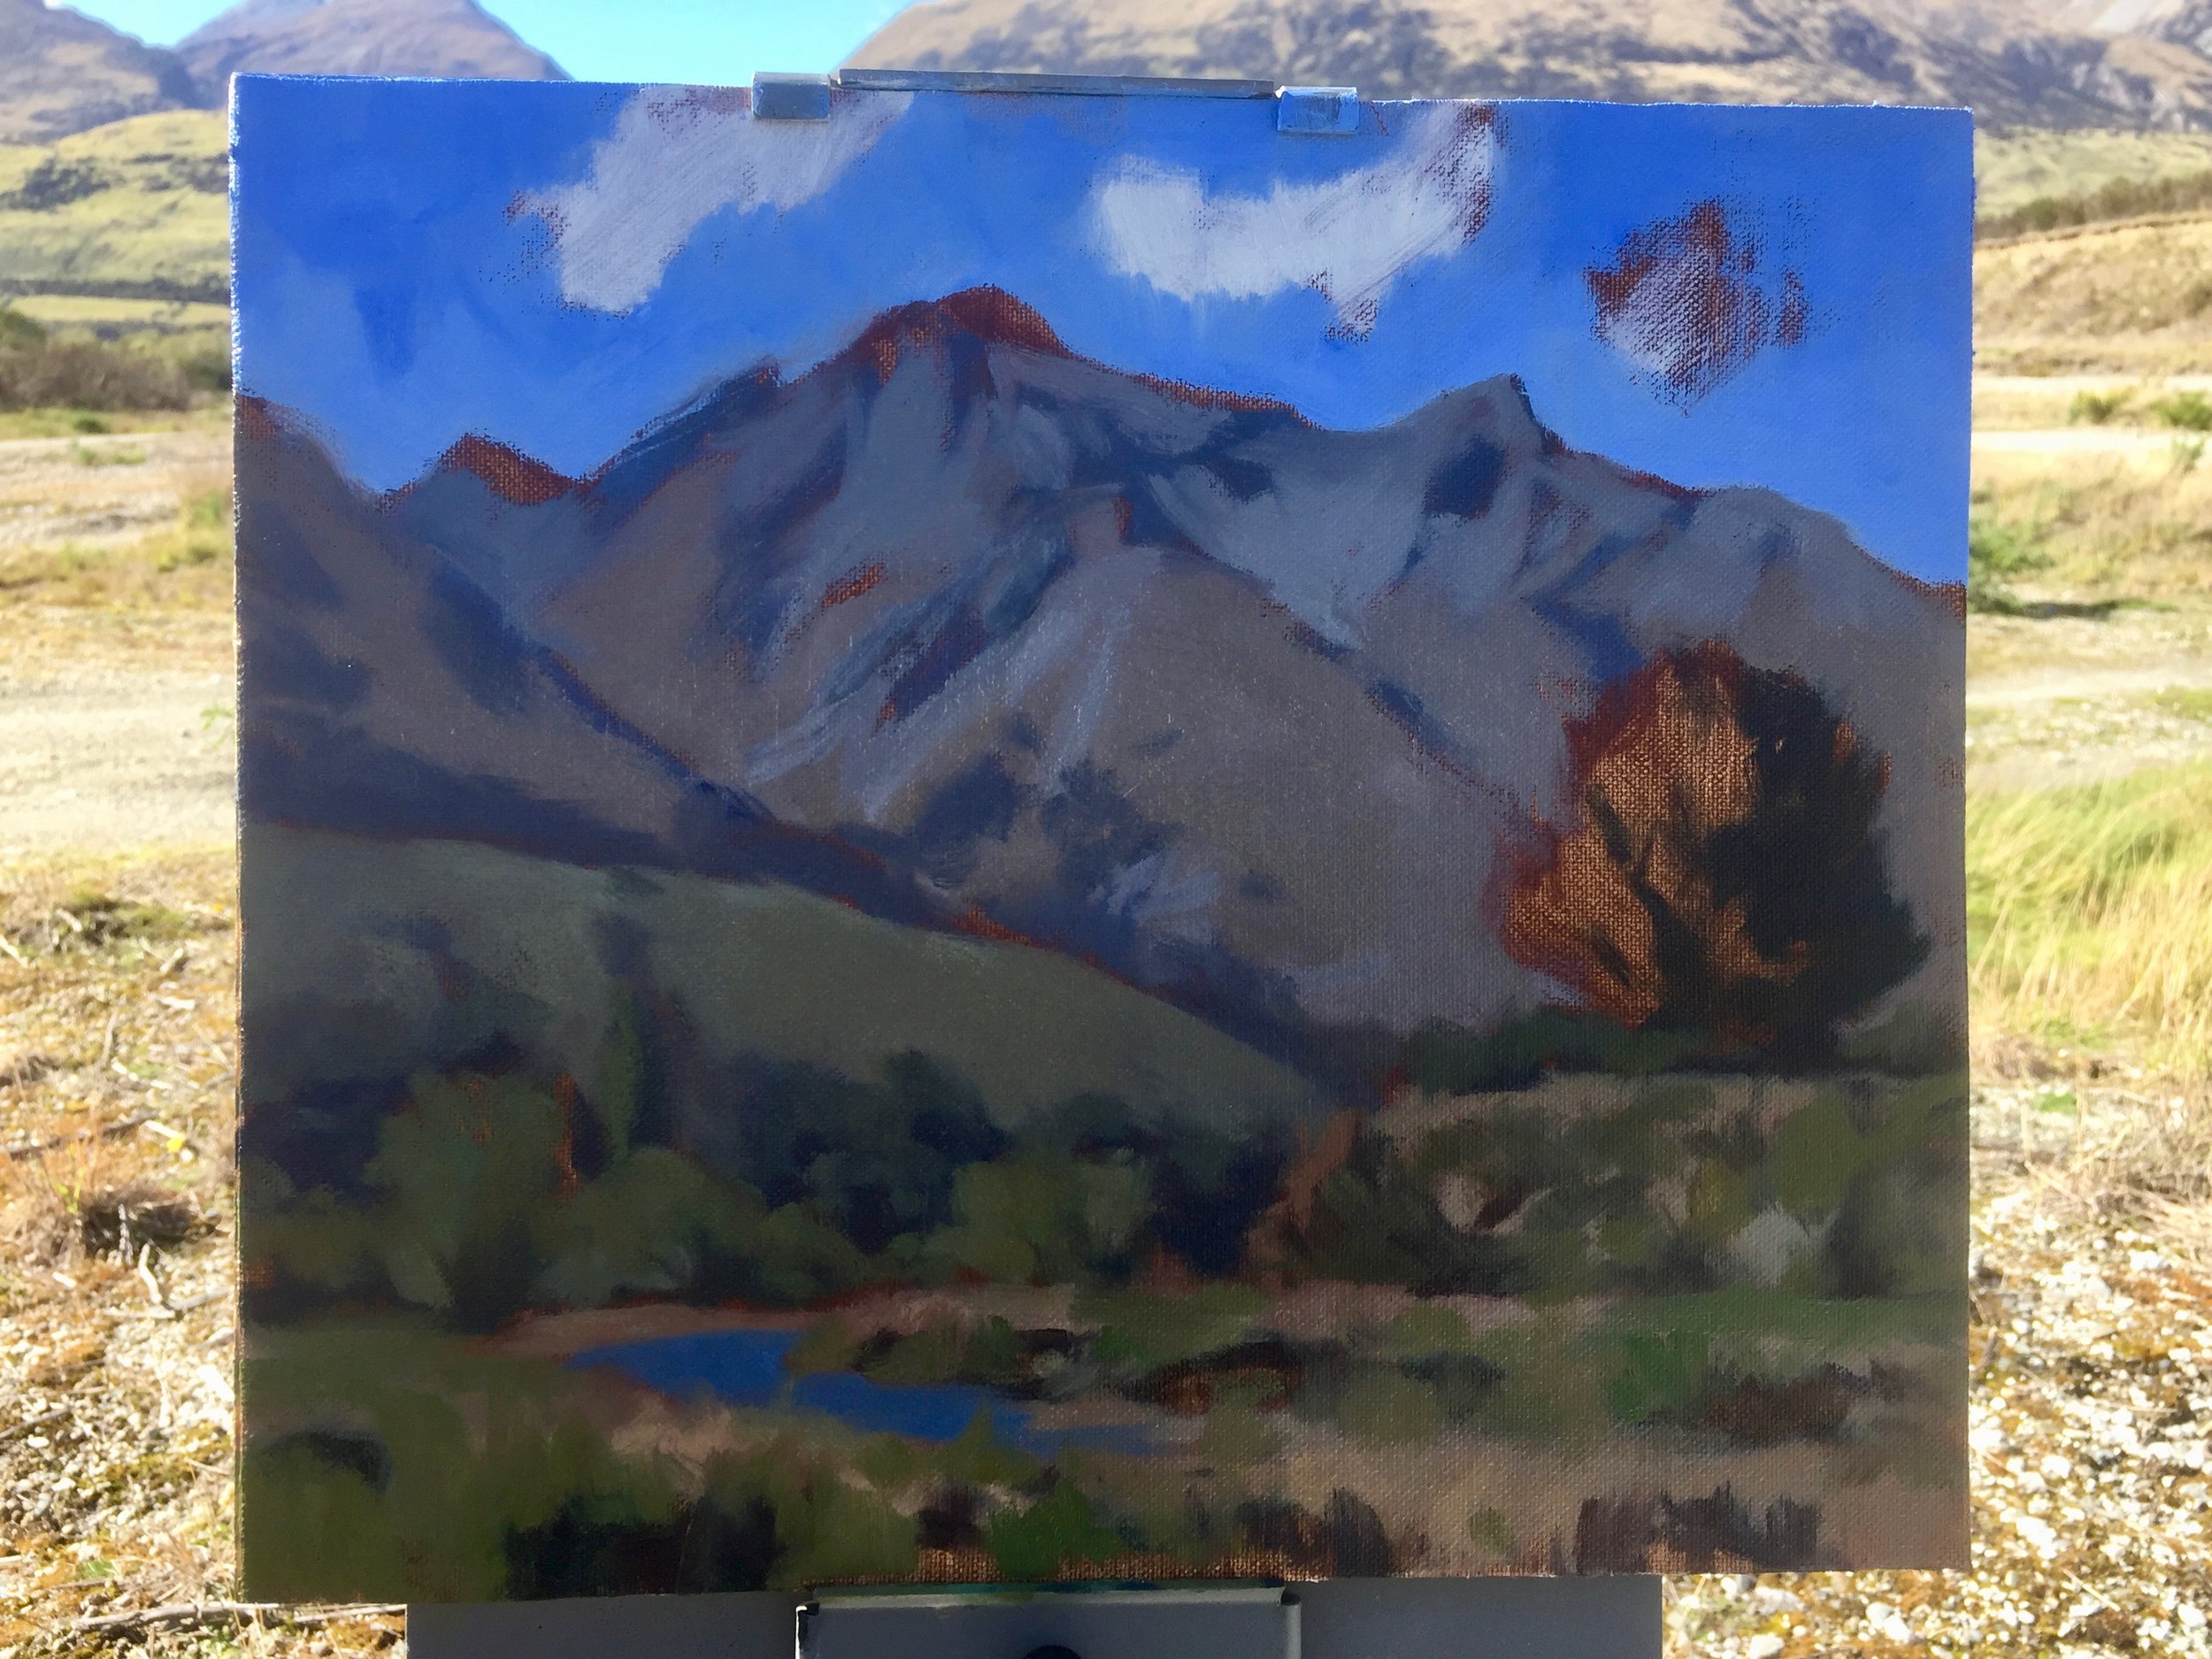
The foliage of the pine tree is a tonally darker shade of green and I mix this with ultramarine blue, yellow oxide, cadmium yellow deep, phthalo green and titanium white. I earth the green by adding burnt sienna to the mix.
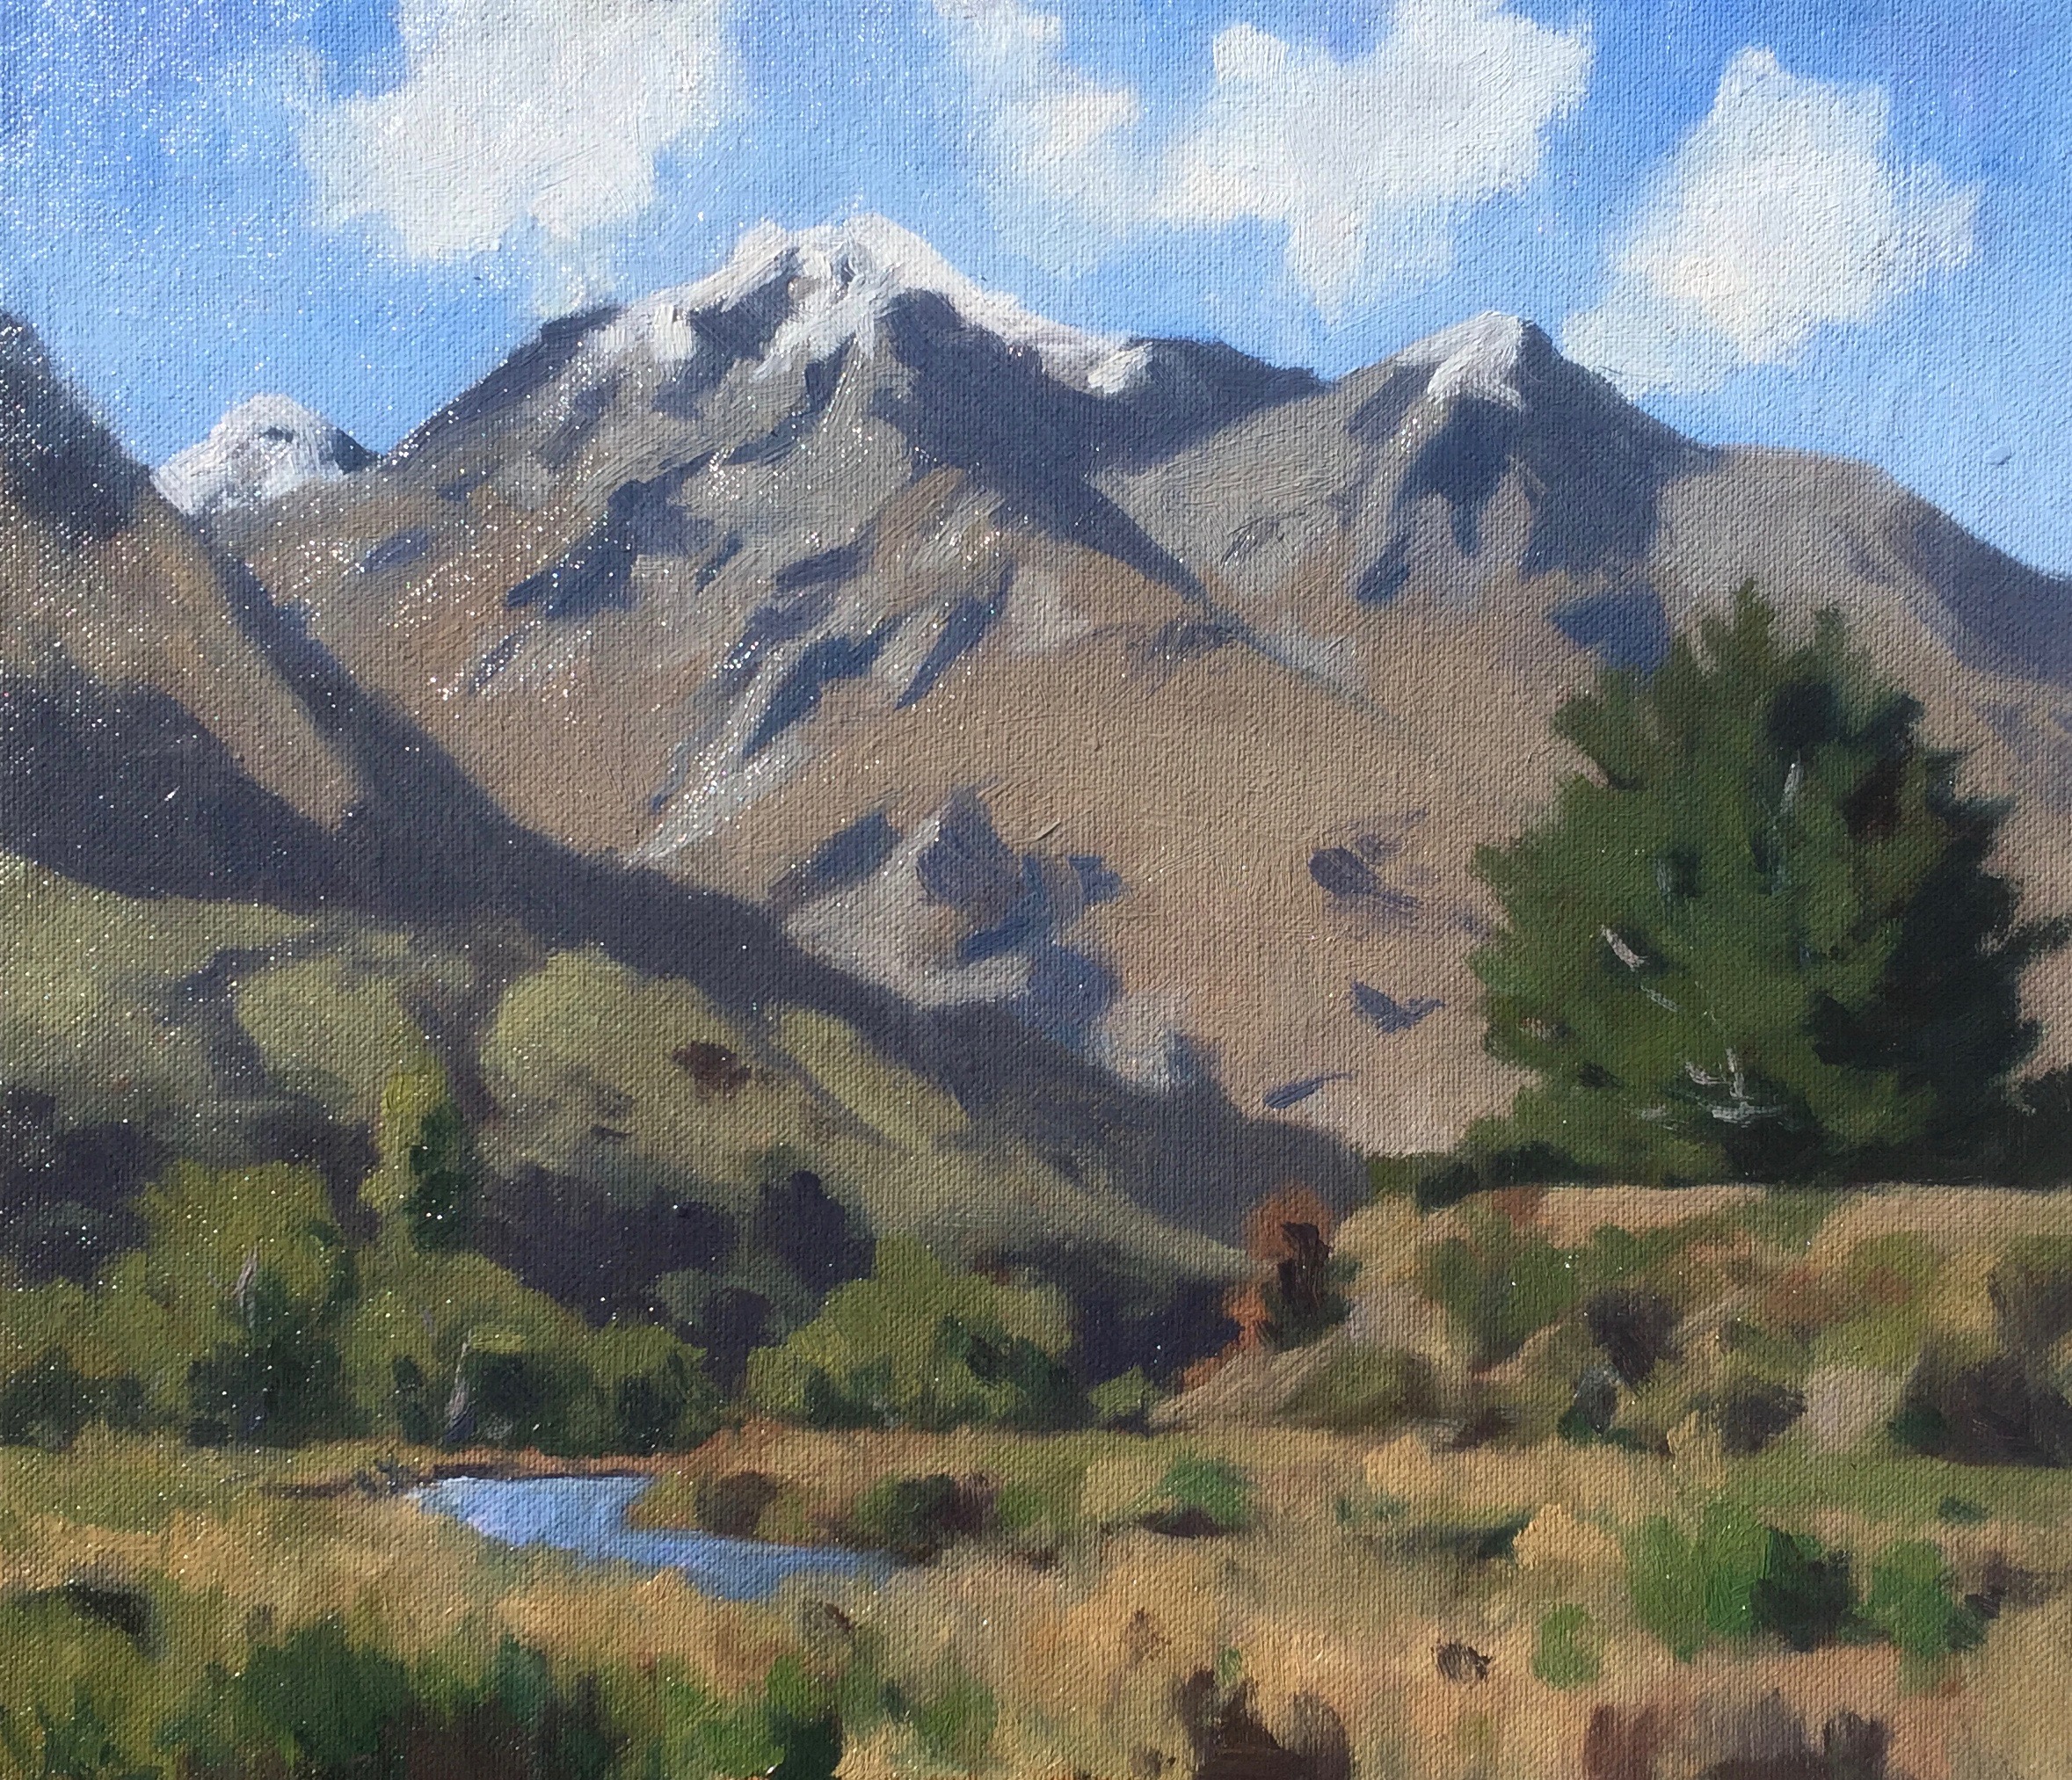
Finally I complete the painting by adding the snow on top of the mountain with titanium white mixed with yellow oxide. I use the same mix to fill out the rest of the clouds.
I tidy up the rest of the painting, filling in gaps and refining shapes and forms.
I turn my painting around to the light, suddenly the colours pop and the painting comes alive!
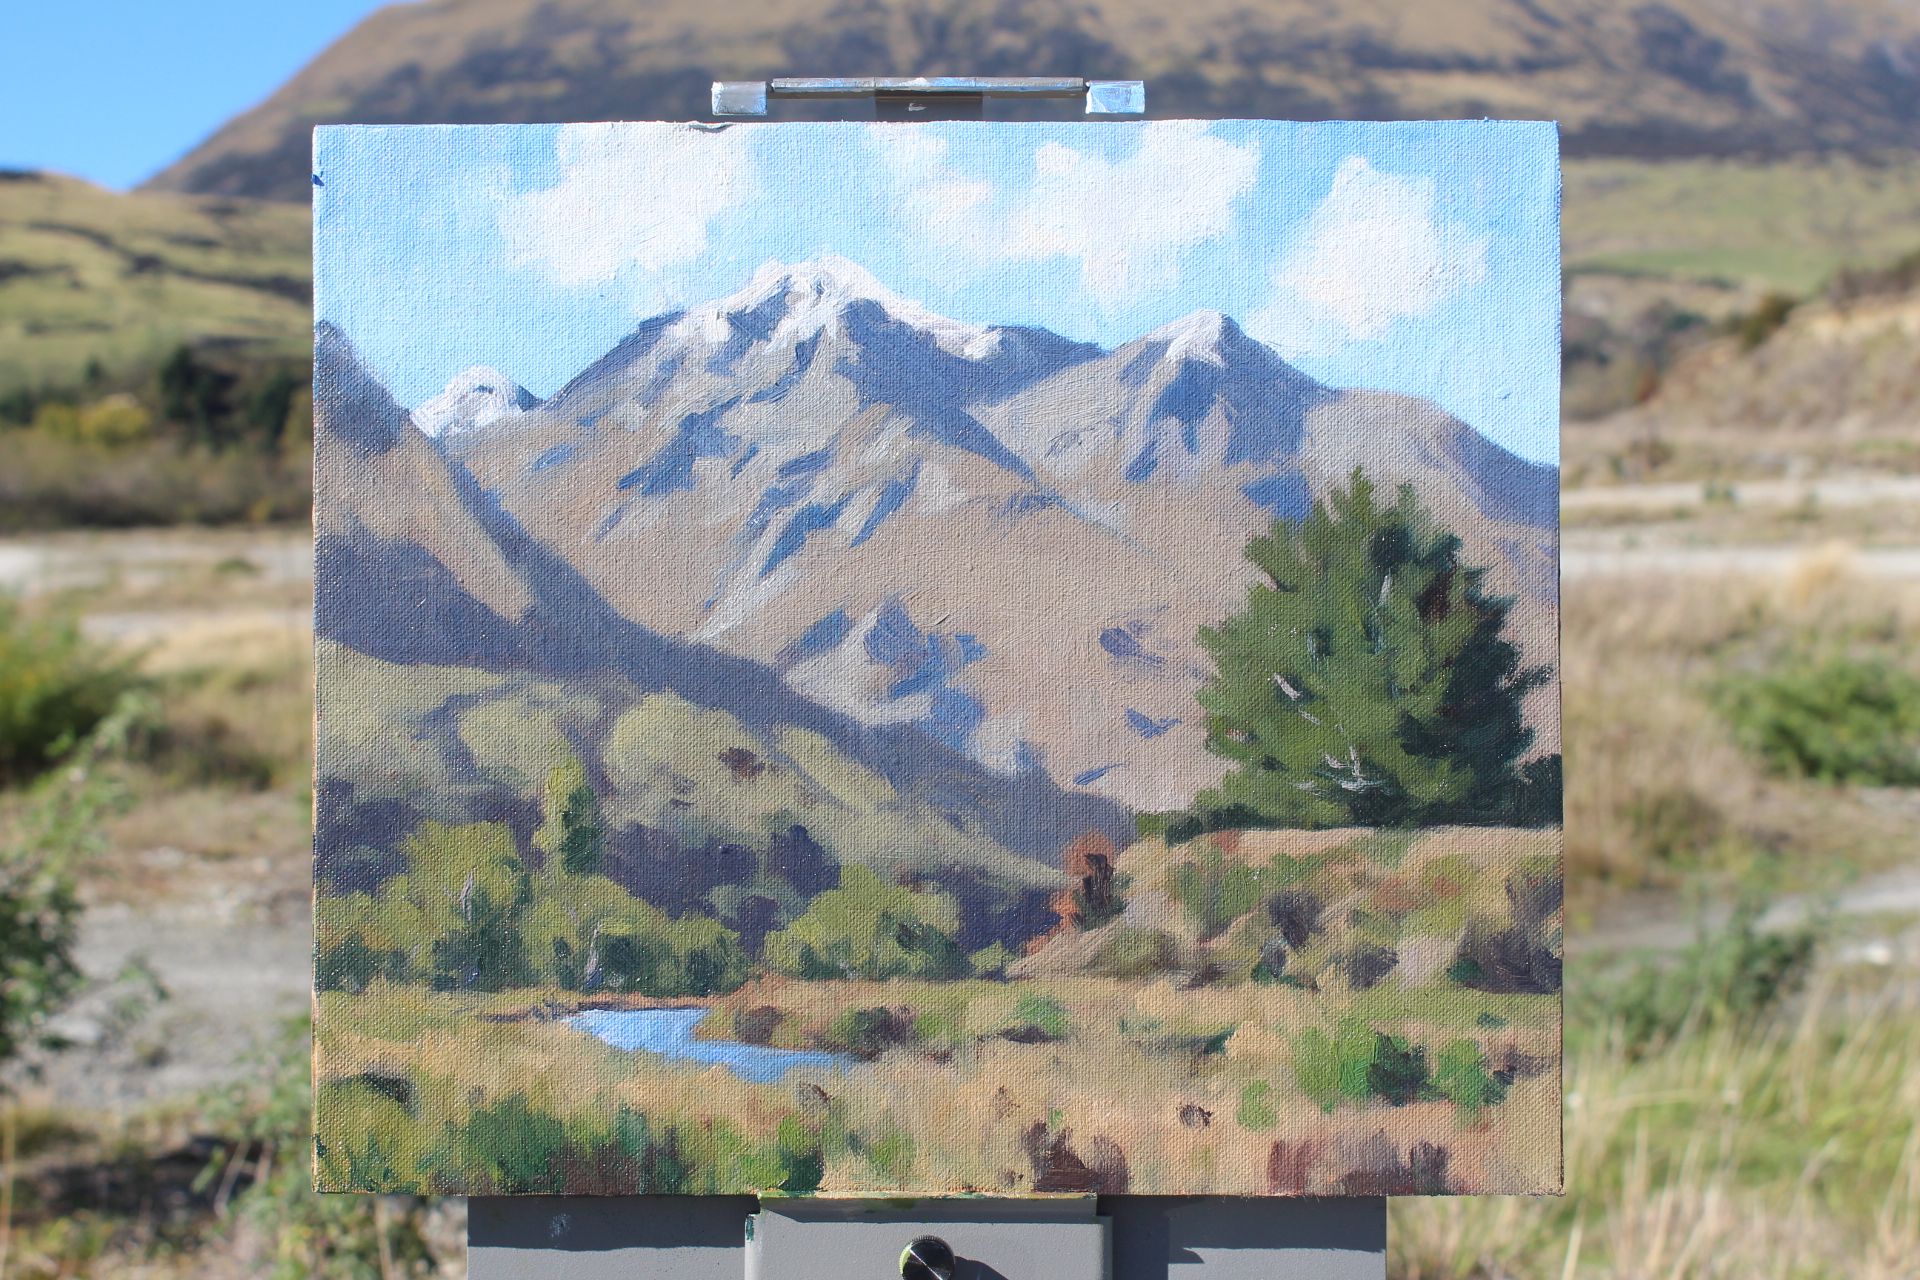
My finished painting.
Thanks for reading 😊
