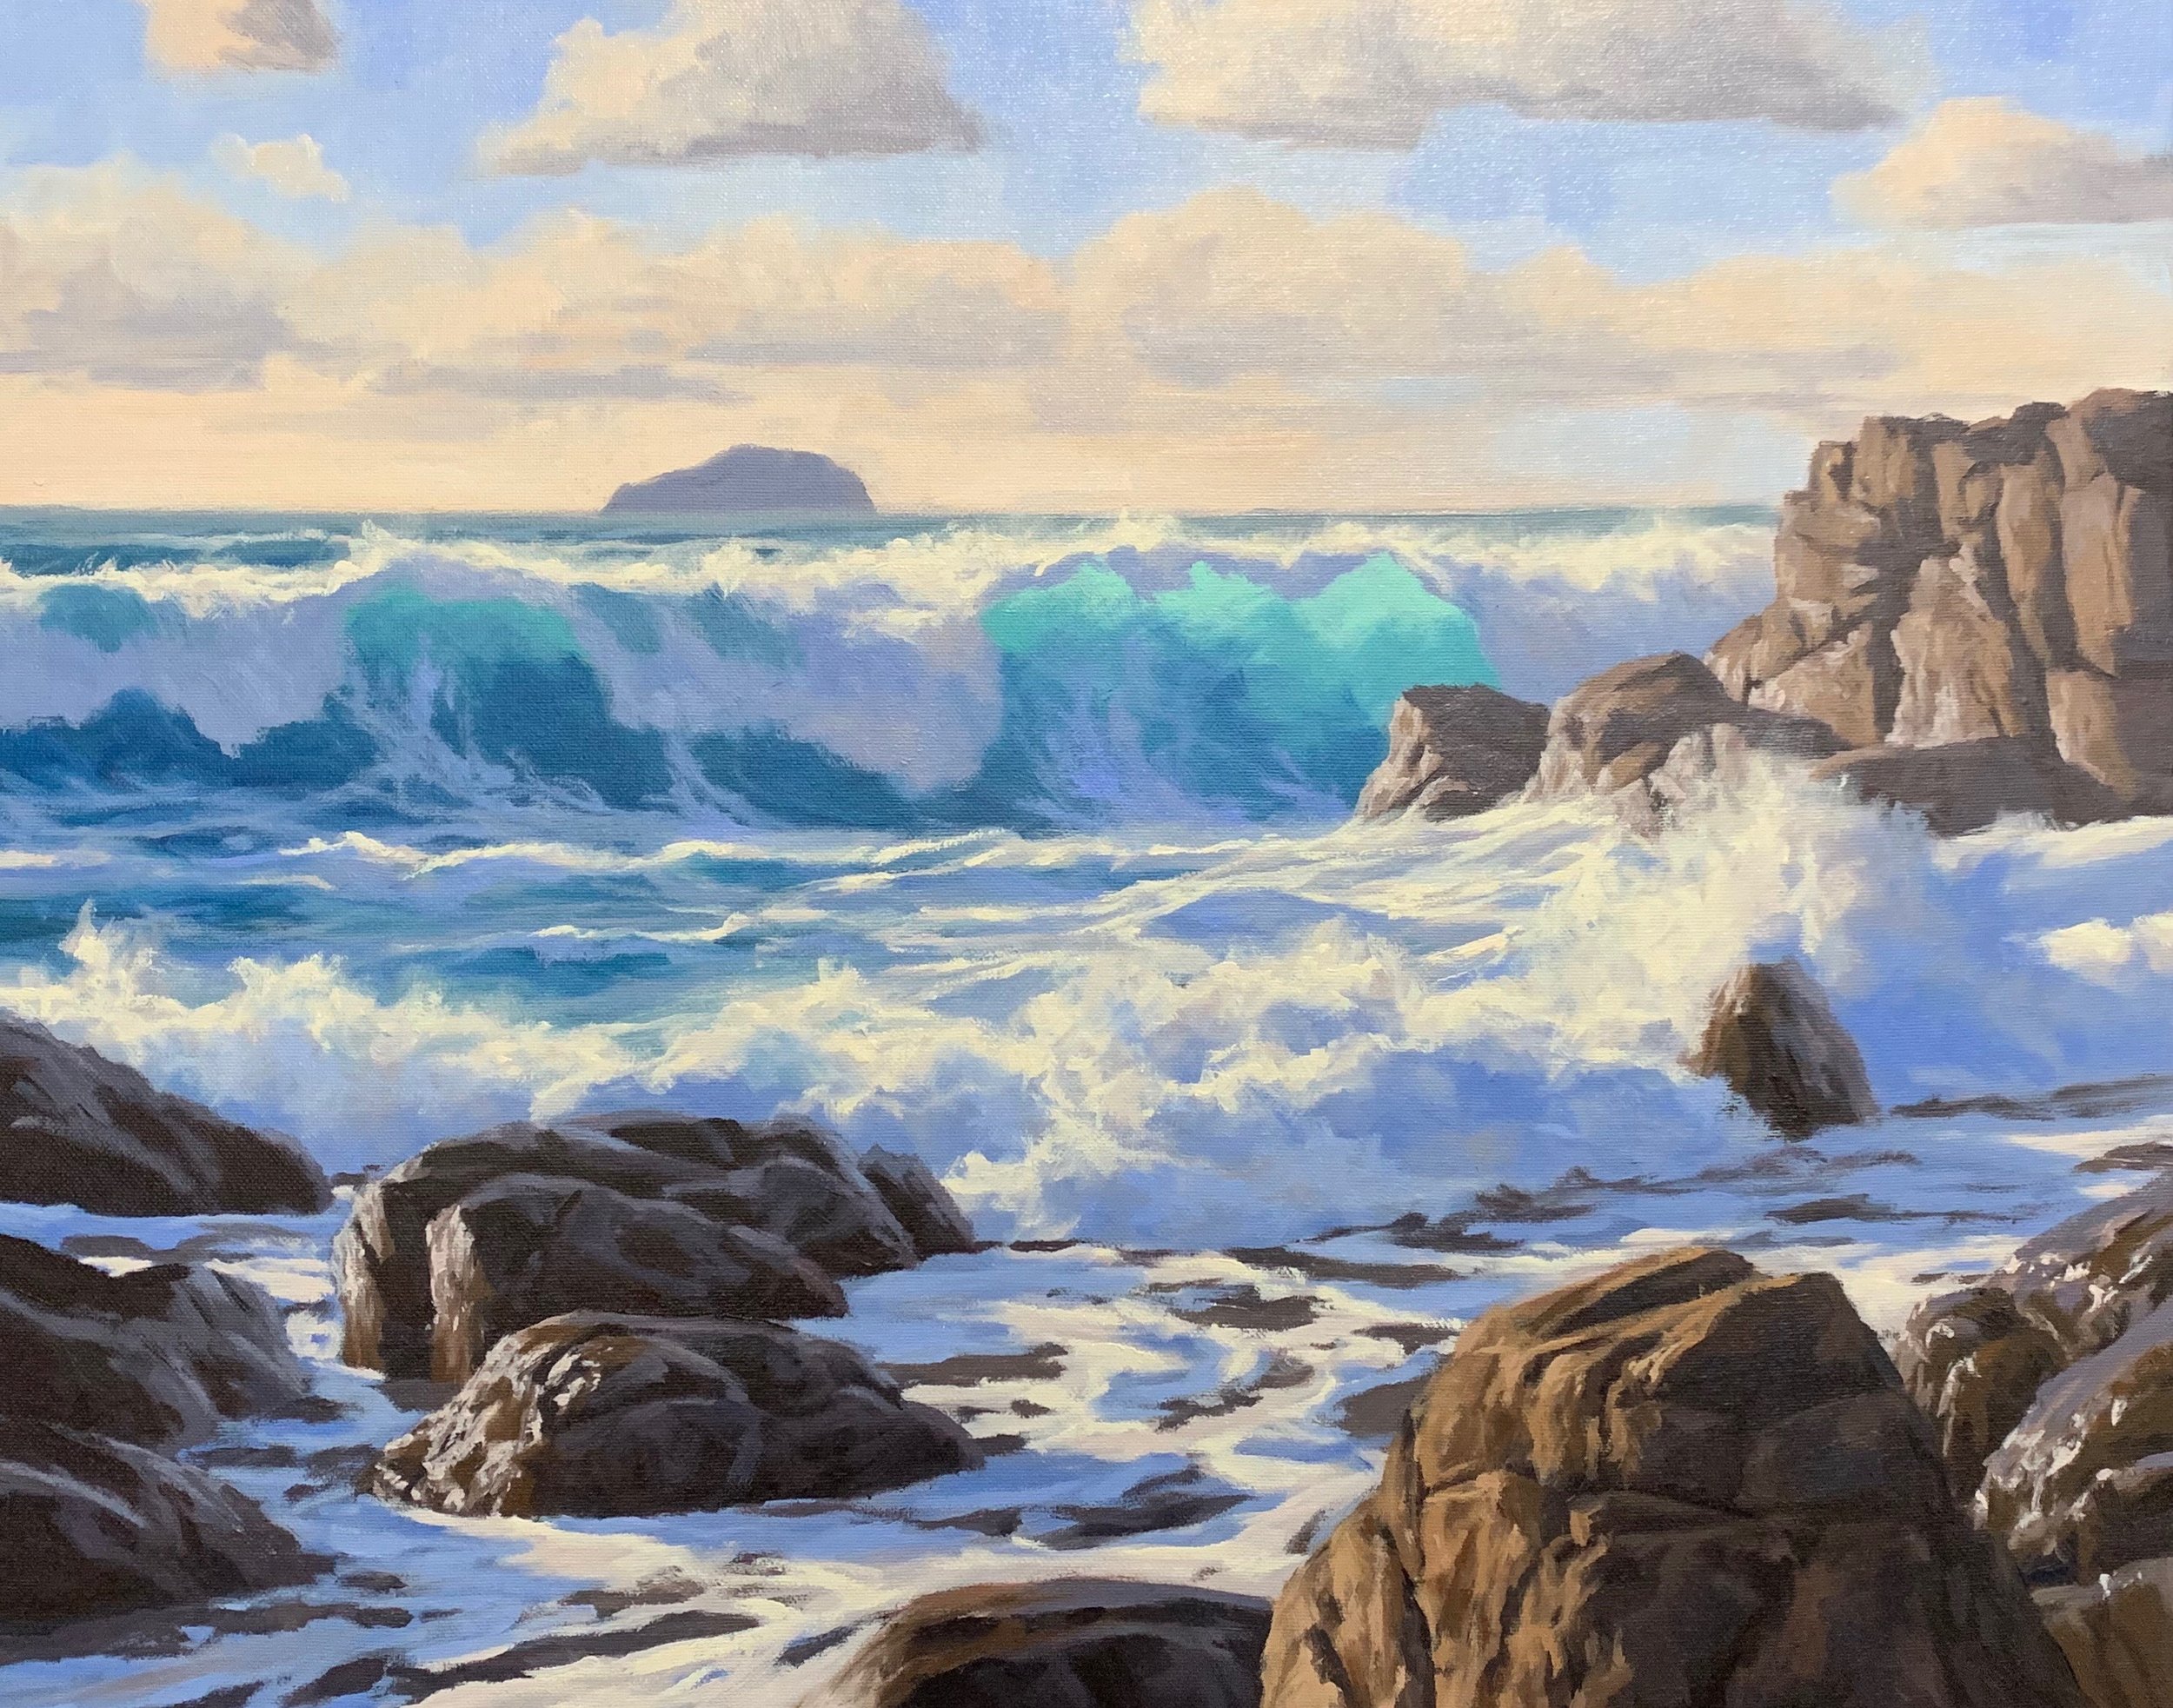
Inspiration For This Painting
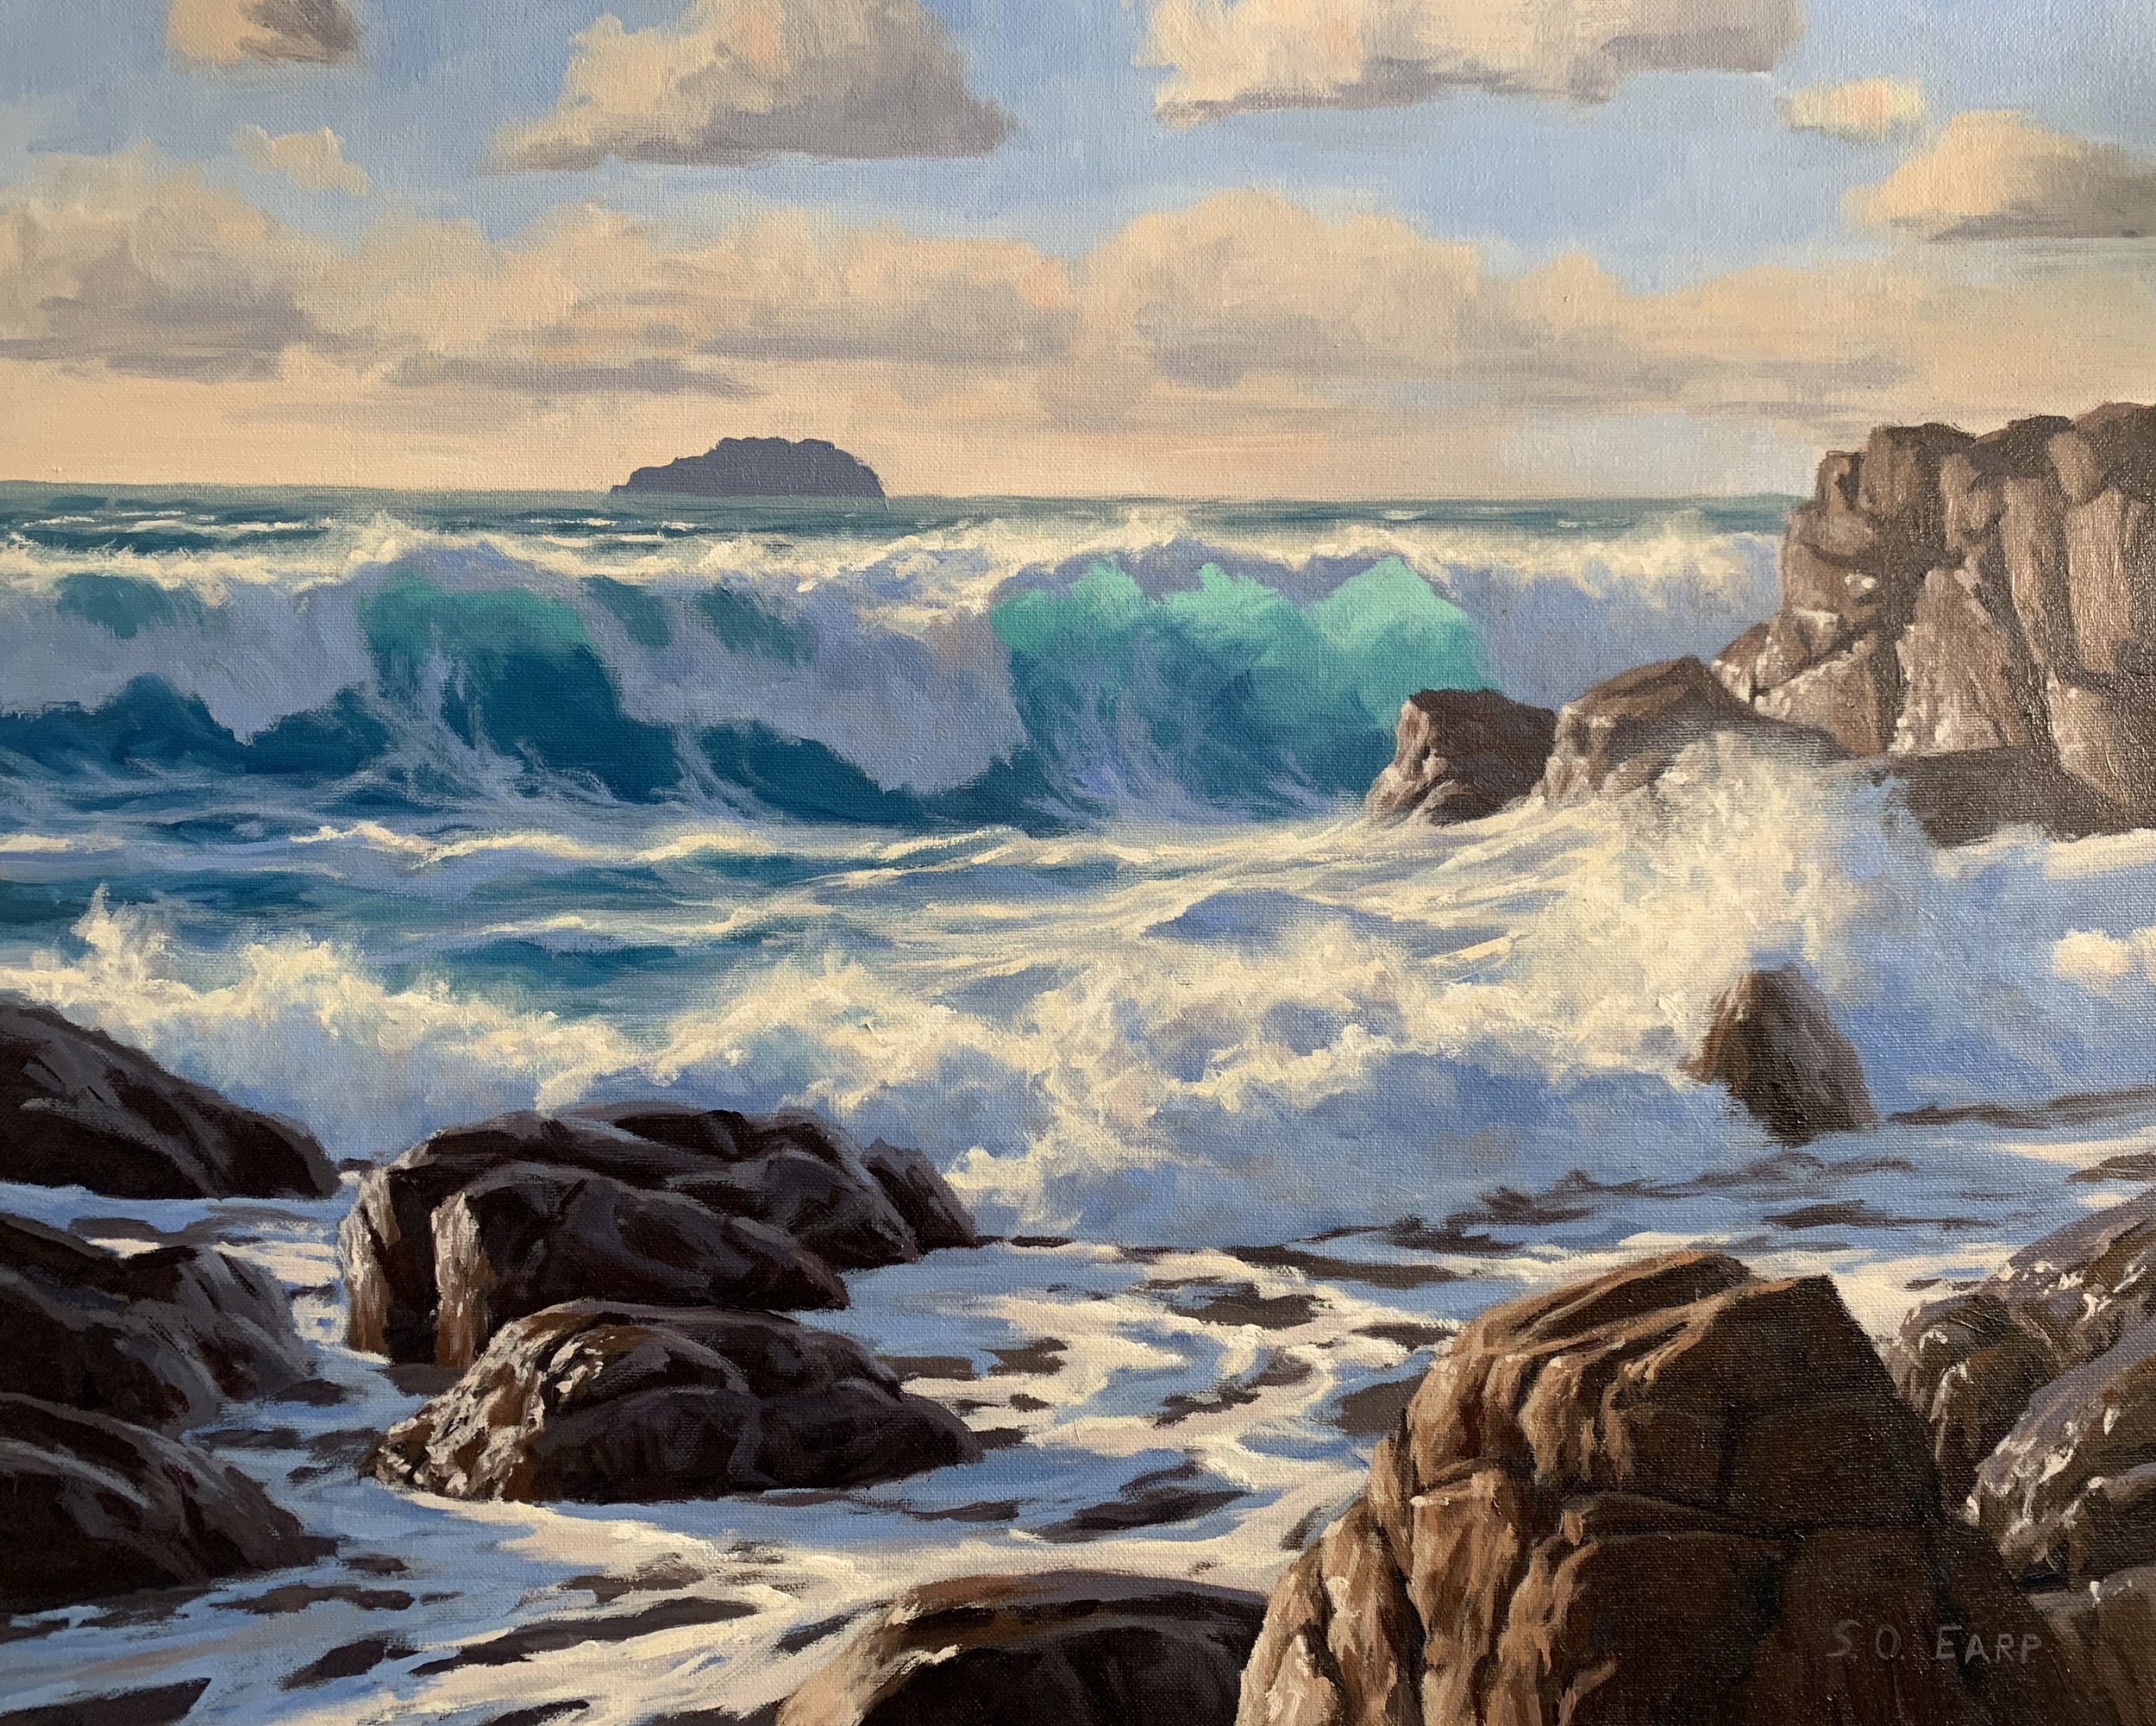
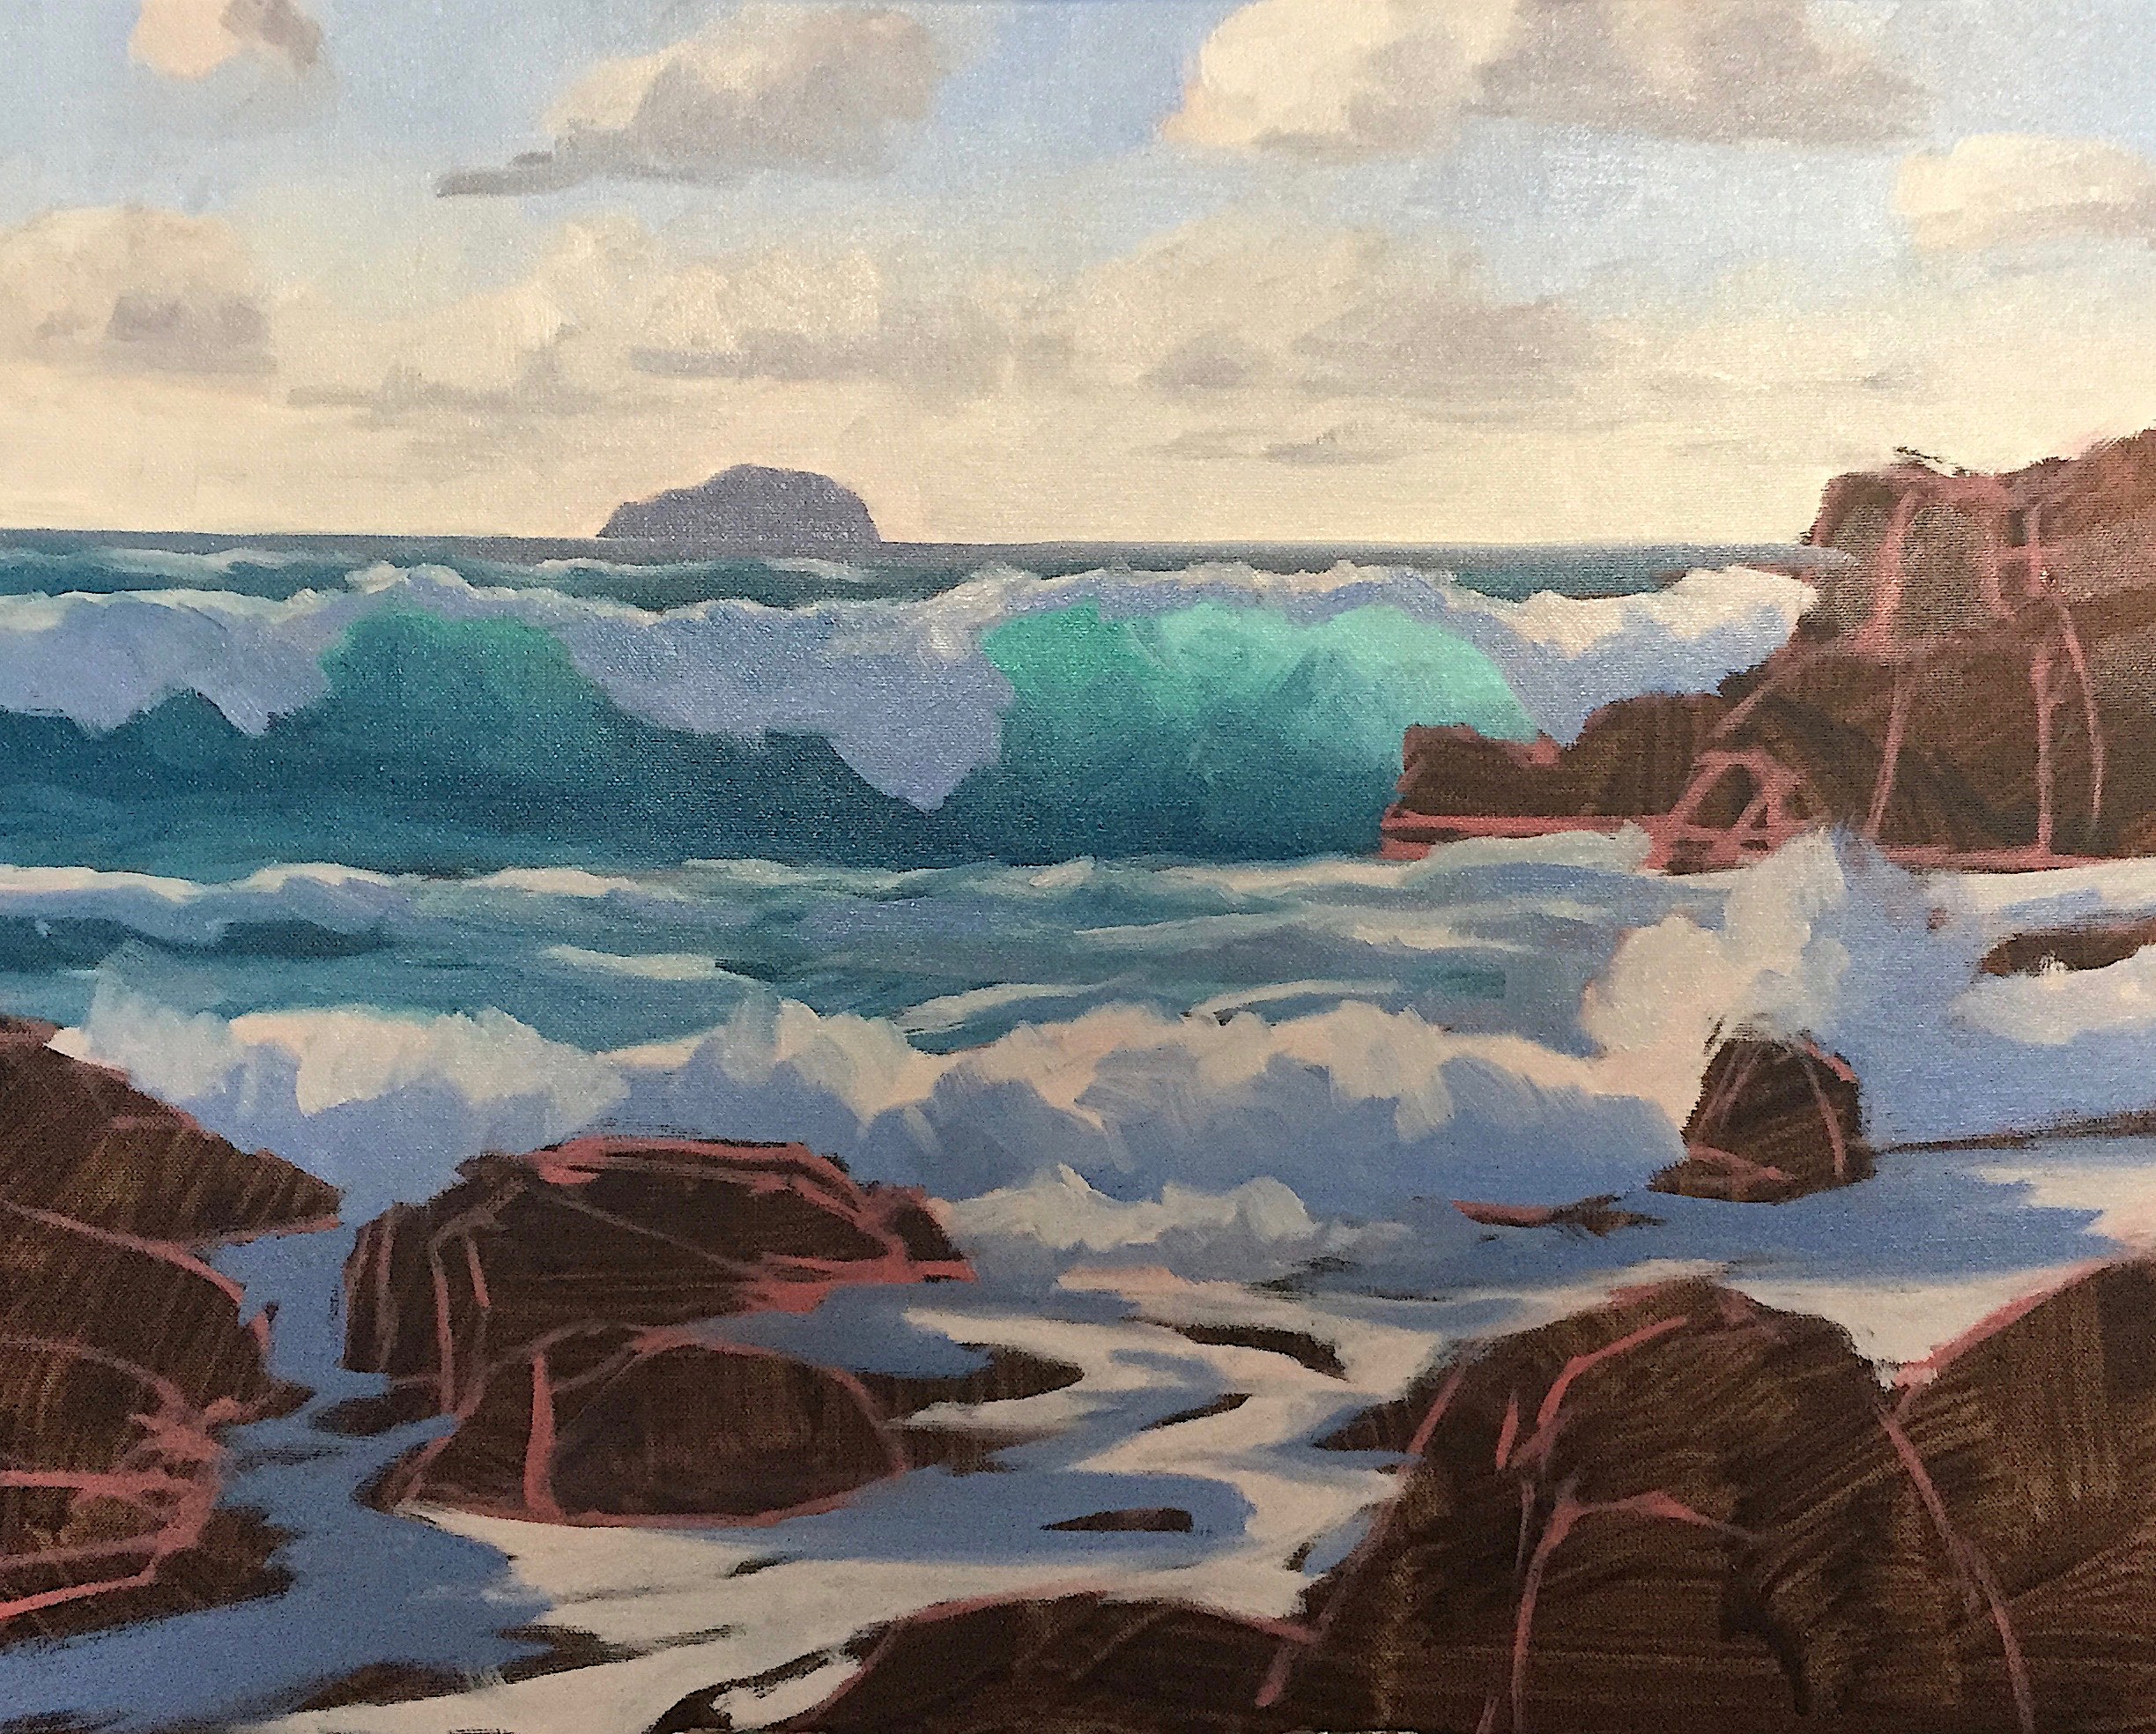
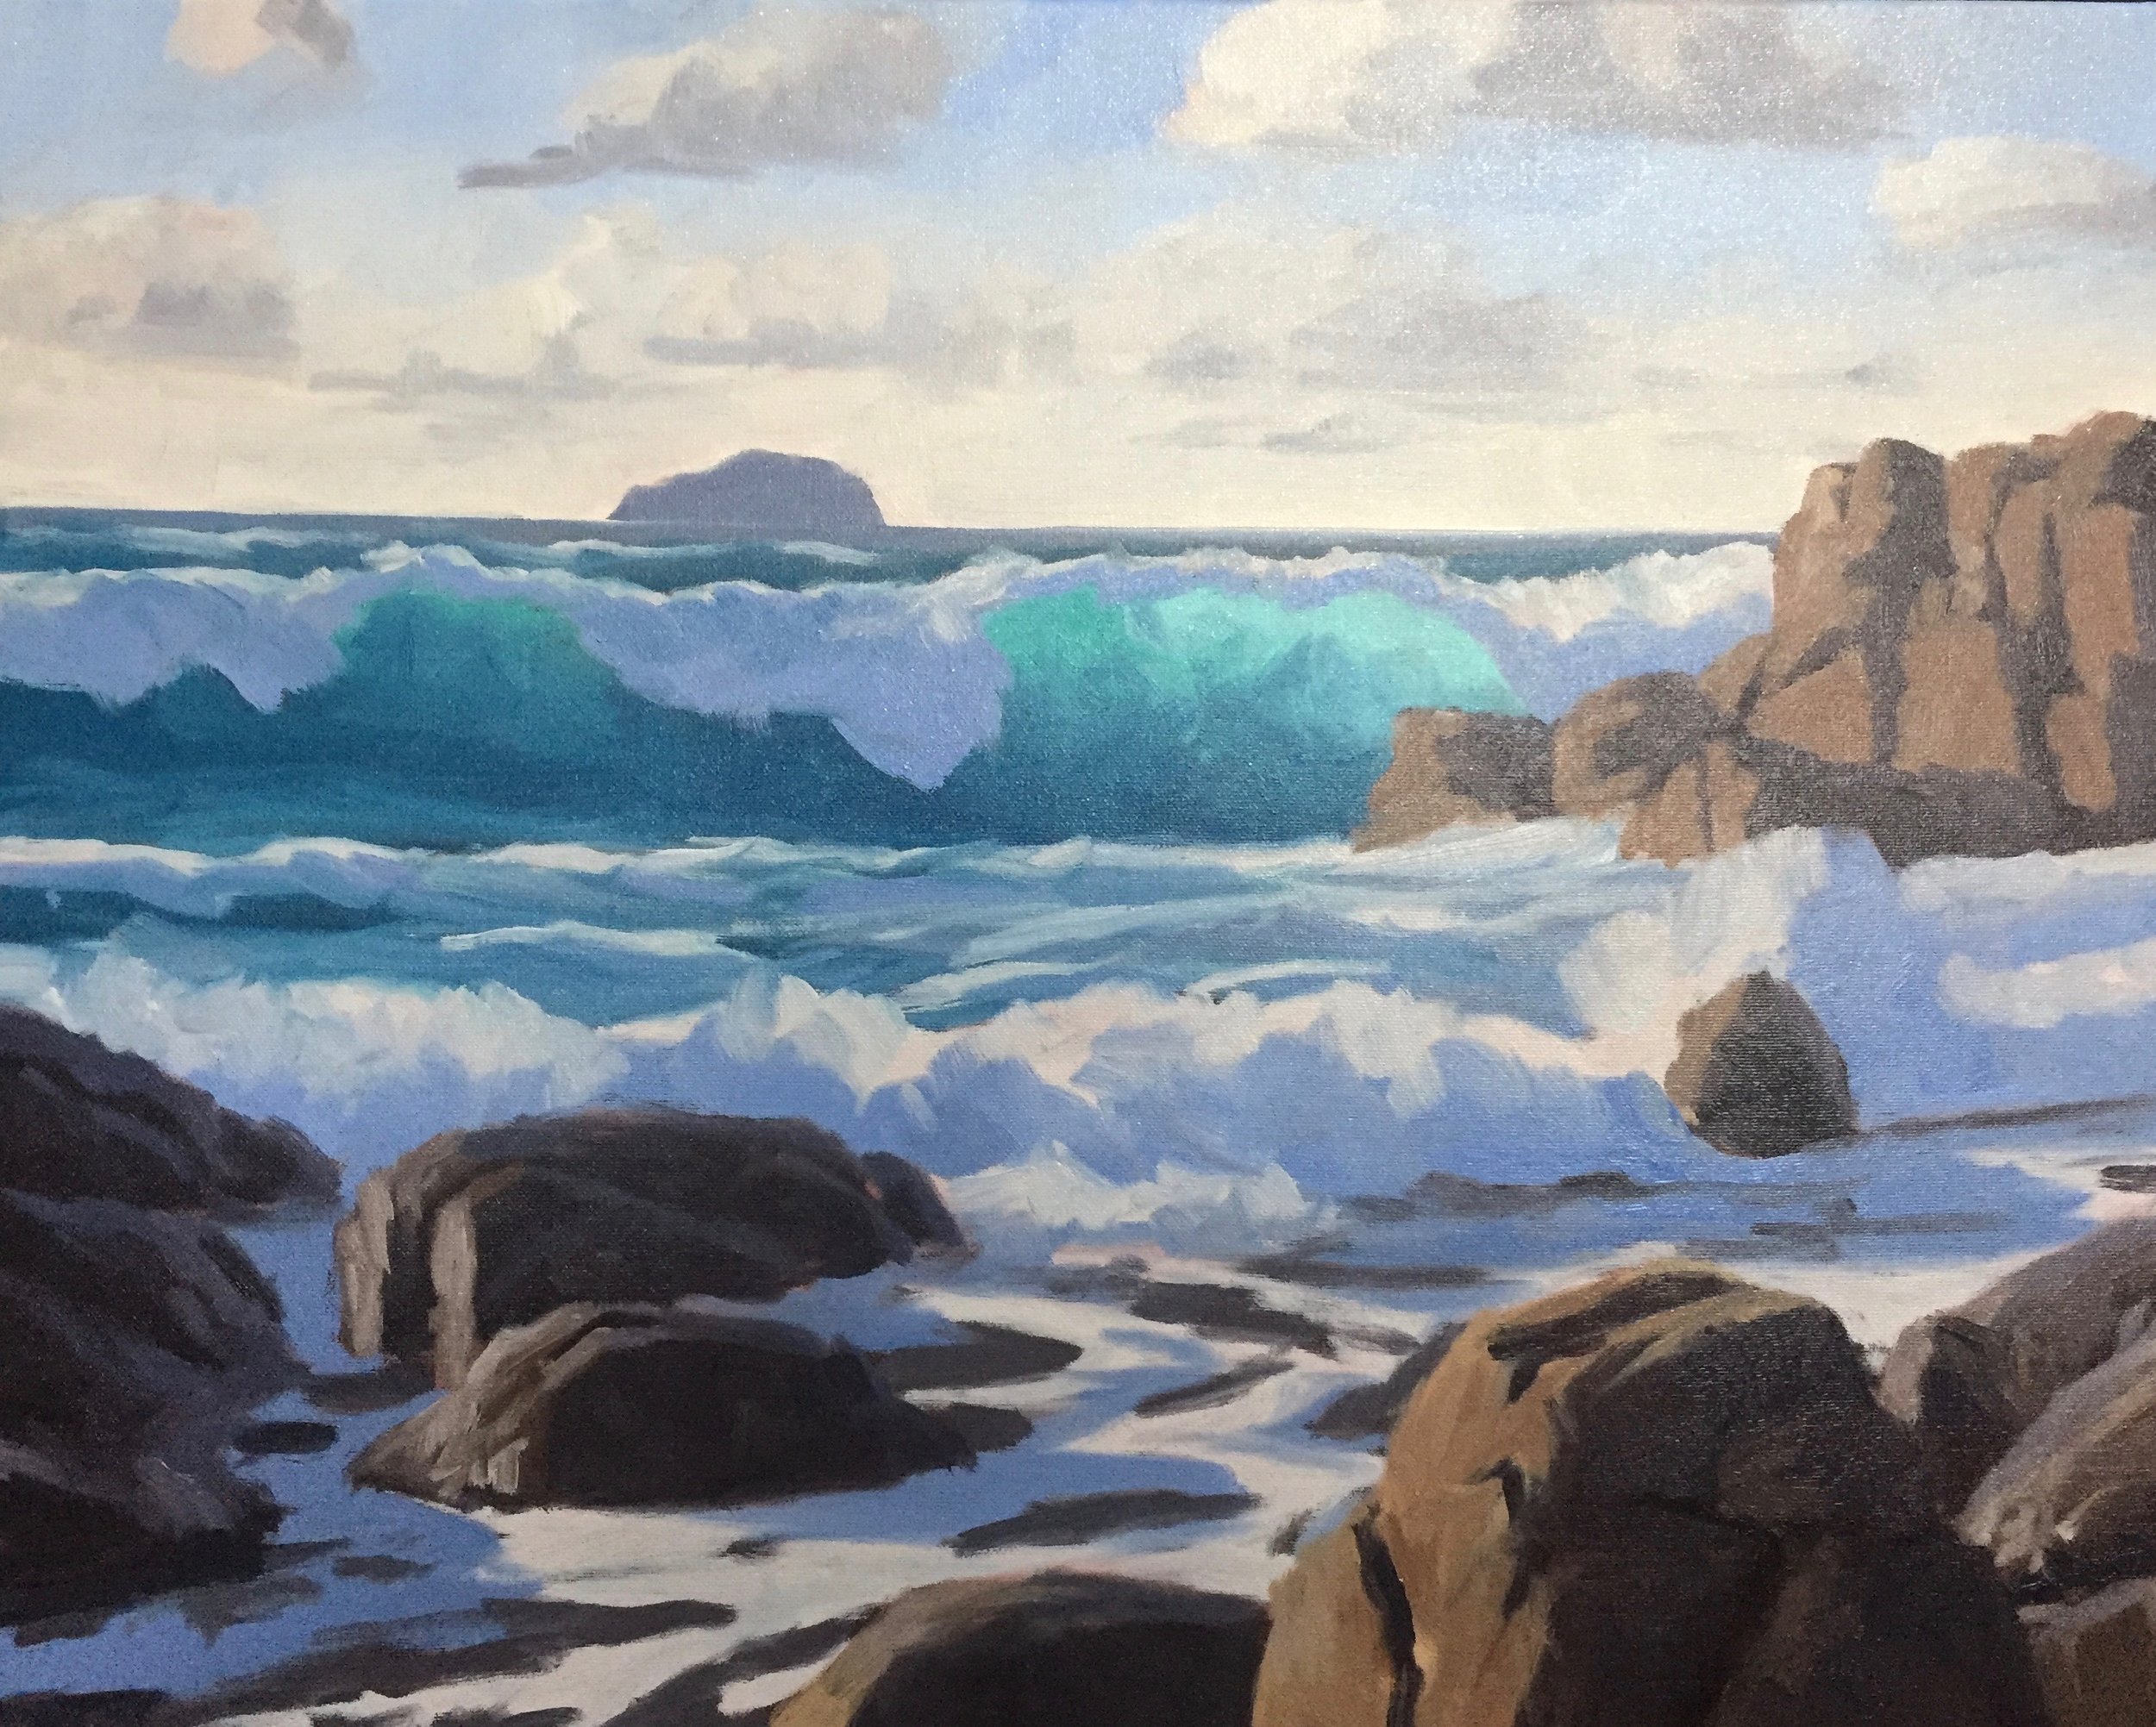
This painting was inspired by the wild rocky coast of Guernsey, a British island located within the English Channel. The coast is often battered by Atlantic storms resulting in some epic swells and stormy breaking waves. The rocky shores around the island adds to the drama of the wild sea and is a never ending source of inspiration for seascape paintings.
In this painting tutorial I will show you the process of how I created this art work.
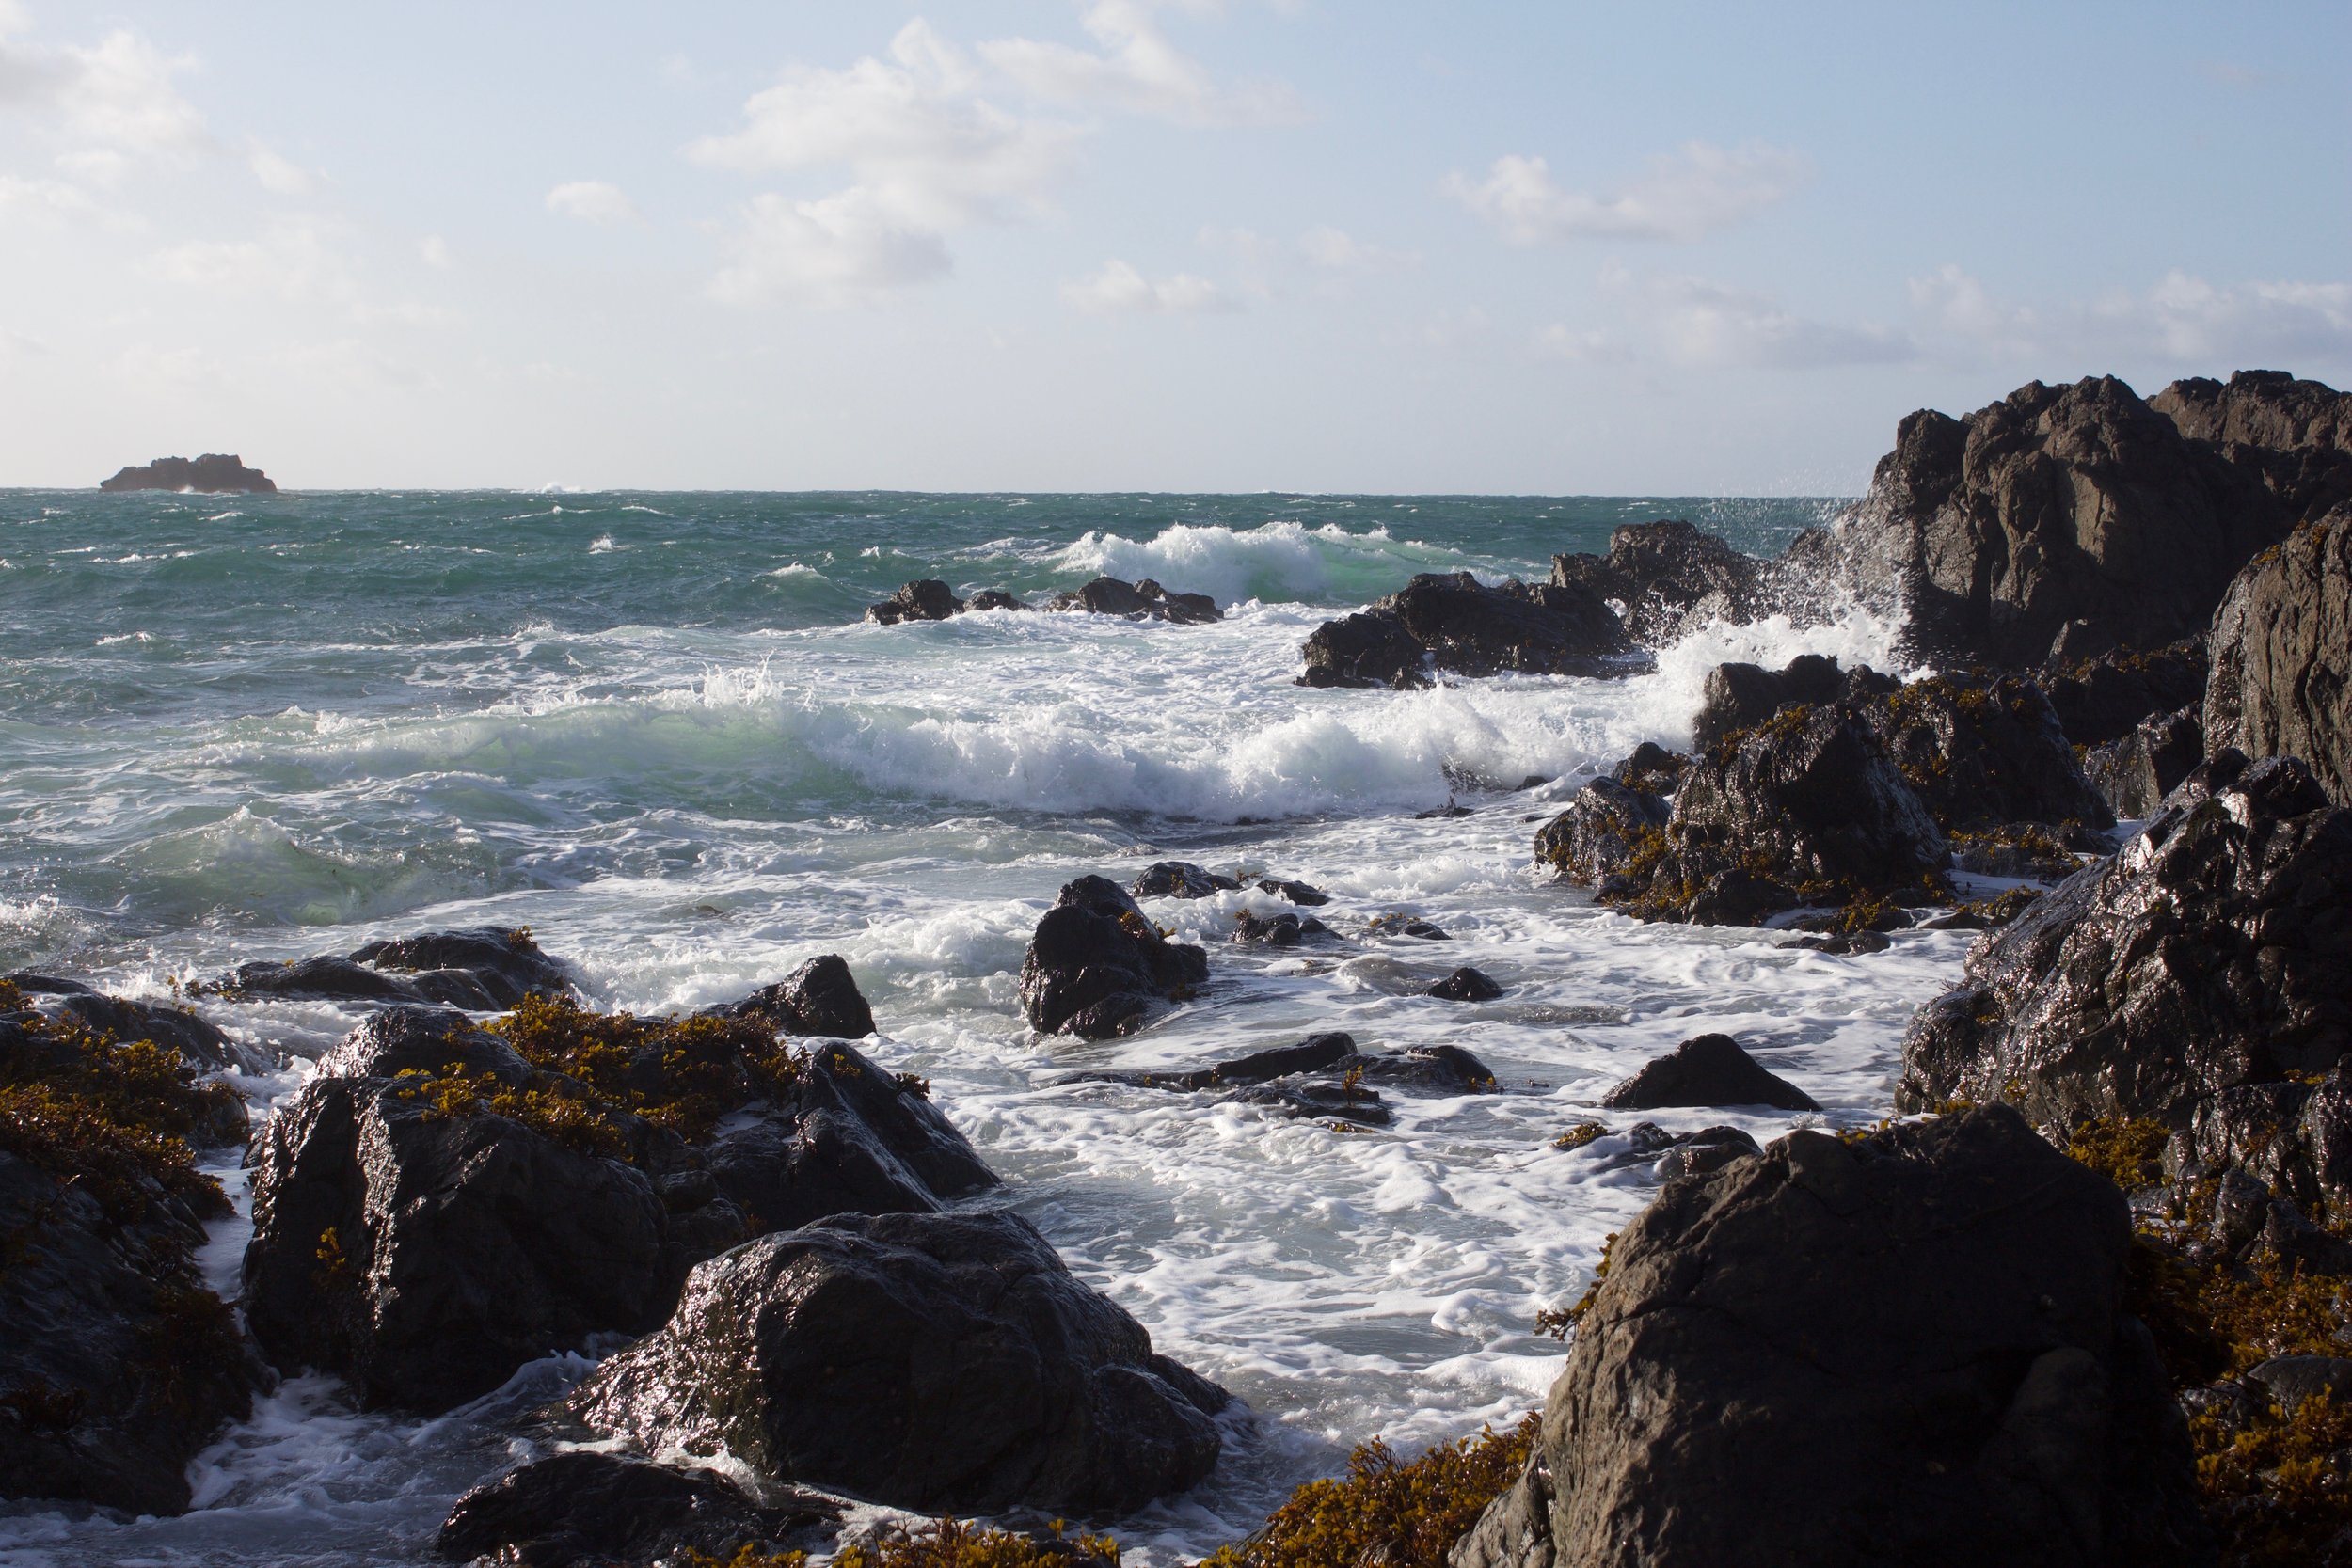
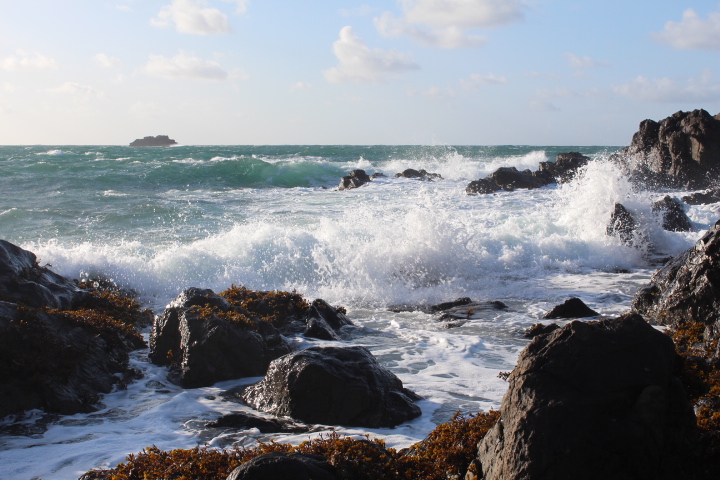
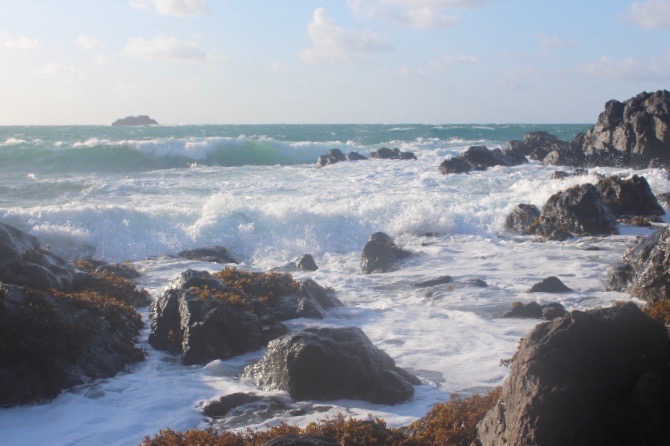
Reference Photos
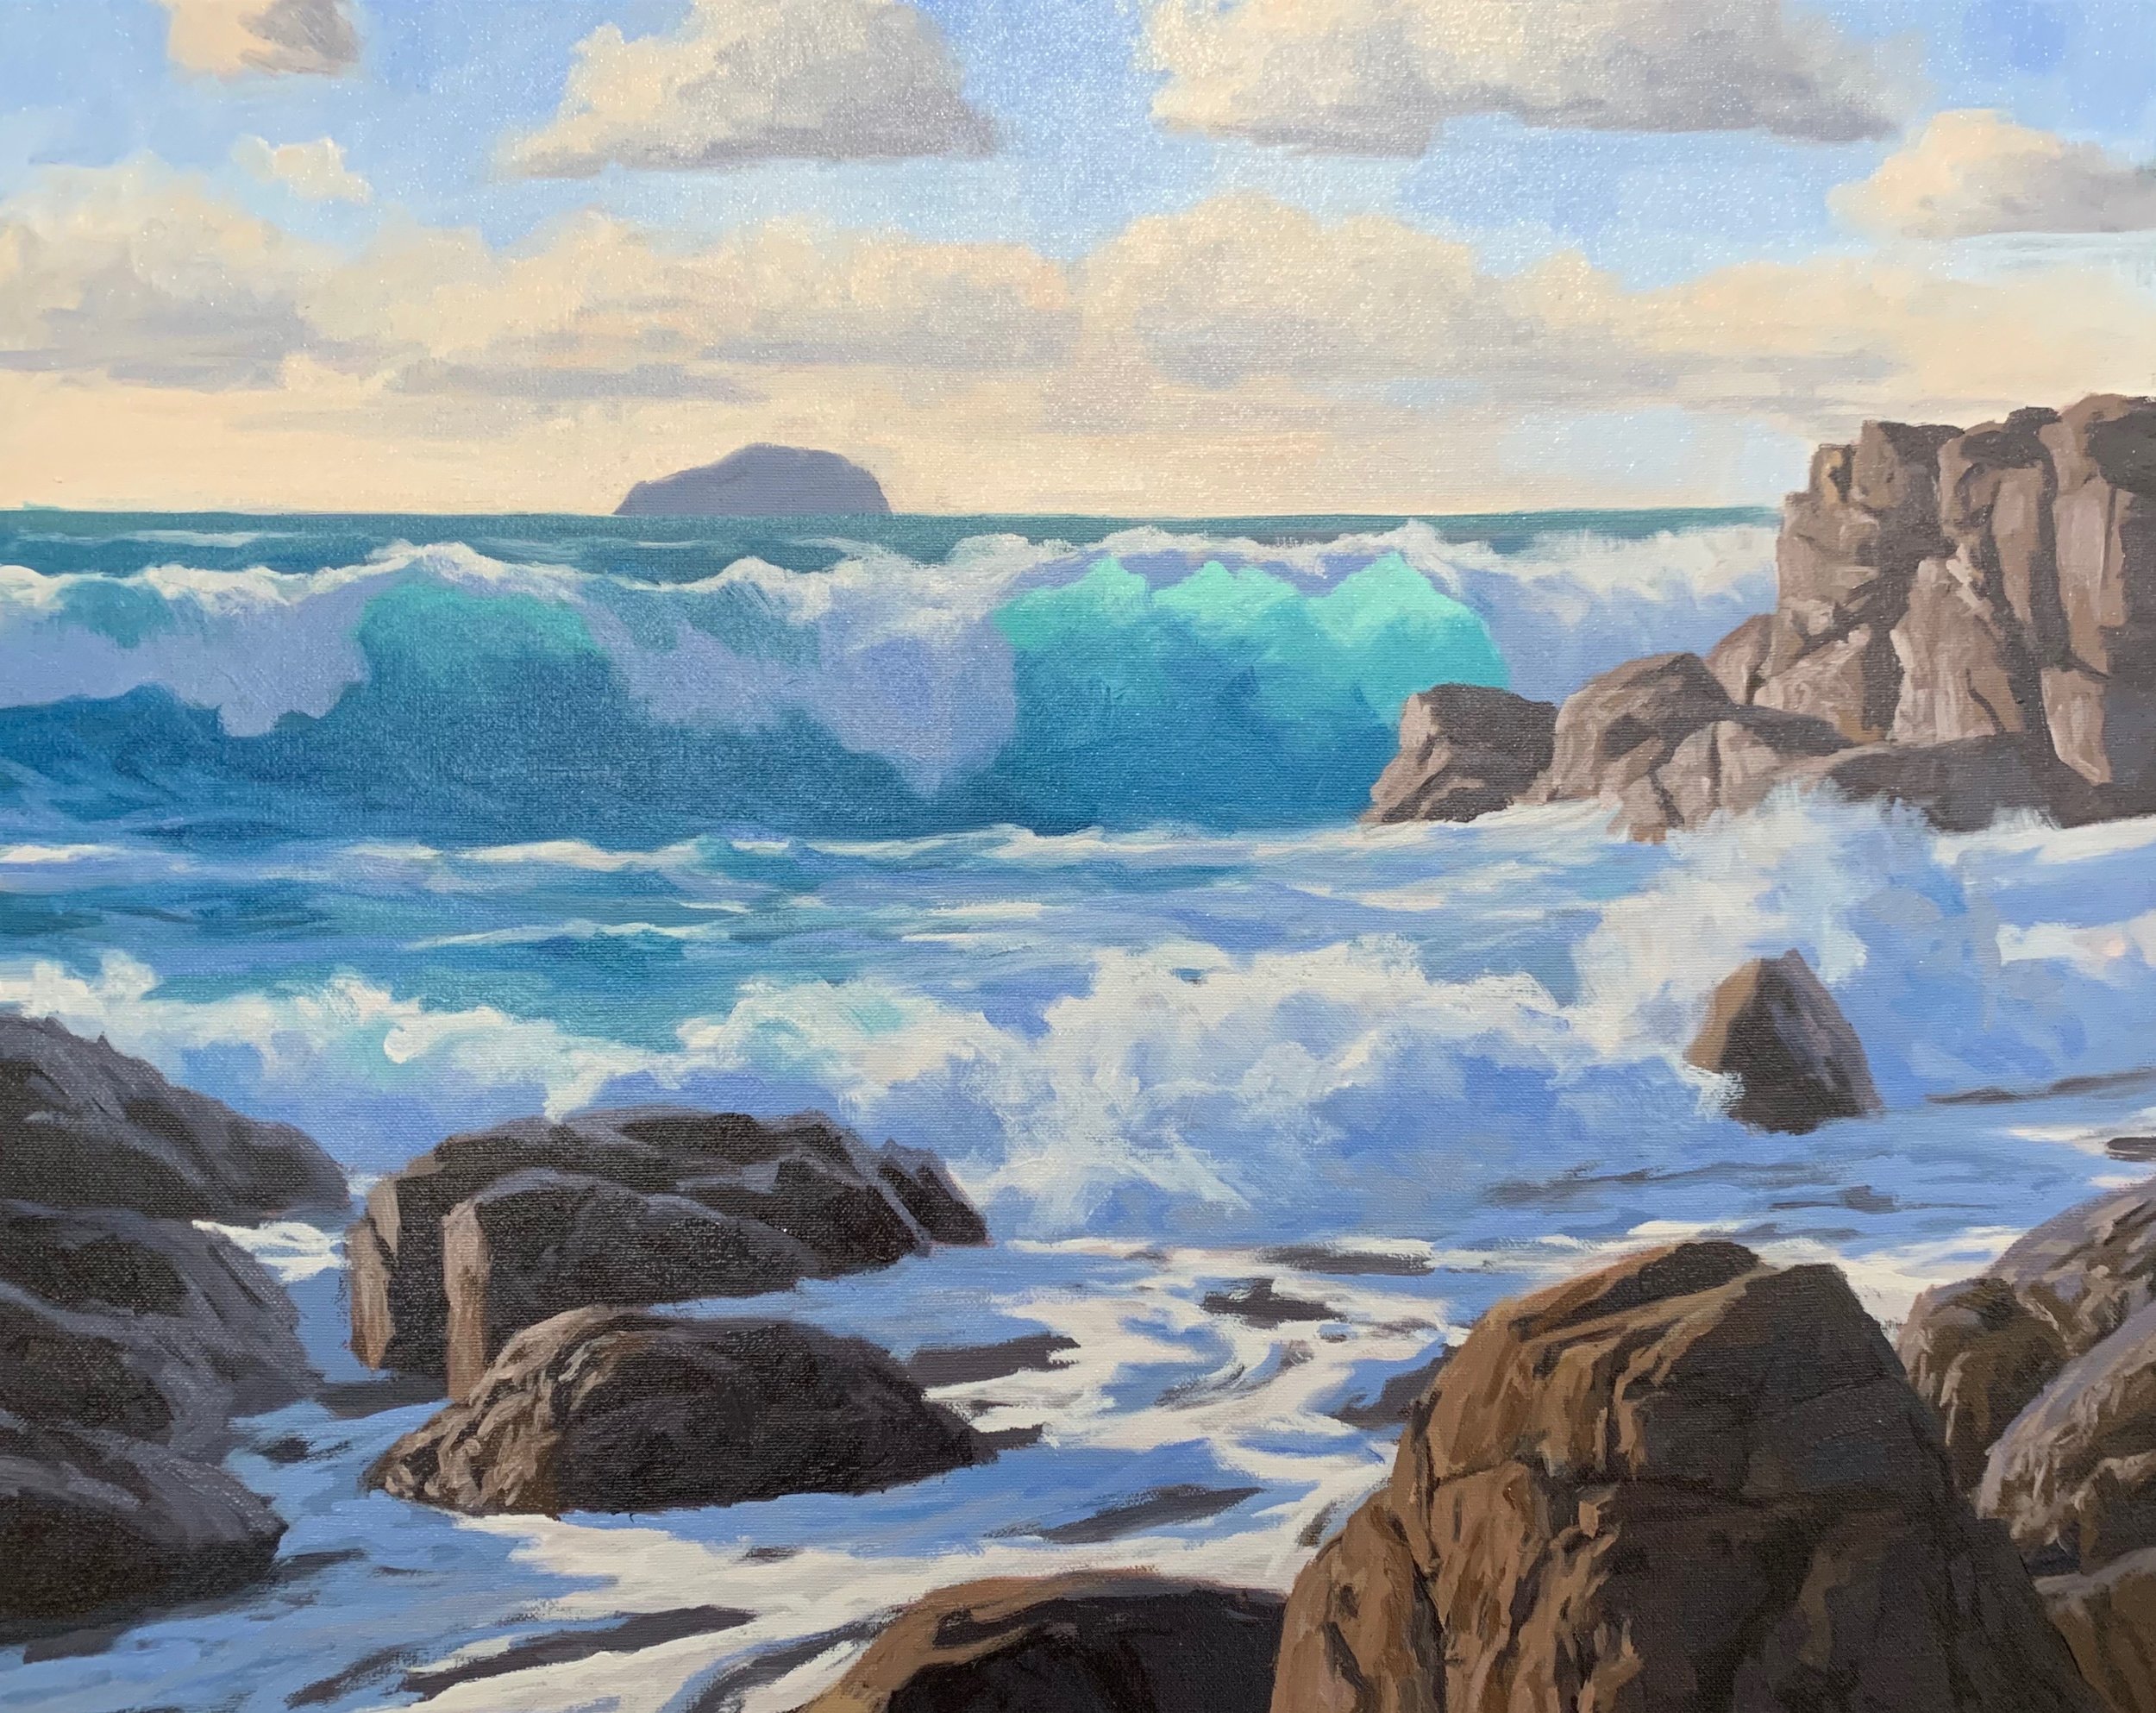
Here are some of the reference photos I took. Please feel free to use them or copy them if you would like to have a go at painting this art work.
In this tutorial I will cover the following:
- Colours
- Brushes
- Composition
- Blocking in the painting
- Adding details – tips on painting breaking waves, translucent water and rocks
- Final details
Colours
I painted this artwork using oil paint and the colours I used in this painting are as follows:
- Titanium white
- Burnt sienna
- Yellow oxide
- Cadmium yellow
- Cadmium red
- Perylene crimson
- Ultramarine blue
- Phthalo green
Brushes
Here is a list of the brushes I used in this painting:
- No.10 flat
- No.8 flat
- No.6 flat
- No.2 flat
- No.2 filbert
- No.1 round
- No.0 round
- 3/8 dagger
Composition

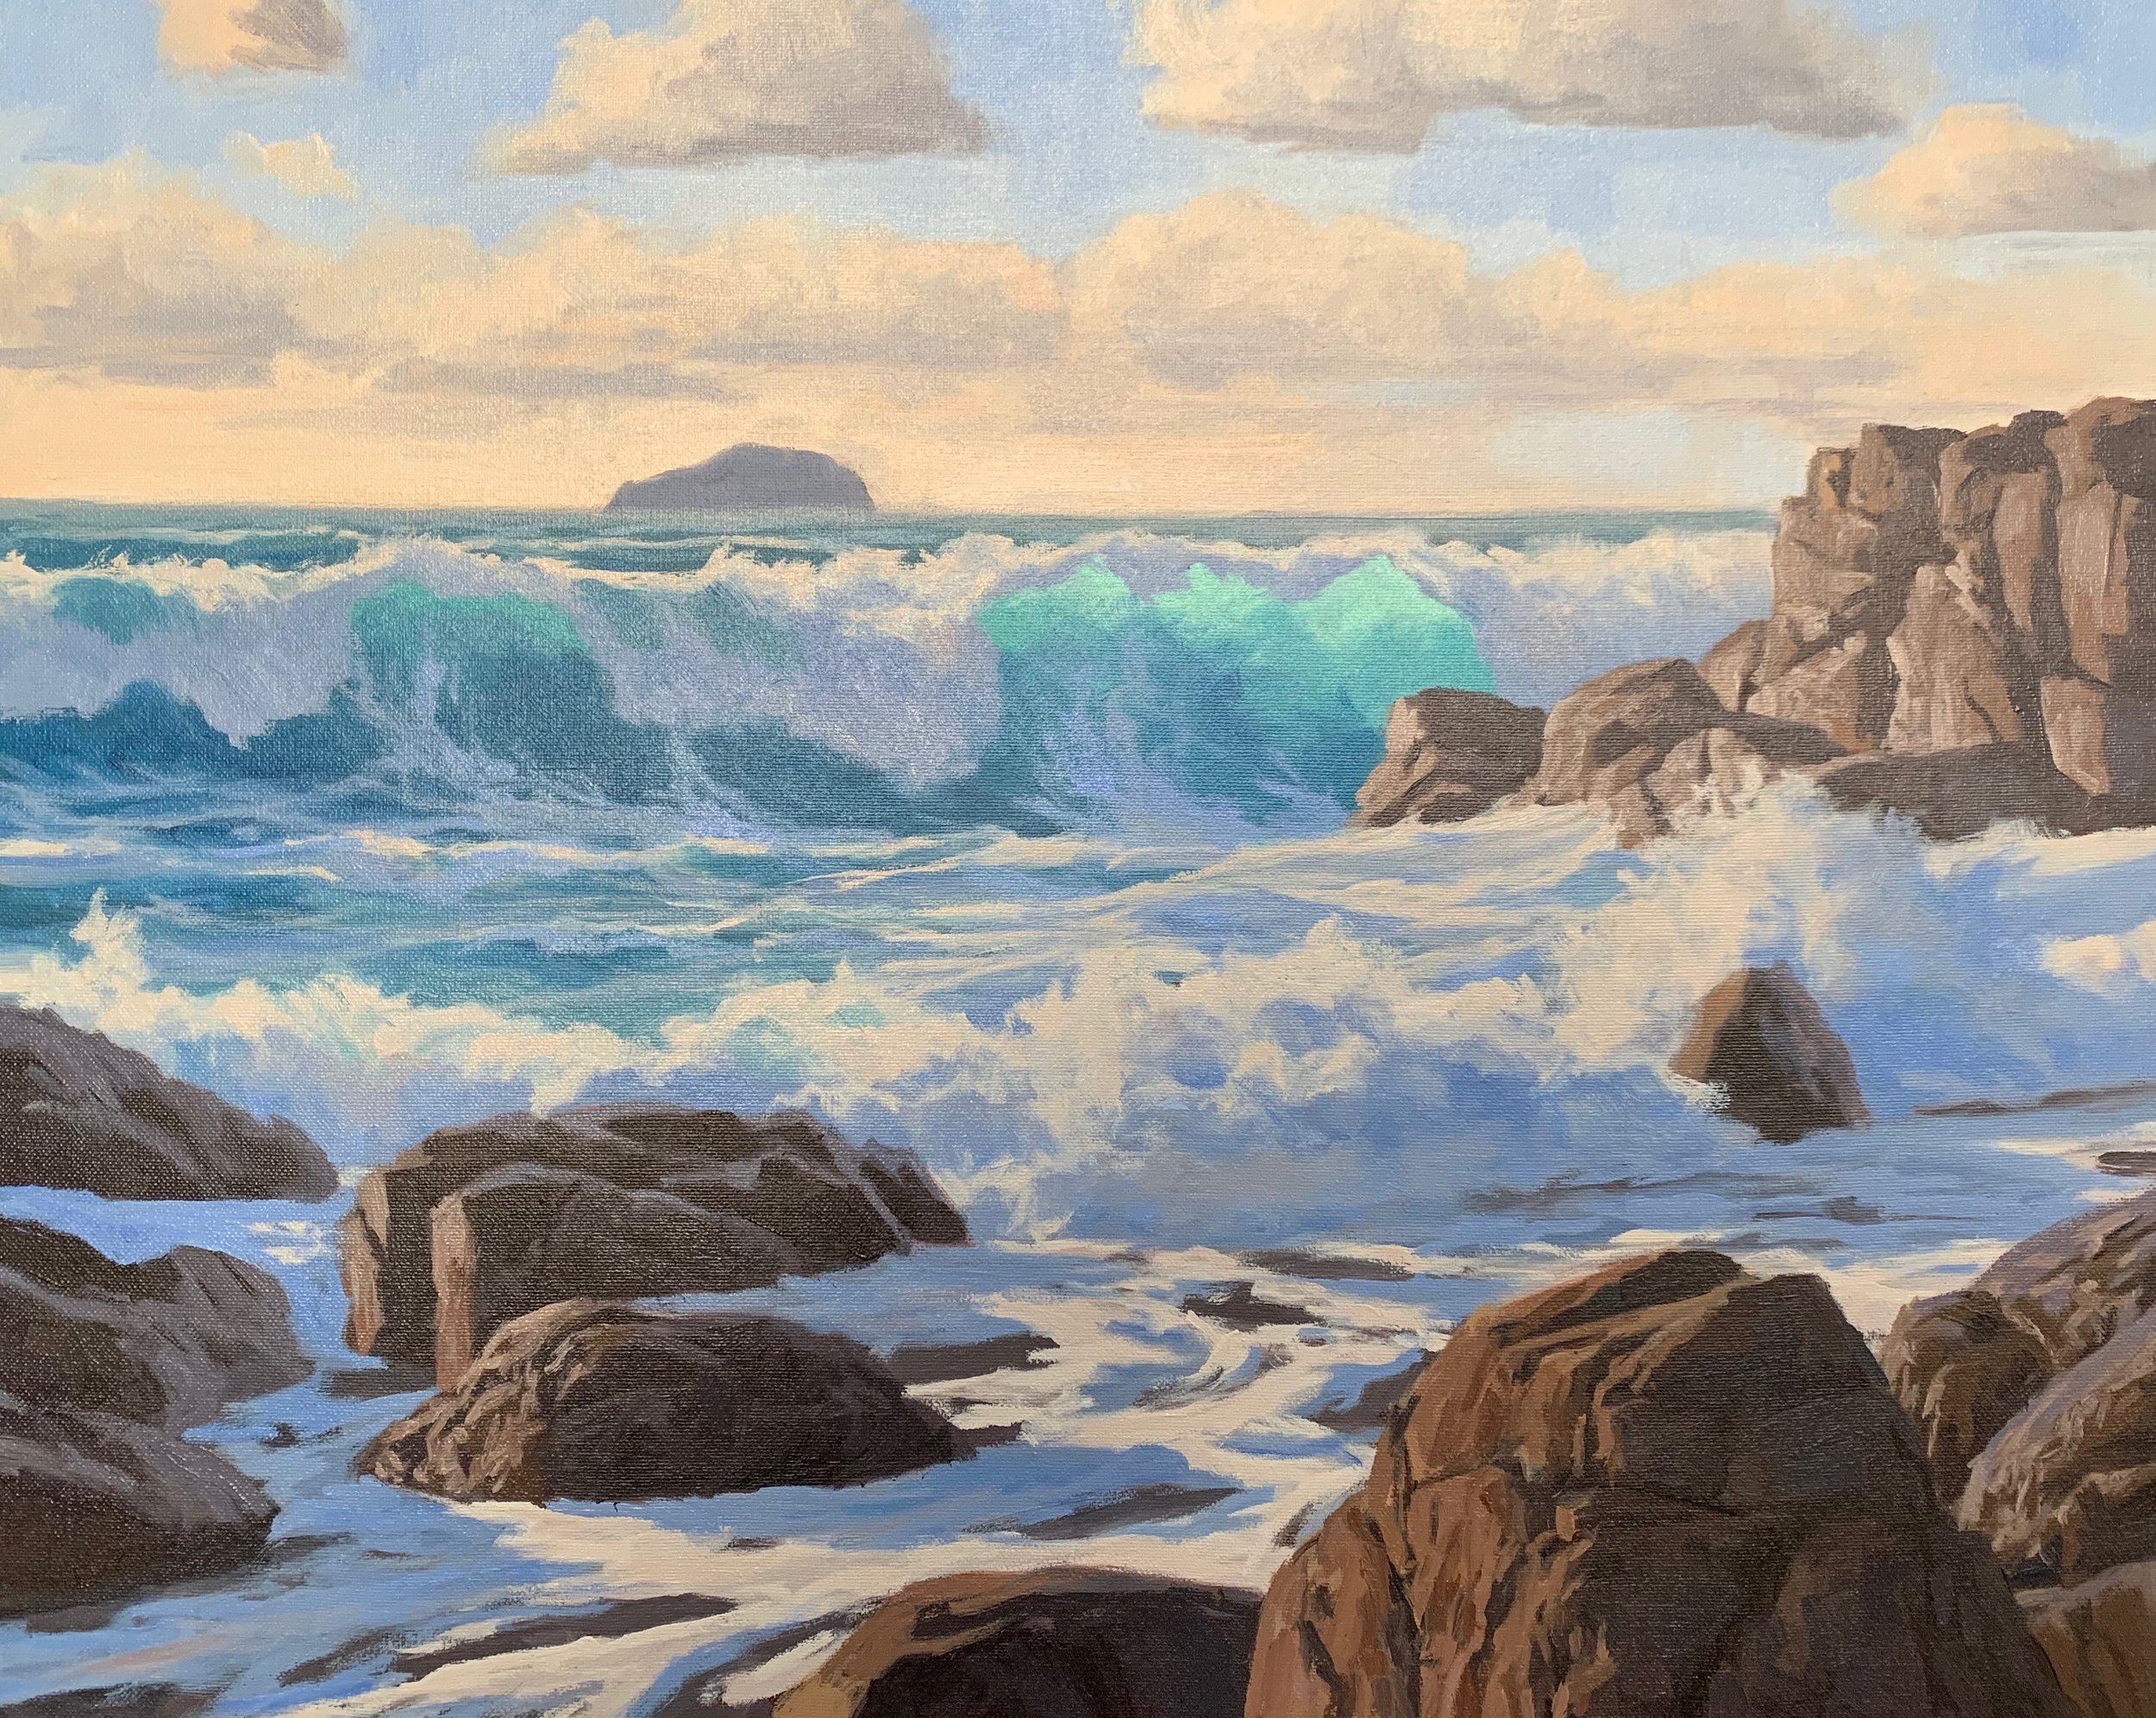
The design behind this painting follows an ‘S’ or compound curve composition. The main focal area is the breaking wave and I have subtly positioned the rocks to create a channel that leads leads the eye towards the braking wave in an ‘S’ shape.
The ‘S’ or compound curve is a good failsafe composition to incorporate into a seascape as the curve implies motion and rhythm in the painting especially when you wish to convey a moving ocean.
The rocks anchor the composition and give a sense scale to the scene whilst the distant island adds balance to the composition.
Blocking in the Painting
I’m using a 40cm x 50cm canvas. I prepared it with a layer of burnt umber which helps with establishing colour and tone as well as adding vibrancy to the colours. I while ago I prepared a whole load of canvases with burnt umber, but you can also use burnt sienna as well.
I sketch out the composition with a No.1 round brush using perylene crimson and titanium white mixed with a medium called Liquin Original. Liquin improves the flow of the paint and it speeds up the drying time so usually your painting should be touch dry within 24 hours.
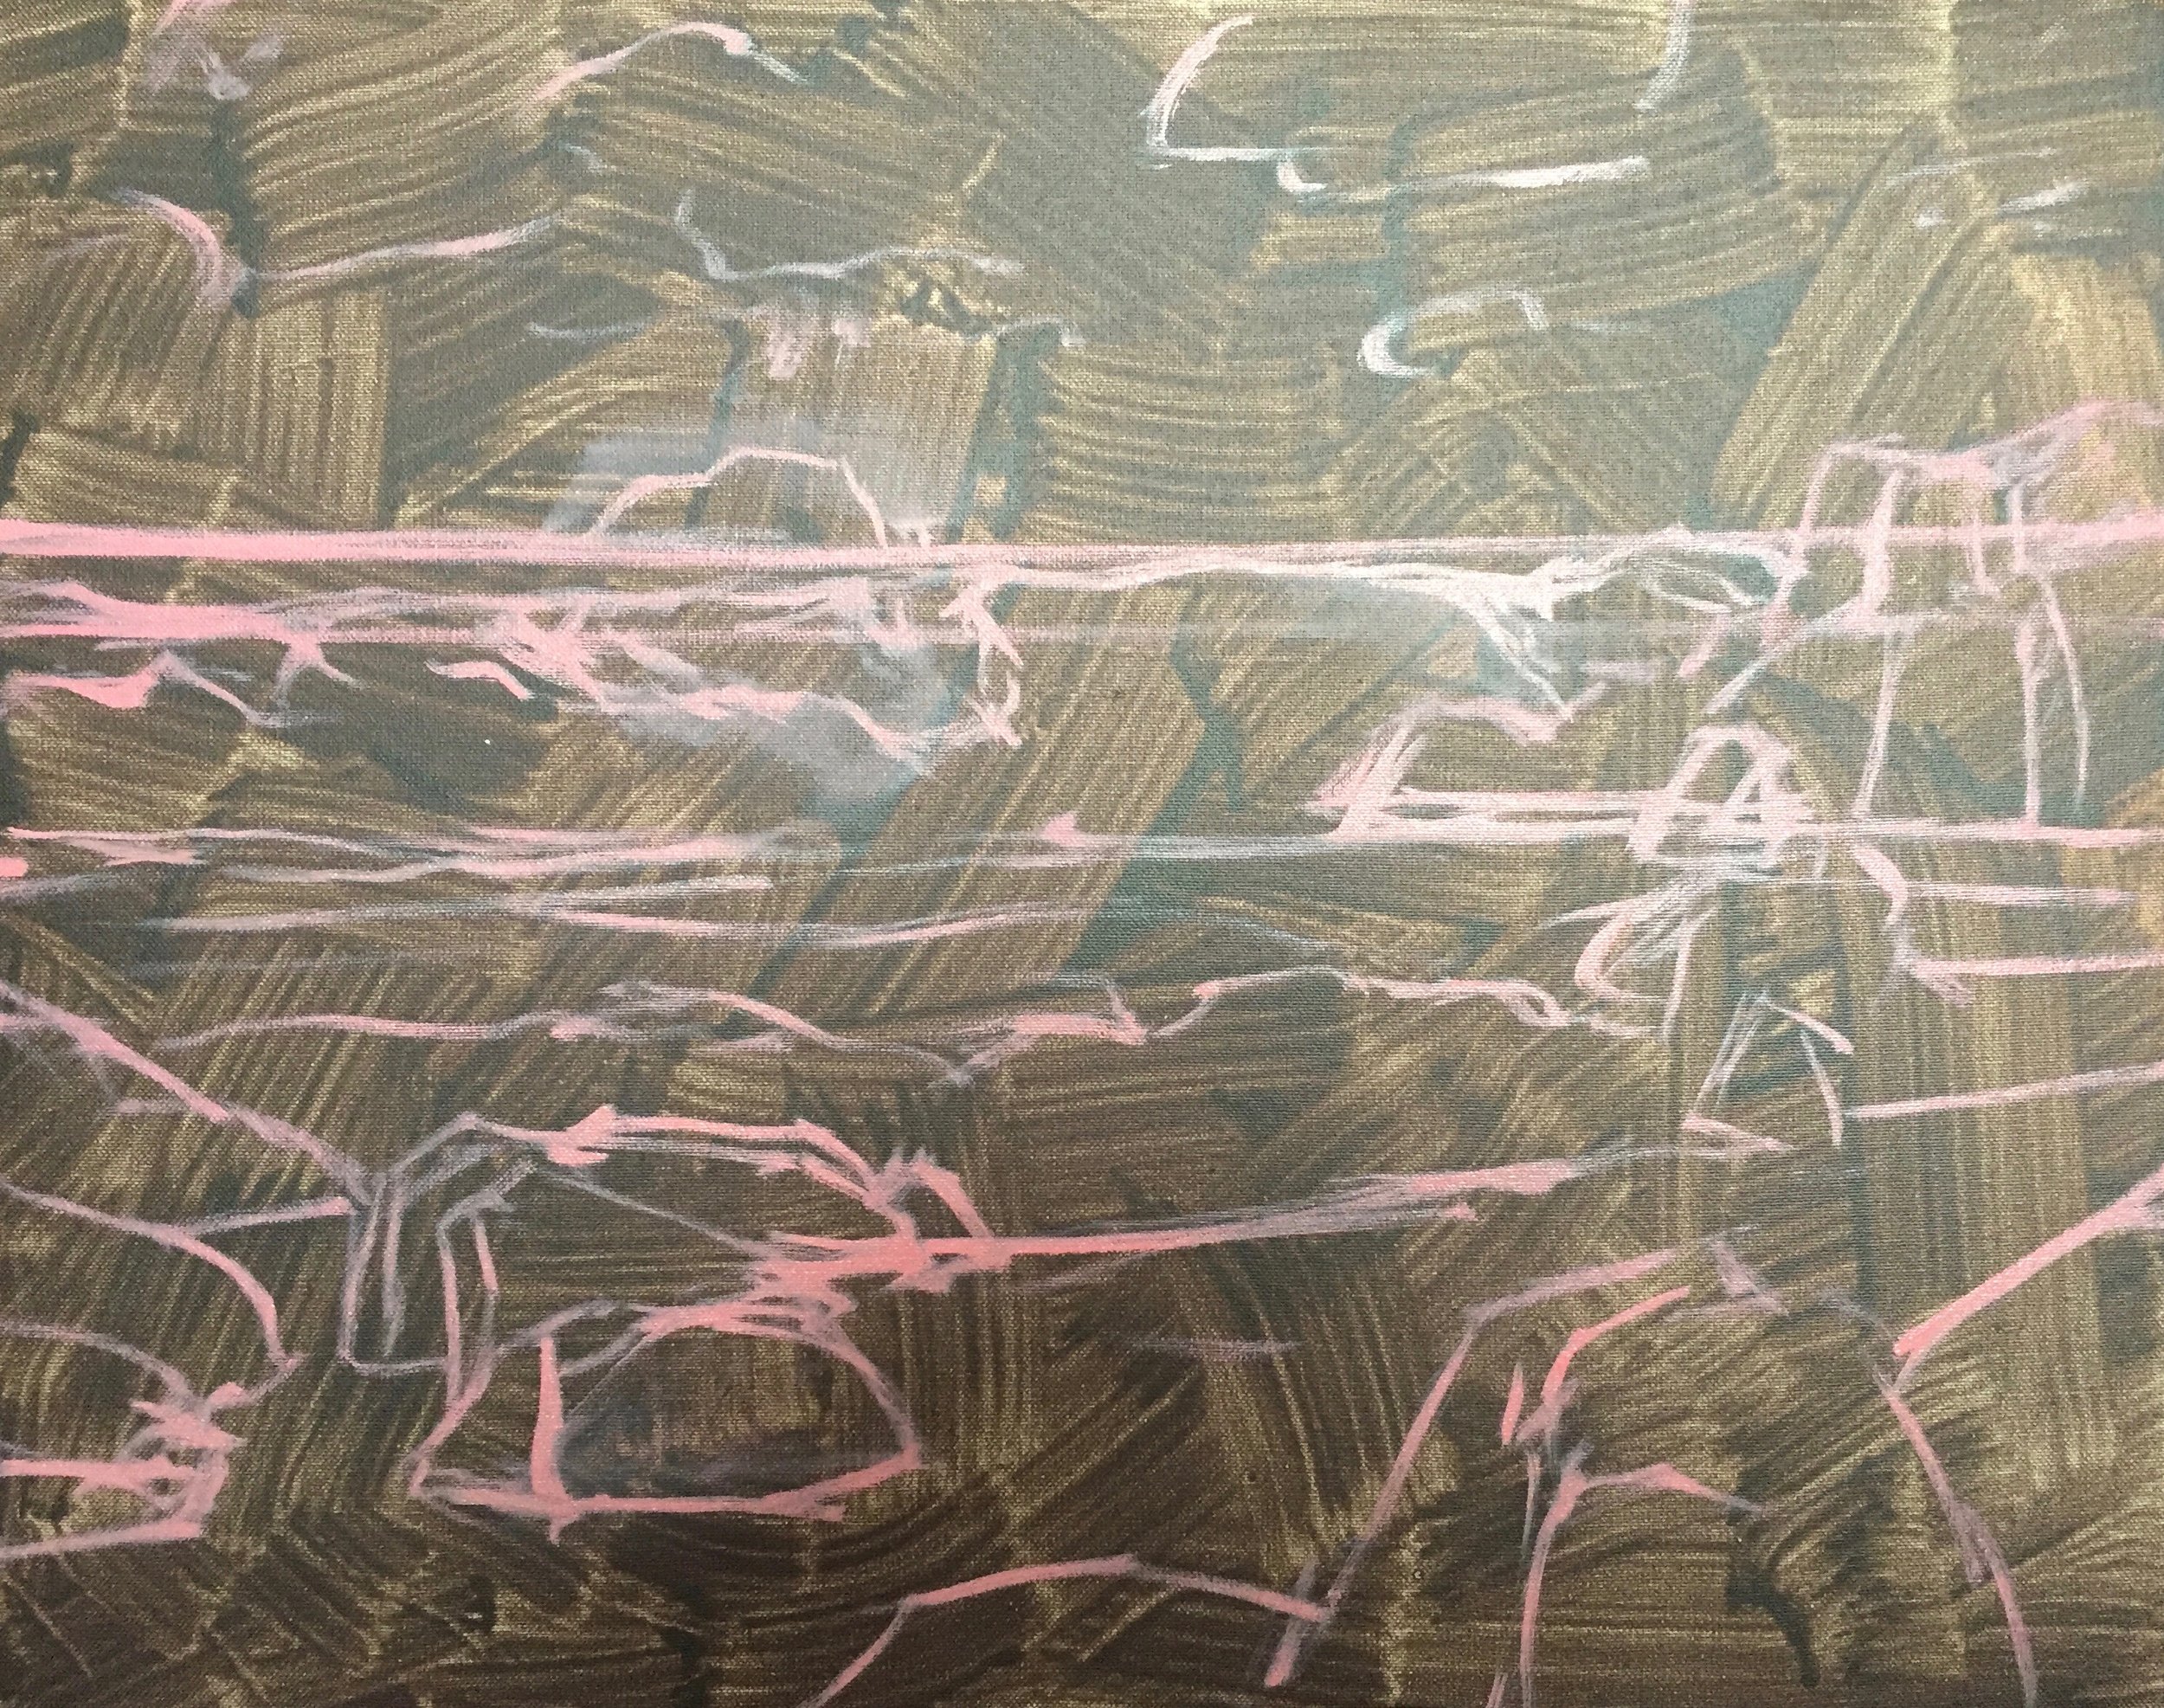
In order create a looser feel with the painting and cover ground quickly I use as large brushes as possible so I begin the blocking in stage by using a No.10 flat brush.
I am not concerned with detail when blocking in a painting which is why I use larger brushes for this process. I just want to get my colours and values correct to start with so I have something to work with when I’m adding the detail later on. Using large brushes also helps to achieve a more ‘painterly’ effect.
There are two main tonal zones in this painting, the sky and the main feature of the painting, the break waves and rocks. I start by painting the sky so I can gauge the tonality of the rest of the painting.
I mix the cloud shadows with a combination of ultramarine blue, burnt sienna, perylene crimson and titanium white. I use the same mixture for the distant island but with less titanium white.
The cloud highlights are painted with titanium white mixed with a little burnt sienna. I will be coming back to the clouds later on.
The sky was created with a mixture of ultramarine blue and titanium white.
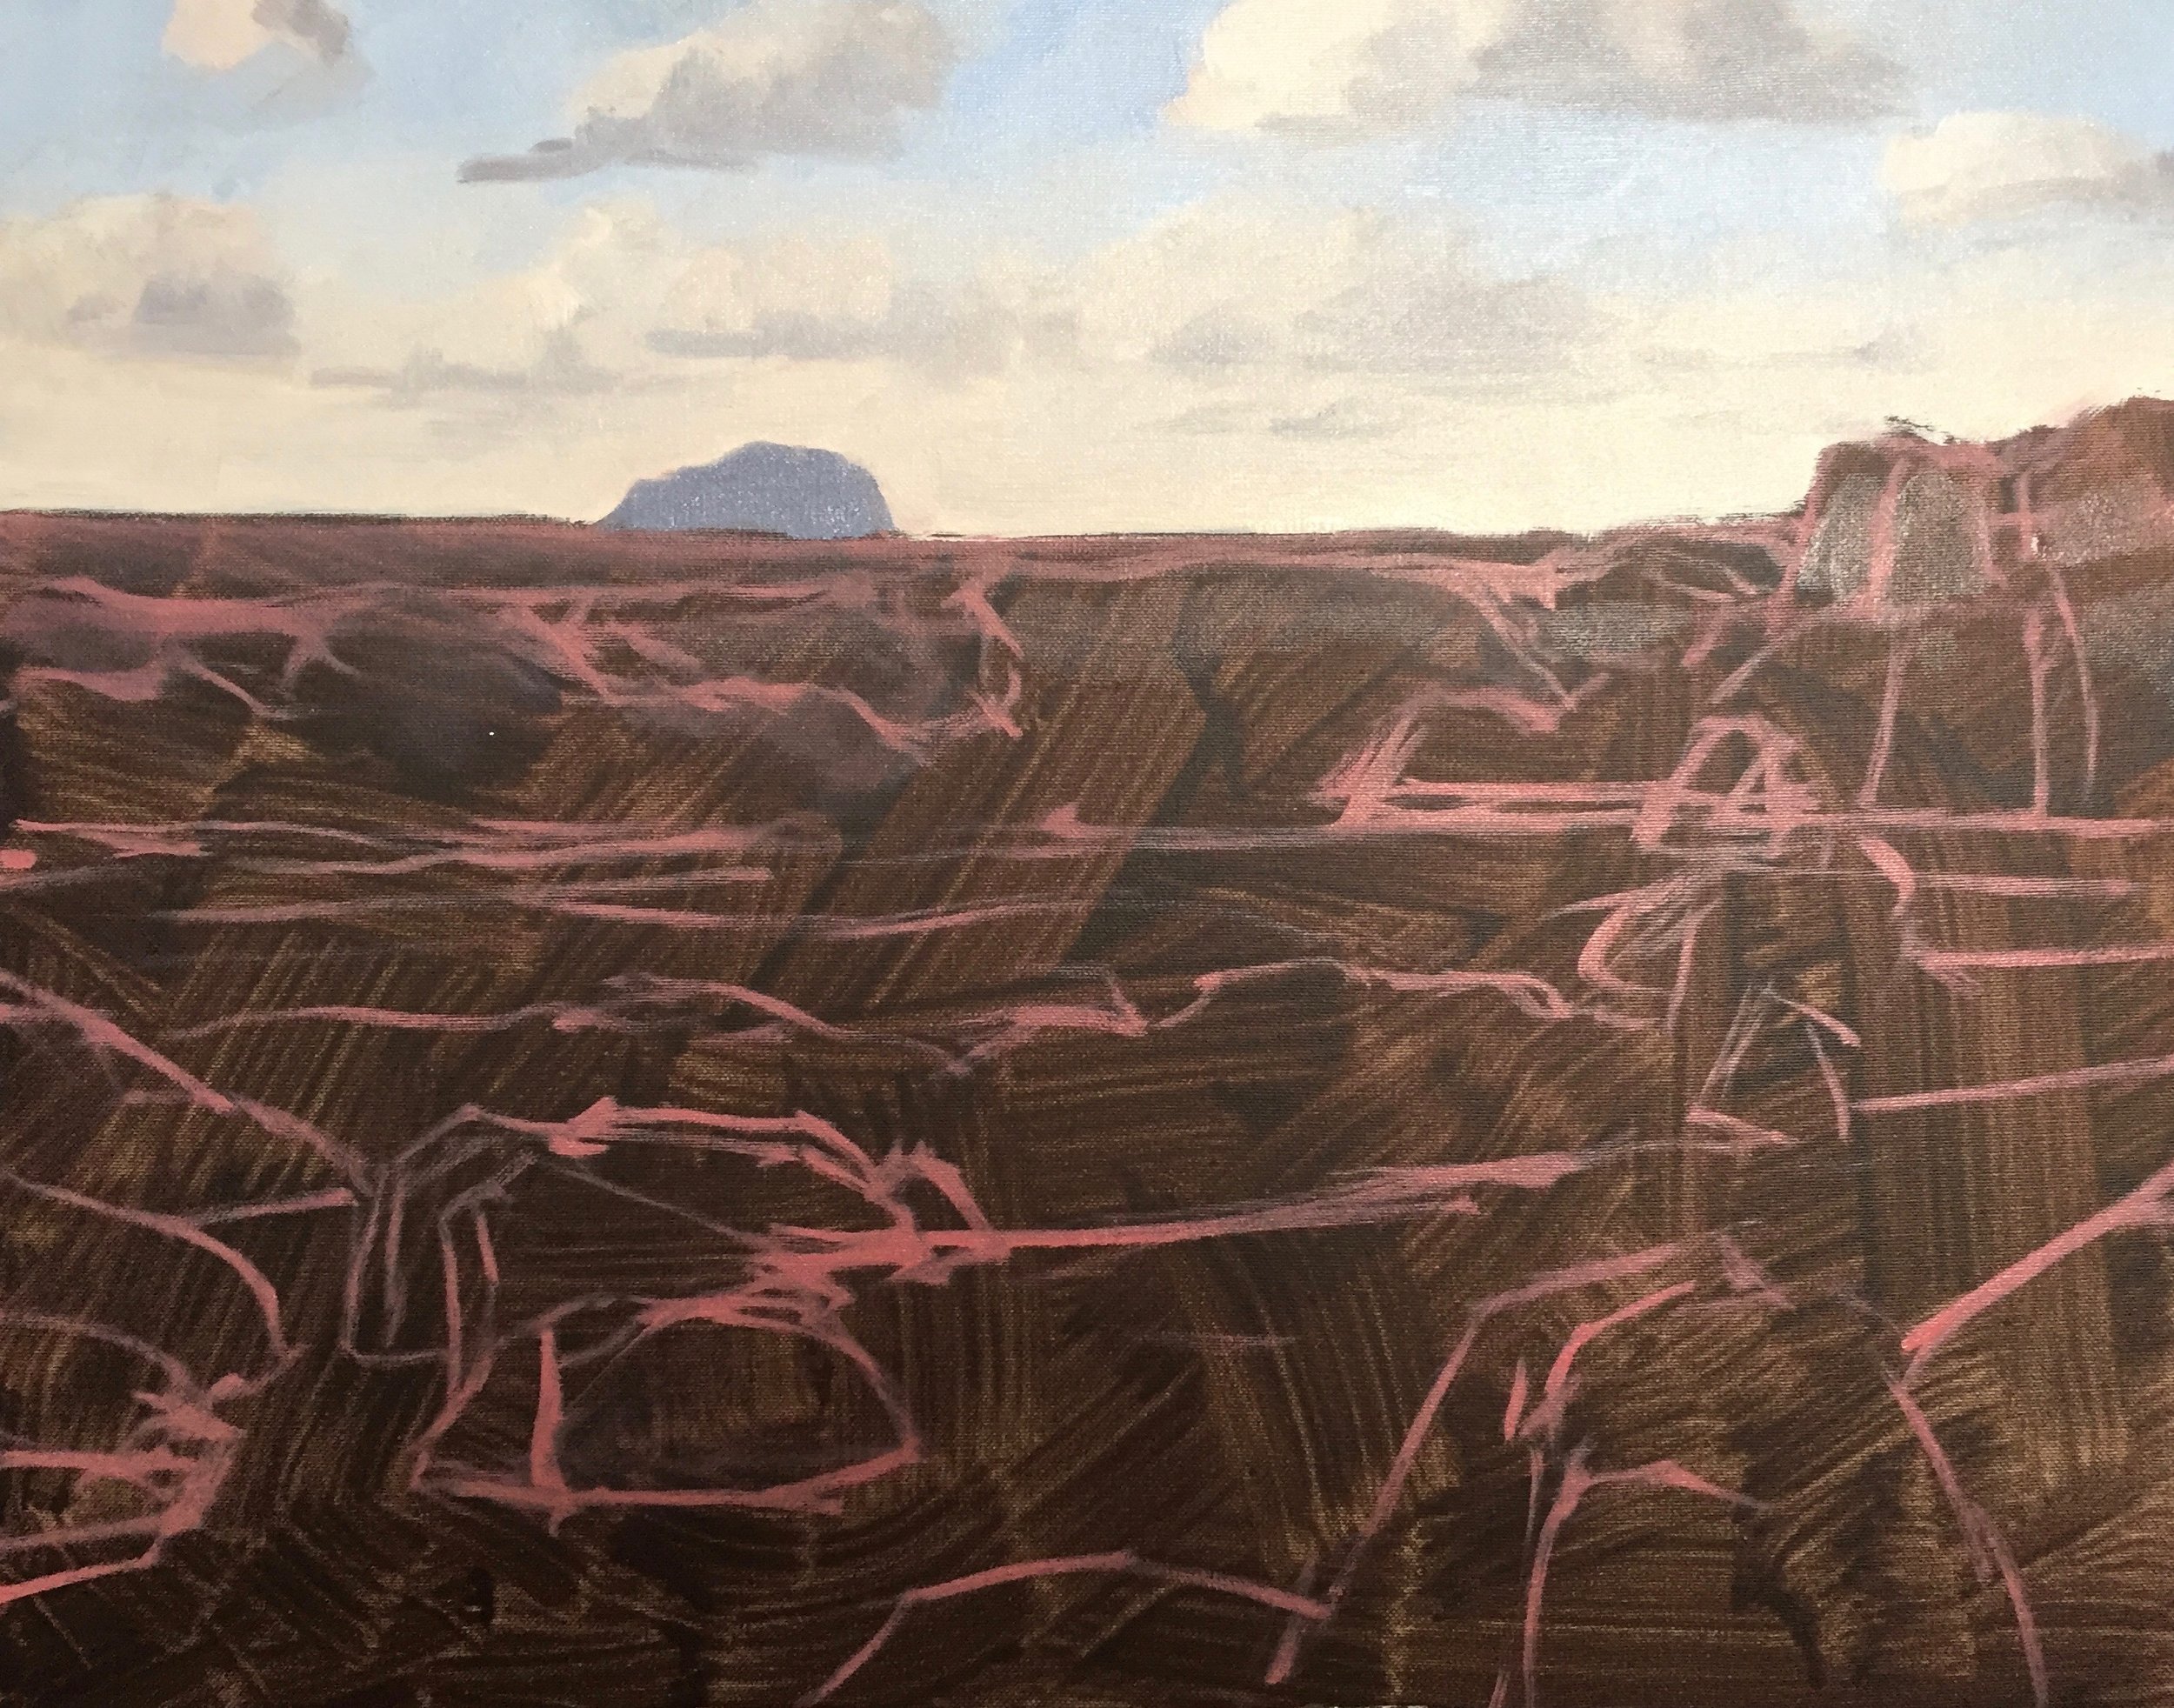
I start by painting the translucent area of the water by mixing a combination of ultramarine blue, phthalo green and titanium white. I paint the main body of the wave which is in shadow, with a mixture of ultramarine blue, phthalo green and yellow oxide. I blend the shadow mix into the transitional area of the translucent breaking wave.
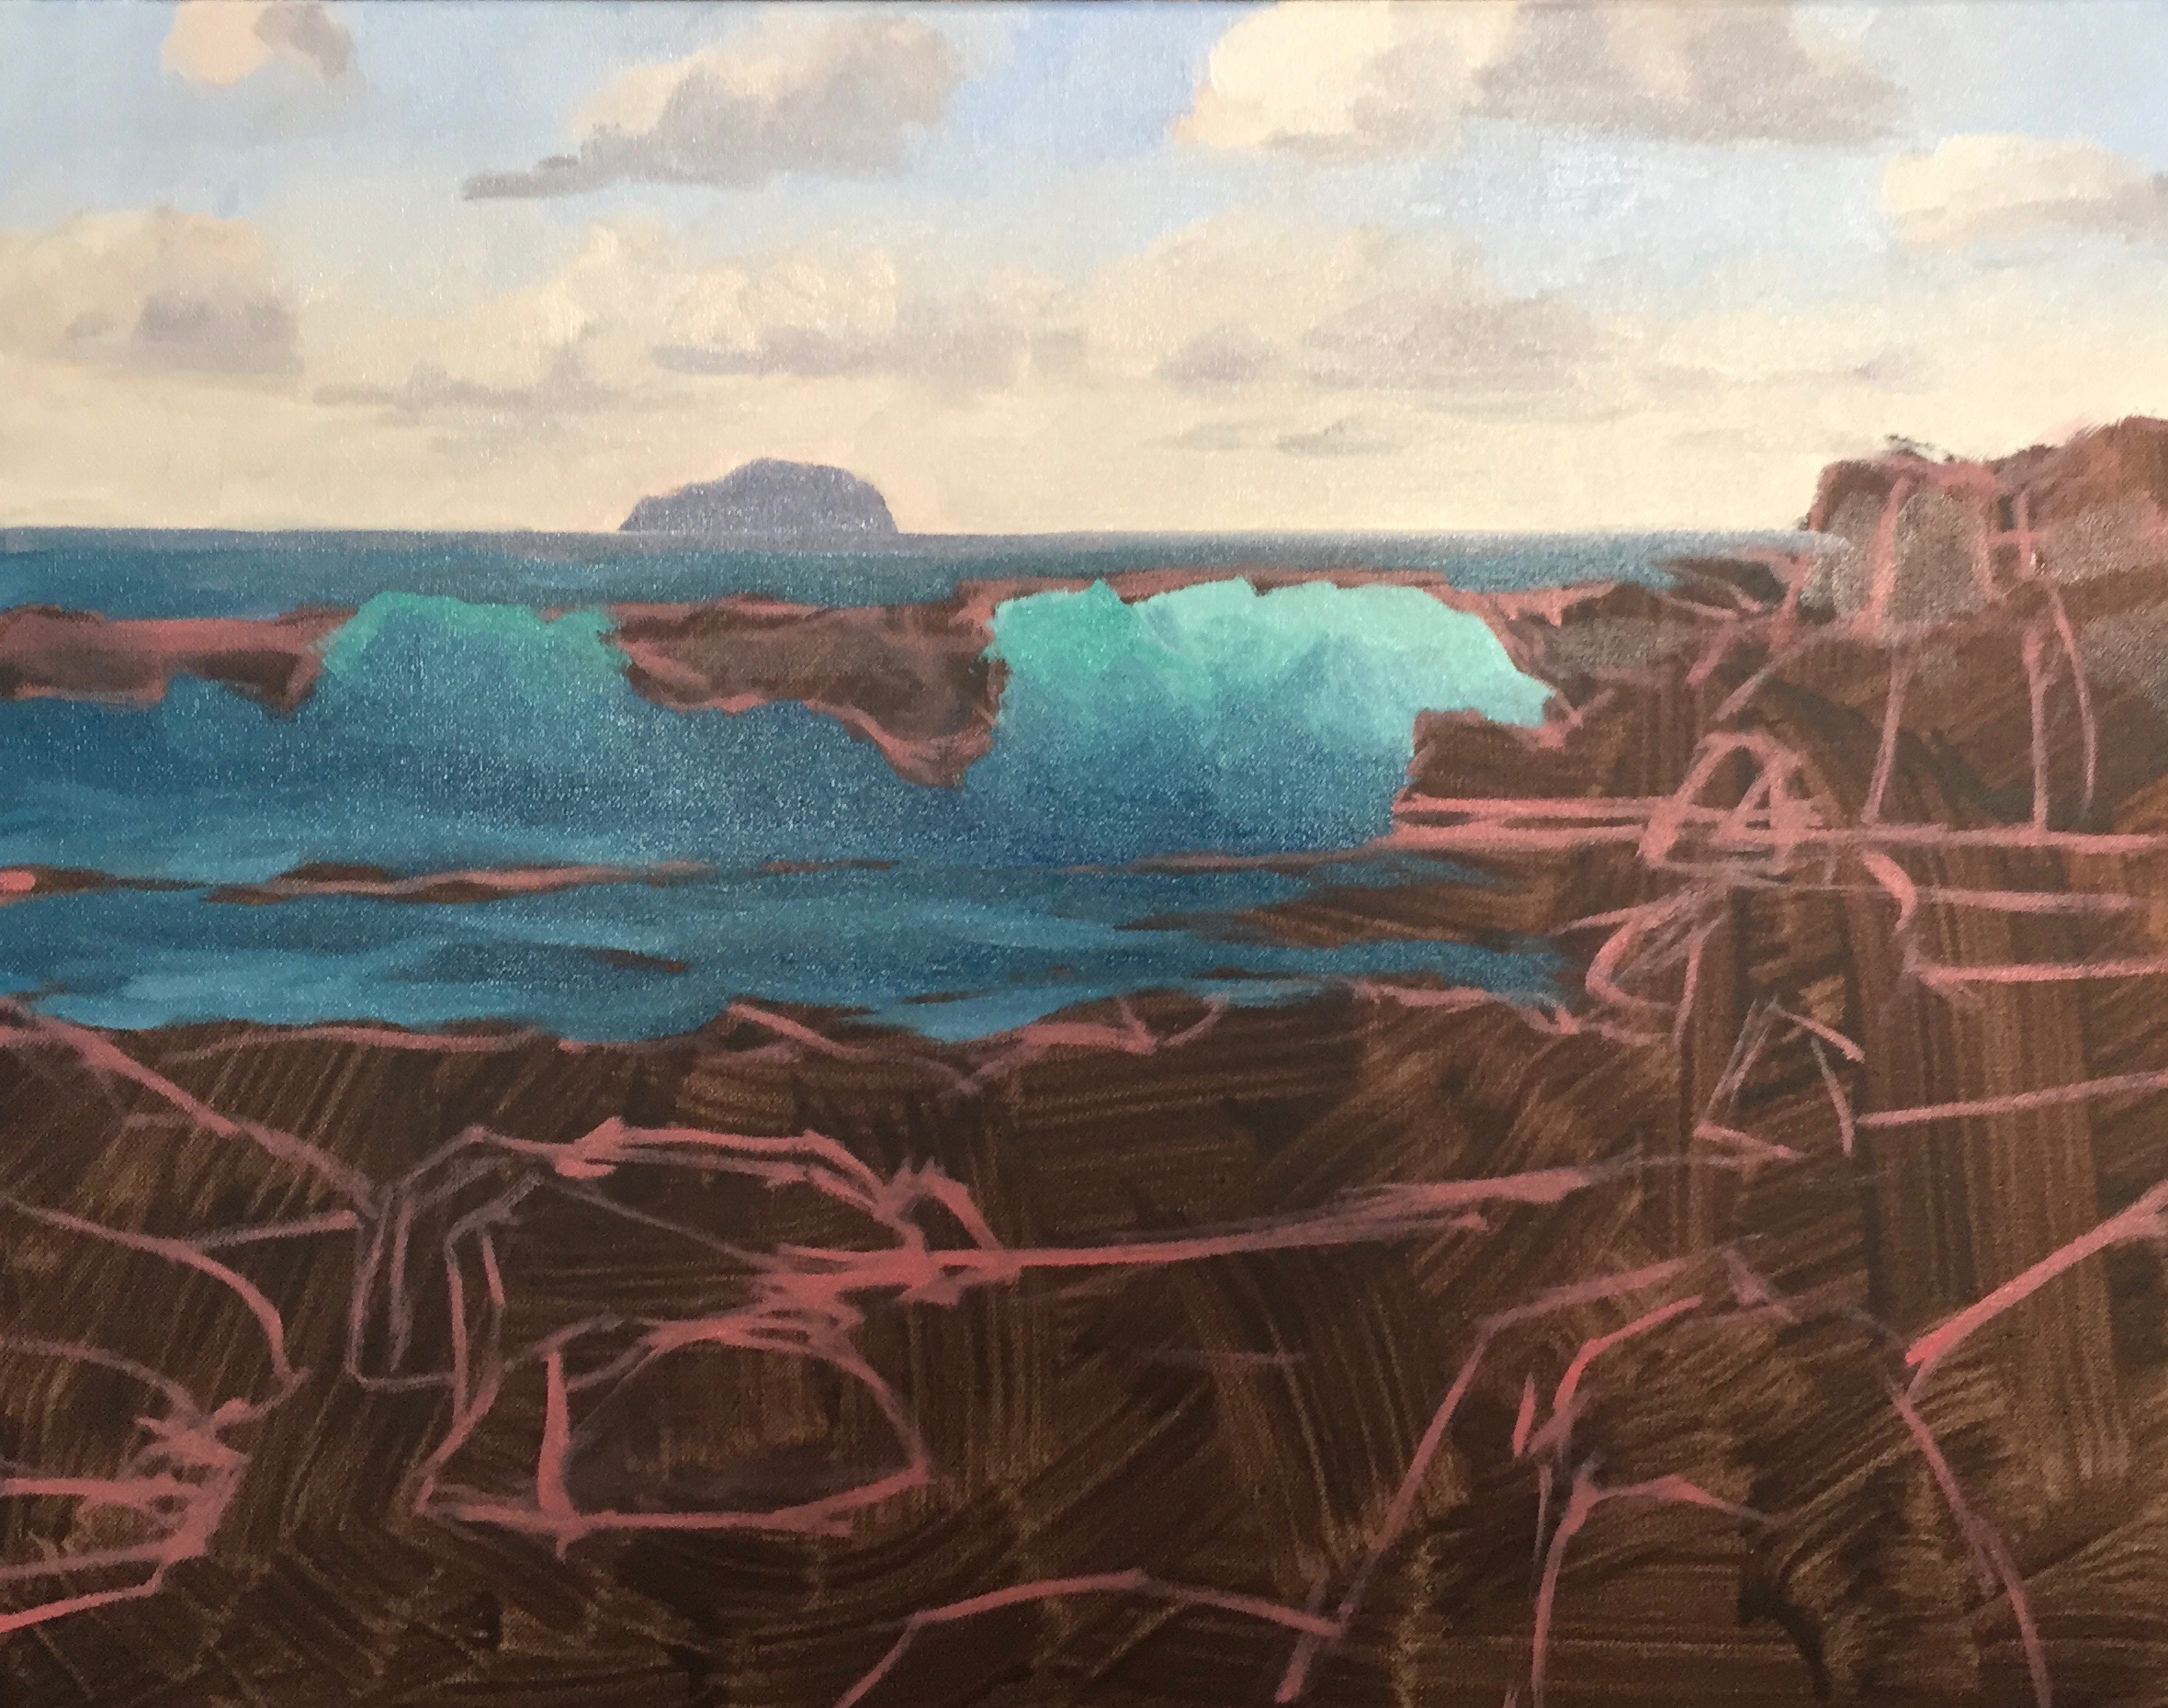
Next I form the highlights of the break waves and white water in the foreground. In general, I always think that seascapes look most dramatic and easiest to paint when the light is coming from behind the waves. The sharp contrast between the highlights of the white water and the shadows of the waves creates some very dramatic effects in a seascape.
I always save my lightest values until the end of my painting as this will give your work a maximum three dimensional effect. I paint the highlights of the water with titanium white mixed with a little ultramarine blue, burnt sienna and perylene crimson. This darkens the value so it’s not quite white, then once it’s dry I can build up the detail with progressively lighter layers with each pass.
The shadows of the white water are painted with a mixture of ultramarine blue, perylene crimson and titanium white.
I am mindful to try and incorporate similar colours throughout the painting to create more harmony and limiting your palette will help to achieve this.
Lastly I block-in the rocks beginning with the shadows first by mixing a combination of ultramarine blue and burnt sienna which creates a near black. I lighten the value slightly of the shadows of the rock in the mid ground on the right so they recede slightly.
For the areas of the rocks in light I’m not using many colours but I am mixing them in varying quantities to create different tones to communicate textured rock surfaces. In general I am using combinations of ultramarine blue, burnt sienna, yellow oxide, perylene crimson and titanium white. I am creating colours that are low in chroma (saturation) as that is the general nature of rocks.
The foreground rock highlights are mixed with a combination of yellow oxide, burnt sienna, a small amount of ultramarine blue.
I paint the reflected light on the rocks on the left with a combination of ultramarine blue, burnt sienna, perylene crimson and titanium white which gives the illusion of wet rocks.
Adding Details
Once the blocking-in stage is complete I allow the painting to dry so that then I can start adding details to the painting, building it up in successive layers. The process may take several sessions but now I have a base to work from and a general idea of the tonality of the painting it’s like putting the pieces of a jigsaw puzzle together.
I return to the sky and start refining the clouds and the forms, adding more shadow mix if I need too. I add lighter layers to the cloud highlights by mixing titanium white, burnt sienna and yellow oxide.
I return to the sea and add in my next layer of highlight to the breaking wave and the white water in the foreground. I am still mixing in ultramarine blue, burnt sienna, perylene crimson to the titanium white but using a little less so the mixture is lighter in value than the previous layer.
I begin building up the detail in the rocks. I am still using the same colours that I used in the blocking in stage however I am adding lighter colour especially the mid-ground rock on the right in order to communicate wet rock surfaces shining in the sun. I achieve this with a mixture of burnt sienna, ultramarine blue and titanium white.
I begin to refine the translucent area of the breaking wave, again I am using the same colours that I used in the blocking in phase but I am creating texture with my brushwork in order to create the illusion of turbulent water.
I use my wave shadow mix to give the illusion of the wave curling over as it breaks by dragging my brush in a downwards motion in the direction of the breaking wave.
Next I paint the spidery foam patterns in the braking wave using a combination of ultramarine blue, perylene crimson and titanium white. I apply the paint in the direction of the of the wave so it looks like it’s curling over as the wave breaks.
Using the same colour that I used in the foam patterns I paint reflected light in the shadows of the foam and white water. I also paint reflected light in the rock shadows.
Next using a 3/8” dagger brush I start adding highlights to the rocks where the sun is directly reflecting on the wet surface, glistening in the light. I mix a combination of titanium white with a little burnt sienna and yellow oxide in it.
I build up some lighter texture on the rocks in the foreground on the right still using the same colours that I used in the blocking in stage but increasing the saturation a little by mixing in a little cadmium yellow and cadmium red. Cadmium colours are very strong so I would only use these in the very foreground.
By now the painting is coming together and I add more lighter layers to the wave and white water highlights. I’m still adding a tiny amount of ultramarine blue, burnt sienna and perylene crimson to my titanium white mixture but I am now using a very small amount of these colours.
With a No.6 flat brush I start dry-brushing a mixture of titanium white with yellow oxide over the crest of the breaking wave and over some of the splashes of the white water to create the illusion of sea spray. This is a cool little trick that gives the water a glow.
Overall I am refining areas of the painting especially the sky, water and rocks.
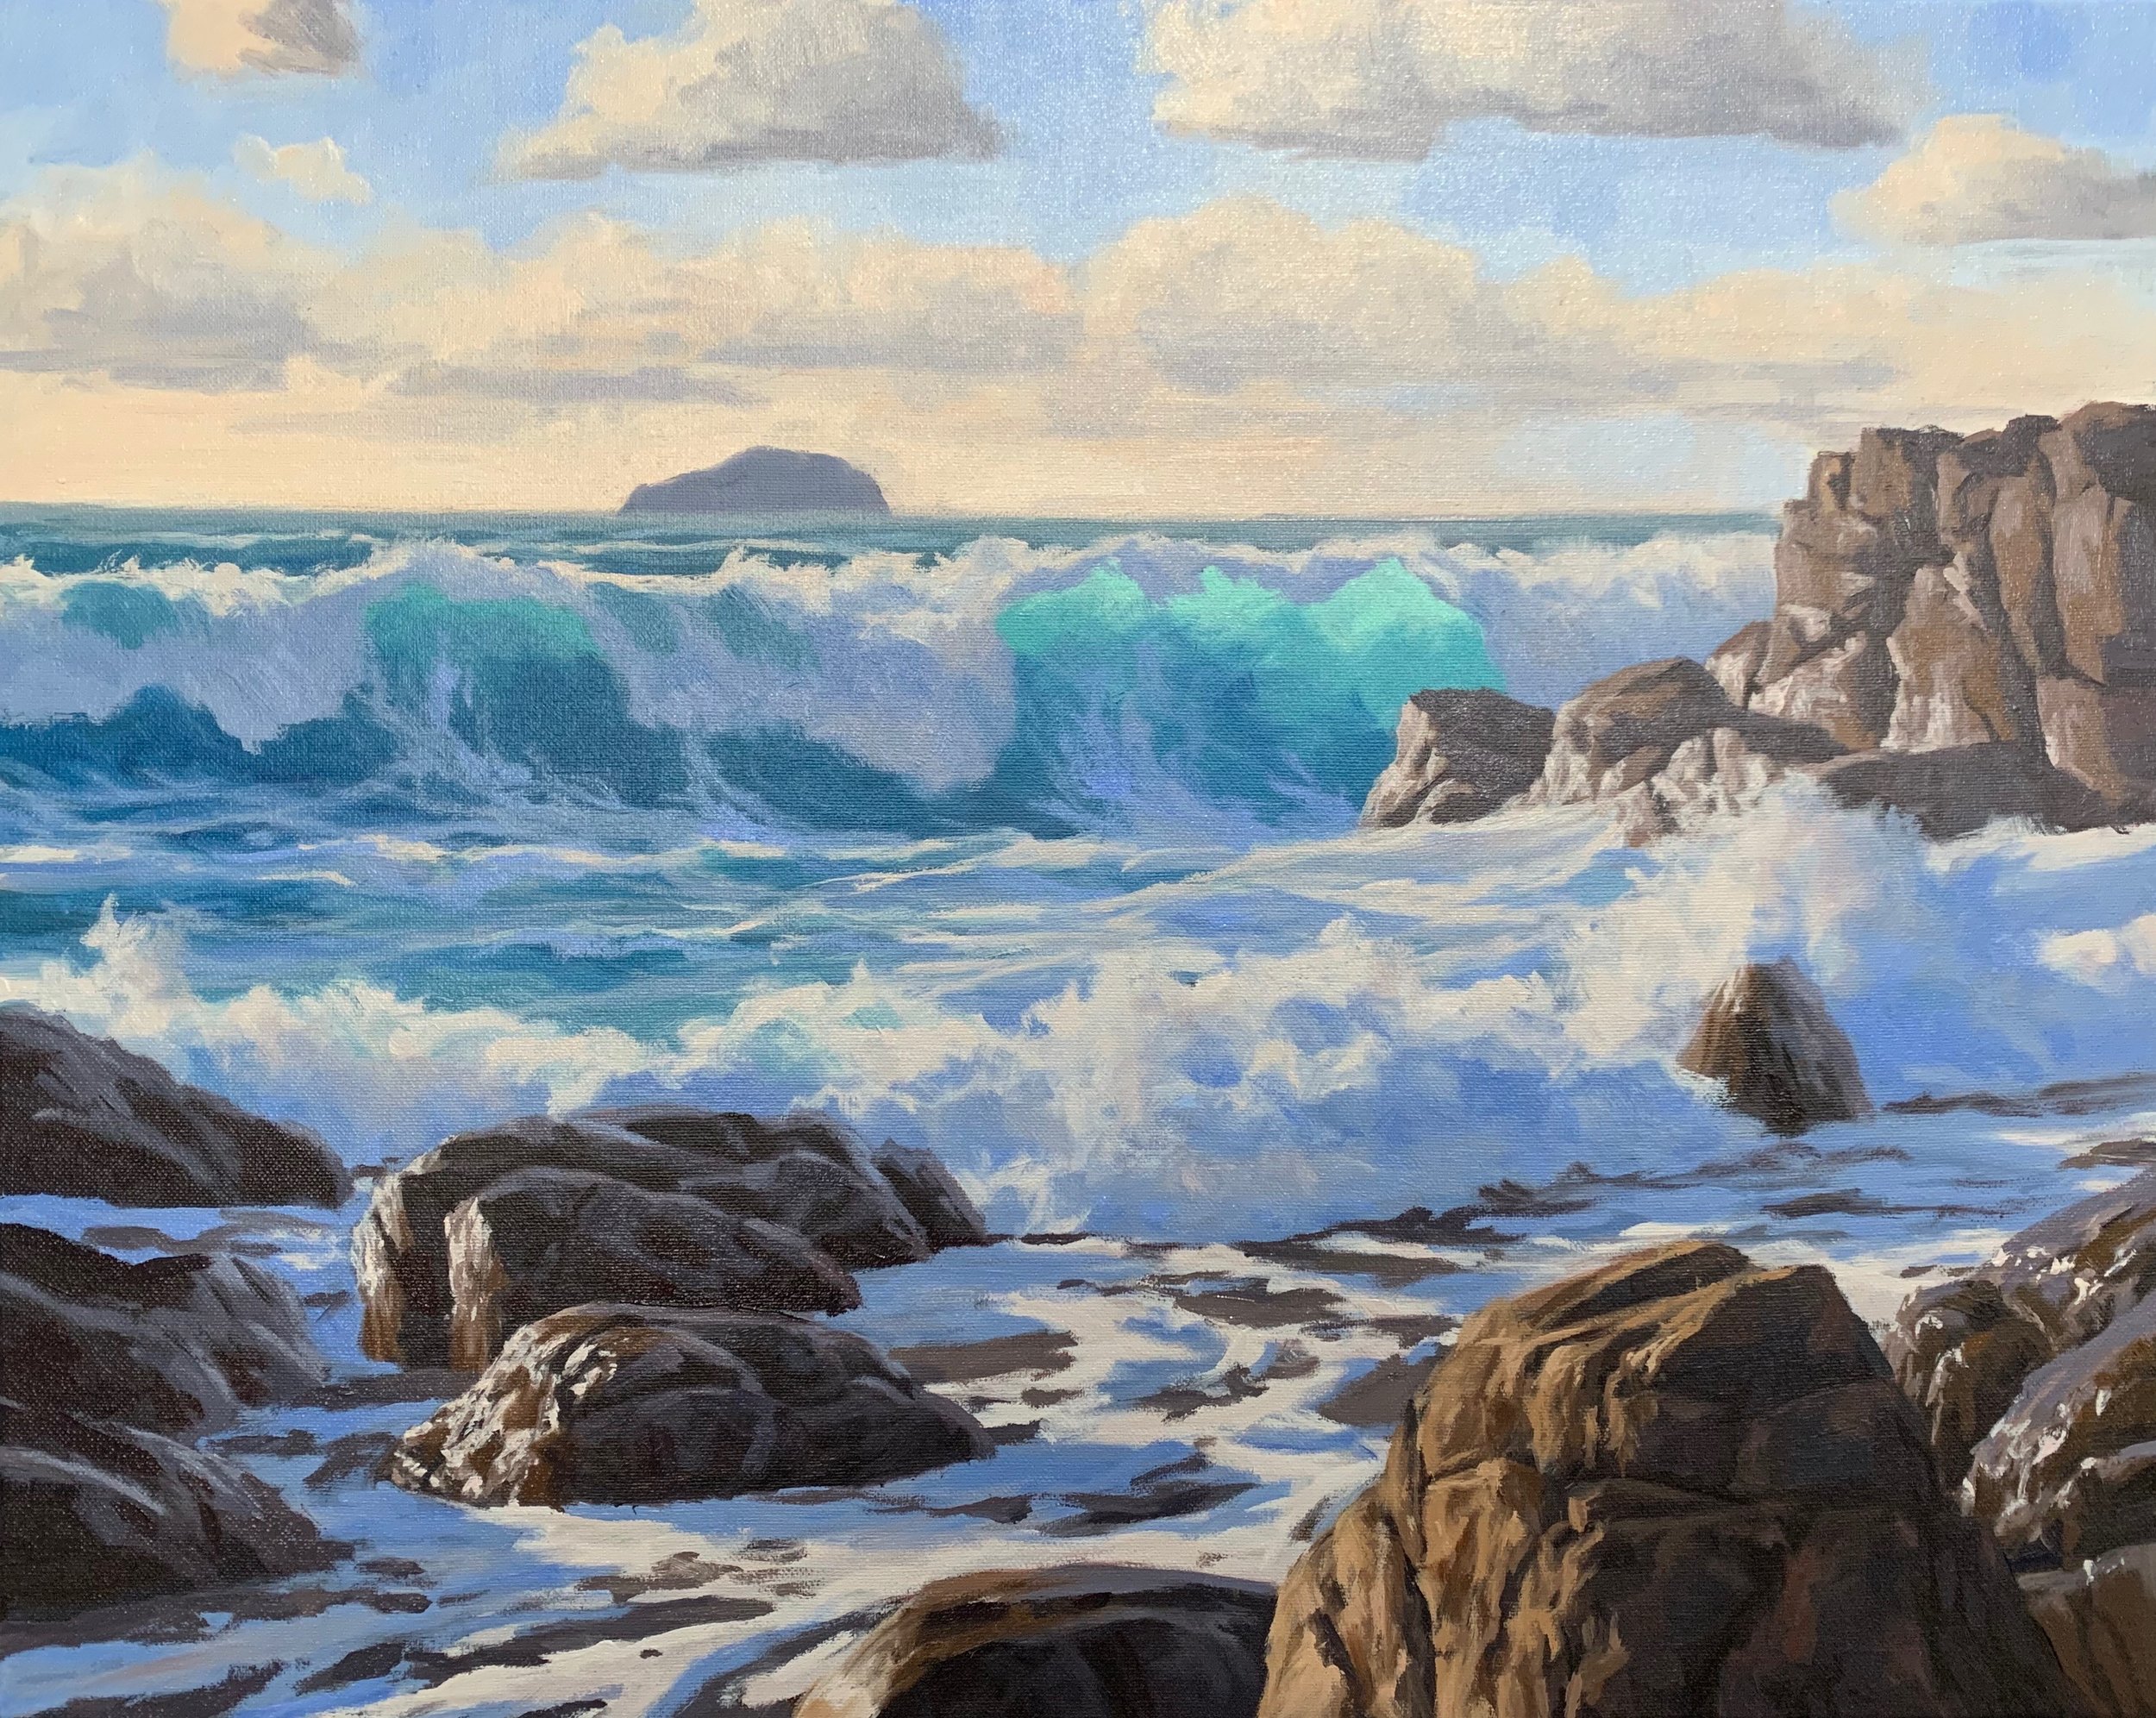
Final Details
The painting is virtually complete and this is where I add my lightest values. I add some final highlights to the crest of the breaking wave and white water by mixing pure titanium white with a tiny amount of yellow oxide just to take some of the coldness out of the white. I also dry brush some more sea spray to the waves.
I add some final highlights to the rocks in the foreground and I add some heat to the reflected light in the rock in the foreground on the right by mixing in a combination of ultramarine blue, burnt sienna, perylene crimson and cadmium red.

Thanks for reading 😊
