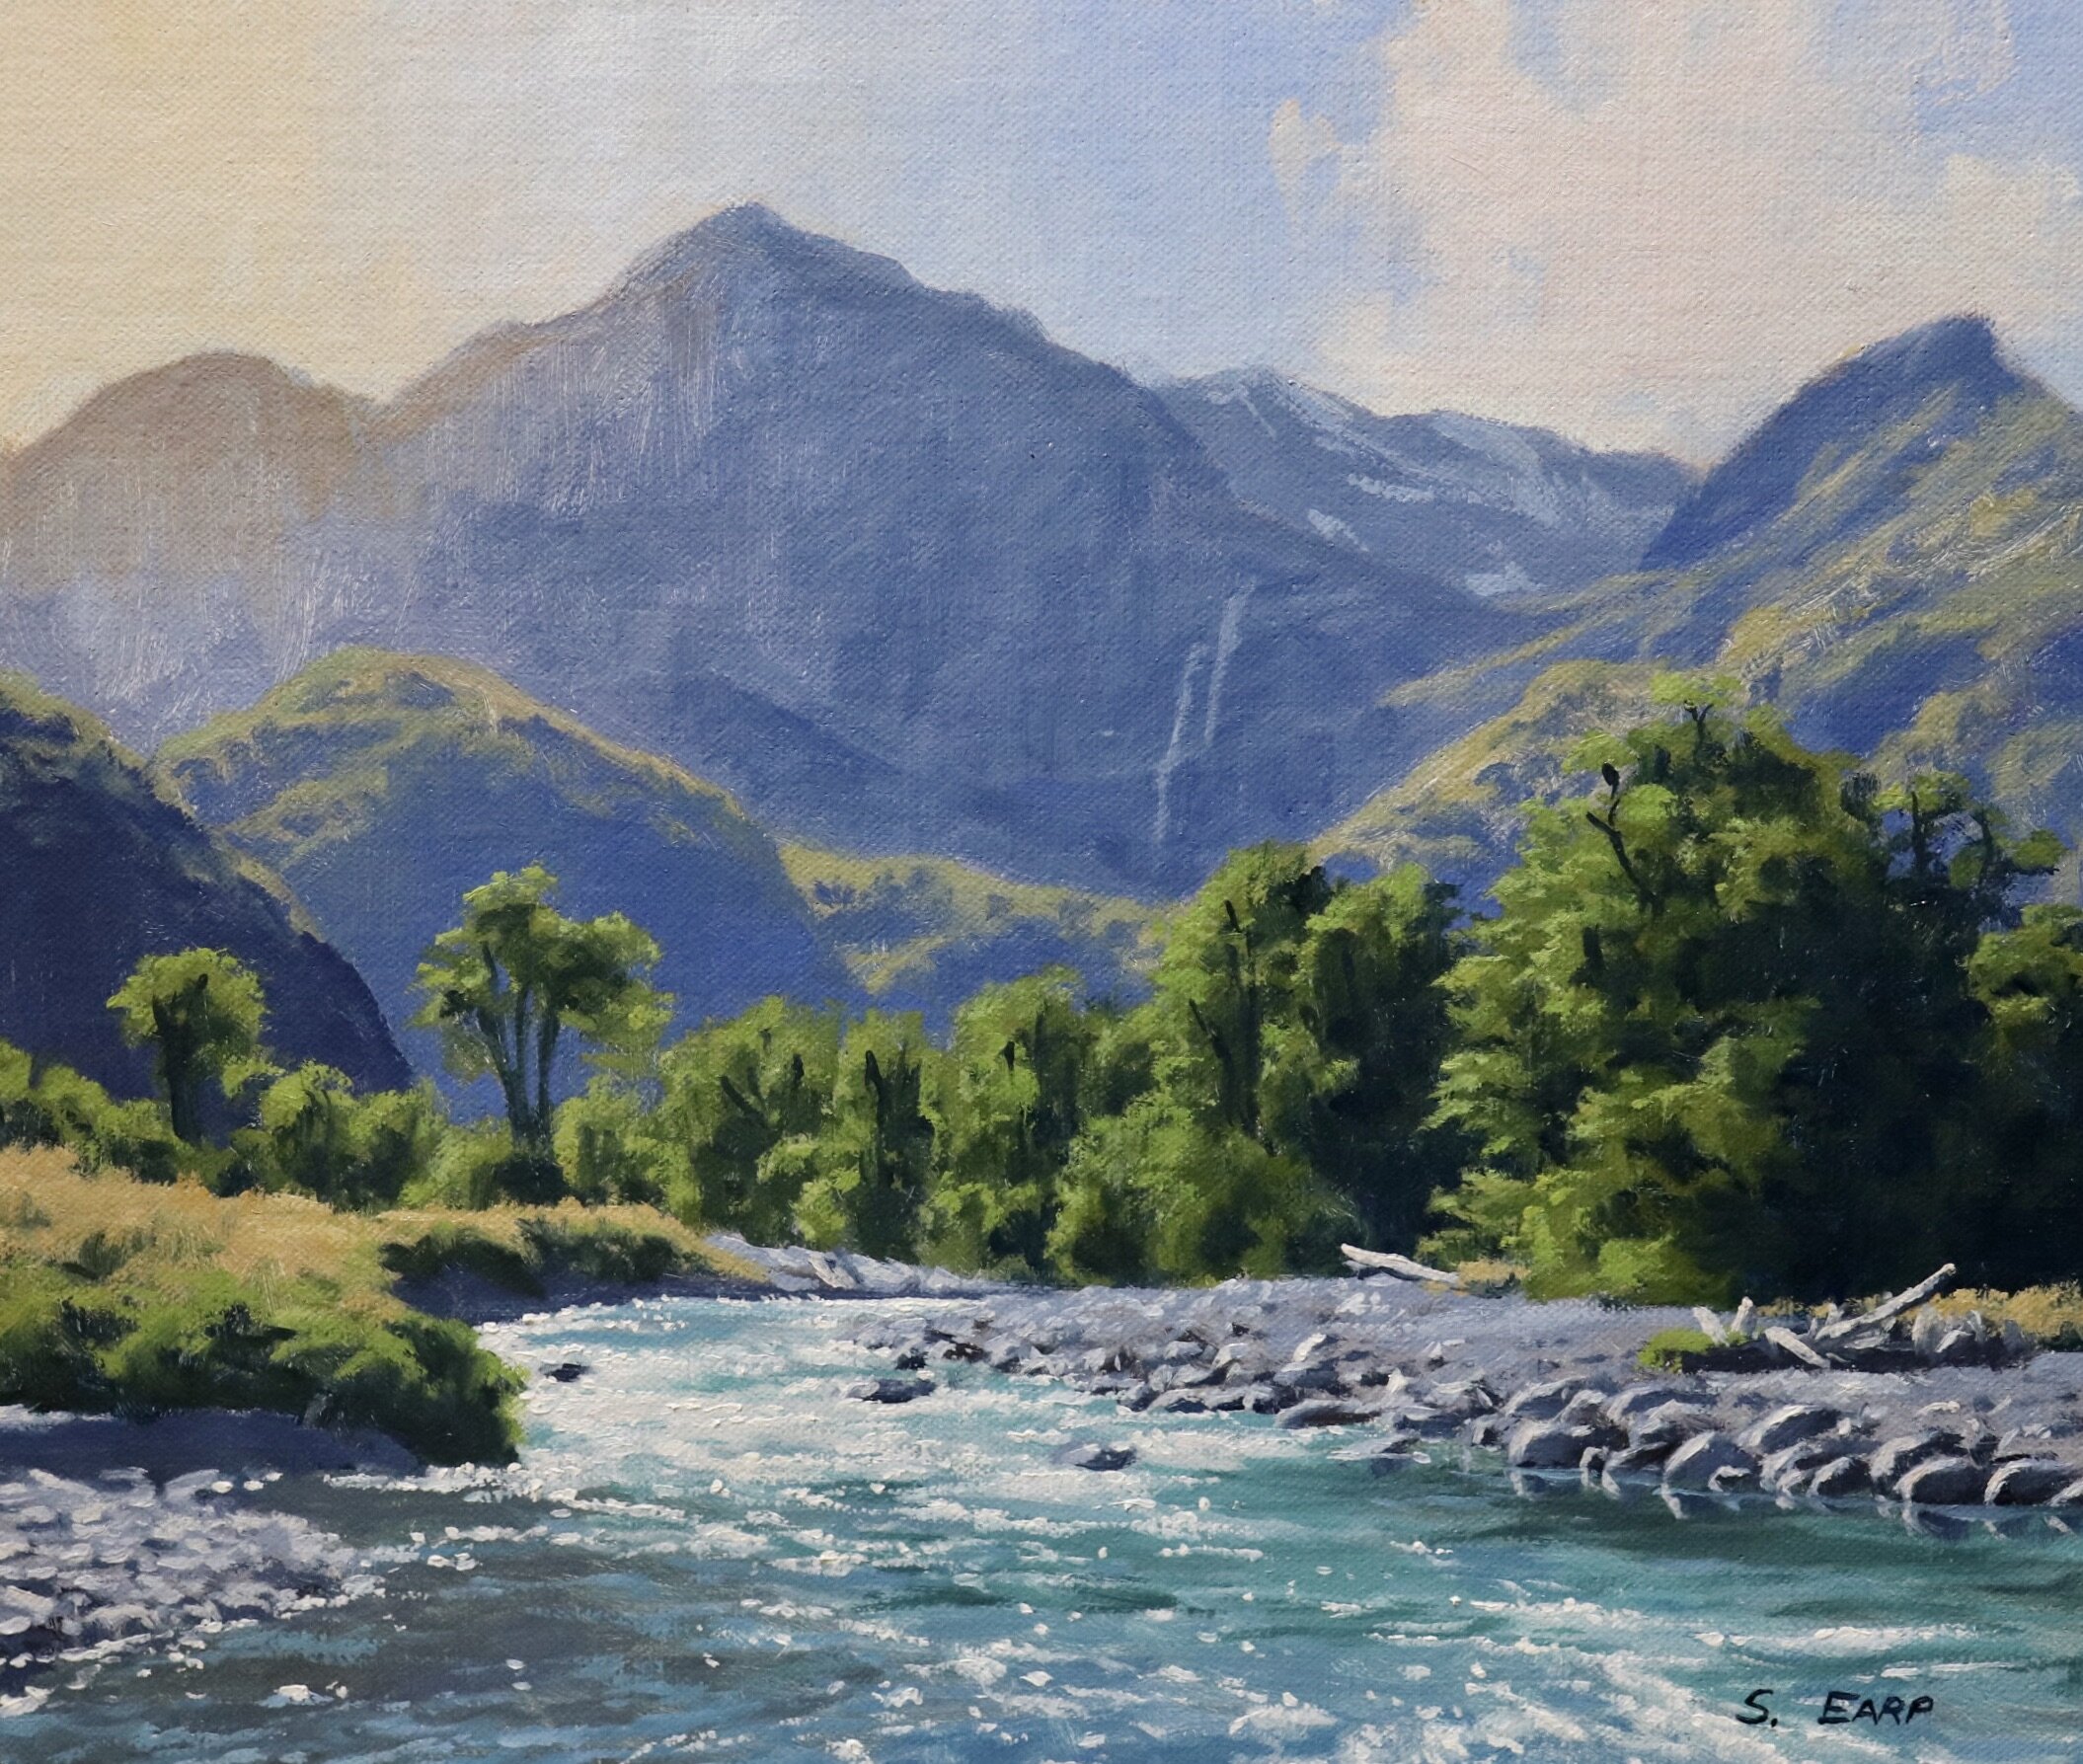
In this painting tutorial I’m going to show you how to paint a landscape with a sparkling mountain stream as depicted in the painting above. This painting was inspired by the rugged landscape in southern New Zealand.
I painted this art work in oils but you could also use acrylics instead.
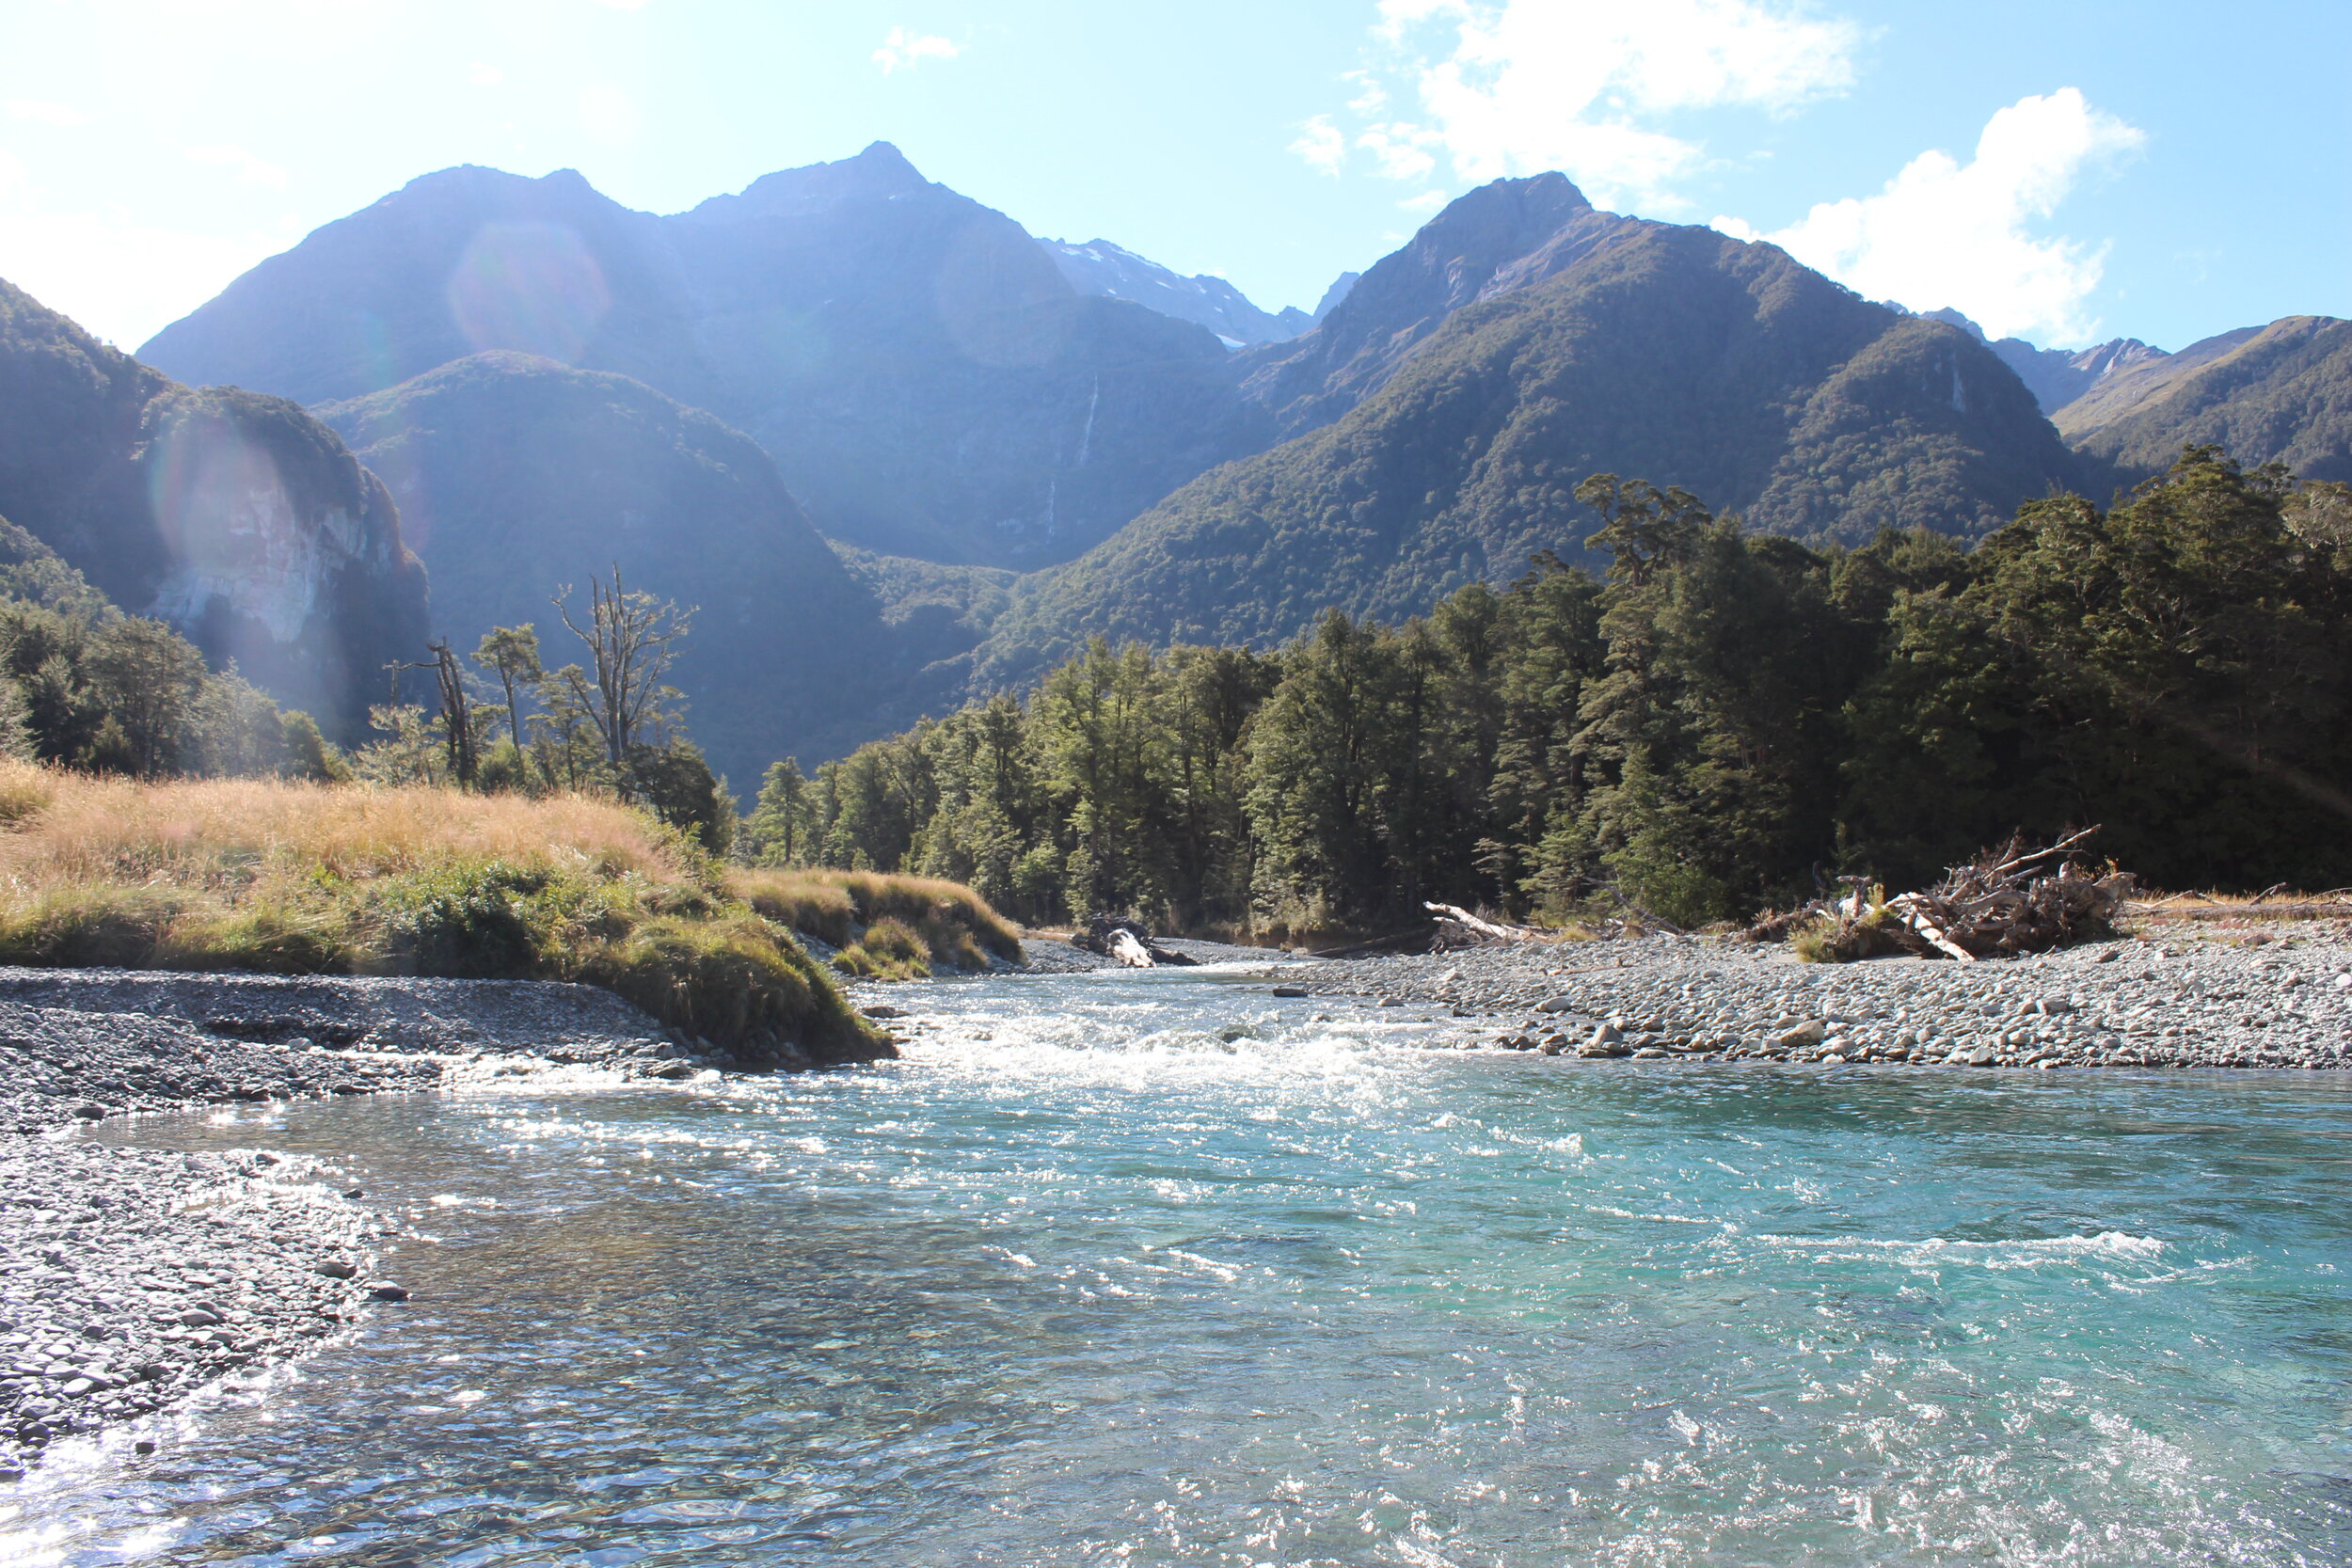
Reference Photo
Here is a reference photo I took and used in this painting. Please feel free to use or copy this photo if you would like to have a go at painting this art work.
Colours
I painted this artwork using oil paint and the colours I used in this painting are as follows:
- Titanium white
- Burnt sienna
- Yellow oxide (you can also use yellow ochre instead)
- Cadmium yellow
- Cadmium orange
- Quinacridone crimson (you can also use alizarin crimson instead)
- Ultramarine blue
- Phthalo green
Brushes
Here is a list of the brushes I used in this painting:
- No.5 flat
- No.3 flat
- No.2 flat
- No.3 filbert
- No.1 round
- No.0 round
Composition
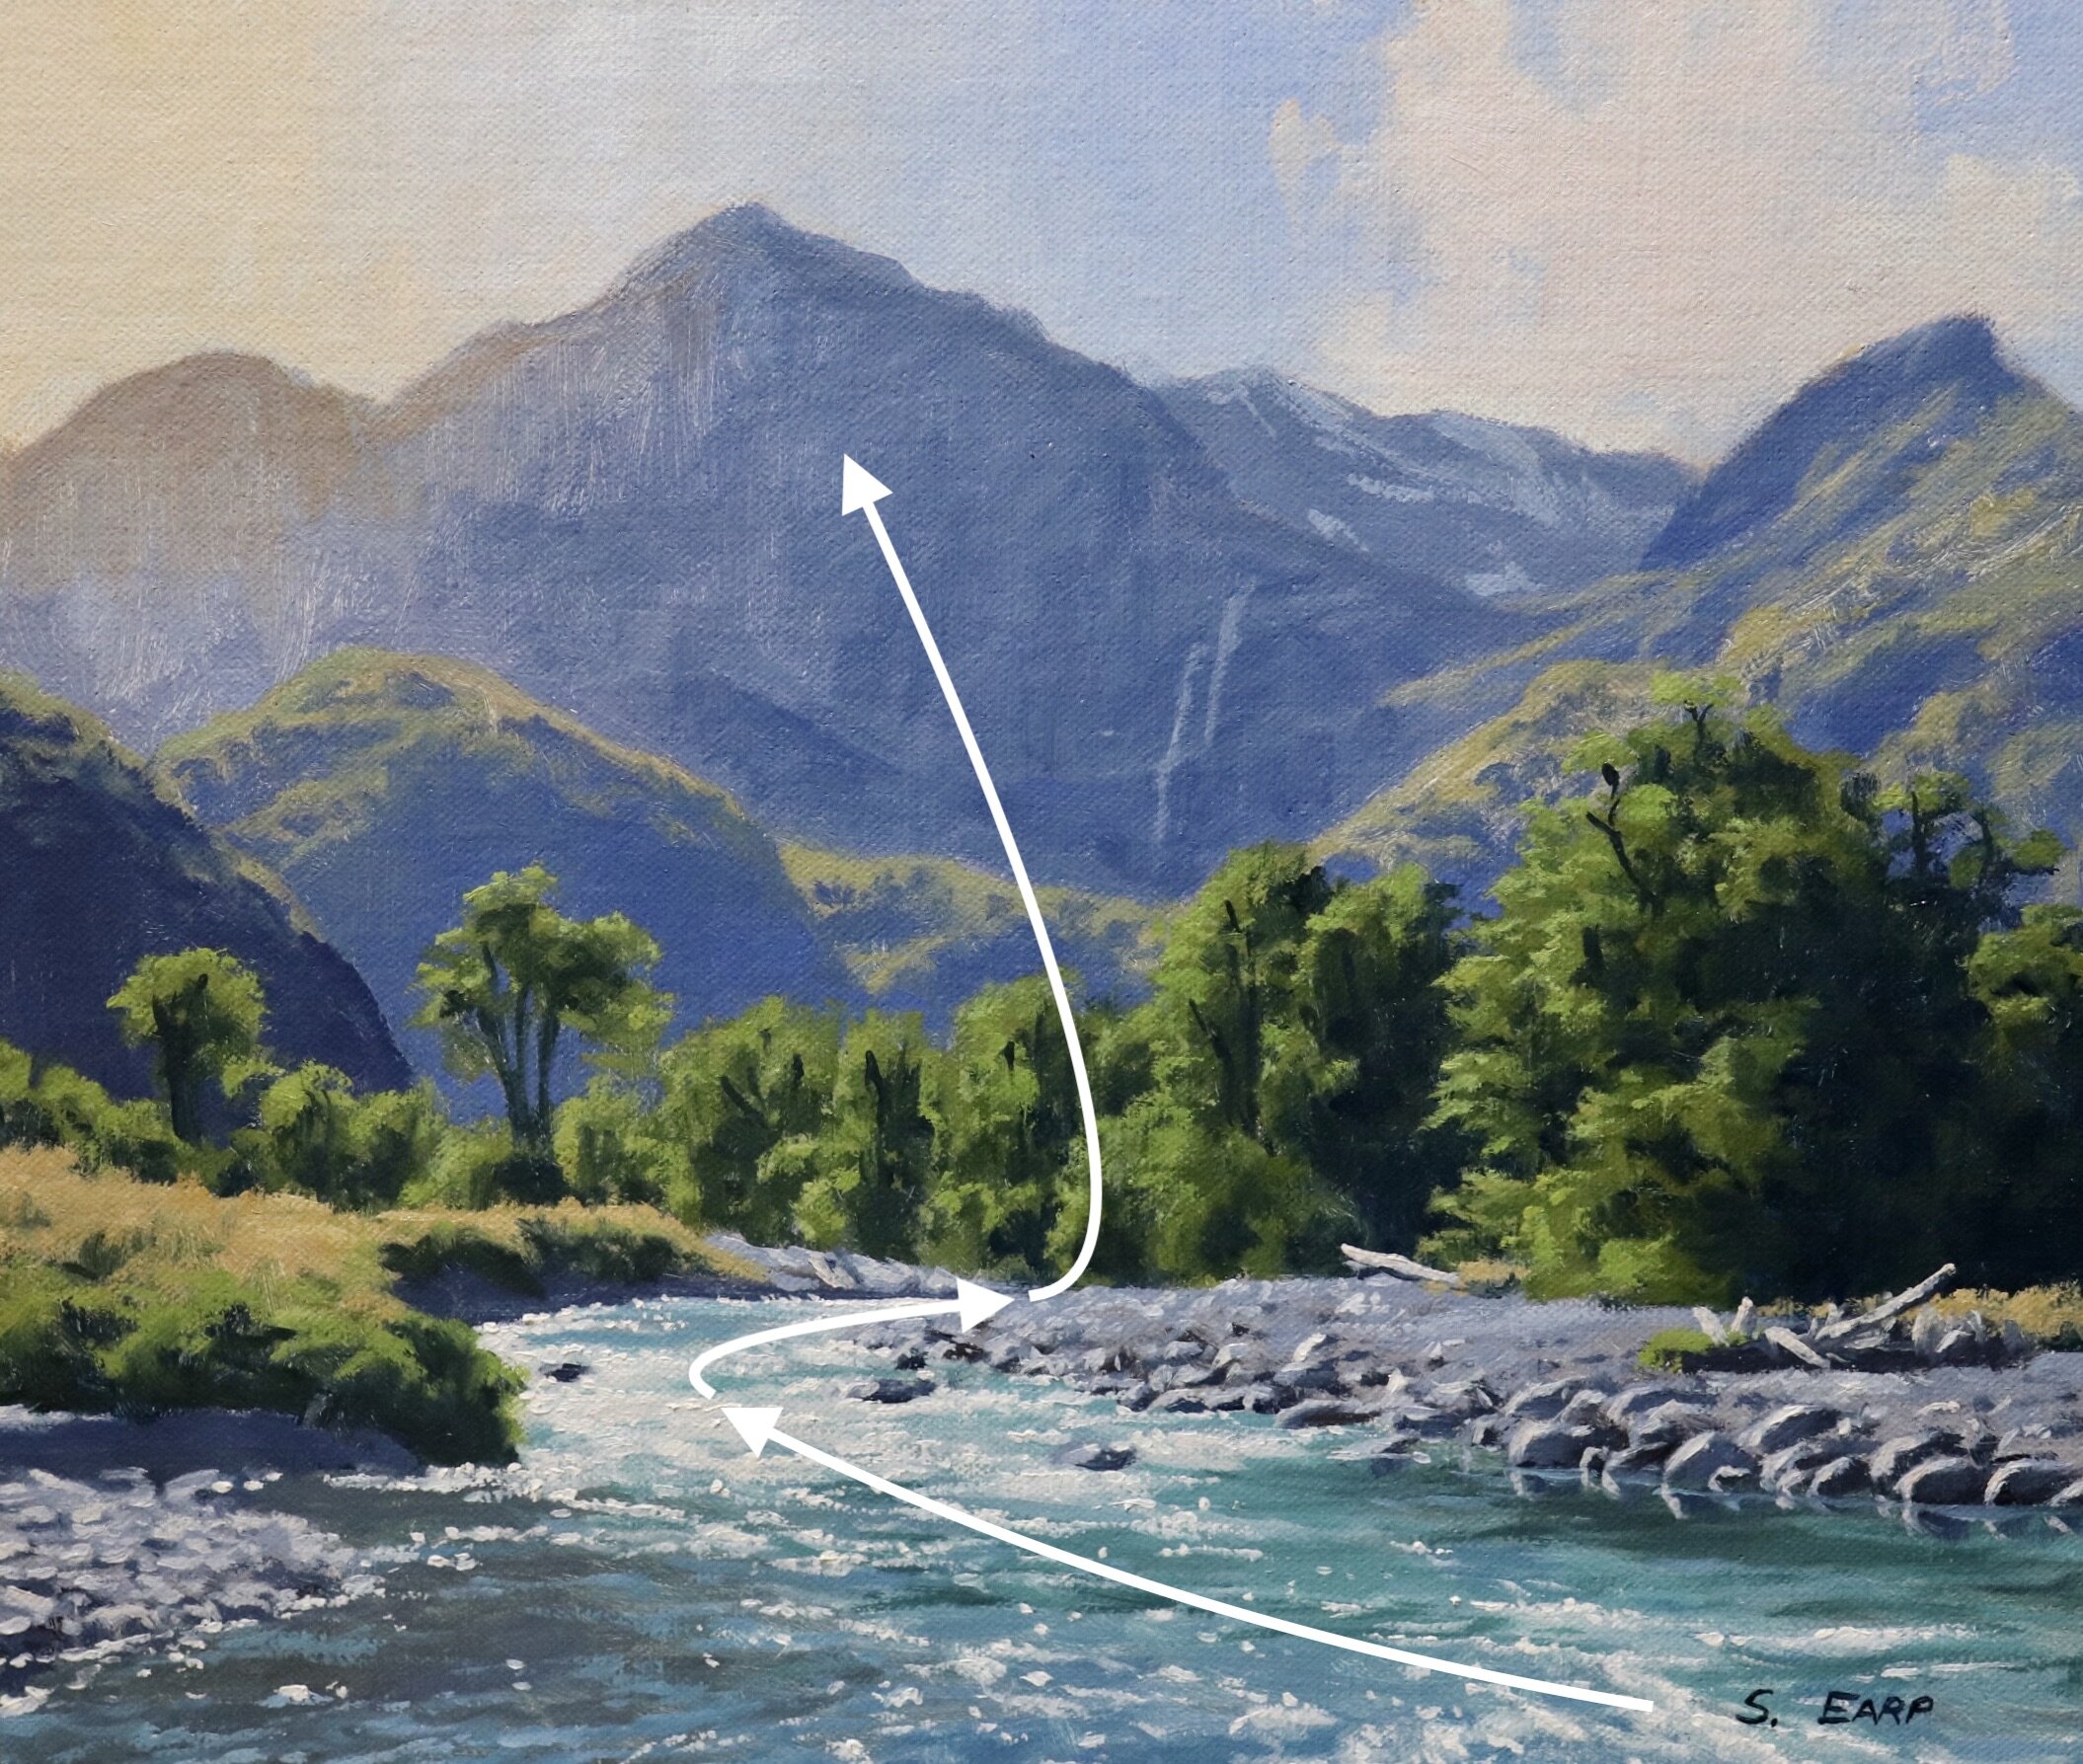
This painting incorporates an ‘S’ composition where the river is providing rhythm in the scene, leading the eye into the painting and towards the mountains in the background.
Pencil Sketch
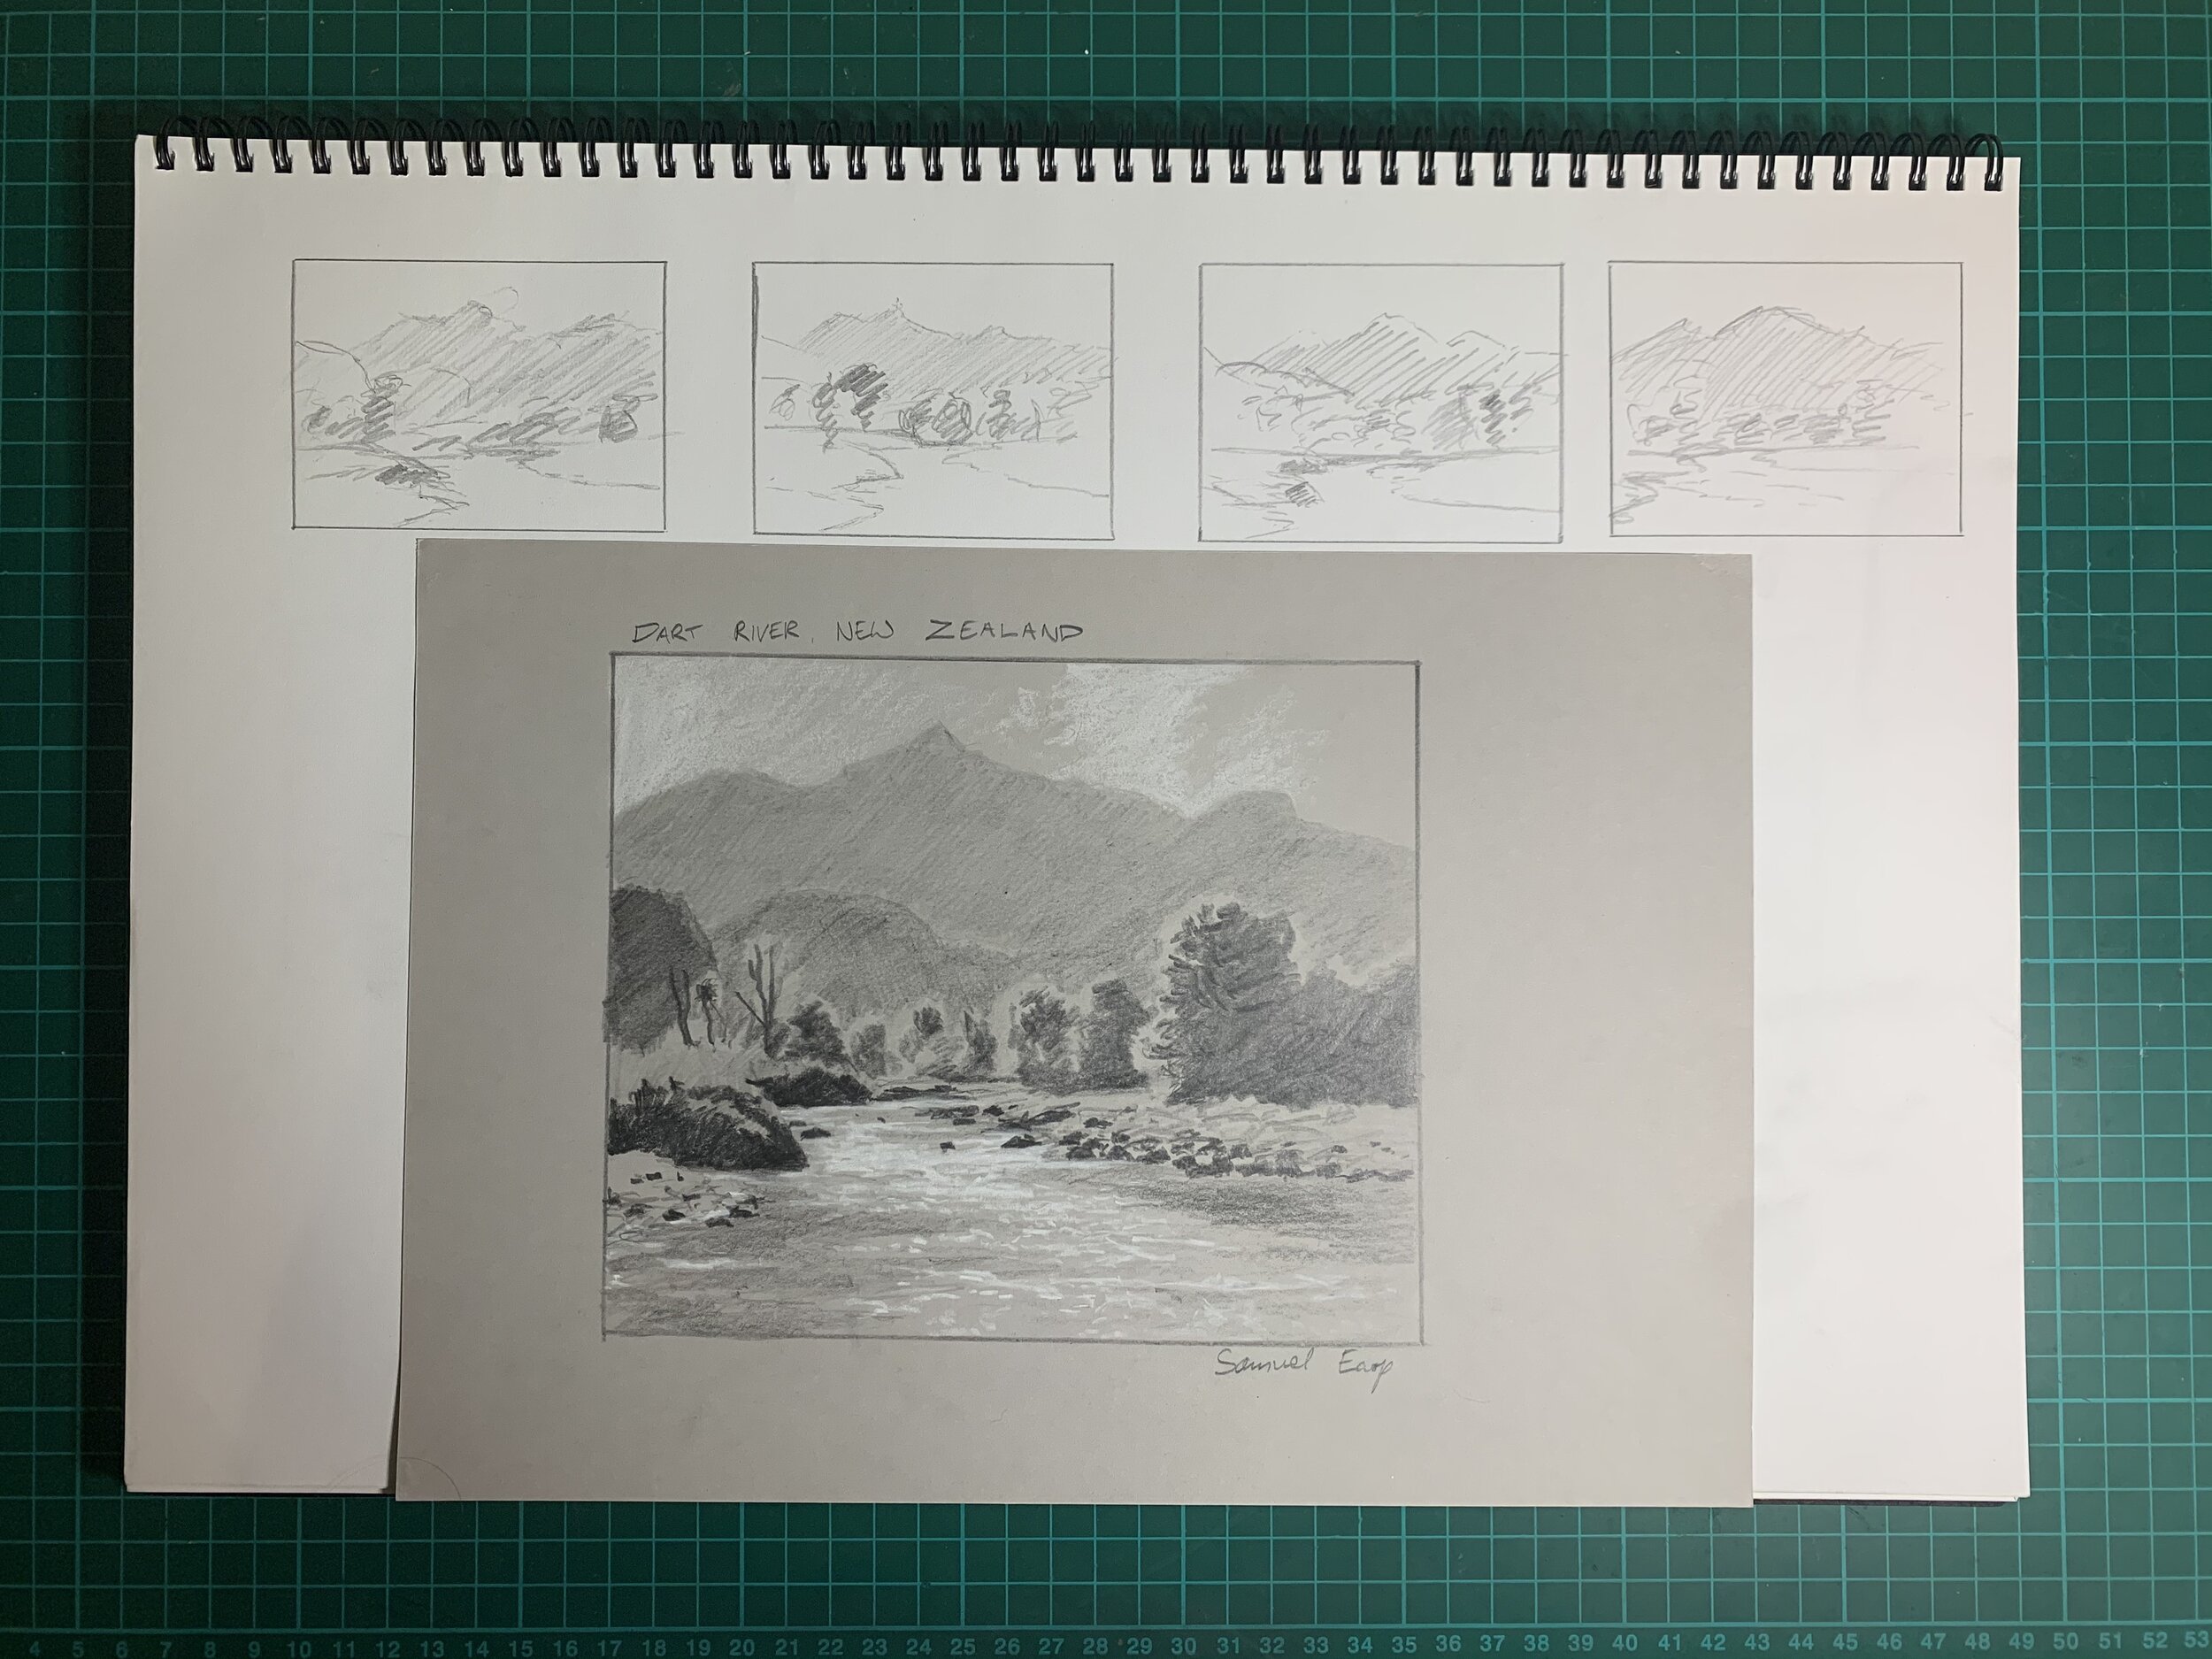
Before I begin a painting I always plan and design a composition even if the composition in my reference photo is good. My process starts with a few small quick thumbnail sketches and then a final pencil sketch. In this case I did my final pencil sketch on some toned grey paper. The mid tone of the paper really helps to emphasis the light values of the sparkling water.
I have used a range of graphite pencils from 4H to 6B and I have used a white pastel pencil for the highlights.
Stage One – Blocking in the Painting
I am painting on a 10” x 12” linen panel. The panel is pre made with a medium weave linen that is oil primed.
I sketch the composition using a No.1 round brush with burnt sienna mixed with Liquin Original (Liquin). I am using Liquin as a medium to thin the paint, it also has the advantage of speeding up the drying time.
Once I had sketched out my composition I begin by painting all the shadow areas first which for the most part will be the darkest values in the painting. Starting with the background mountain I mix ultramarine blue, burnt sienna, titanium white and a little quinacridone crimson to give the mixture a violet tint.
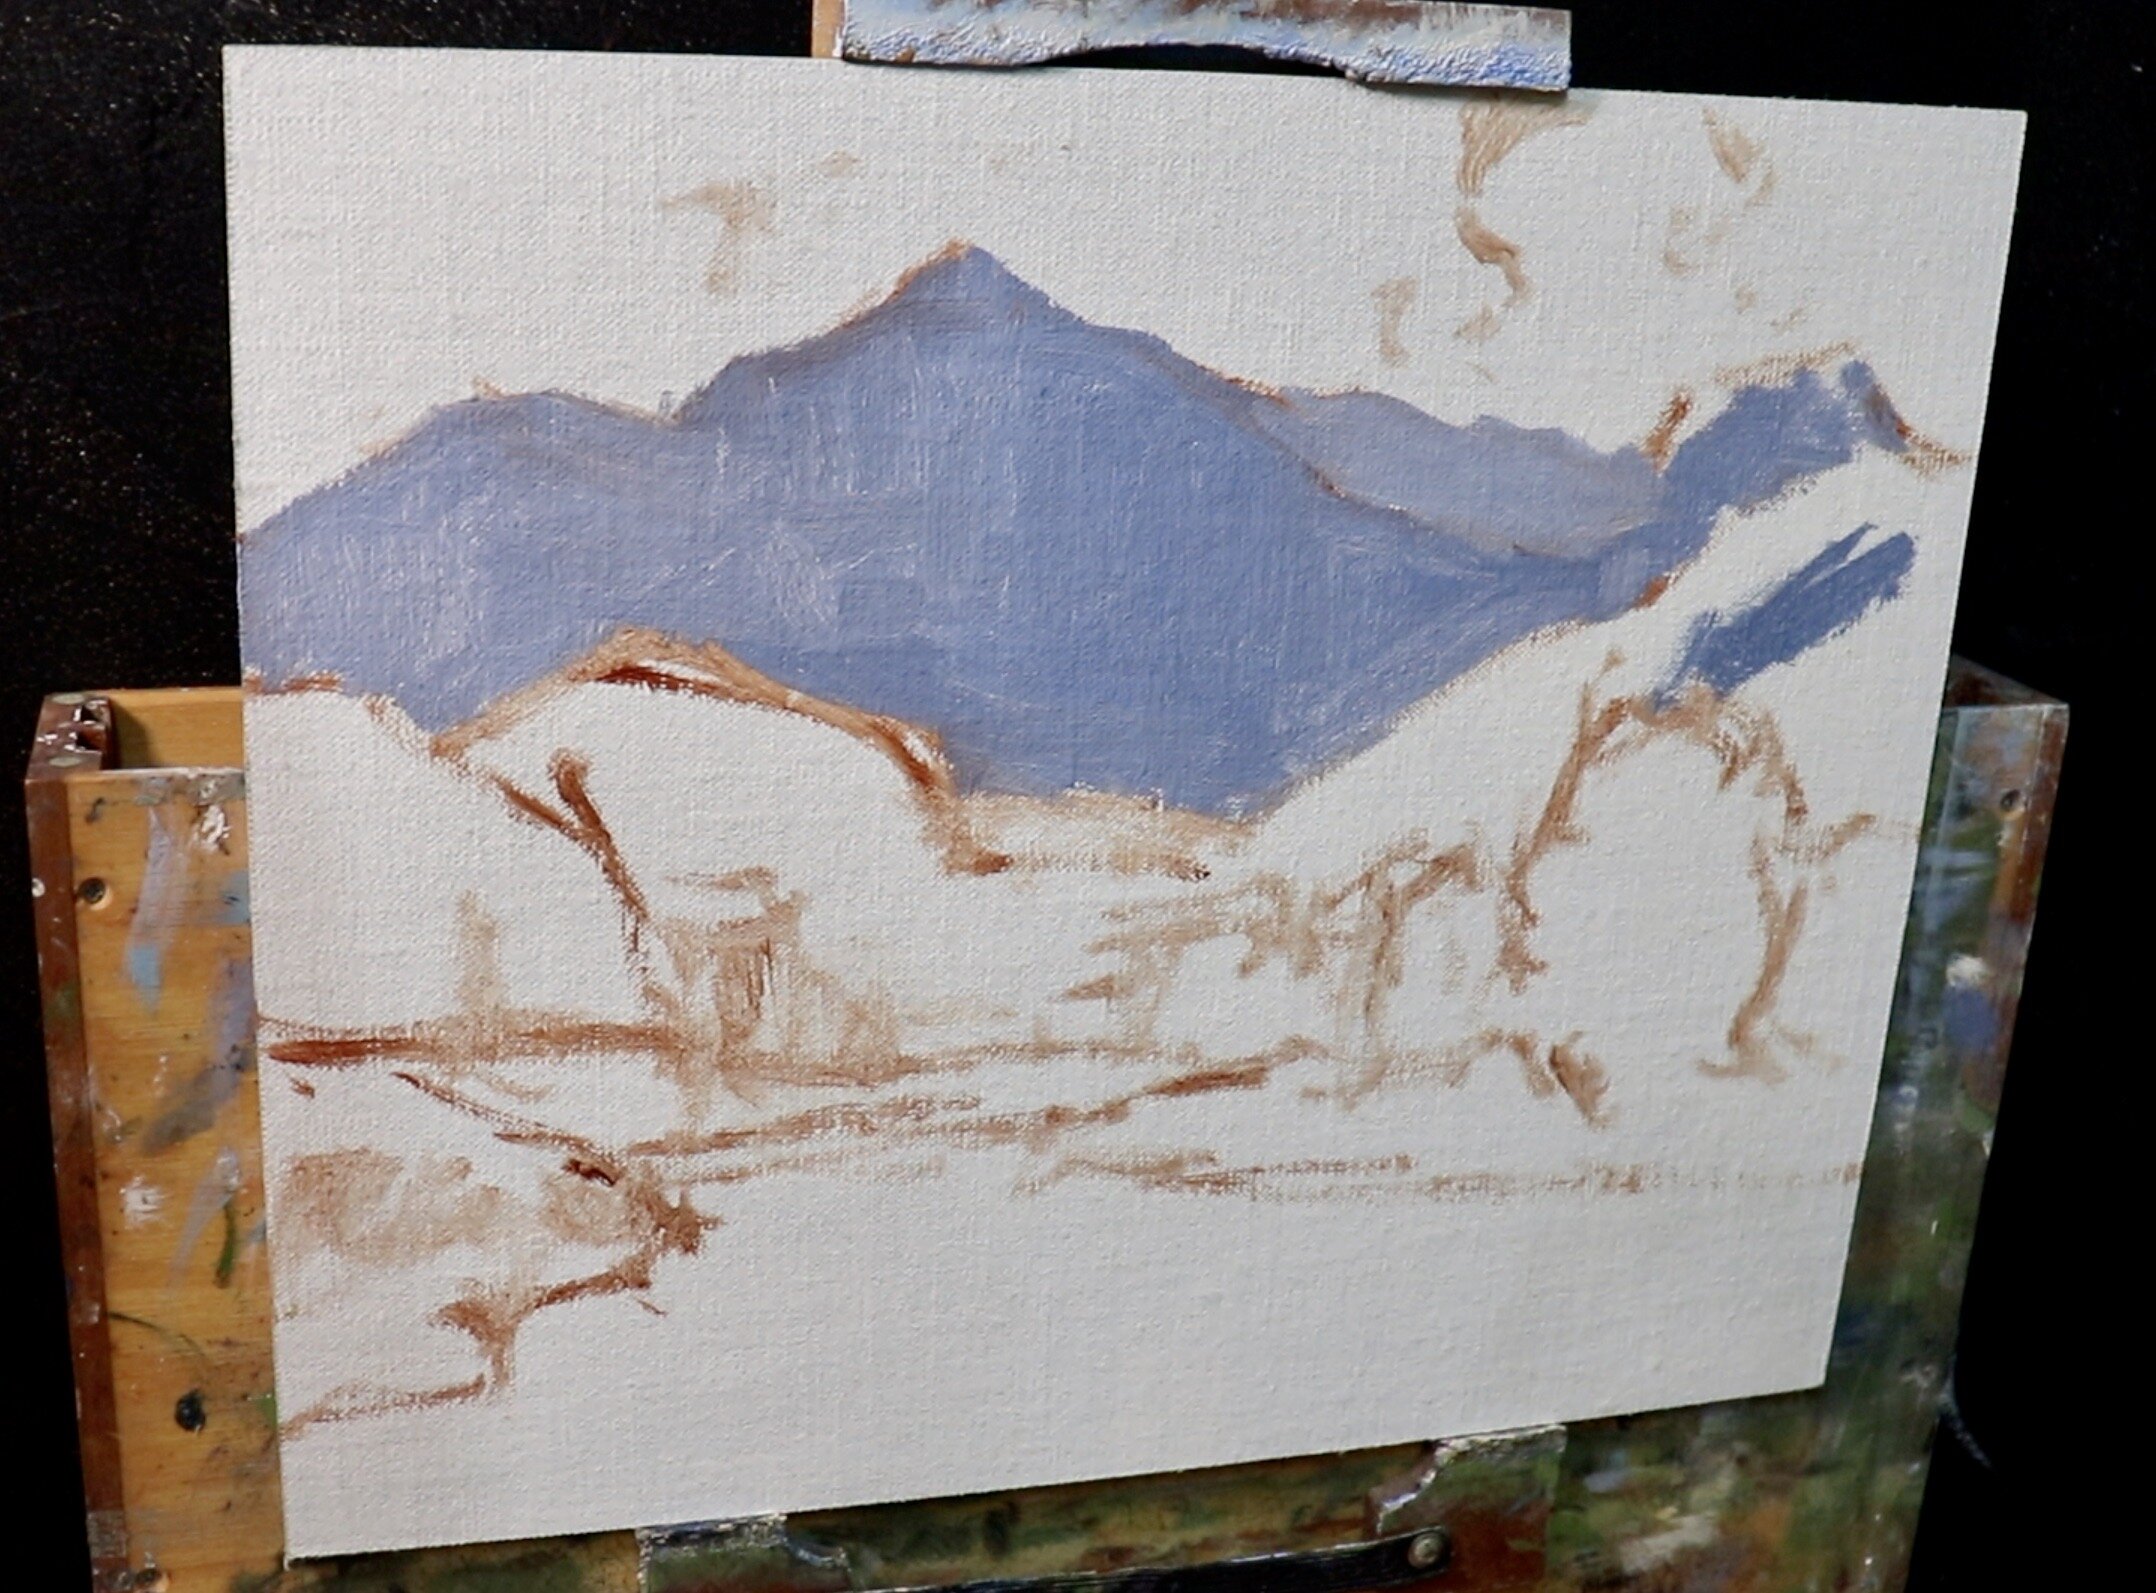
As I move forward toward the foreground the shadows are going to be getting darker especially in the trees as they are some of the darkest values to be found in the landscape.
For the mountains and hills that are in the mid ground I used the same colours as I did for the background mountains but with a little less titanium white to make the value of the colour a little colour. I always generally keep my shadow mixture on the blue side so my colours look cleaner. Also mountain shadows in New Zealand very often have a blue cast to them.
The tree shadows are a simple mix of ultramarine blue and a little yellow oxide.
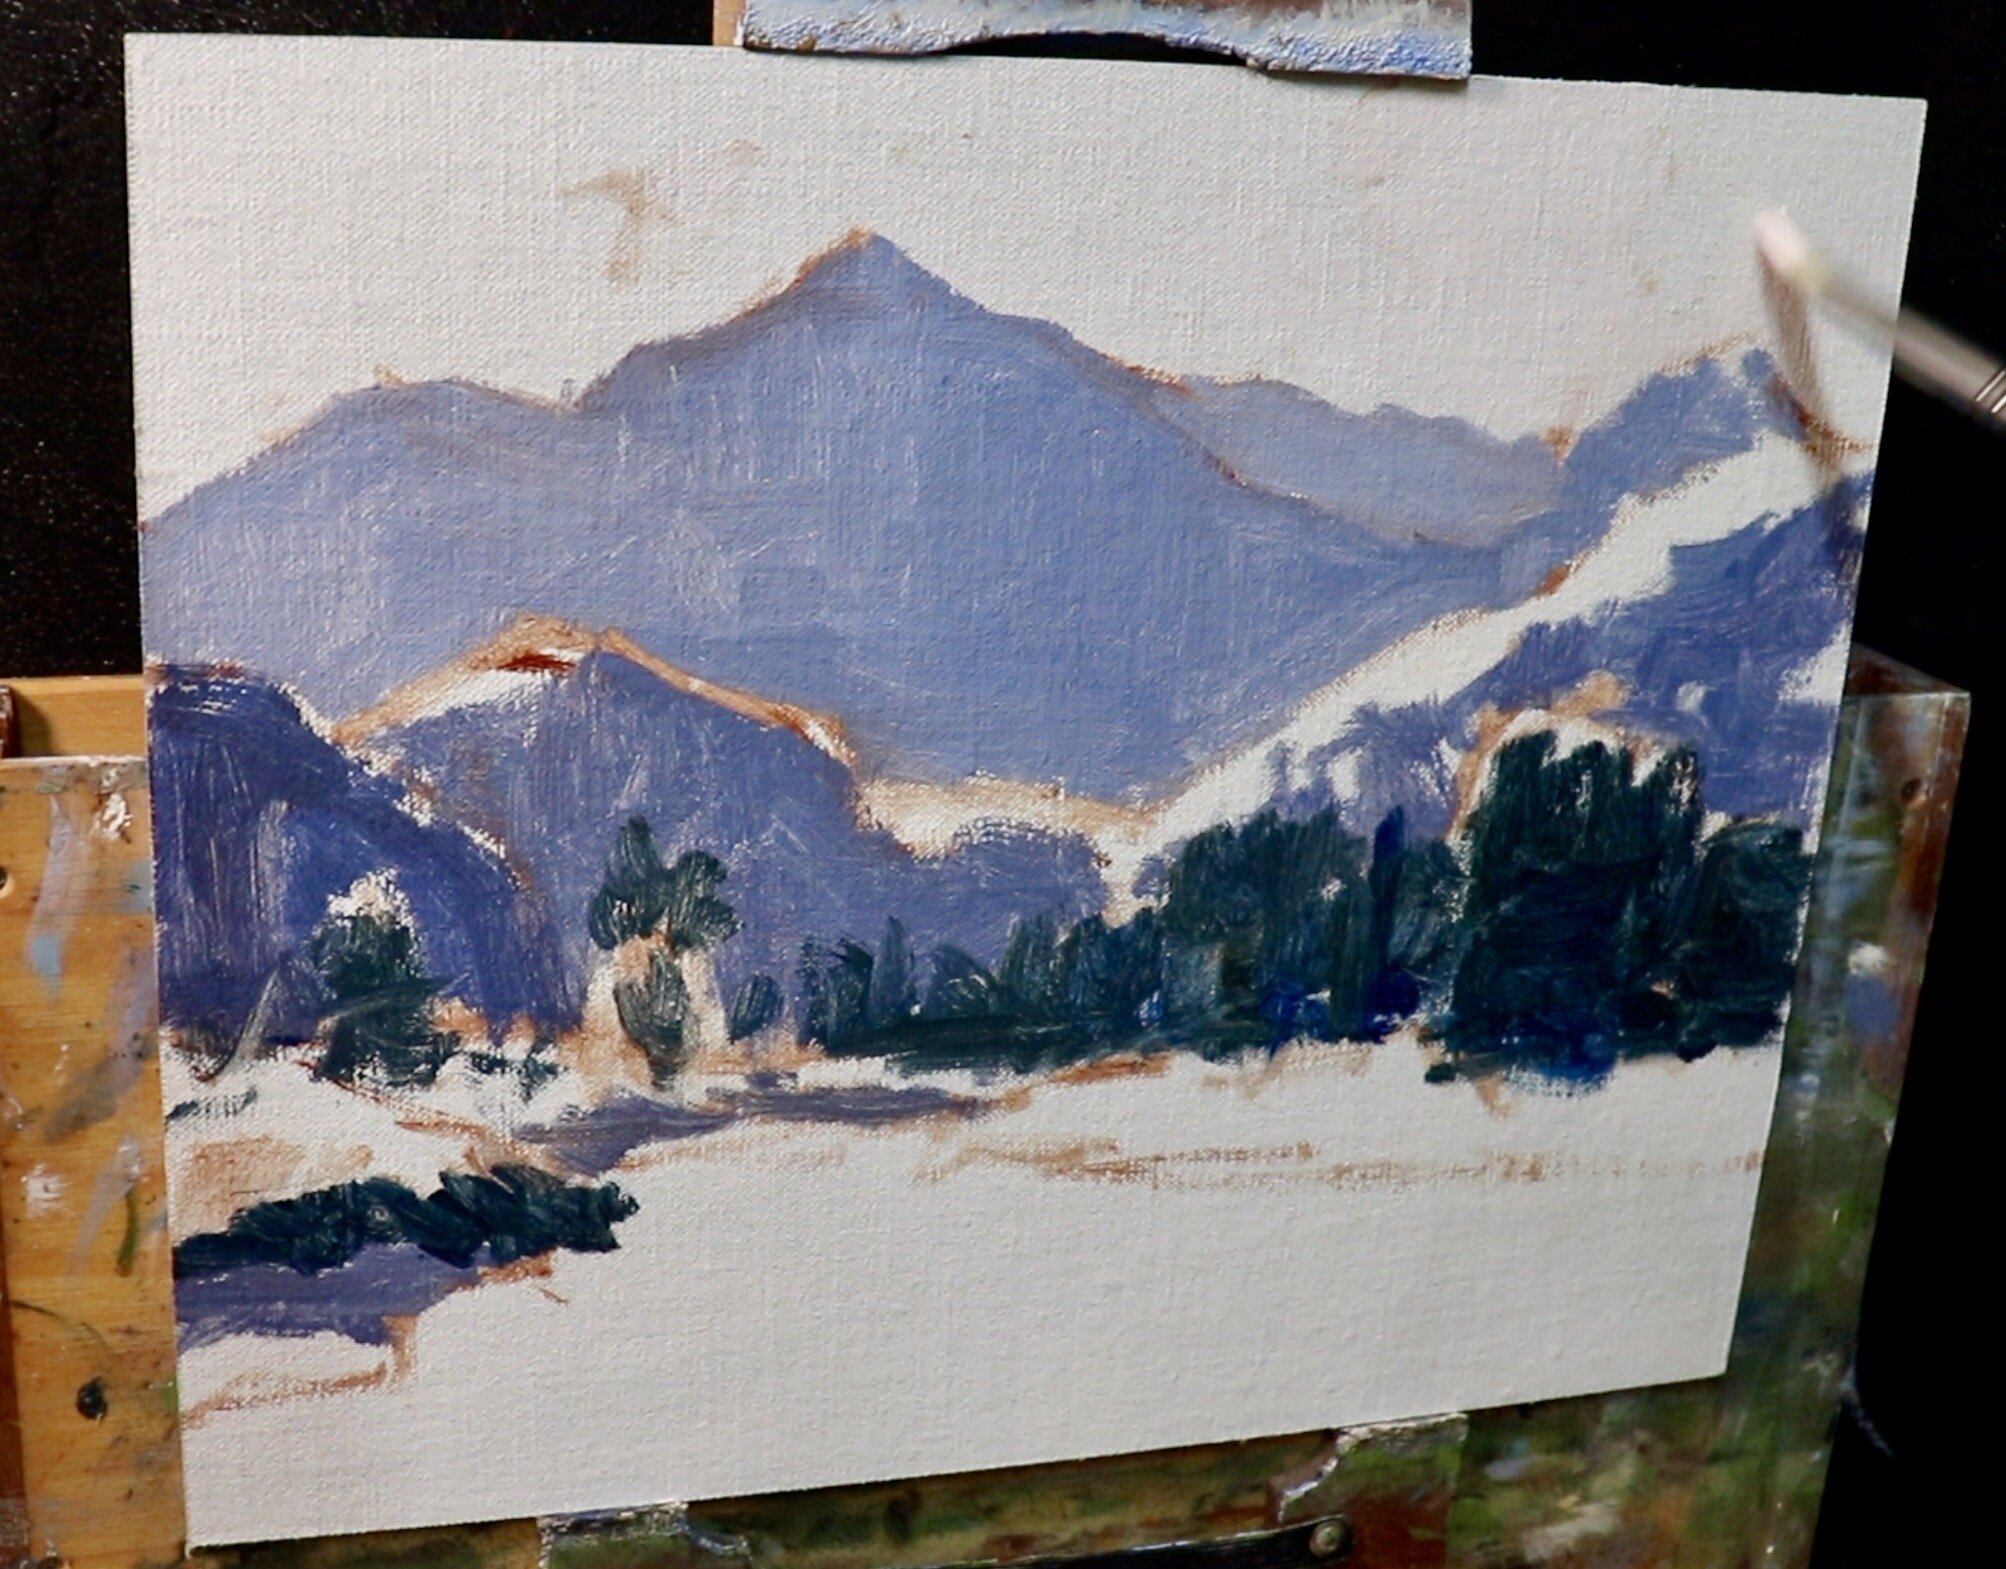
Once I have established the main areas of shadows I work on the sky and clouds. I keep the clouds really simple with a mix of titanium white and a little burnt sienna. The sky is a mix of ultramarine blue and titanium white.
I have introduced some warm light into the sky on the left side of the painting using a mix of yellow oxide, titanium white and a little quinacridone crimson.
I paint the soft highlights of the distant vegetation on the mid ground mountains and hills. It is important to keep the colour low in chroma so it doesn’t leap forward in the painting. I paint those distant greens with a mix of ultramarine blue, yellow oxide, titanium white and a little quinacridone crimson.
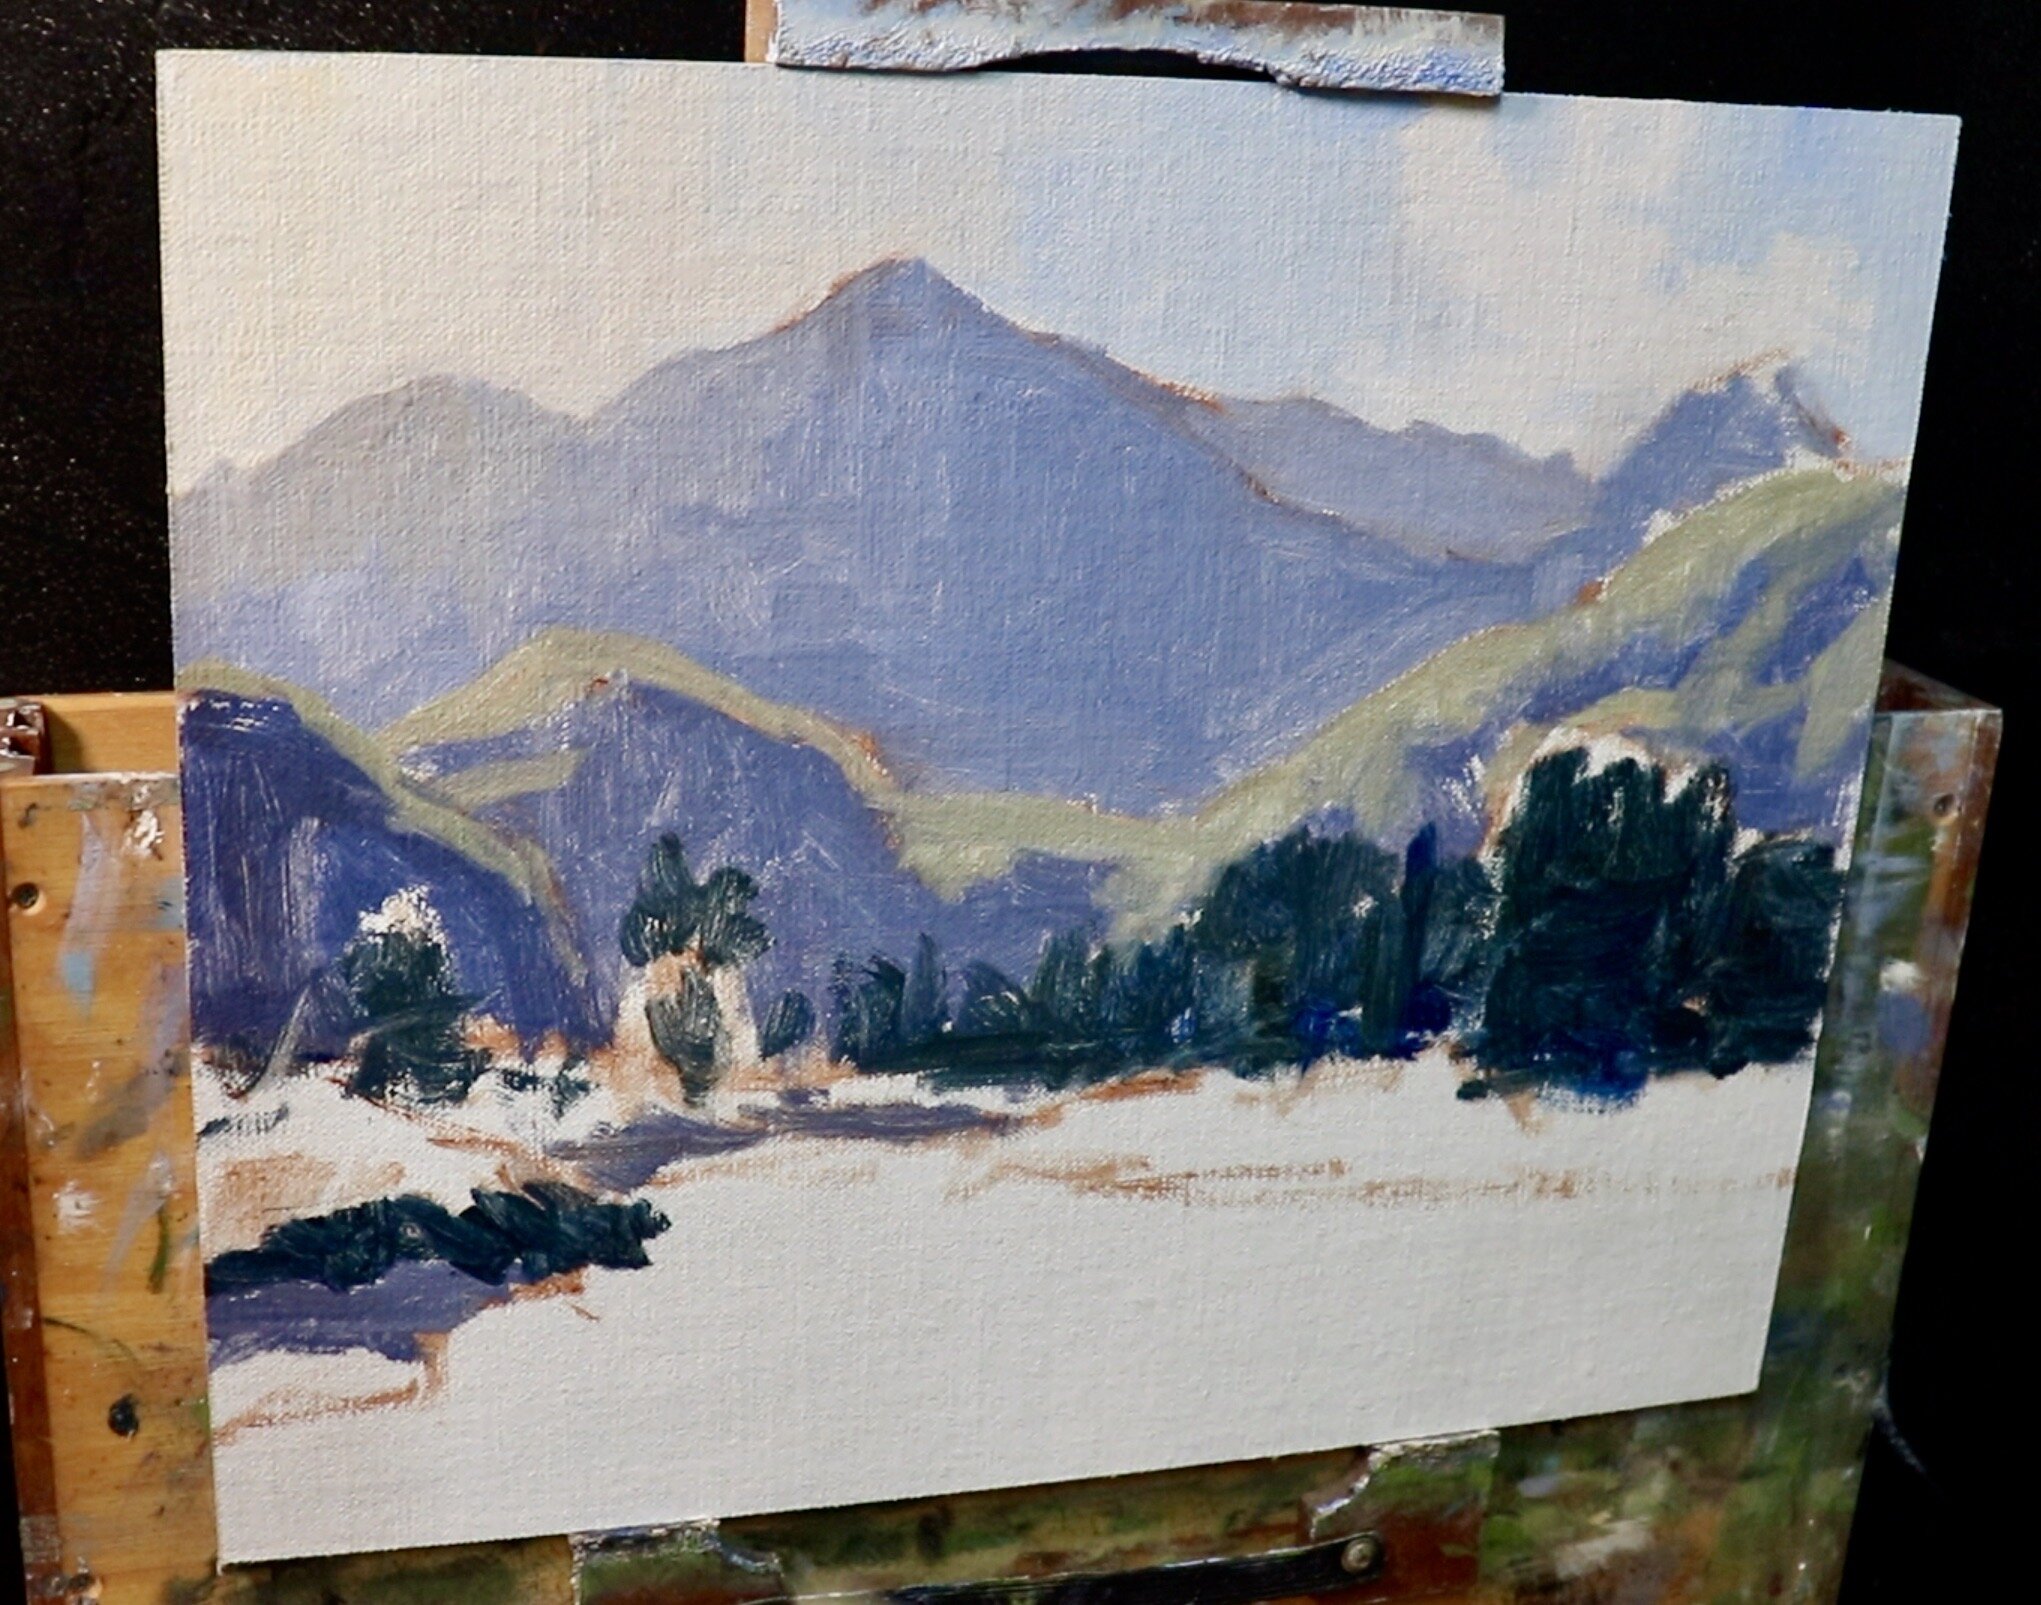
I paint the sunlit foliage on the trees with a mix of yellow oxide, ultramarine blue, cadmium yellow and I round off the mixture with some quinacridone crimson and cadmium orange. This makes the green look more organic and natural. If I need to make the value a little lighter I can mix in some titanium white.
The banks of the river are a mix of ultramarine blue, burnt sienna, a small amount of quinacridone crimson and titanium white.
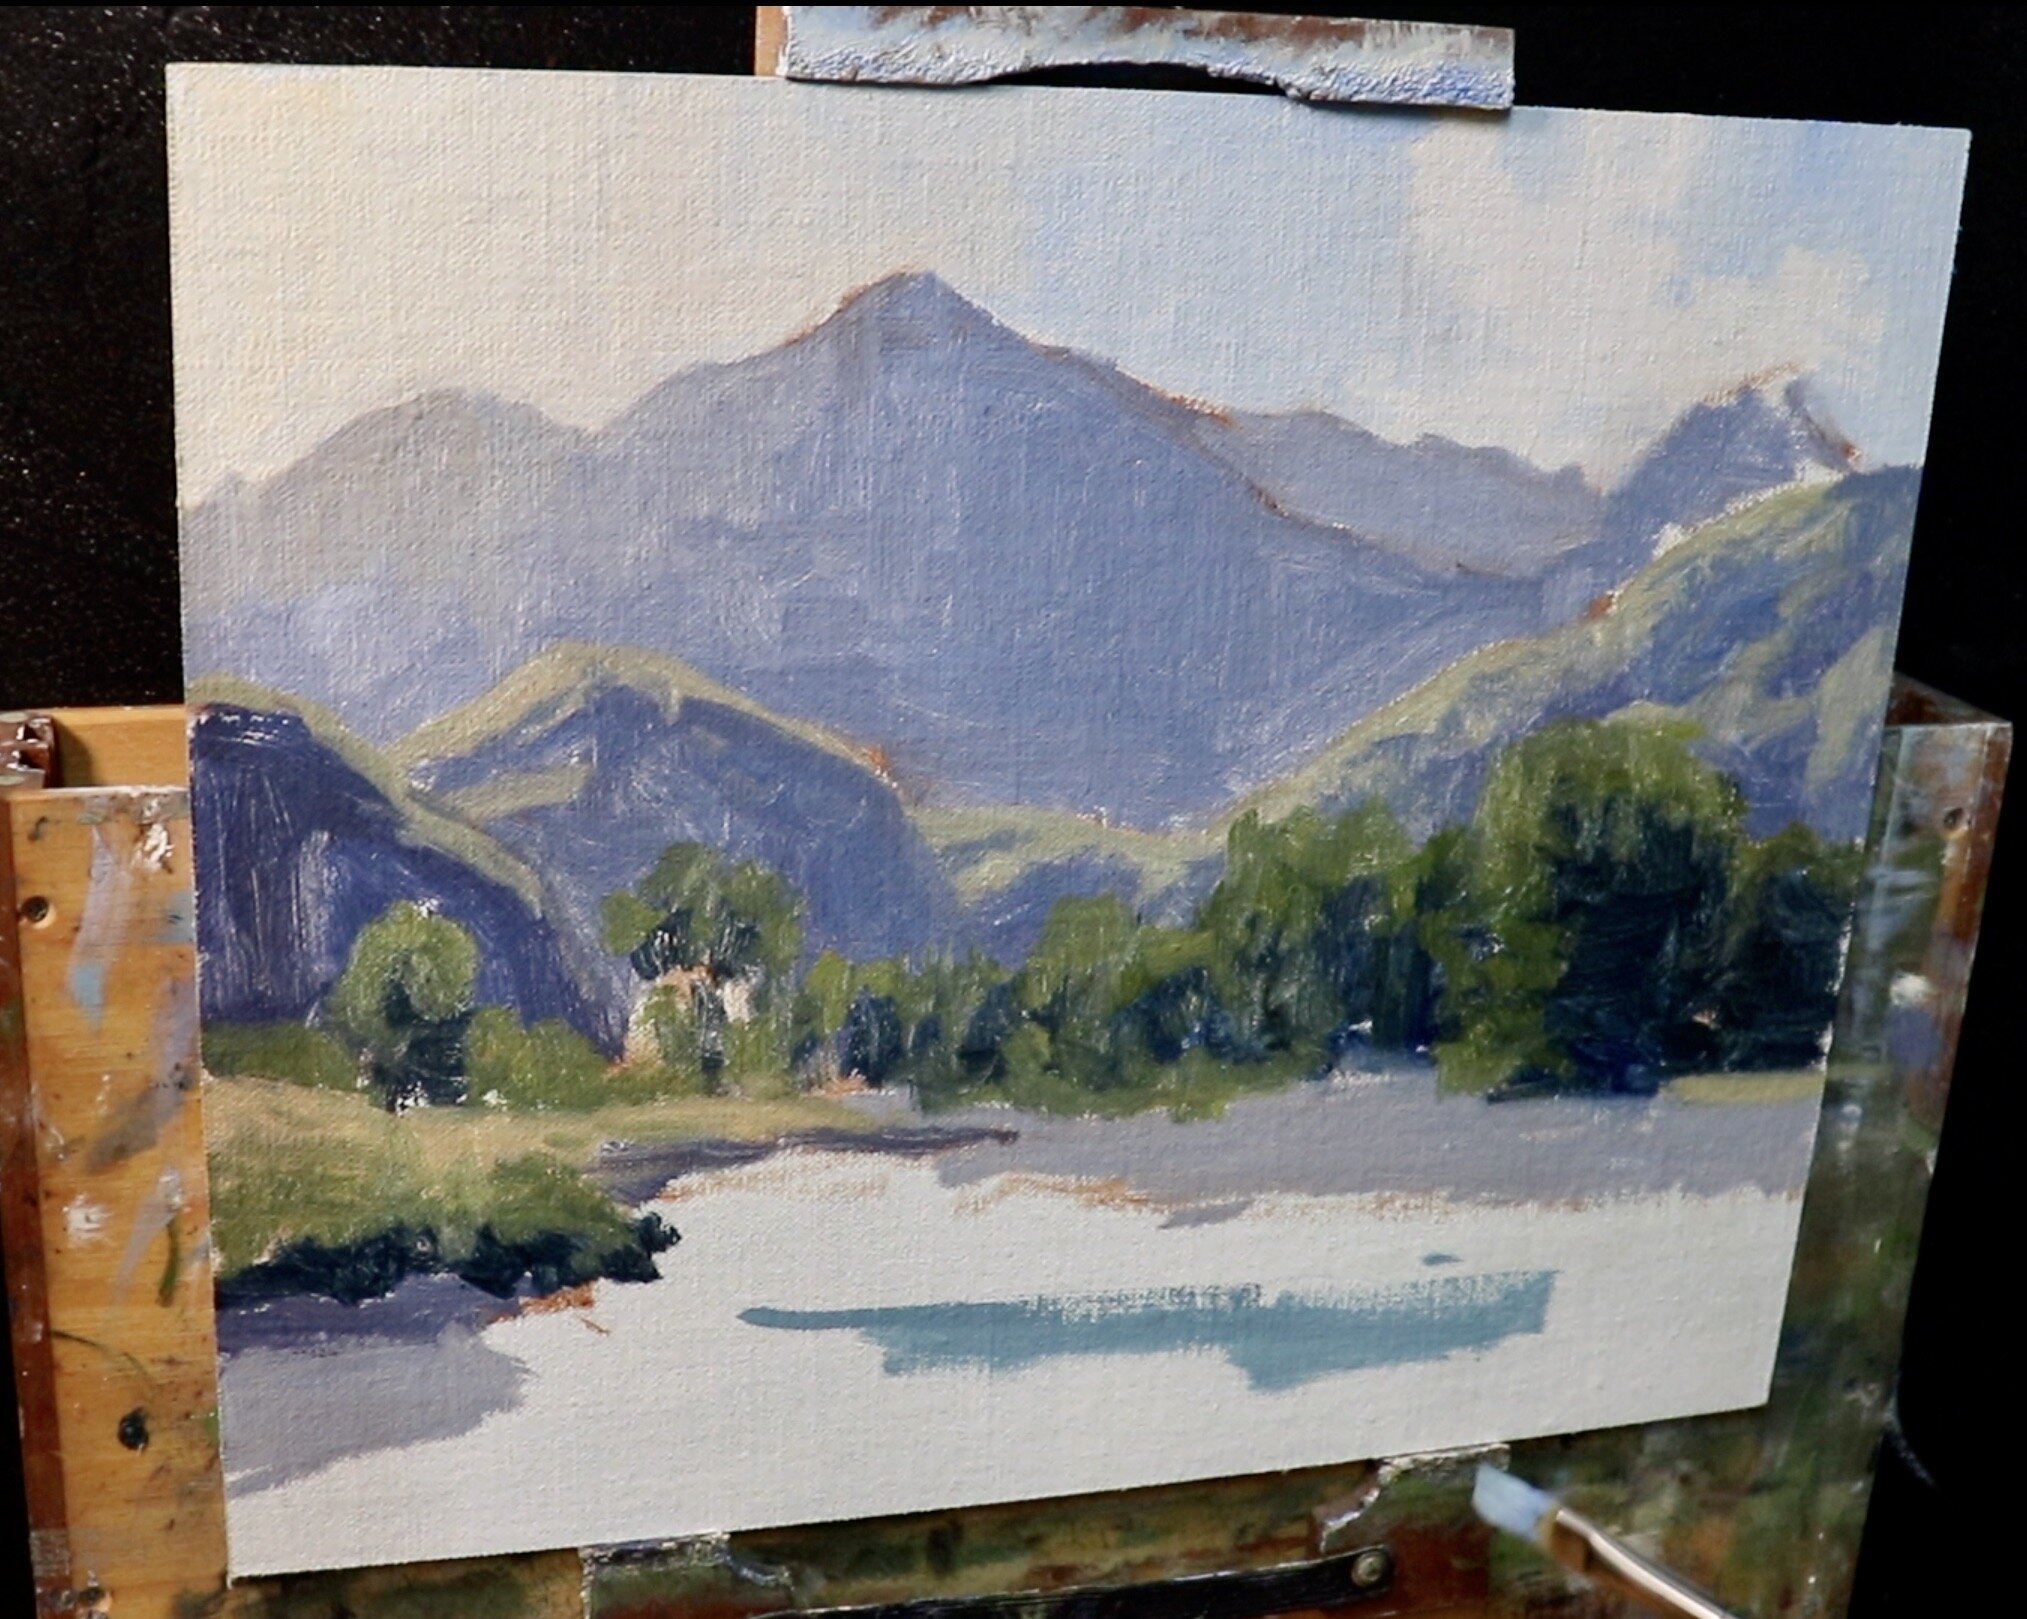
I paint the river with a mix of ultramarine blue, a little yellow oxide, phthalo green and titanium white. In some areas of the water I have used more ultramarine blue in my mix. I use my cloud mix to mark in the highlights on the water which will provide a base more me to add the sparkles later on.
I start marking in the suggestion of stones and boulders at the side of the river bank using a mix of ultramarine blue and burnt sienna.
It is here that the blocking in stage is complete so I leave my painting to dry for a few days. After that I can then begin to start adding details.
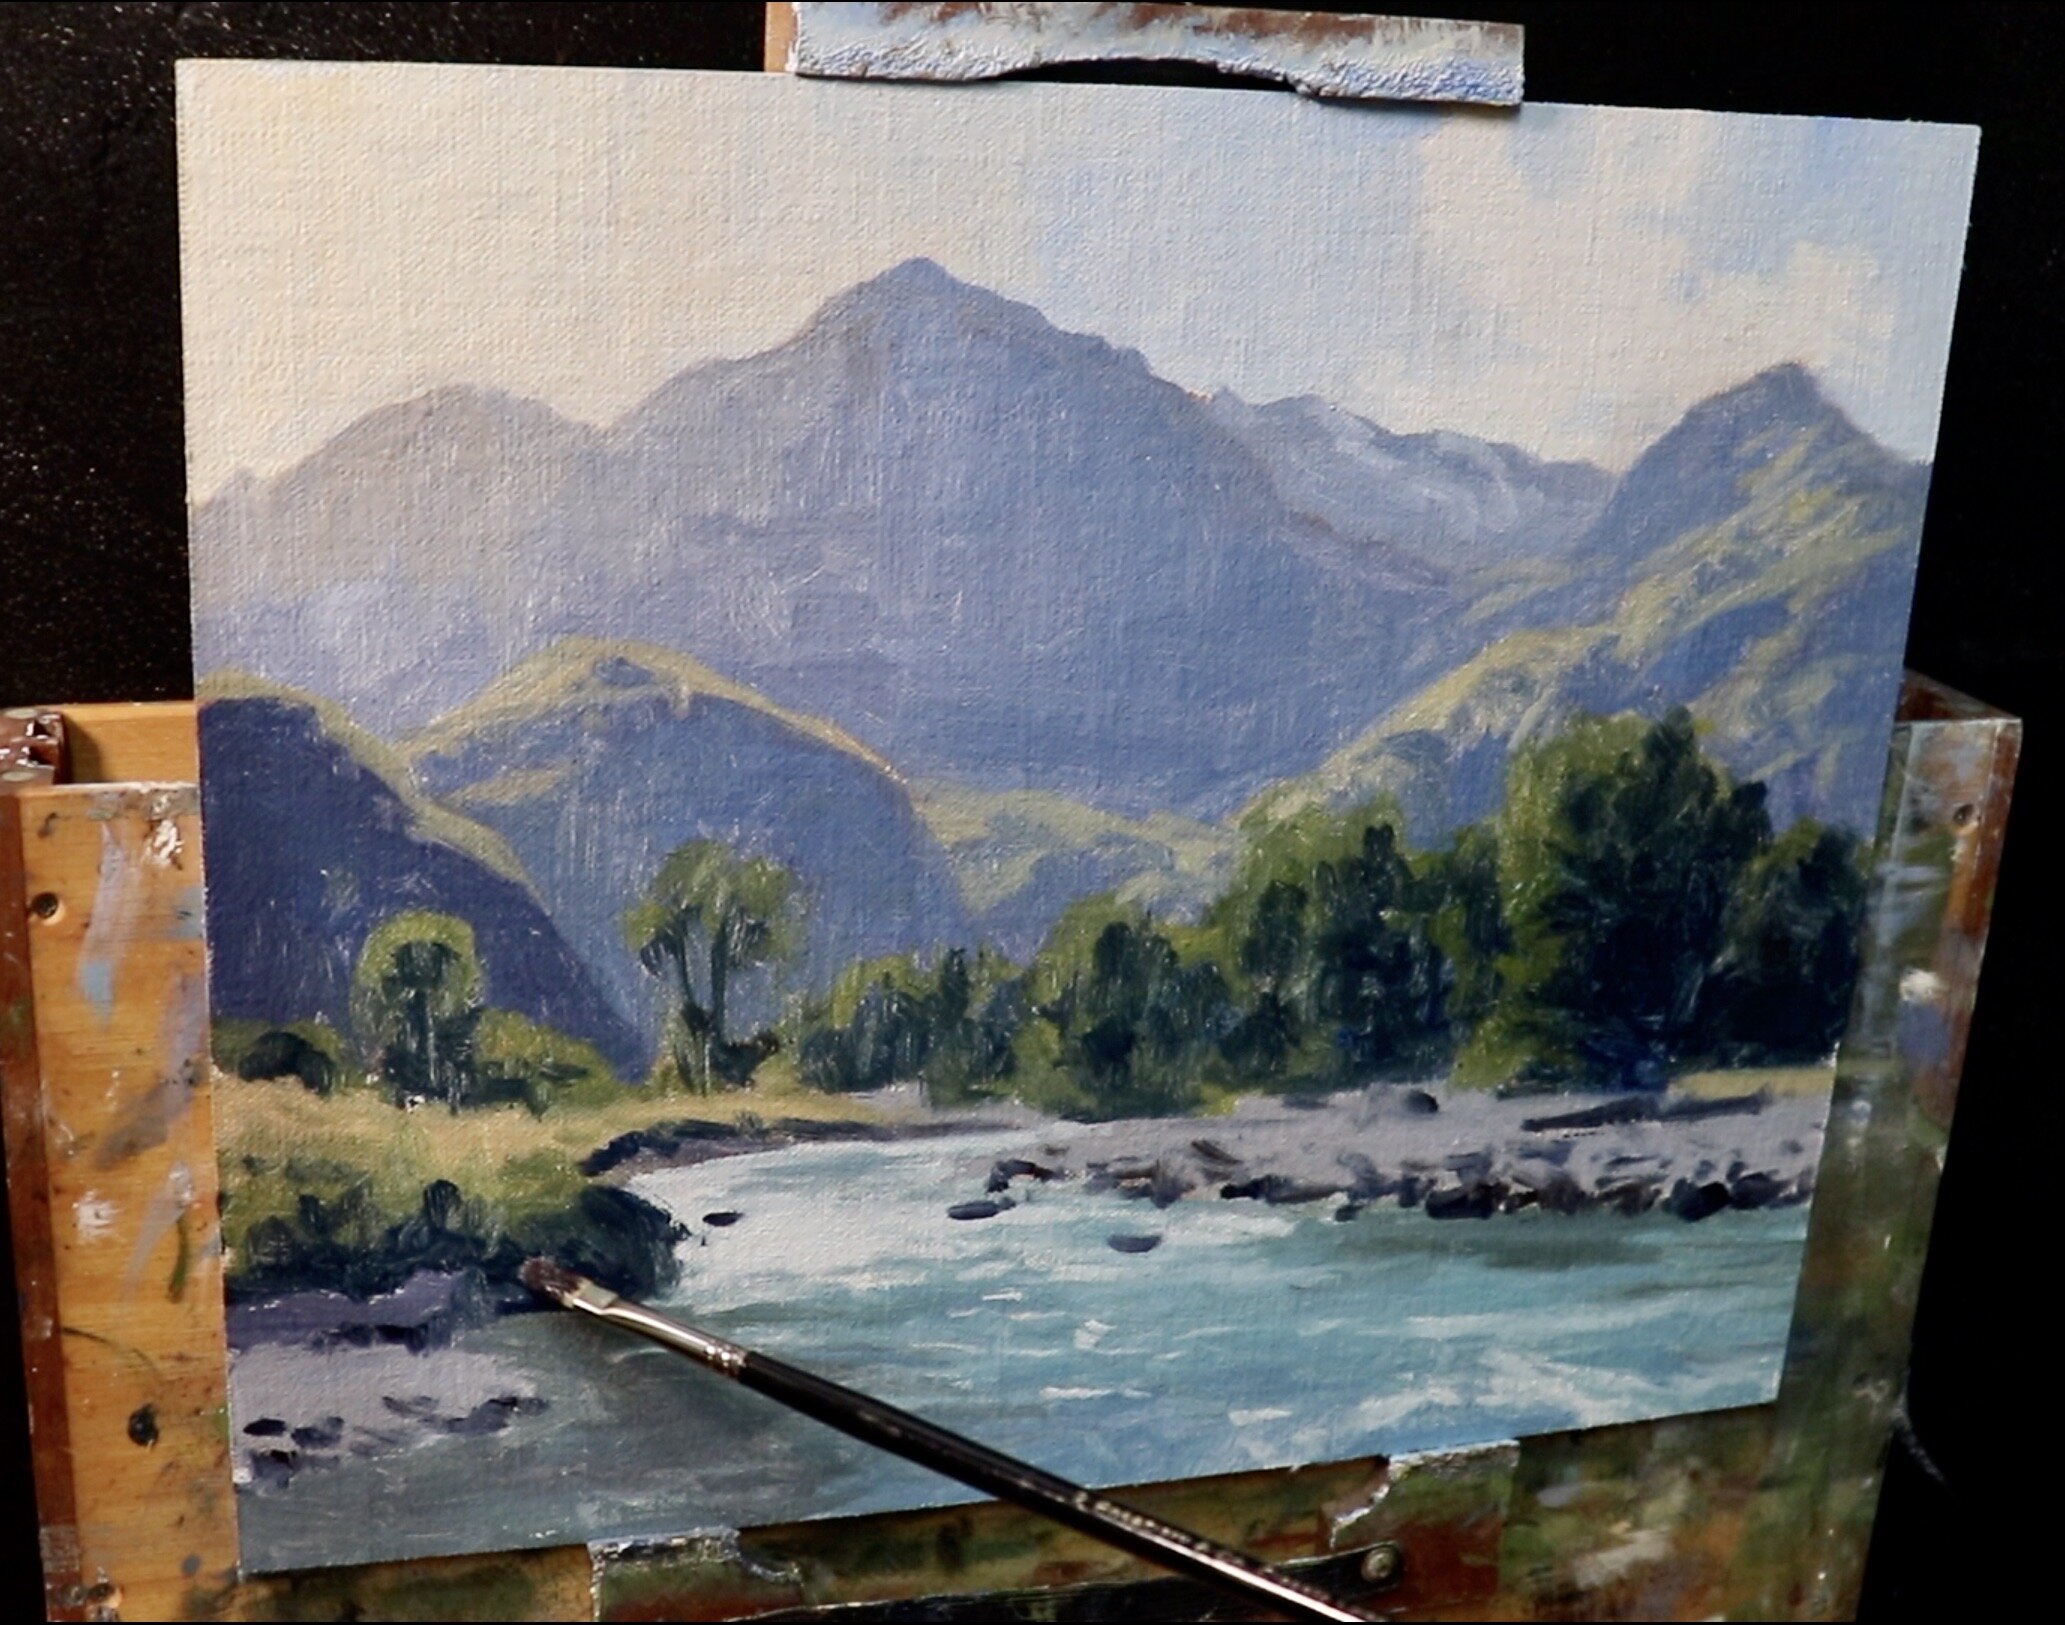
Stage Two – Modelling and Adding Details
In this stage of the painting I am adding more details and refining the various zones. I am essentially using the same colours that I used during the blocking-in stage but building up my lighter values to create a three dimensional effect and atmospheric depth in the painting.
I refined the mountains in the background and sharpened up the forms using the same colours I used during the blocking-in stage. I then started building up lighter layers of paint in the tree foliage using the same colours that I used during the blocking-in stage but with more titanium white in the mix.
I add more details to the stones and boulders at the side of the river bank.
I’ll be saving my lightest values for the end of my painting.
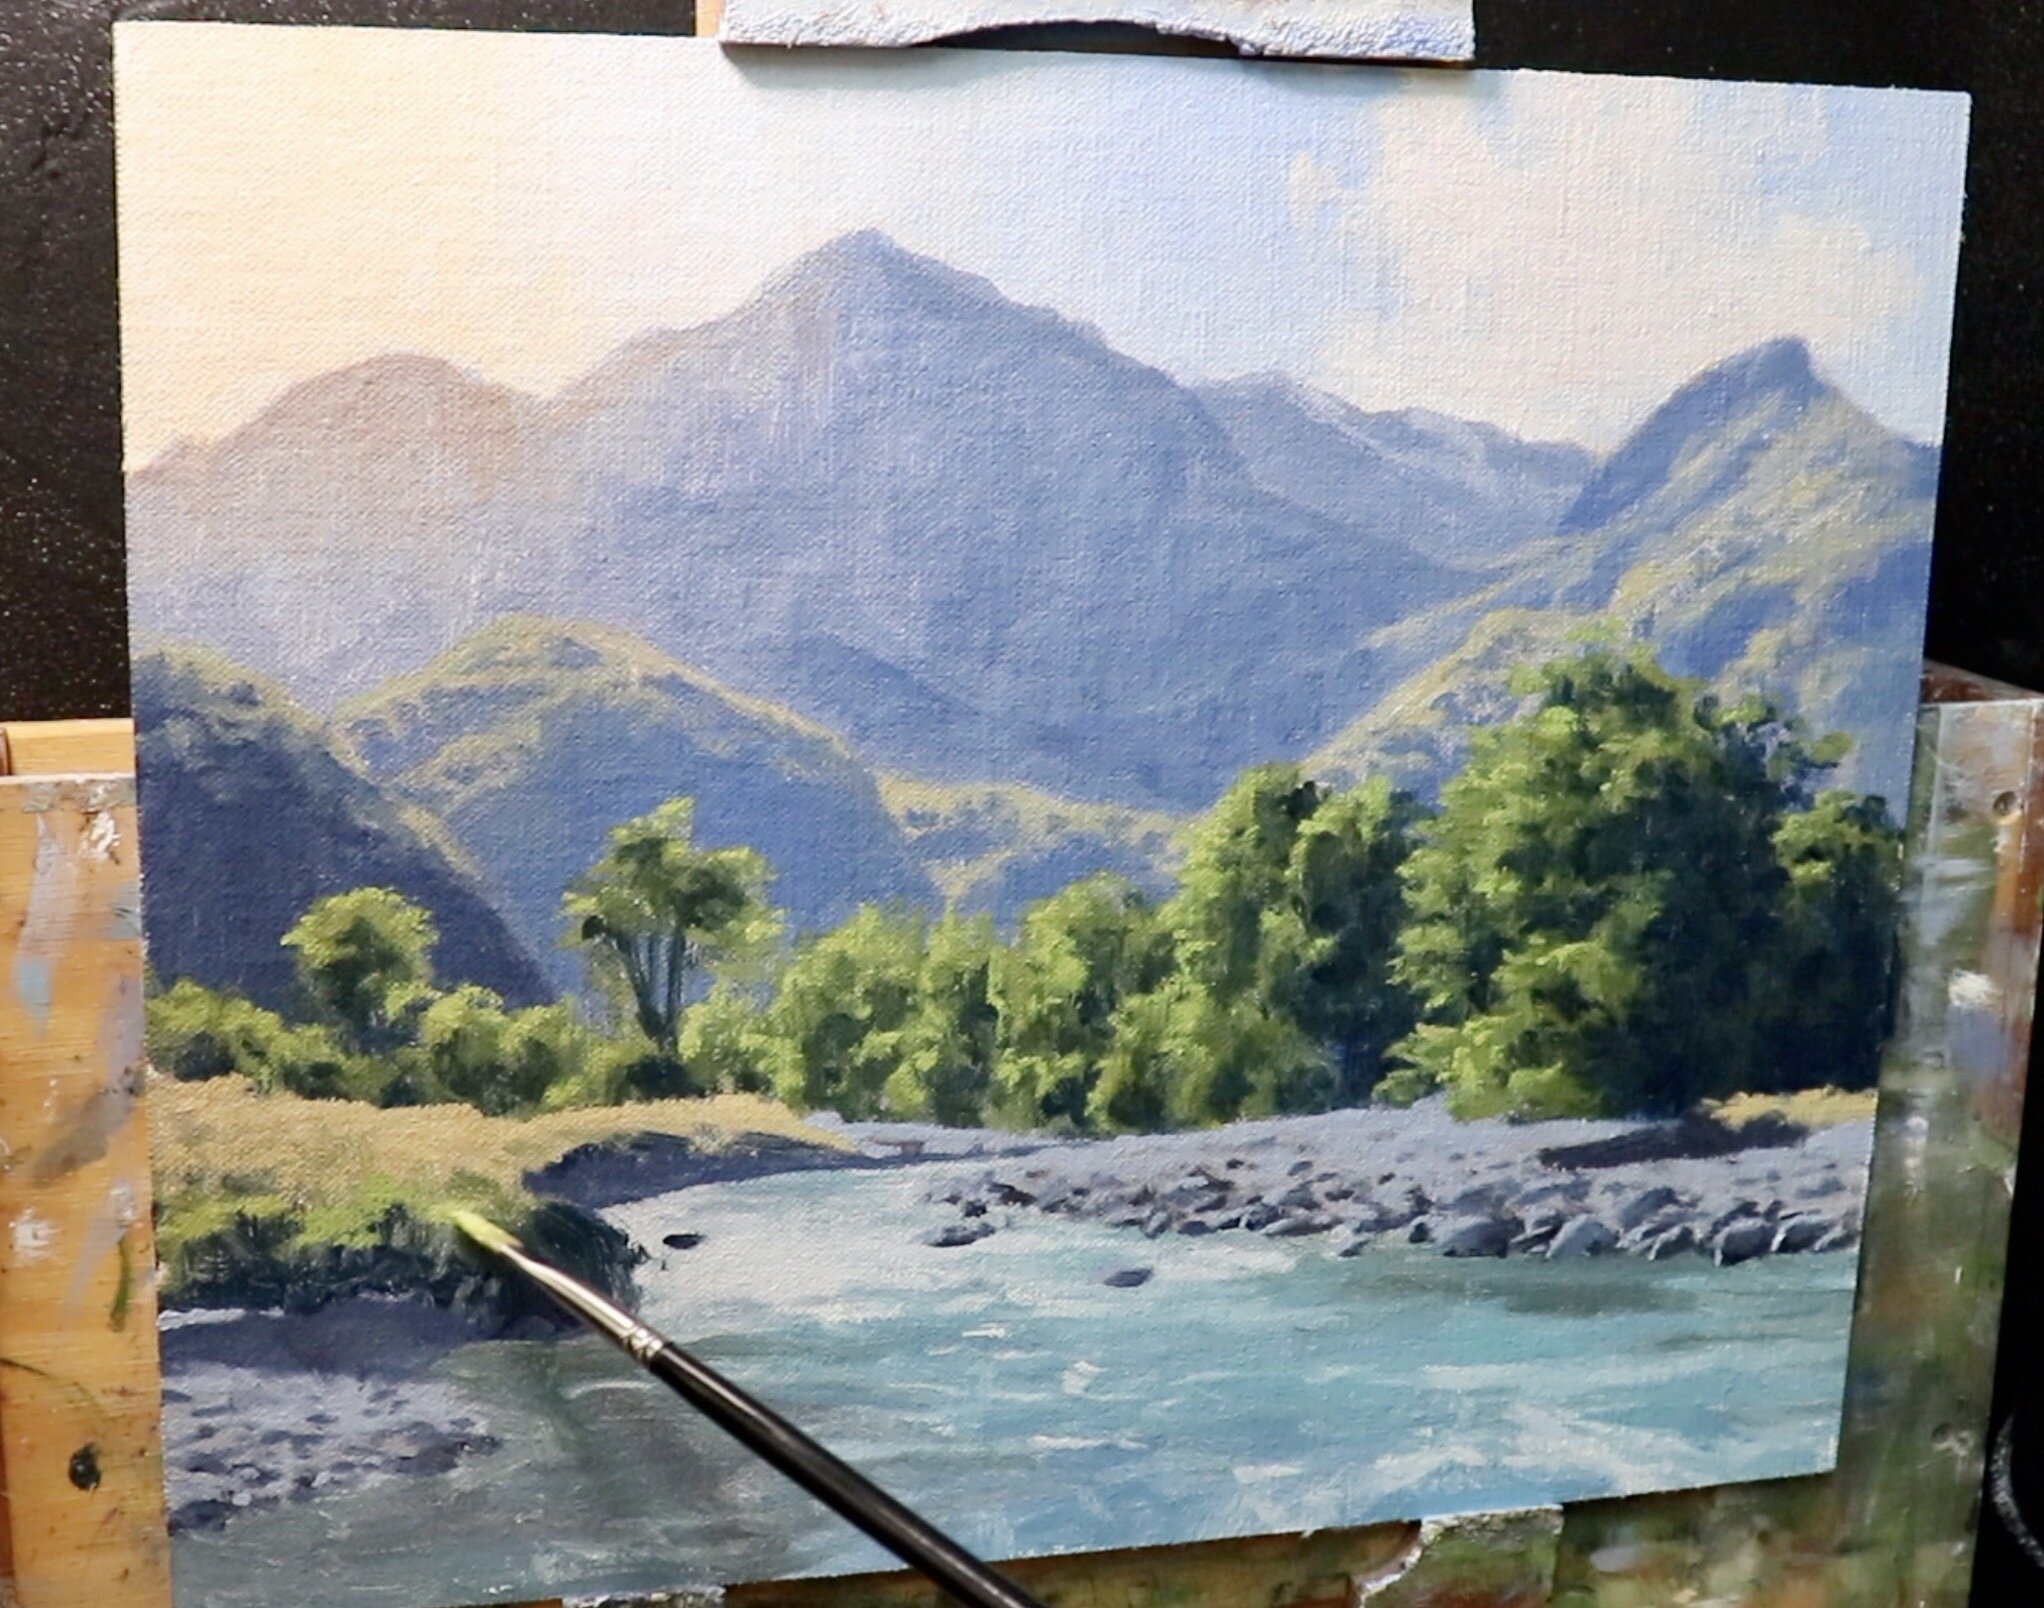
Stage Three – Final Details
I have let my painting dry again and it is here where I add the final details to my painting.
I add my final highlights to the tree foliage very sparingly using a mix of cadmium yellow, titanium white and a little phthalo green.
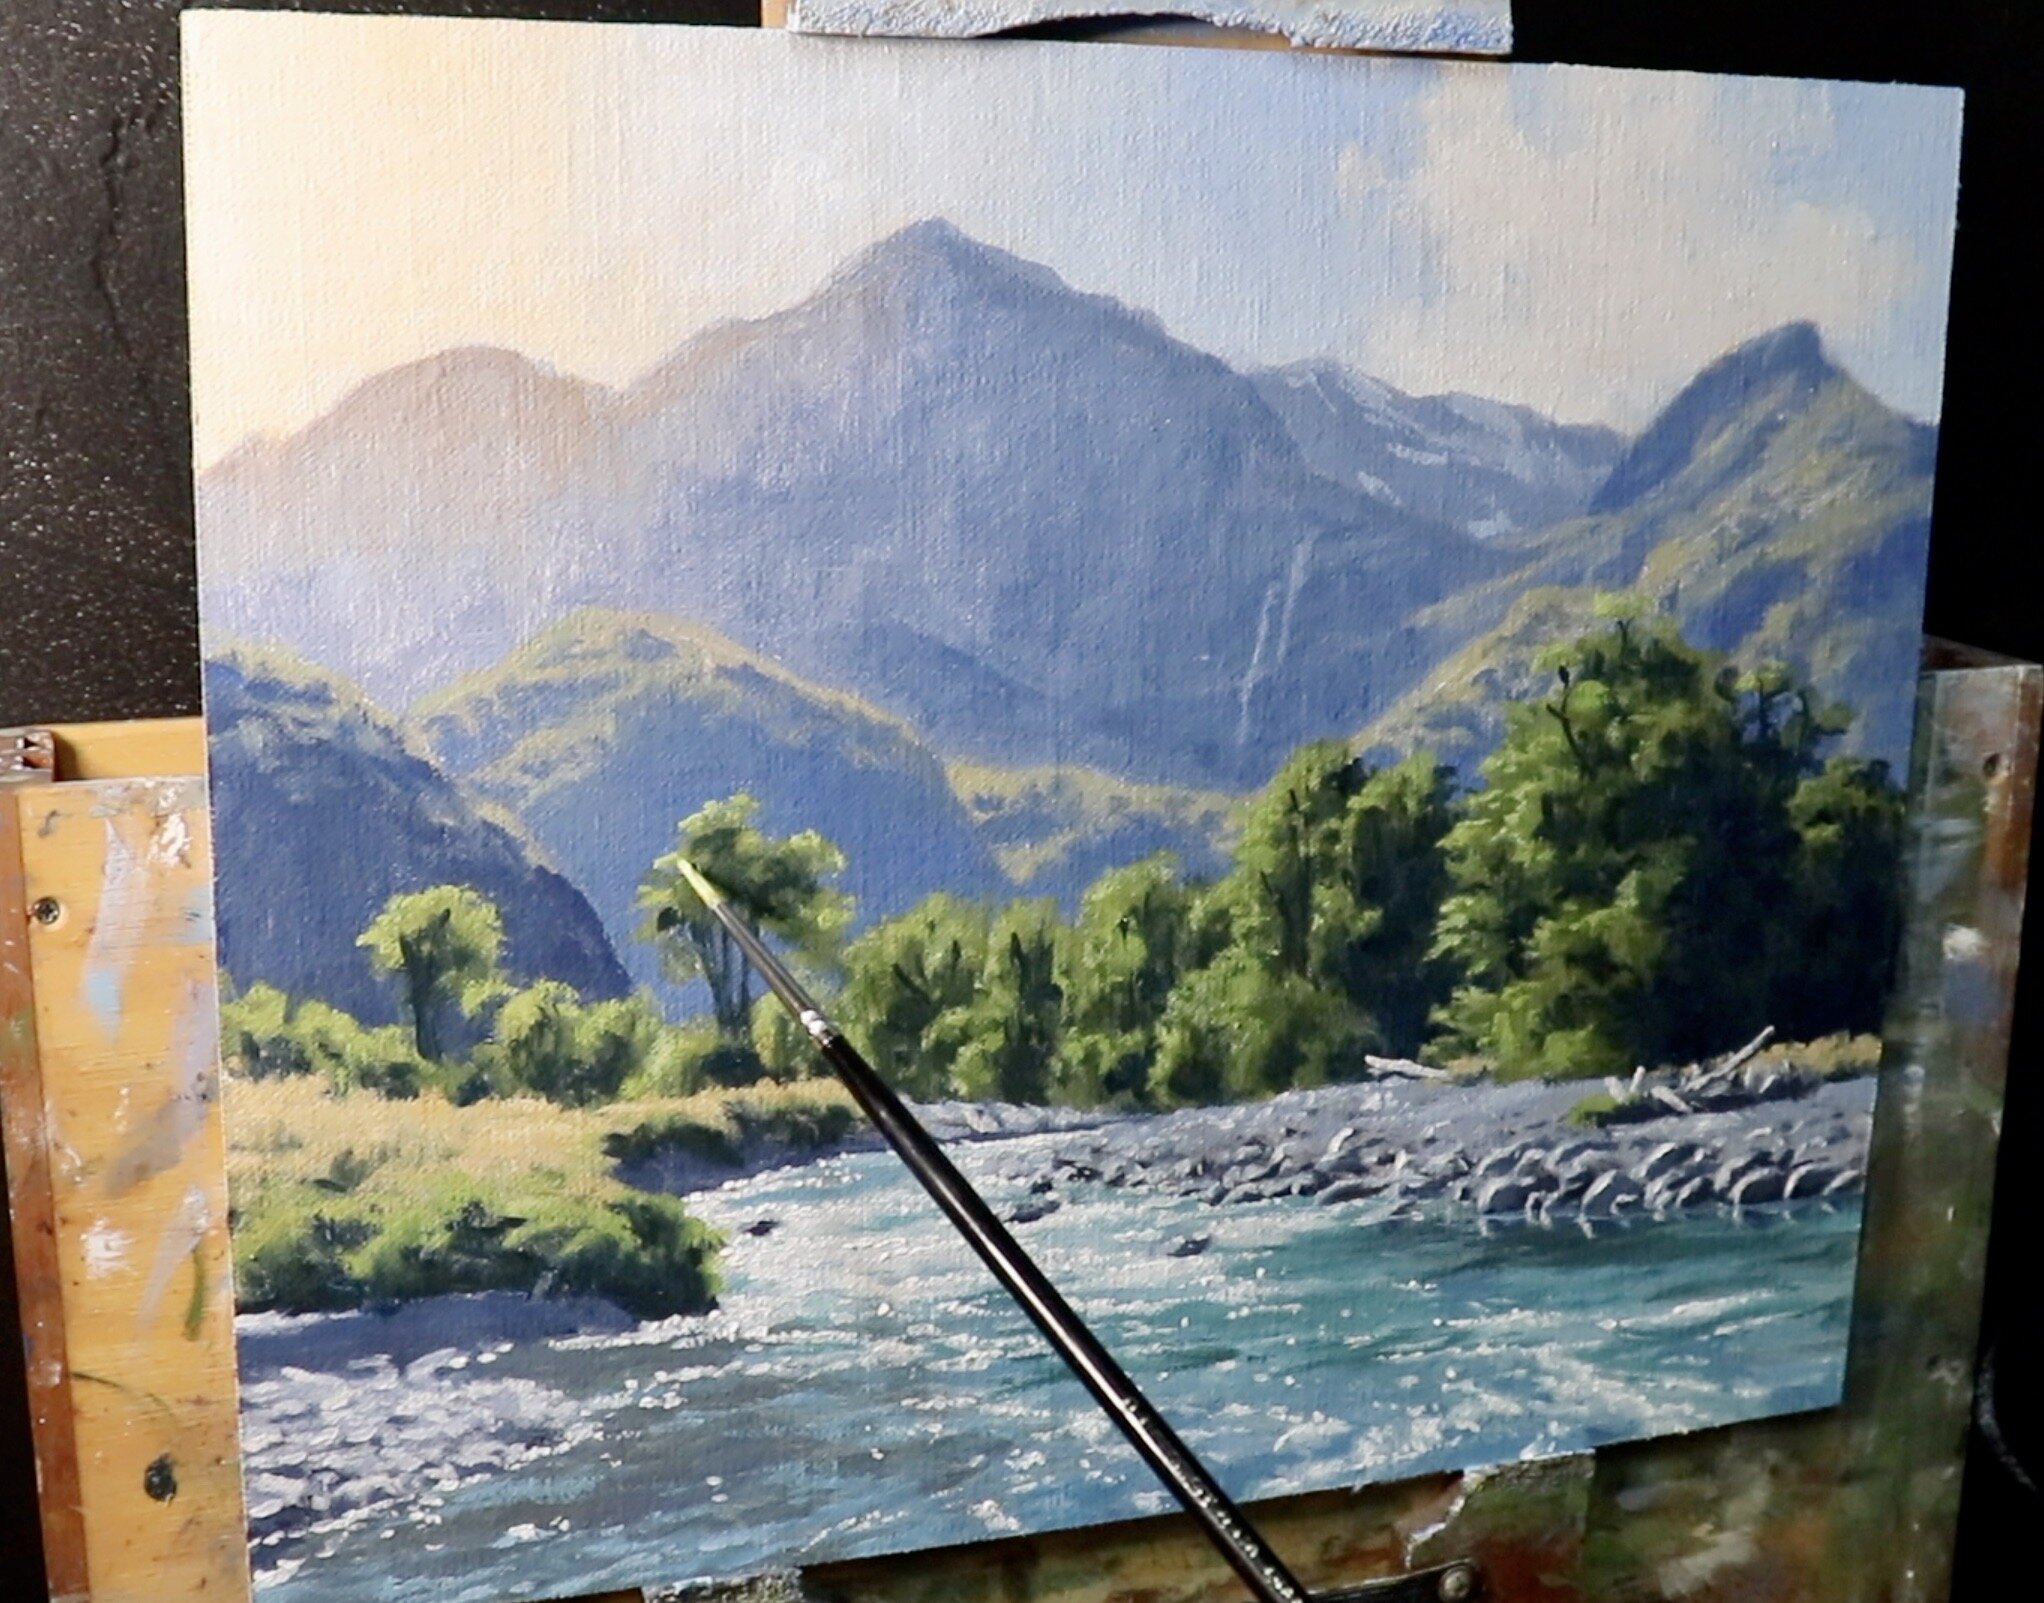
I have been saving my lightest values until the very end which is mostly in the sparkling water. To paint those sparkles in the water as it shimmers in the sun I used titanium white with a very small amount of yellow oxide.

Thanks for reading.
