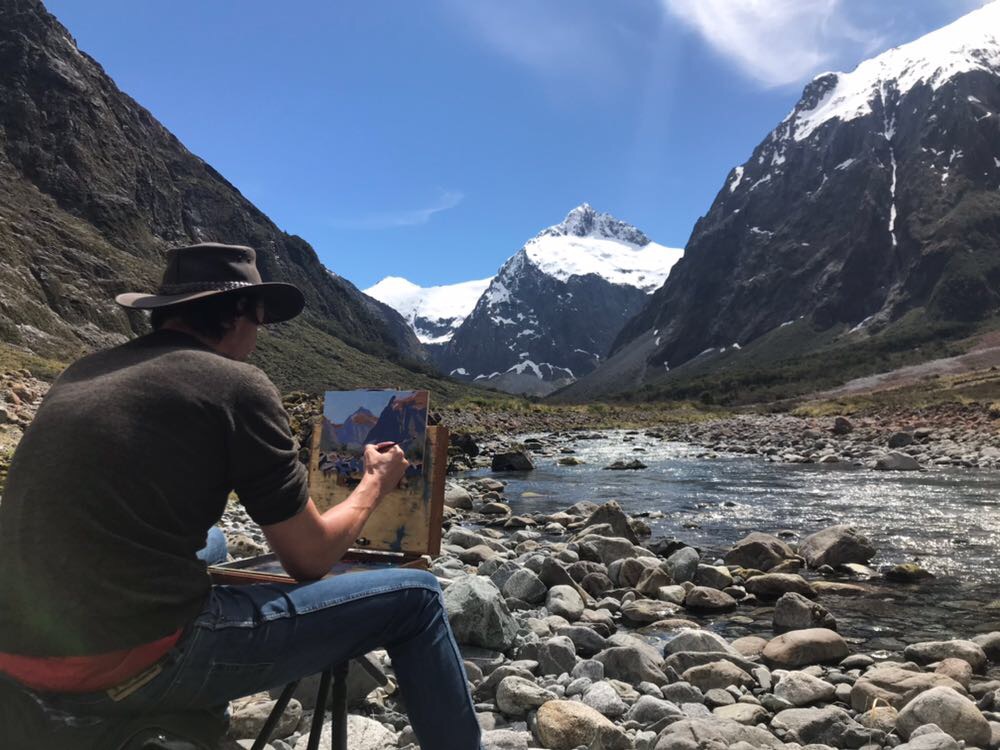
Have you ever tried painting outdoors on location? Let me tell you it’s really good fun, it’s challenging but it gets you outside and it really improves your painting skills especially if you’re a studio painter.
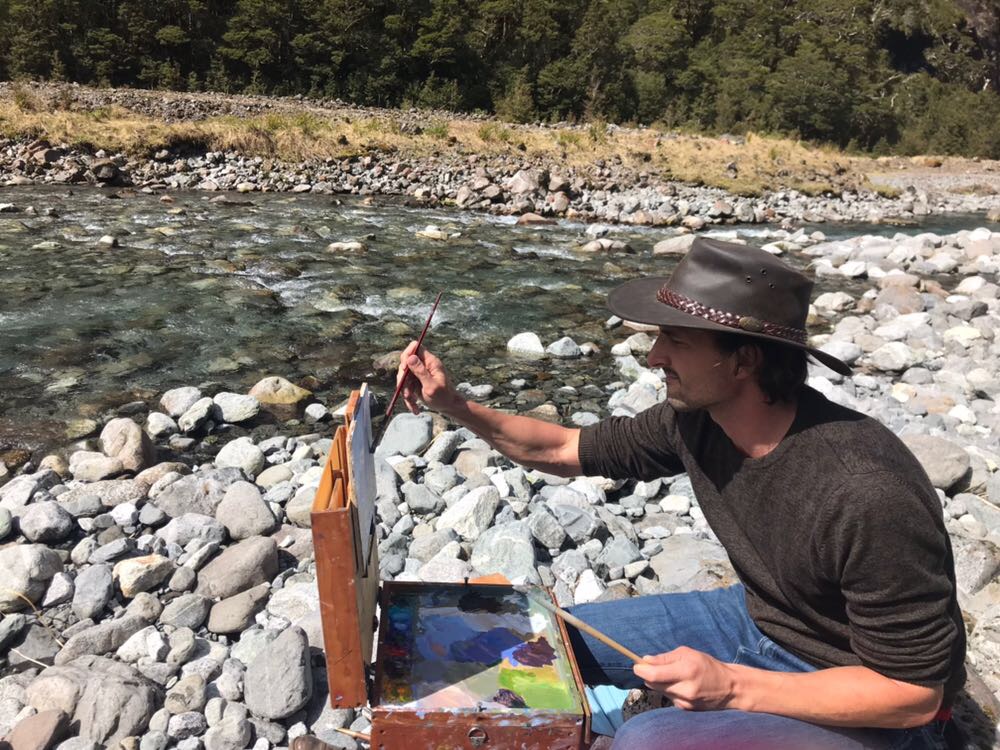
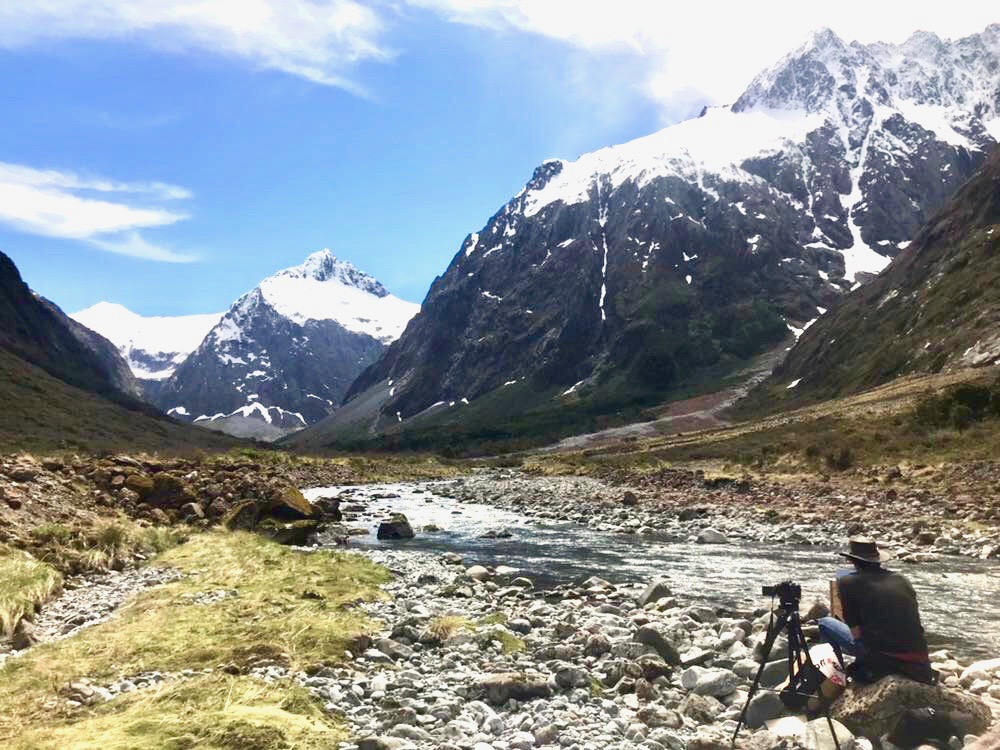
Recently I took my paints and easel on a little road trip to Fiordland National Park in the South Island of New Zealand. Fiordland is a very mountainous region of New Zealand and is perfect for painting outdoors on location which is also known as painting ‘en plein air’.
CHOOSING A SUBJECT TO PAINT
Painting outdoors is a totally different experience to painting in the studio for many reasons. Firstly the light changes, as you are painting your subject you will begin to notice that light angles change often quicker than you think. The weather conditions change, one minute it could be sunny, the next some thick clouds form and it starts raining and the wind suddenly starts blowing a gale and blows your equipment over and this has happened to me several times!
When painting outdoors it usually best to pick a sunny day especially if you’re a beginner and on a day when it’s not too windy.
When choosing a subject to paint I also take note of the light angles and a view where I can form a good composition on my canvas from my subjects in front of me.
It is always good to have some shadows in a landscape painting and when painting mountains or hills three quarters in shadow or three quarters in light is a good guide to follow.
Don’t paint a subject where the whole landscape is in light and shadows are obscured. Your subject will be harder to paint as you’ll purely be relying on your tonality skills to achieve atmospheric depth in your painting. Thats not to say you should never do this, as I have painted outdoors on cloudy days where there were clear differences in tone and I was able to communicate this on a canvas.
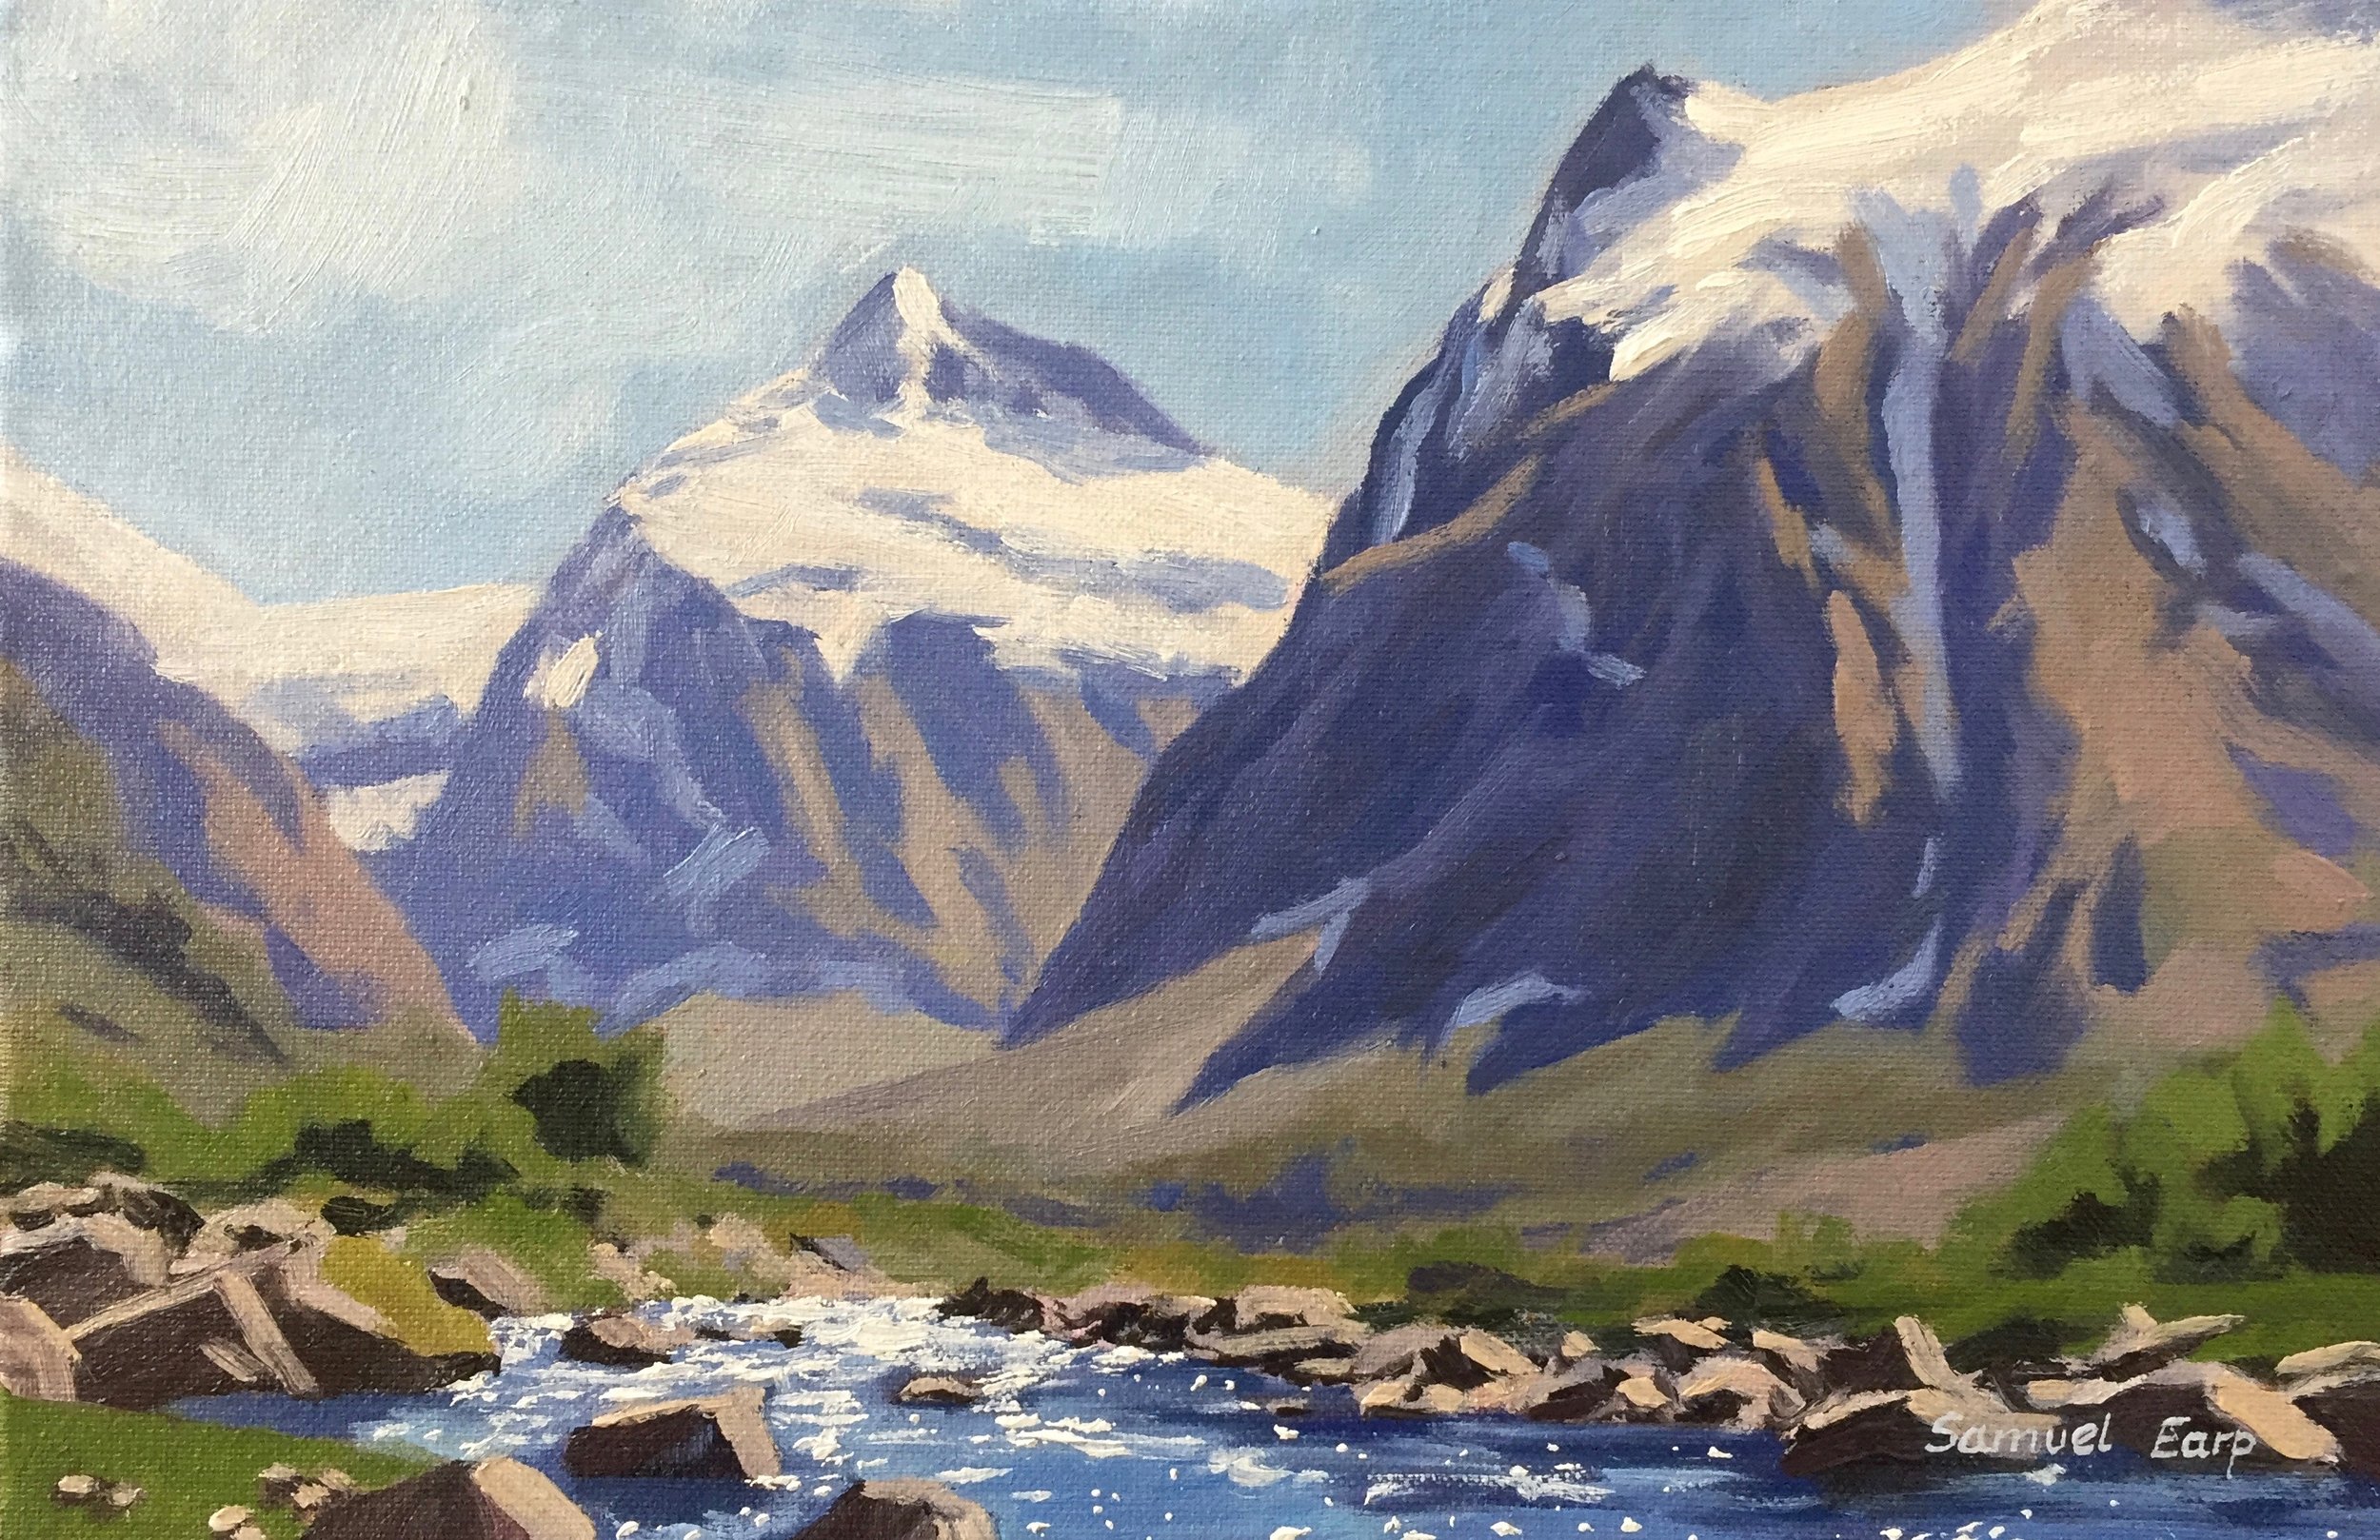
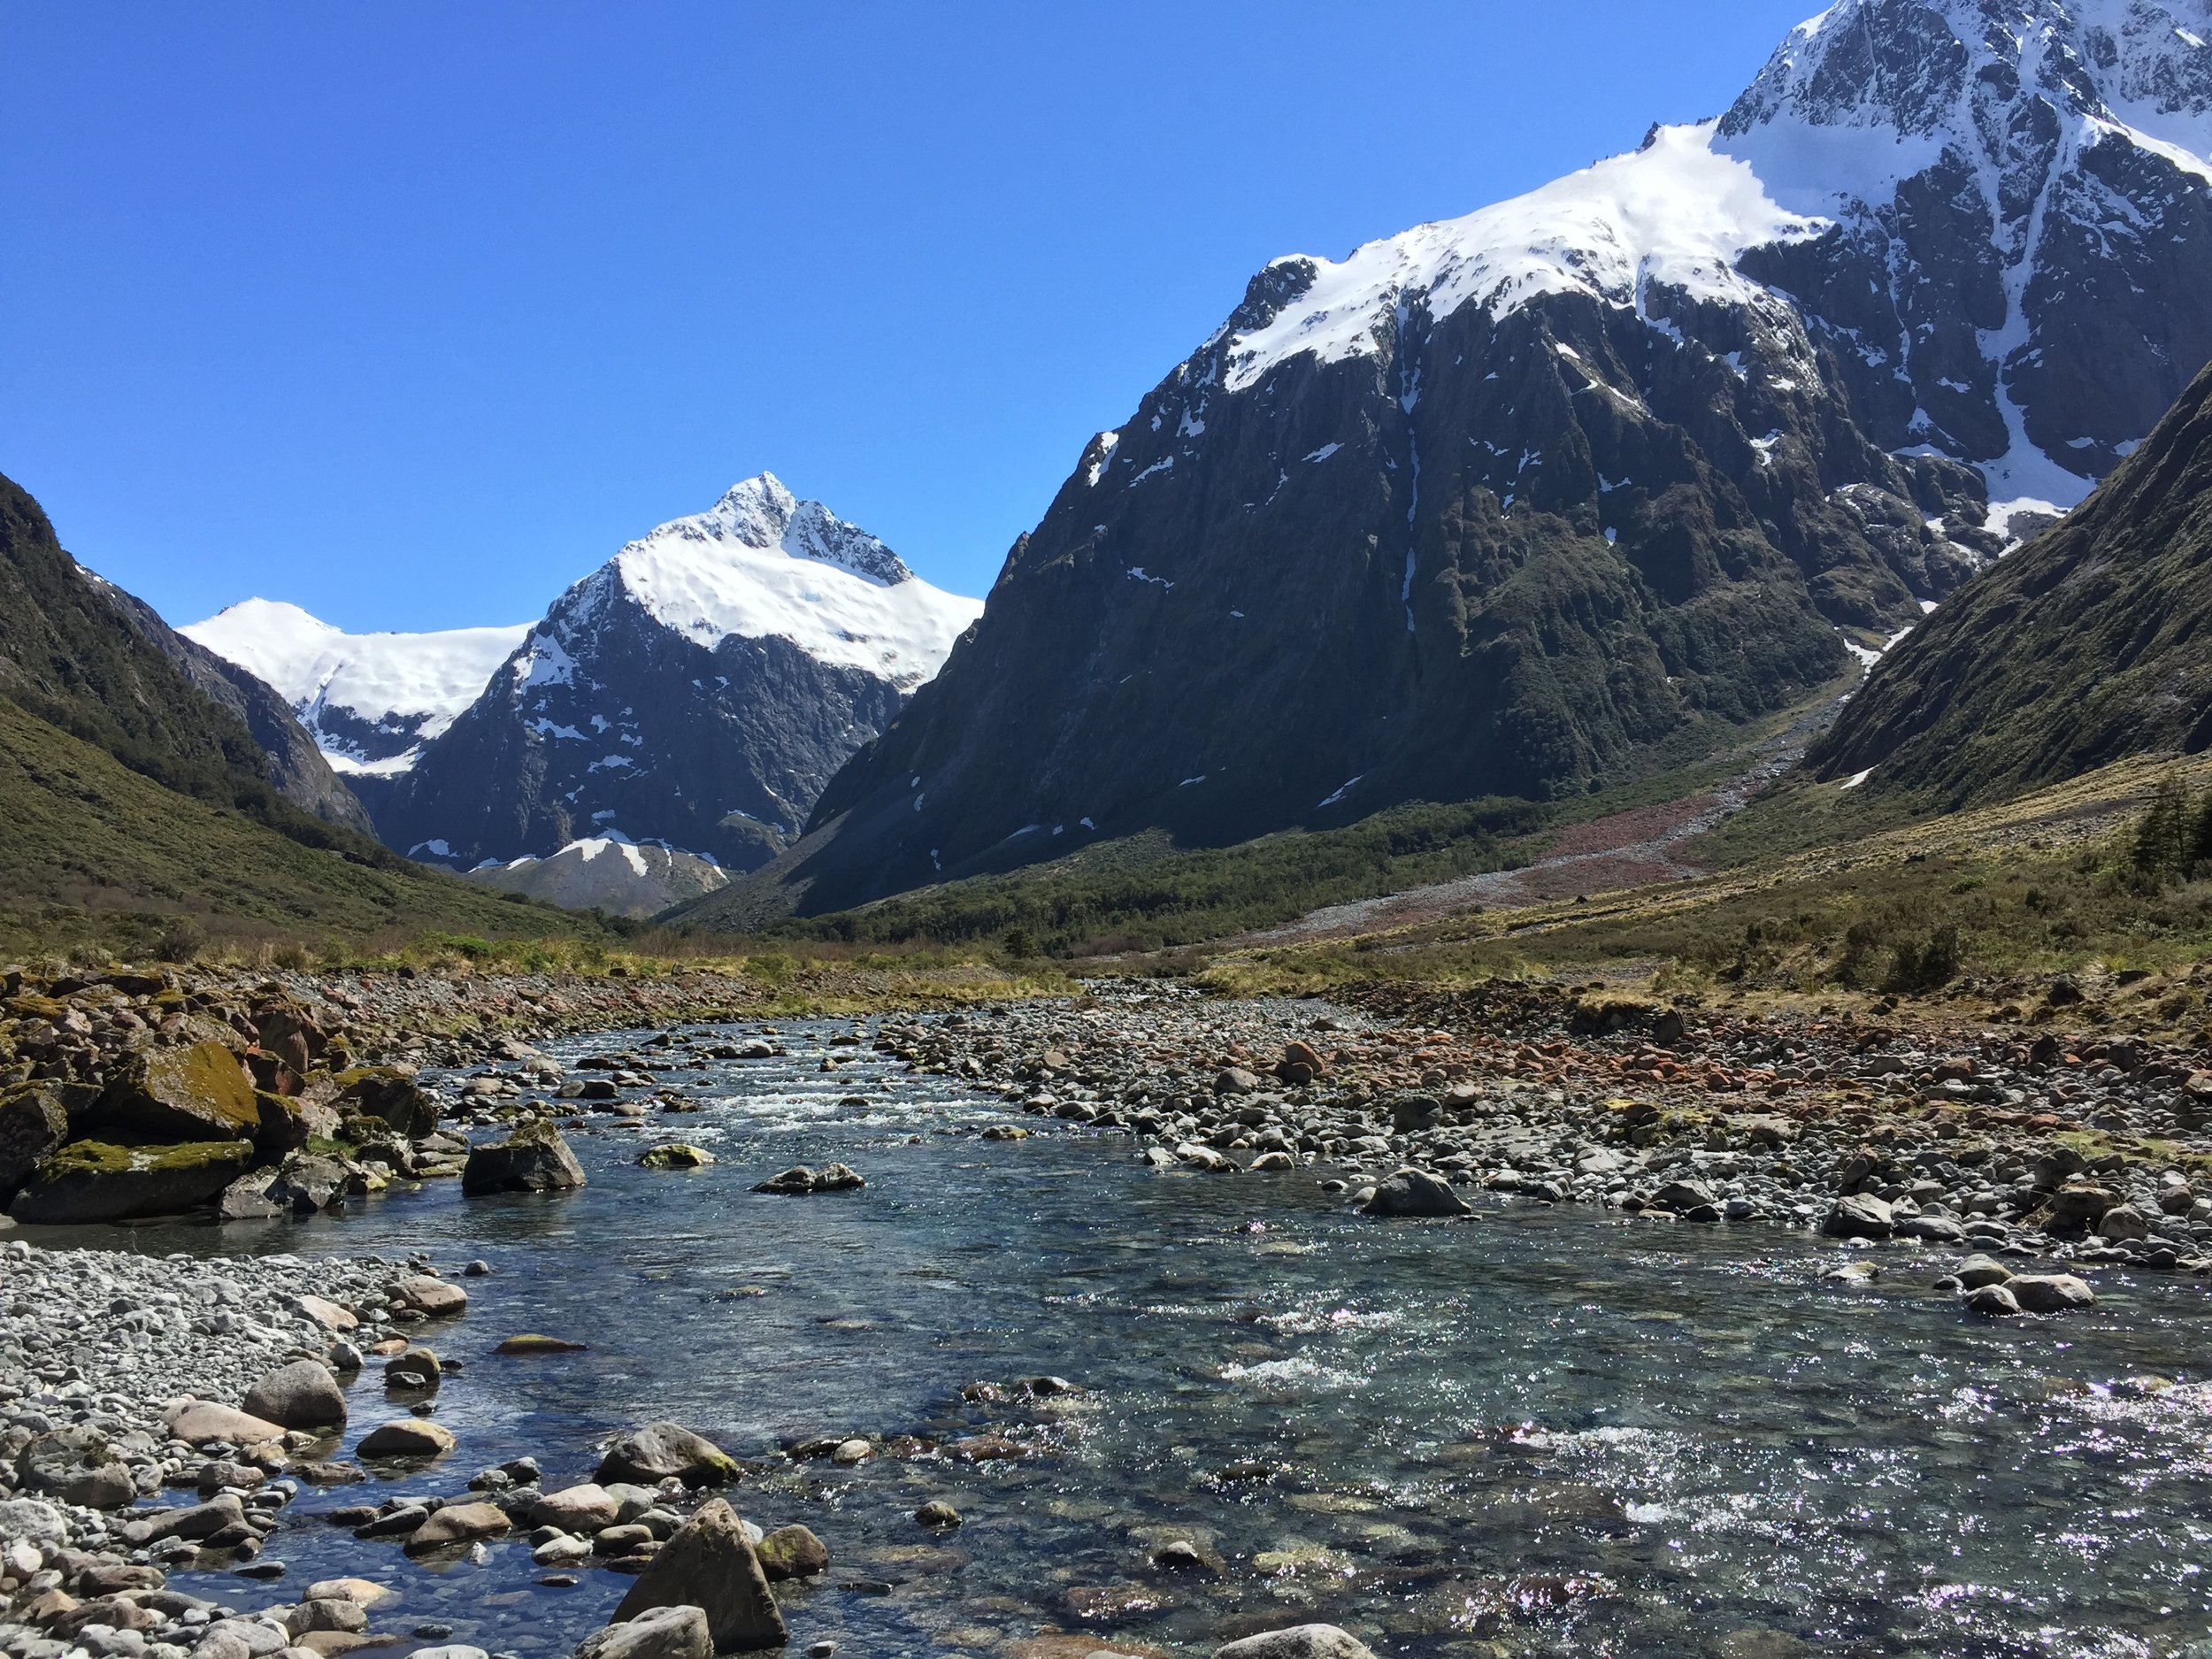
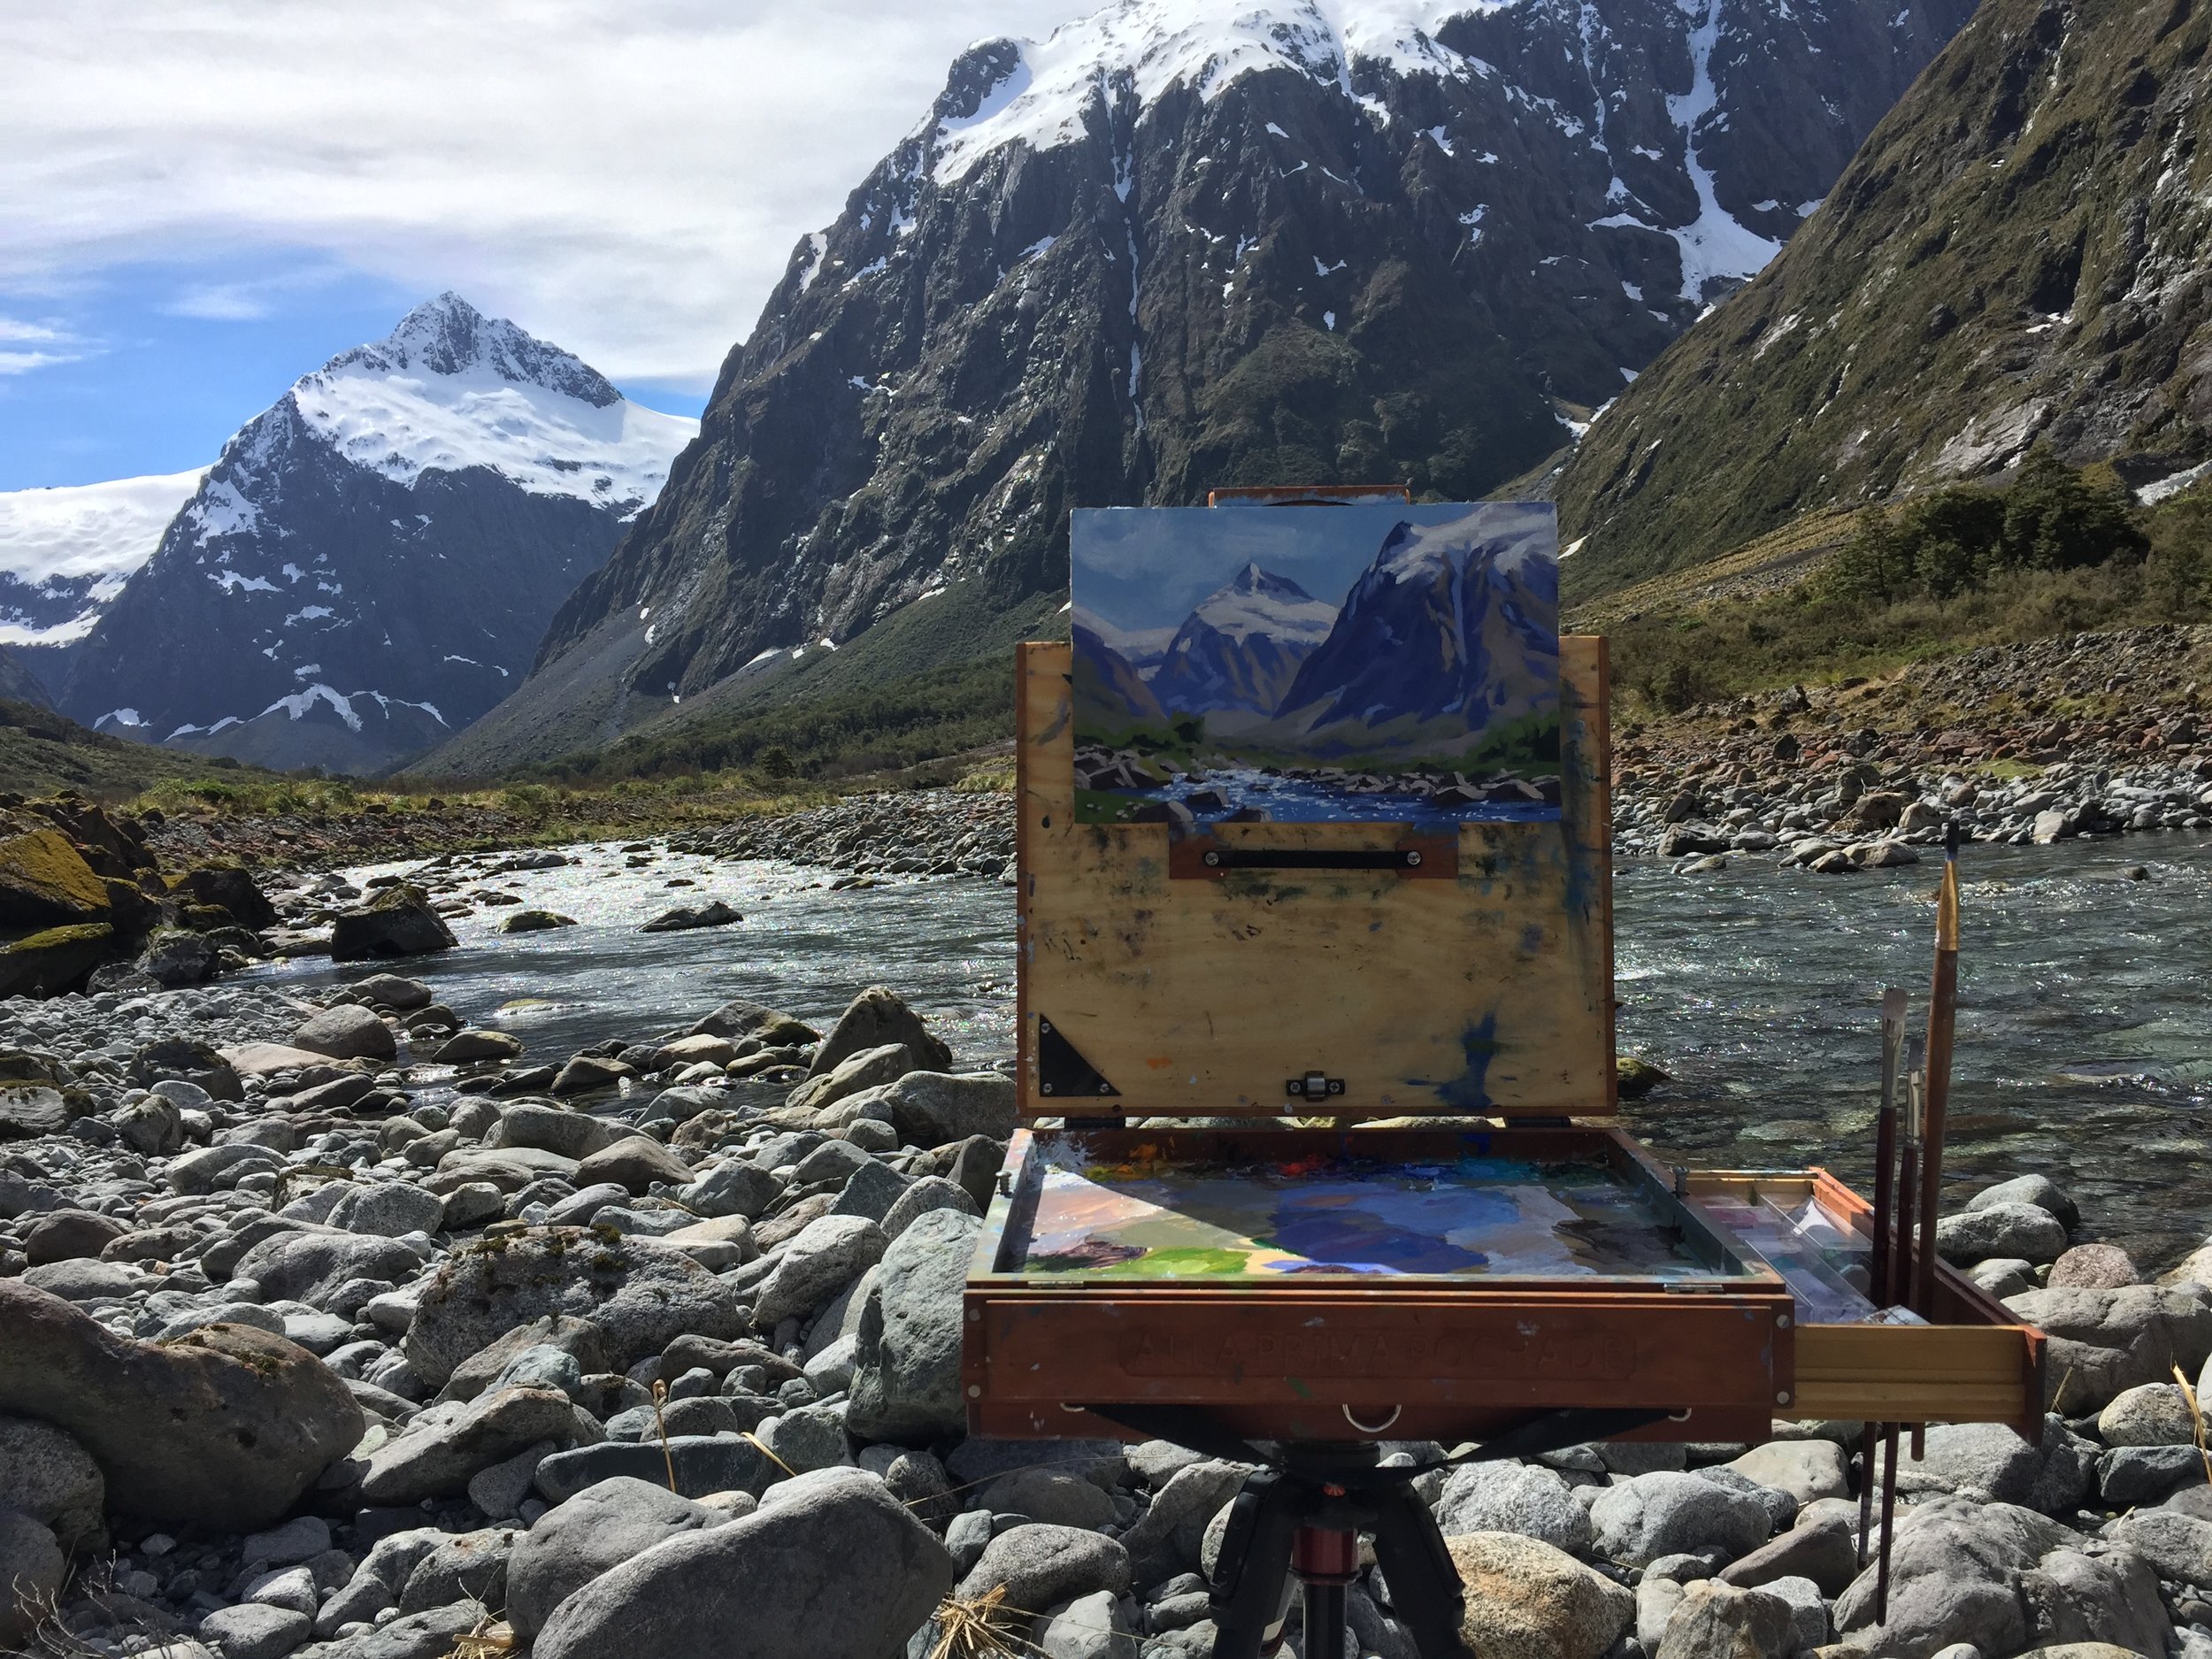
I chose this view of Mt Talbot as it forms a naturally good composition that I can see straight away would be engaging in a painting as the mountains has strong contrast between light and shadow. This is a perfect location.
EQUIPMENT
When painting outdoors I try and travel light as possible. I have a pochade box easel, specially designed for painting outdoors. The easel mounts on a camera tripod and has various compartments for storing paint and canvas panels. It also has brush holders.
The equipment I use for painting outdoors includes the following:
- Pochade box easel
- Camera tripod
- Paints
- Brushes
- Brush cleaner
- Liquin
- Paper towels
- Cloth
- Disposable nitrile gloves

MY COLOUR PALETTE
I painted this artwork using oil paint and the colours I used in this painting are as follows:
- Titanium White
- Cadmium yellow
- Cadmium Yellow Deep
- Yellow Oxide
- Burnt Sienna
- Burnt Umber
- Cadmium Red Light
- Quinacridone Magenta
- Ultramarine Blue
- Cobalt Blue
- Cobalt Teal
- Pthalo Green
PAINTING THE MOUNTAINS – STEP BY STEP
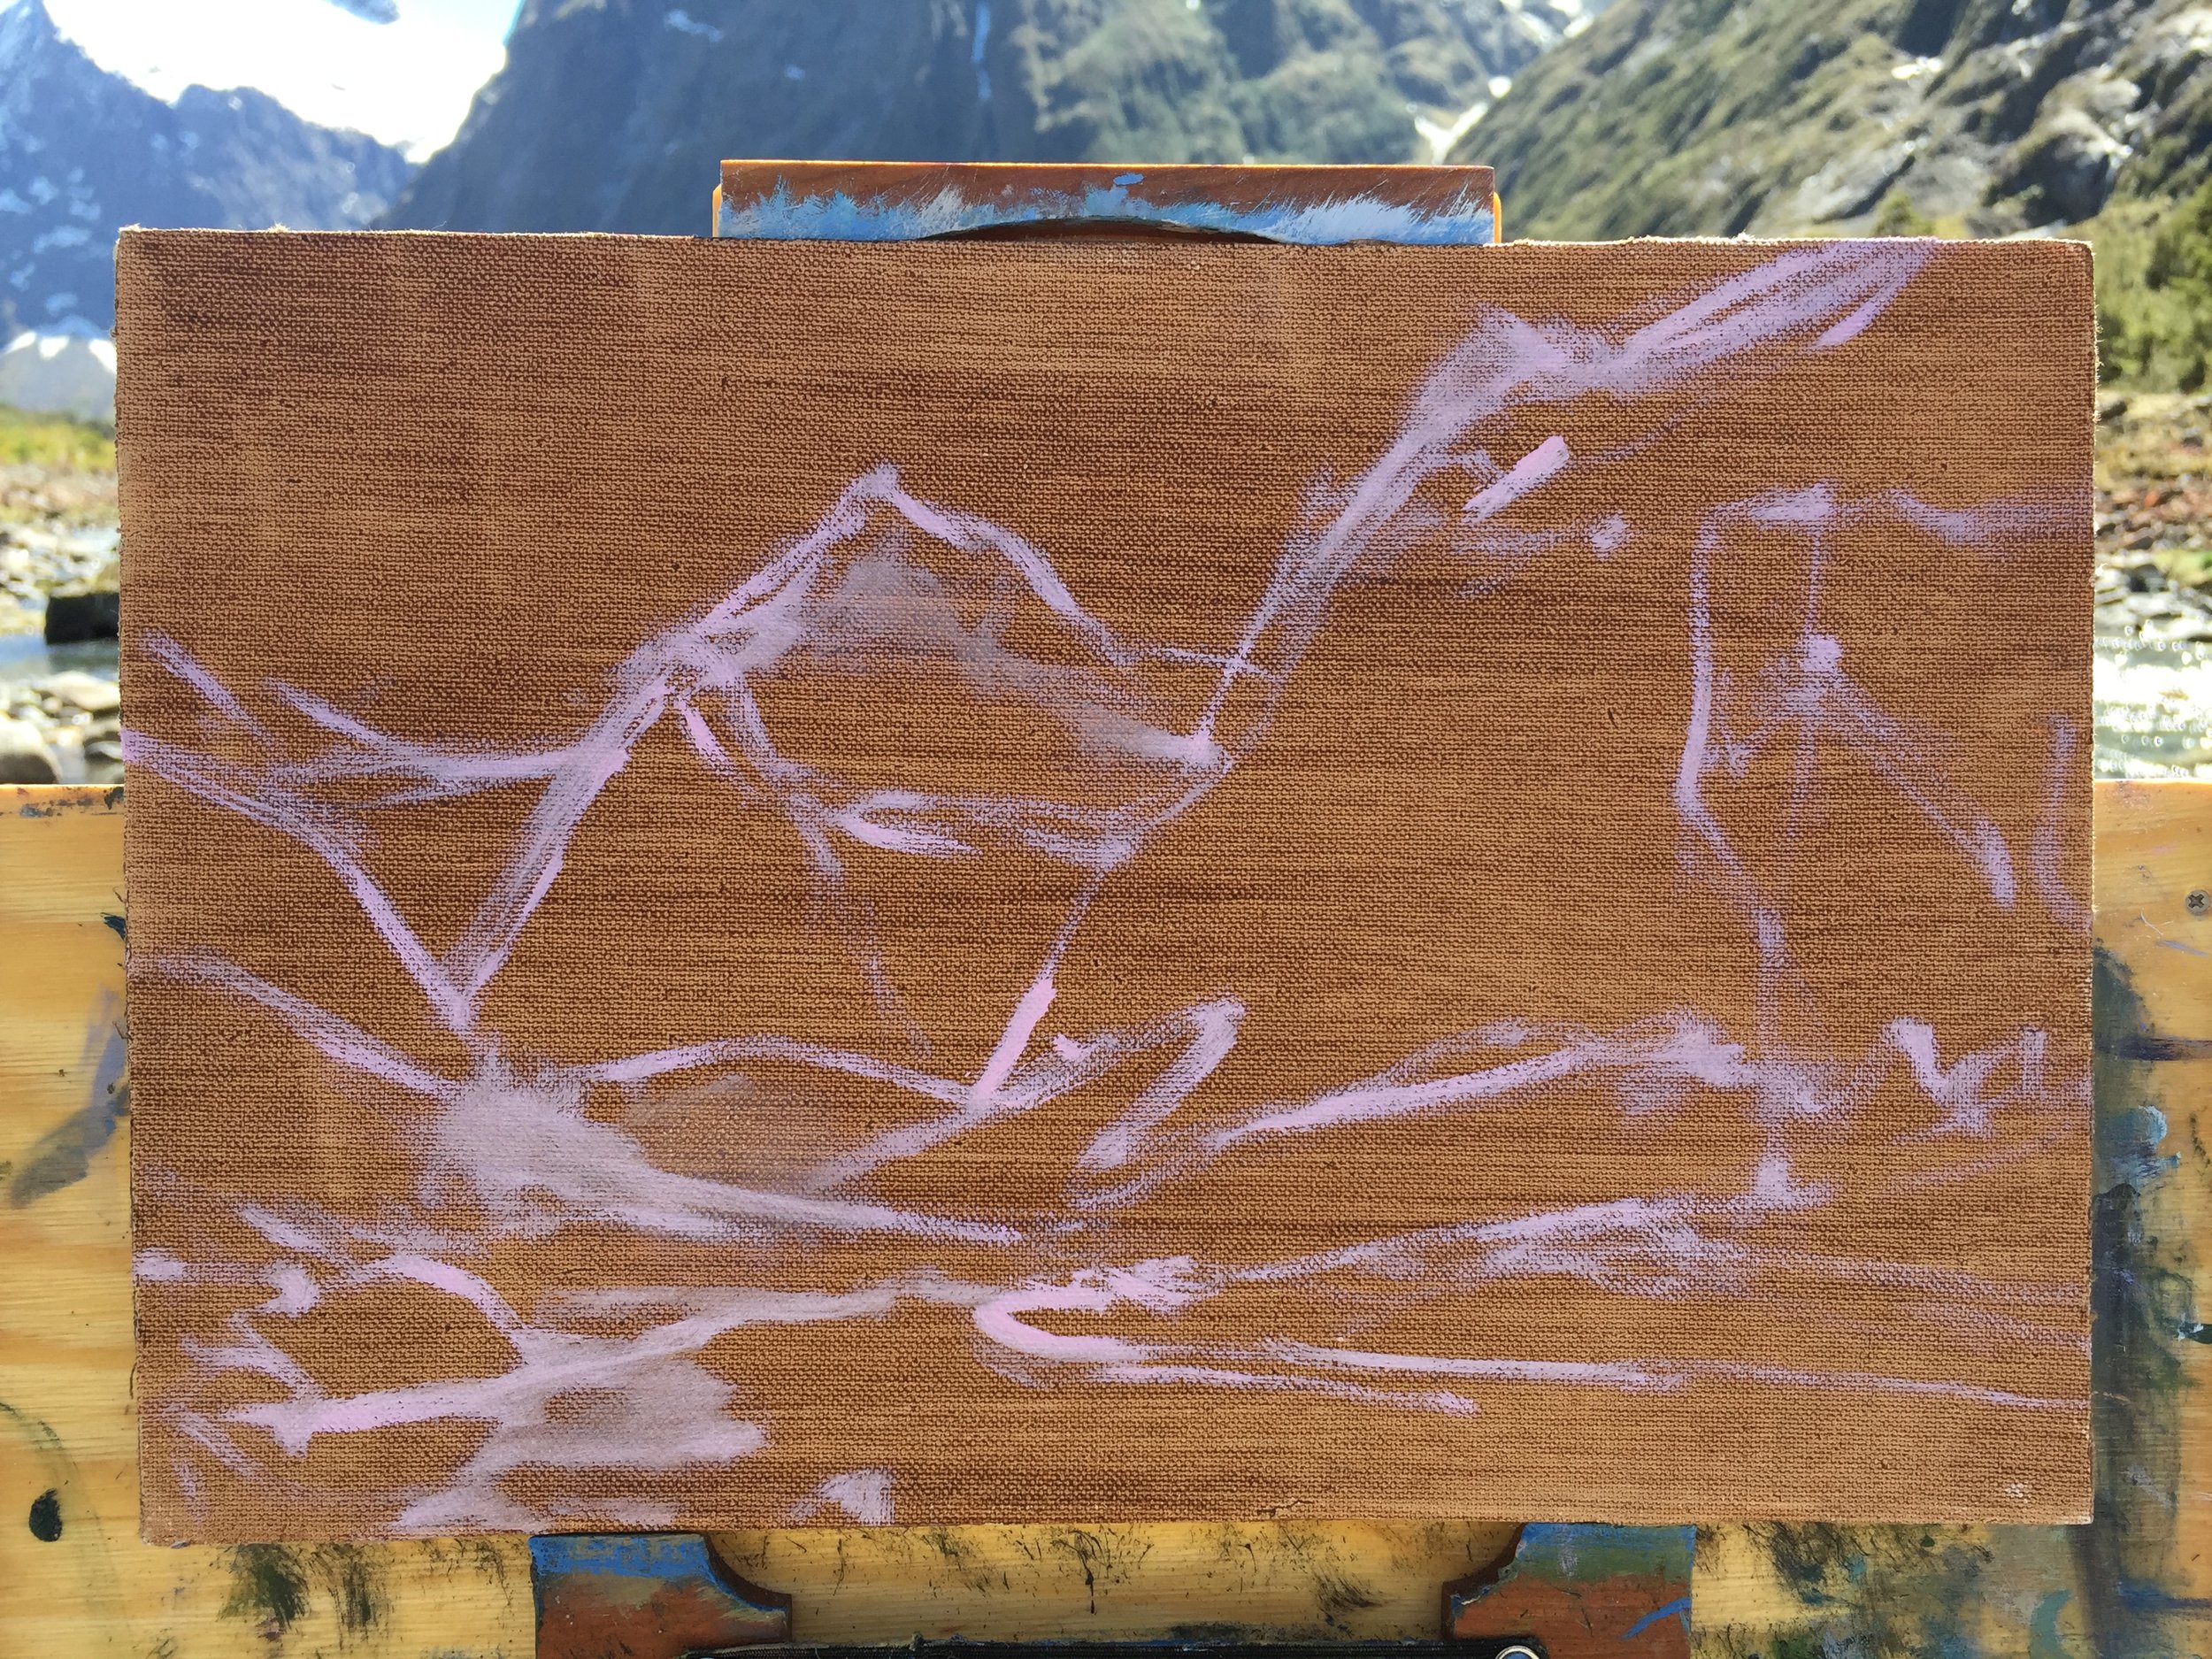
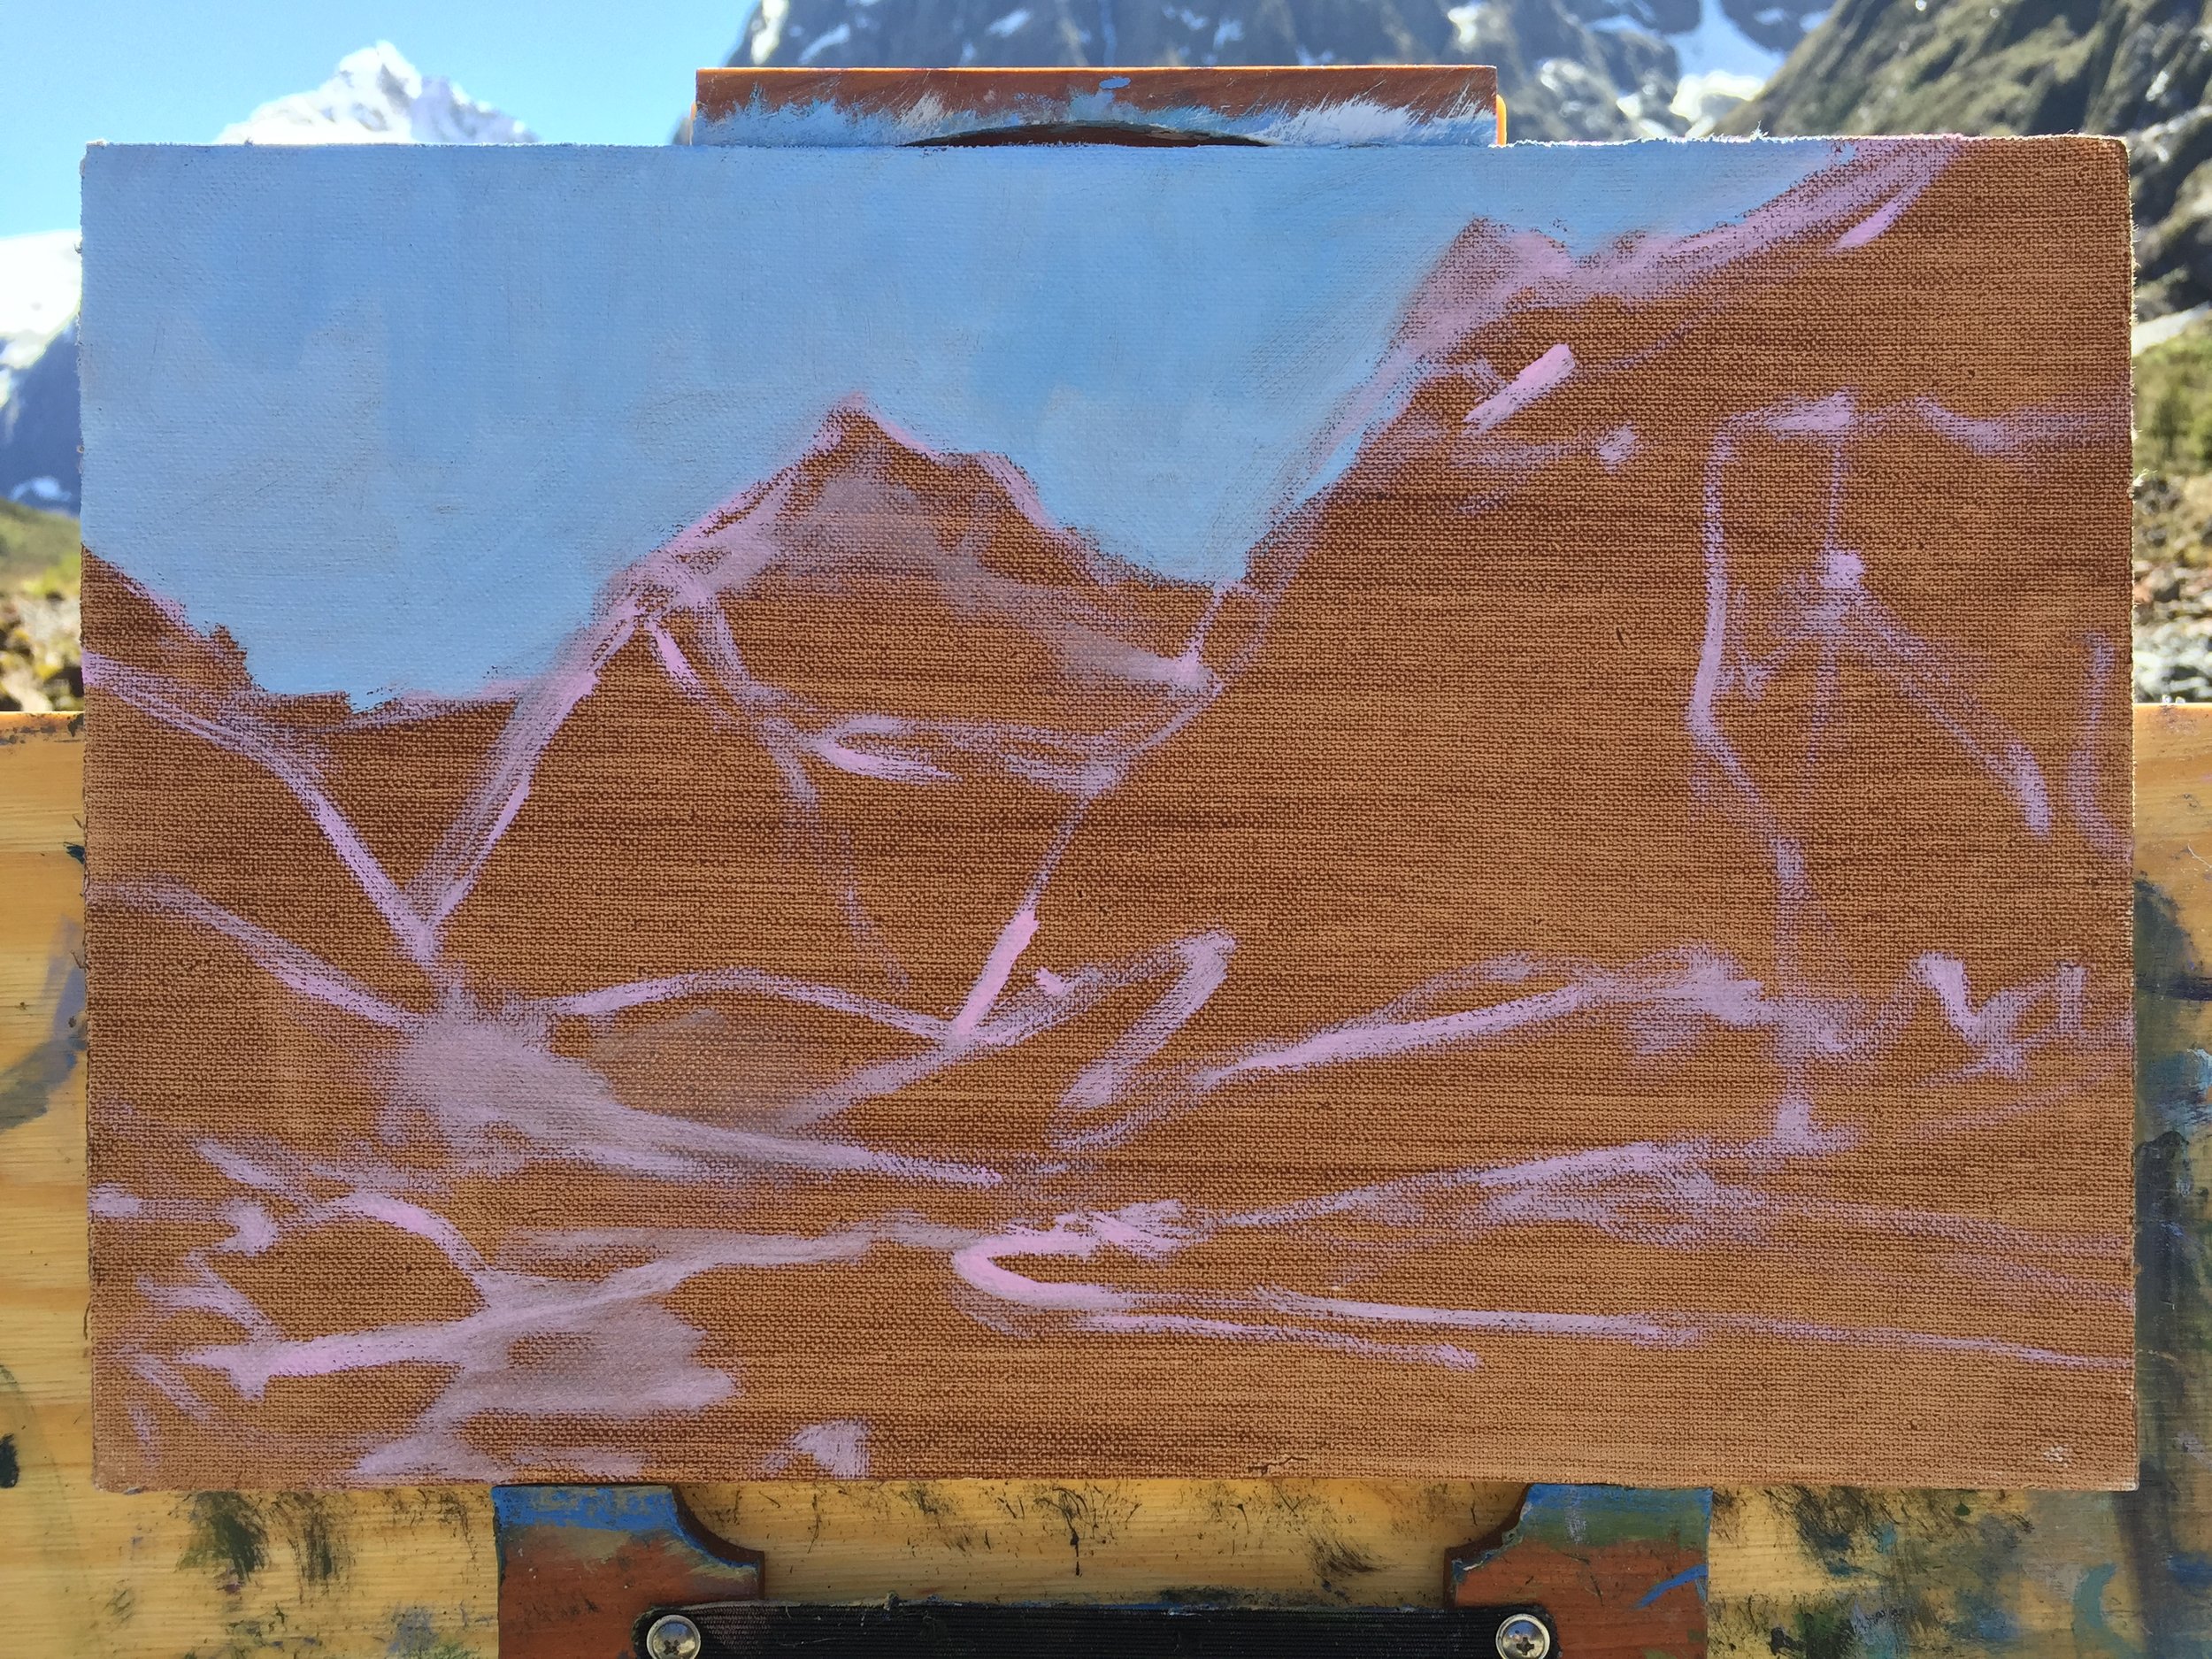
I’m painting on a canvas panel which previously prepared myself in the studio which consists of 6mm plywood board with canvas glued to the surface with PVA.
I prepared the surface with a layer of burnt umber which warms up the canvas as it comes through the paint layers. It also makes it easier to establishment of colour and tone as there is much less of a distorting effect which can result from white canvas.
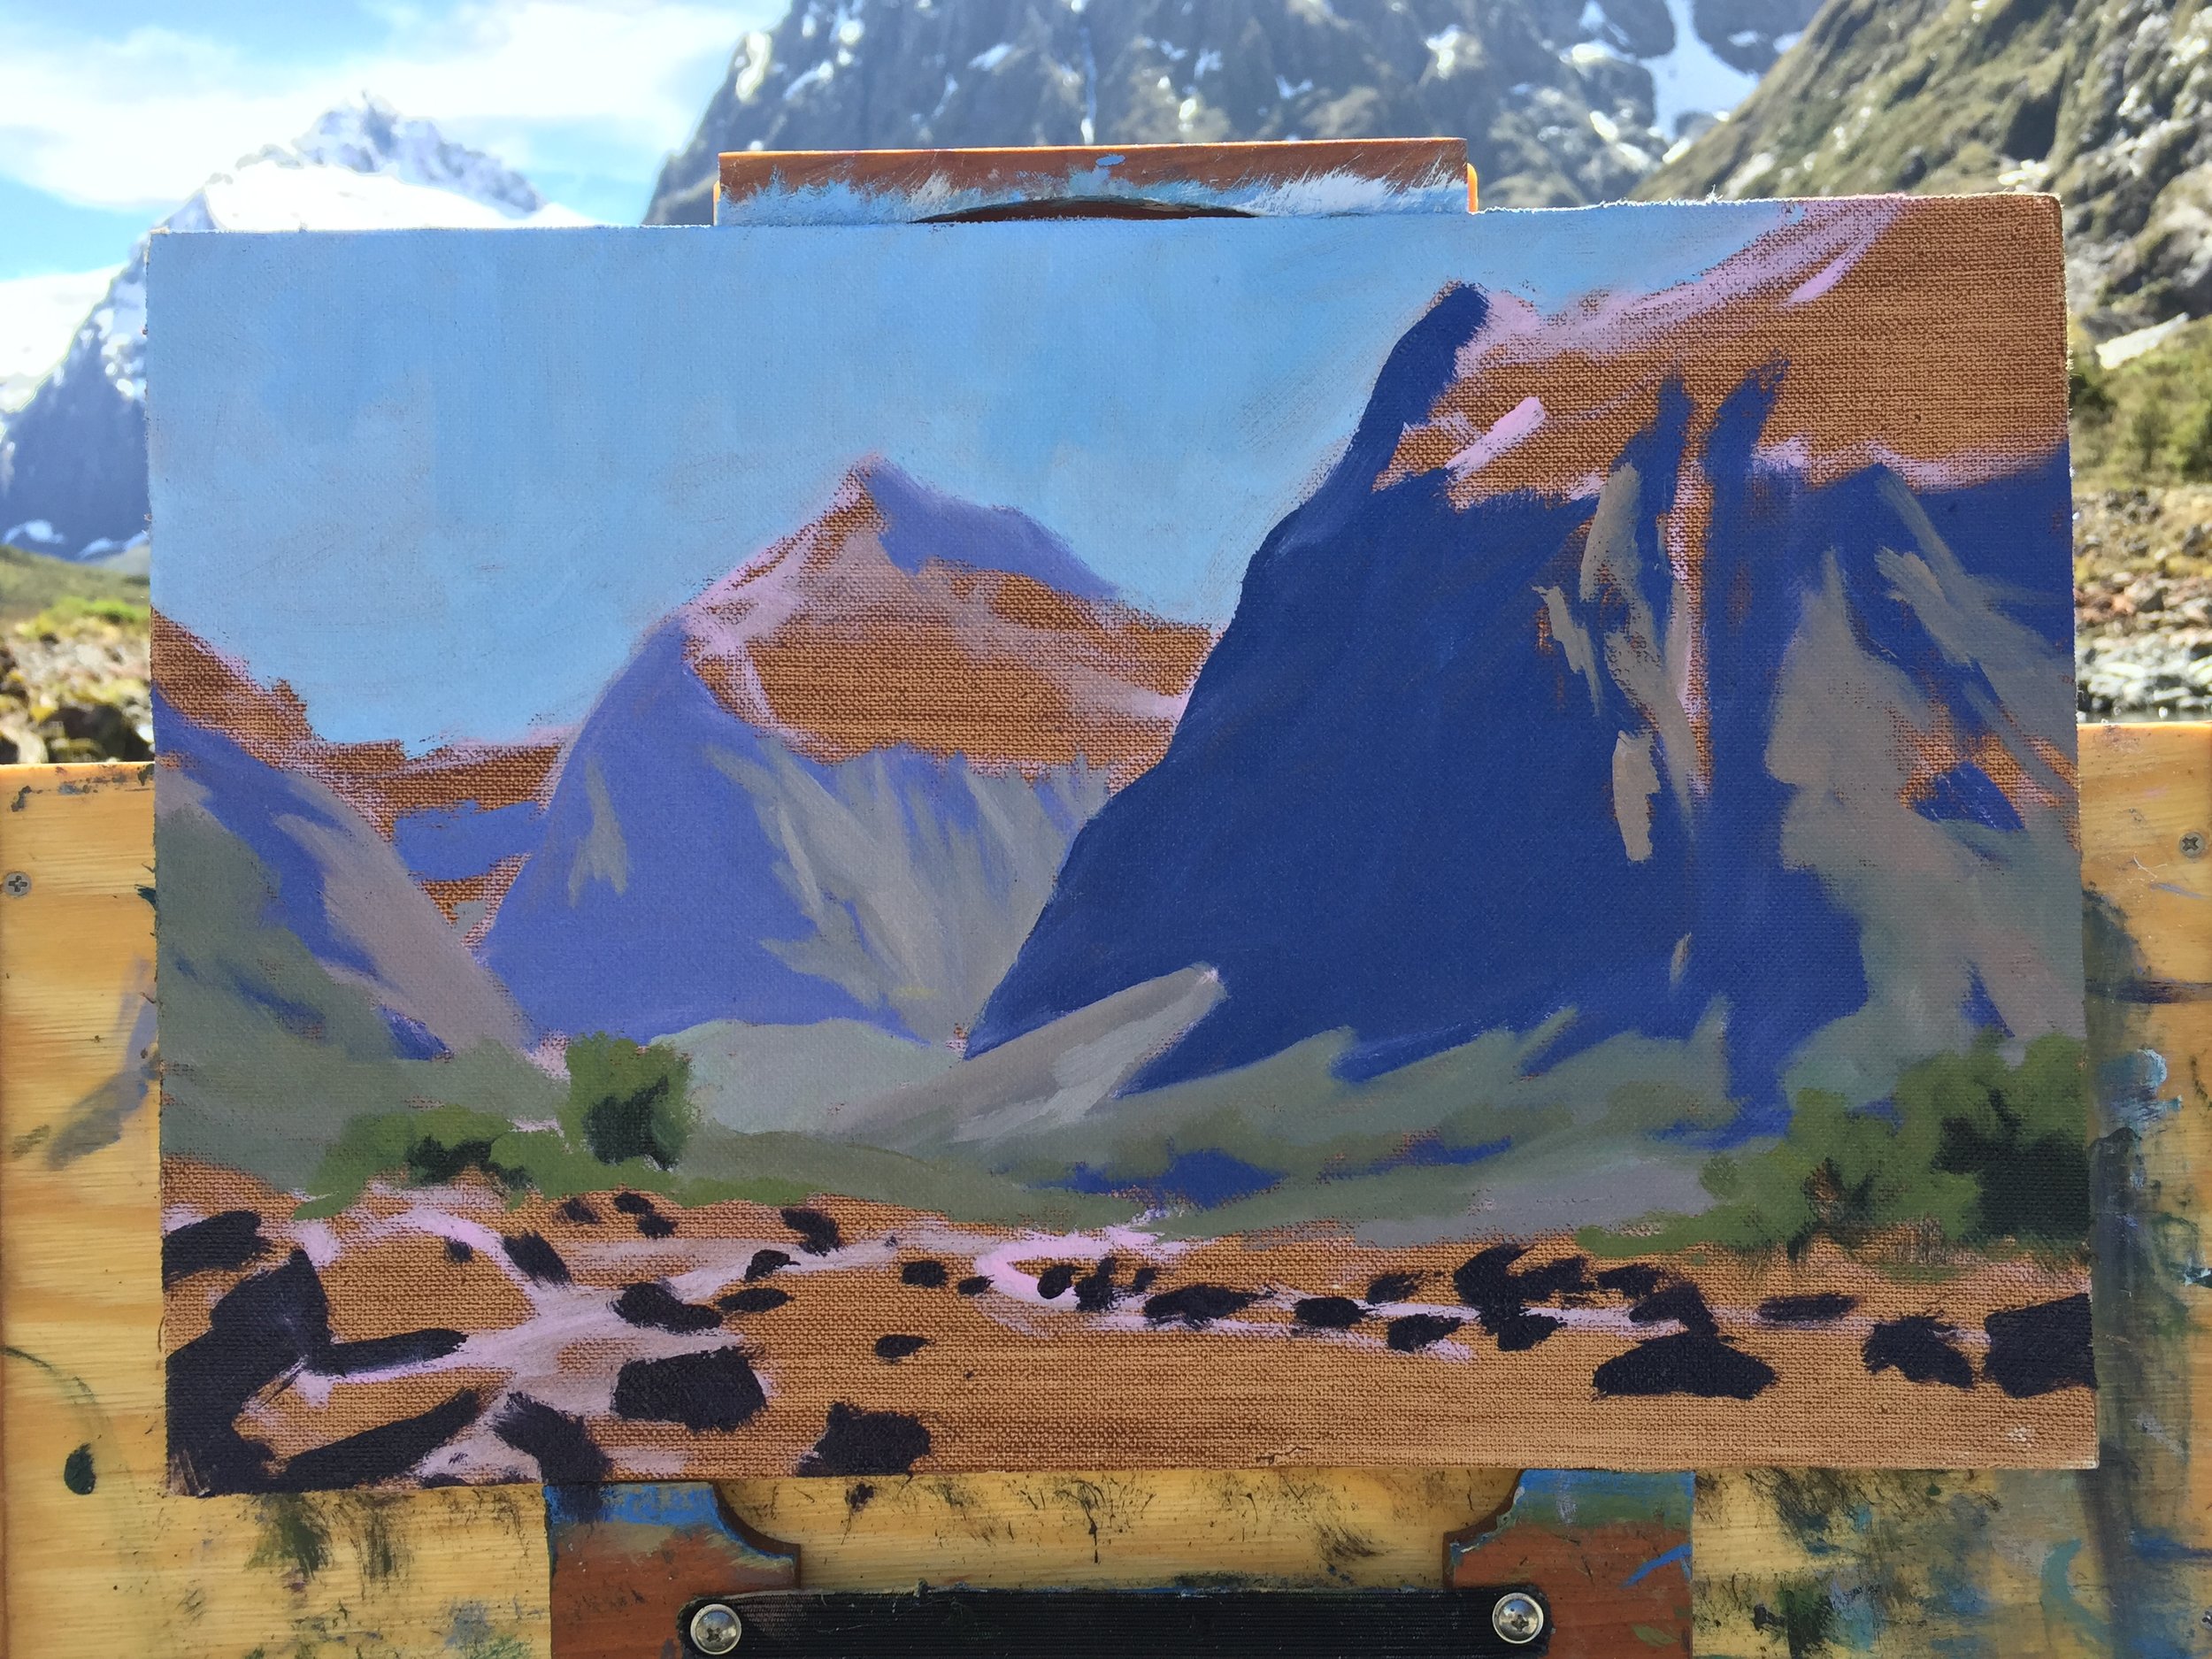
I sketch out the scene with titanium white mixed with a little quinacridone magenta and Liquin.
Given the light angles will quickly change and indeed so can the weather I need to work quickly. I start by painting the sky which I mix using cobalt blue, a little cobalt teal, a little ultramarine blue and titanium white.
I am using mostly flat bristle brushes which are much better suited to painting outdoors than fine brushes.
Now that my sky is established I can use this to gauge the tonality of the rest of my painting. I now need to get my dark tones in as quickly as possible then it doesn’t matter if the light or weather conditions change.
I always prefer to start by painting the sky and then getting the rest of my darks established, however many plein air painters establish their dark tones first even before painting the sky. I don’t think there is a right or wrong way of doing this, experiment with both and see what works for you.
I establish the shadows in the distant mountain which is also the focal point of the painting. The light in New Zealand is very strong and causes colours to fade out into a vibrant blue / violet tone which I have noticed is more prominent than in Europe. The day I painted this scene was no exception so I mixed cobalt teal with quinacridone magenta and titanium white and then rounded off the mixture with cobalt blue.
The combination of cobalt teal and quinacridone magenta forms a rich violet colour as the green in the cobalt teal being the opposite on the colour wheel to the red in the quinacridone magenta, cancel each other out.
I use the same colour combination for the rock face of Mt Crosscut, the large mountain on the right of the painting. I have to be careful that I don’t use over saturated colours which sometimes I’m on the narrowest of tiny margins of because I have a natural tendency towards bright vibrant colours. If my colour is too saturated I can knock it back with a little burnt umber.
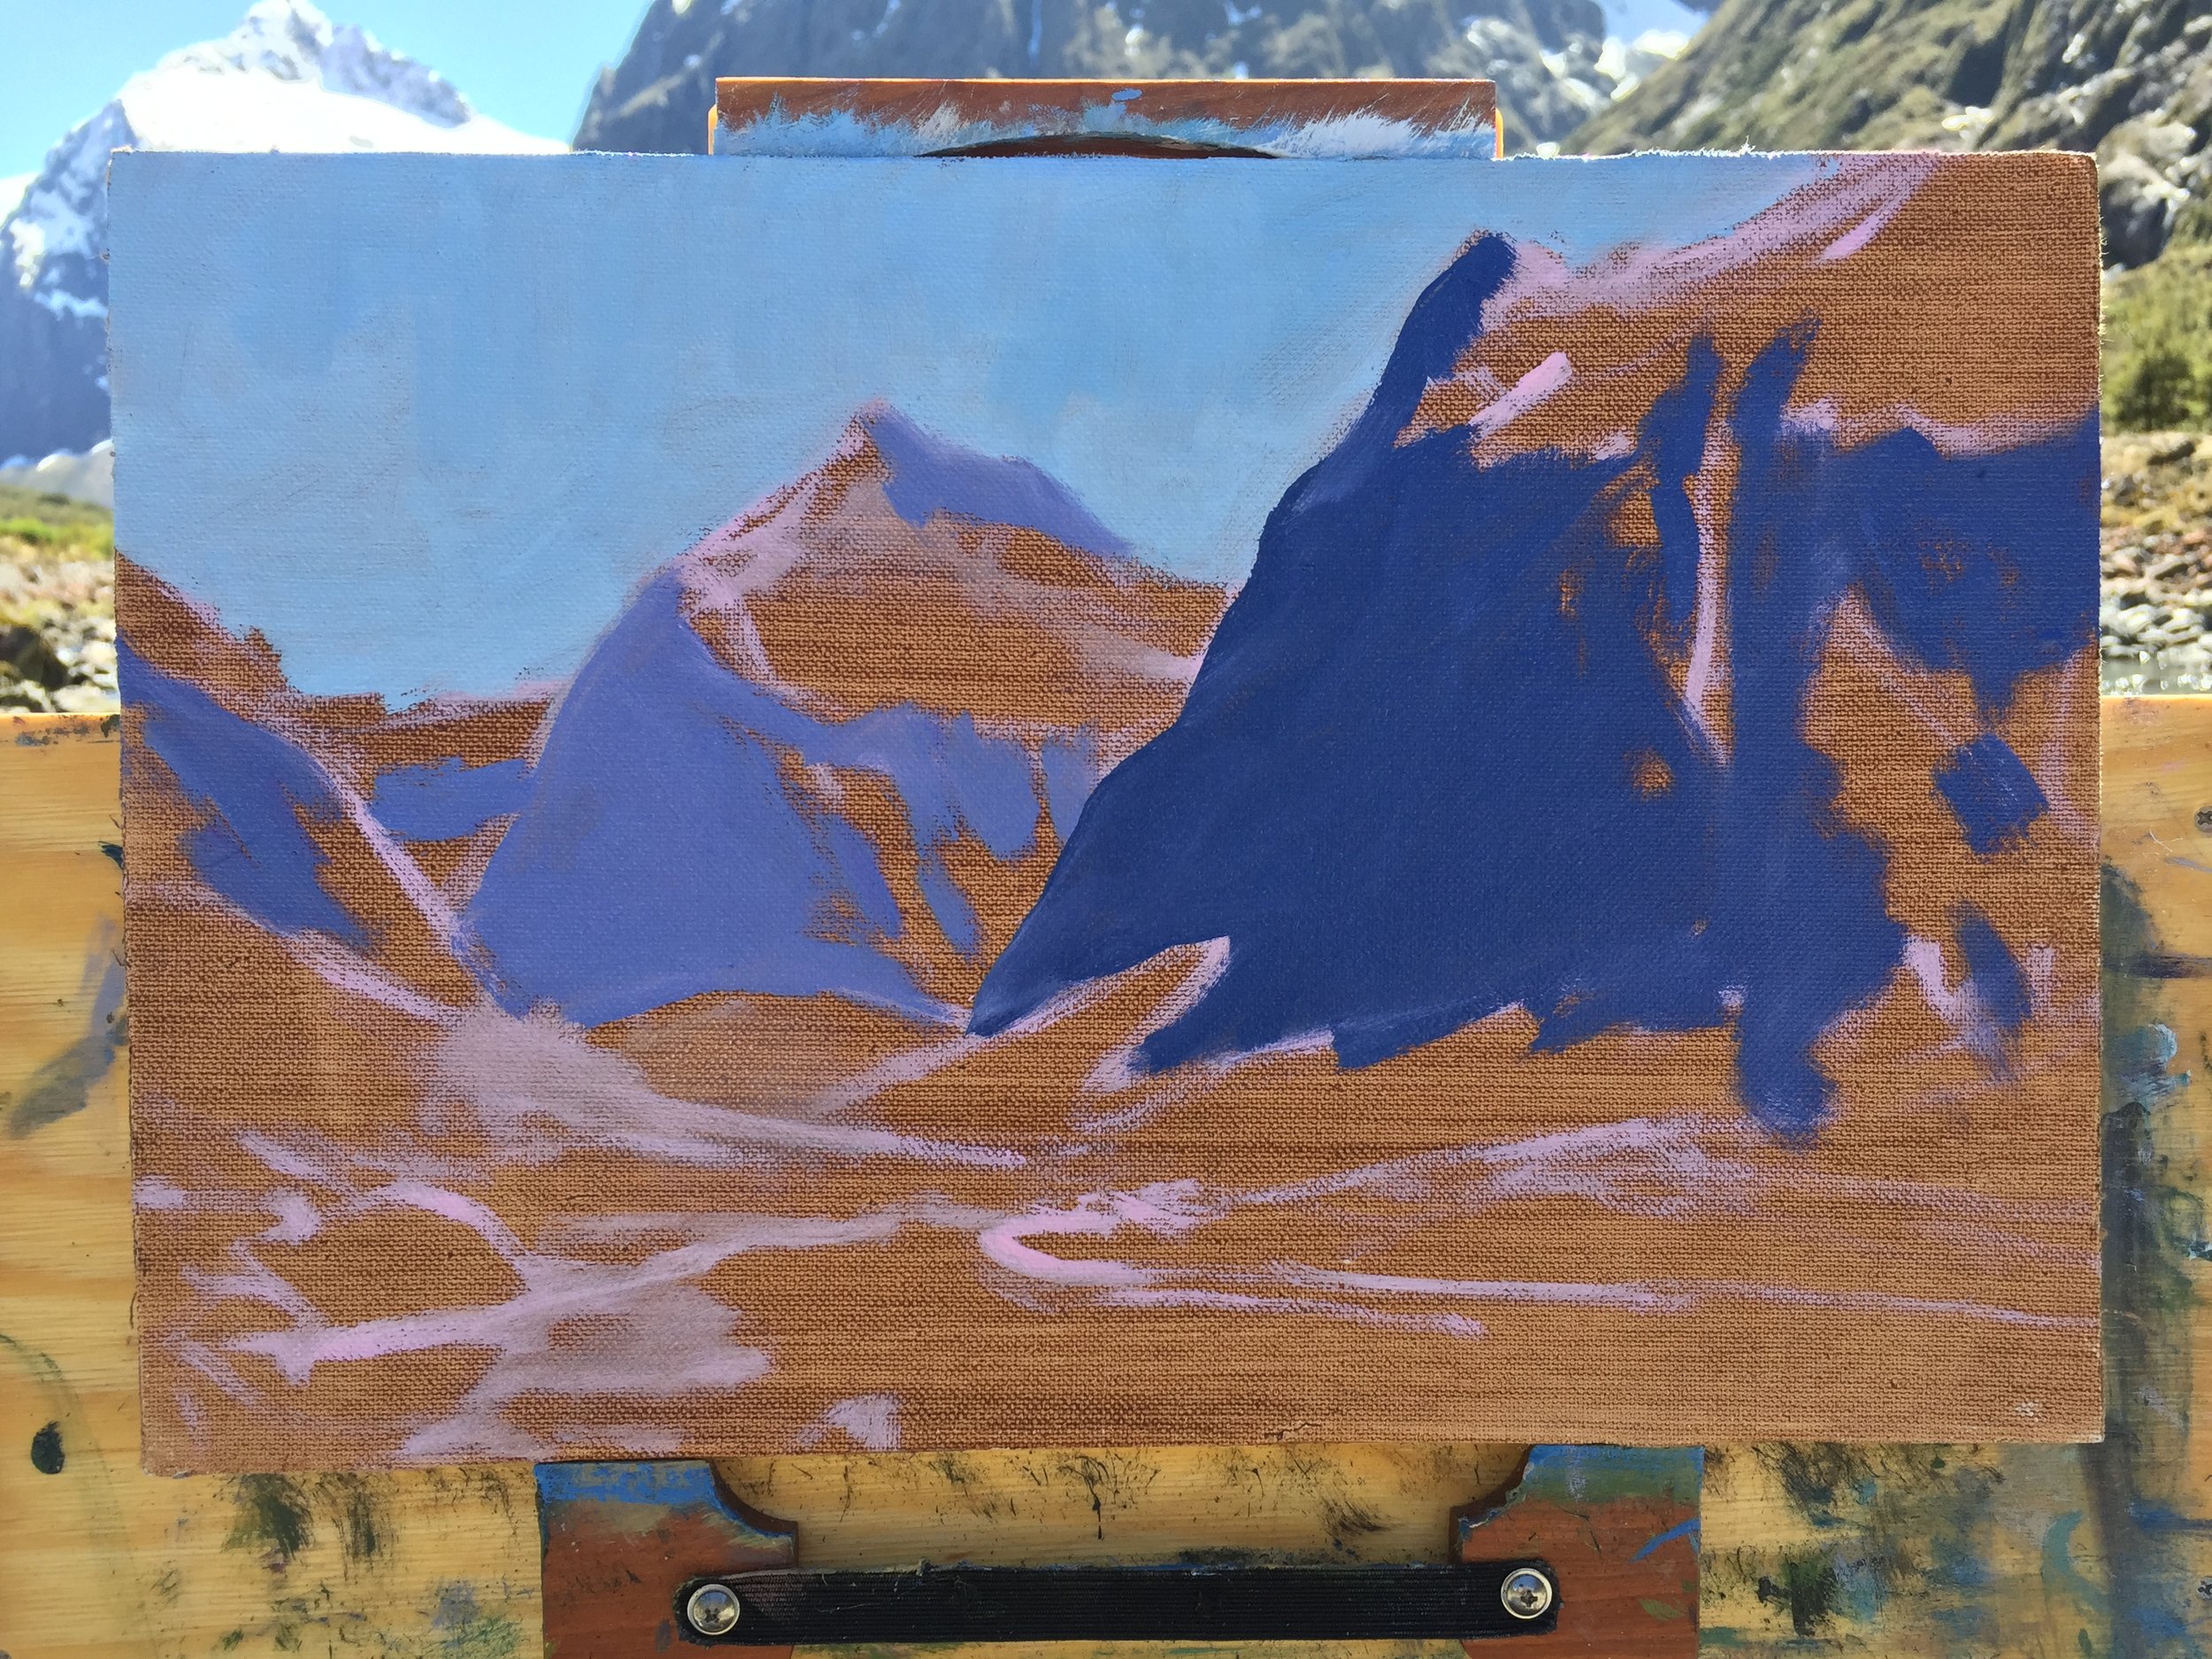
Next I establish the tree and rock shadows in the foreground. My shadows will be darkest and highlights lightest in the foreground as tonal range is at its highest. For distance landforms the tonal scale is much narrower so darks are not that dark and lights aren’t at the lightest either, they fall in the mid tone area of the scale.
I mix the rock shadows with burnt umber and ultramarine blue which forms a near black and for the trees I also add pthalo green to the mix with a tiny amount of titanium white.
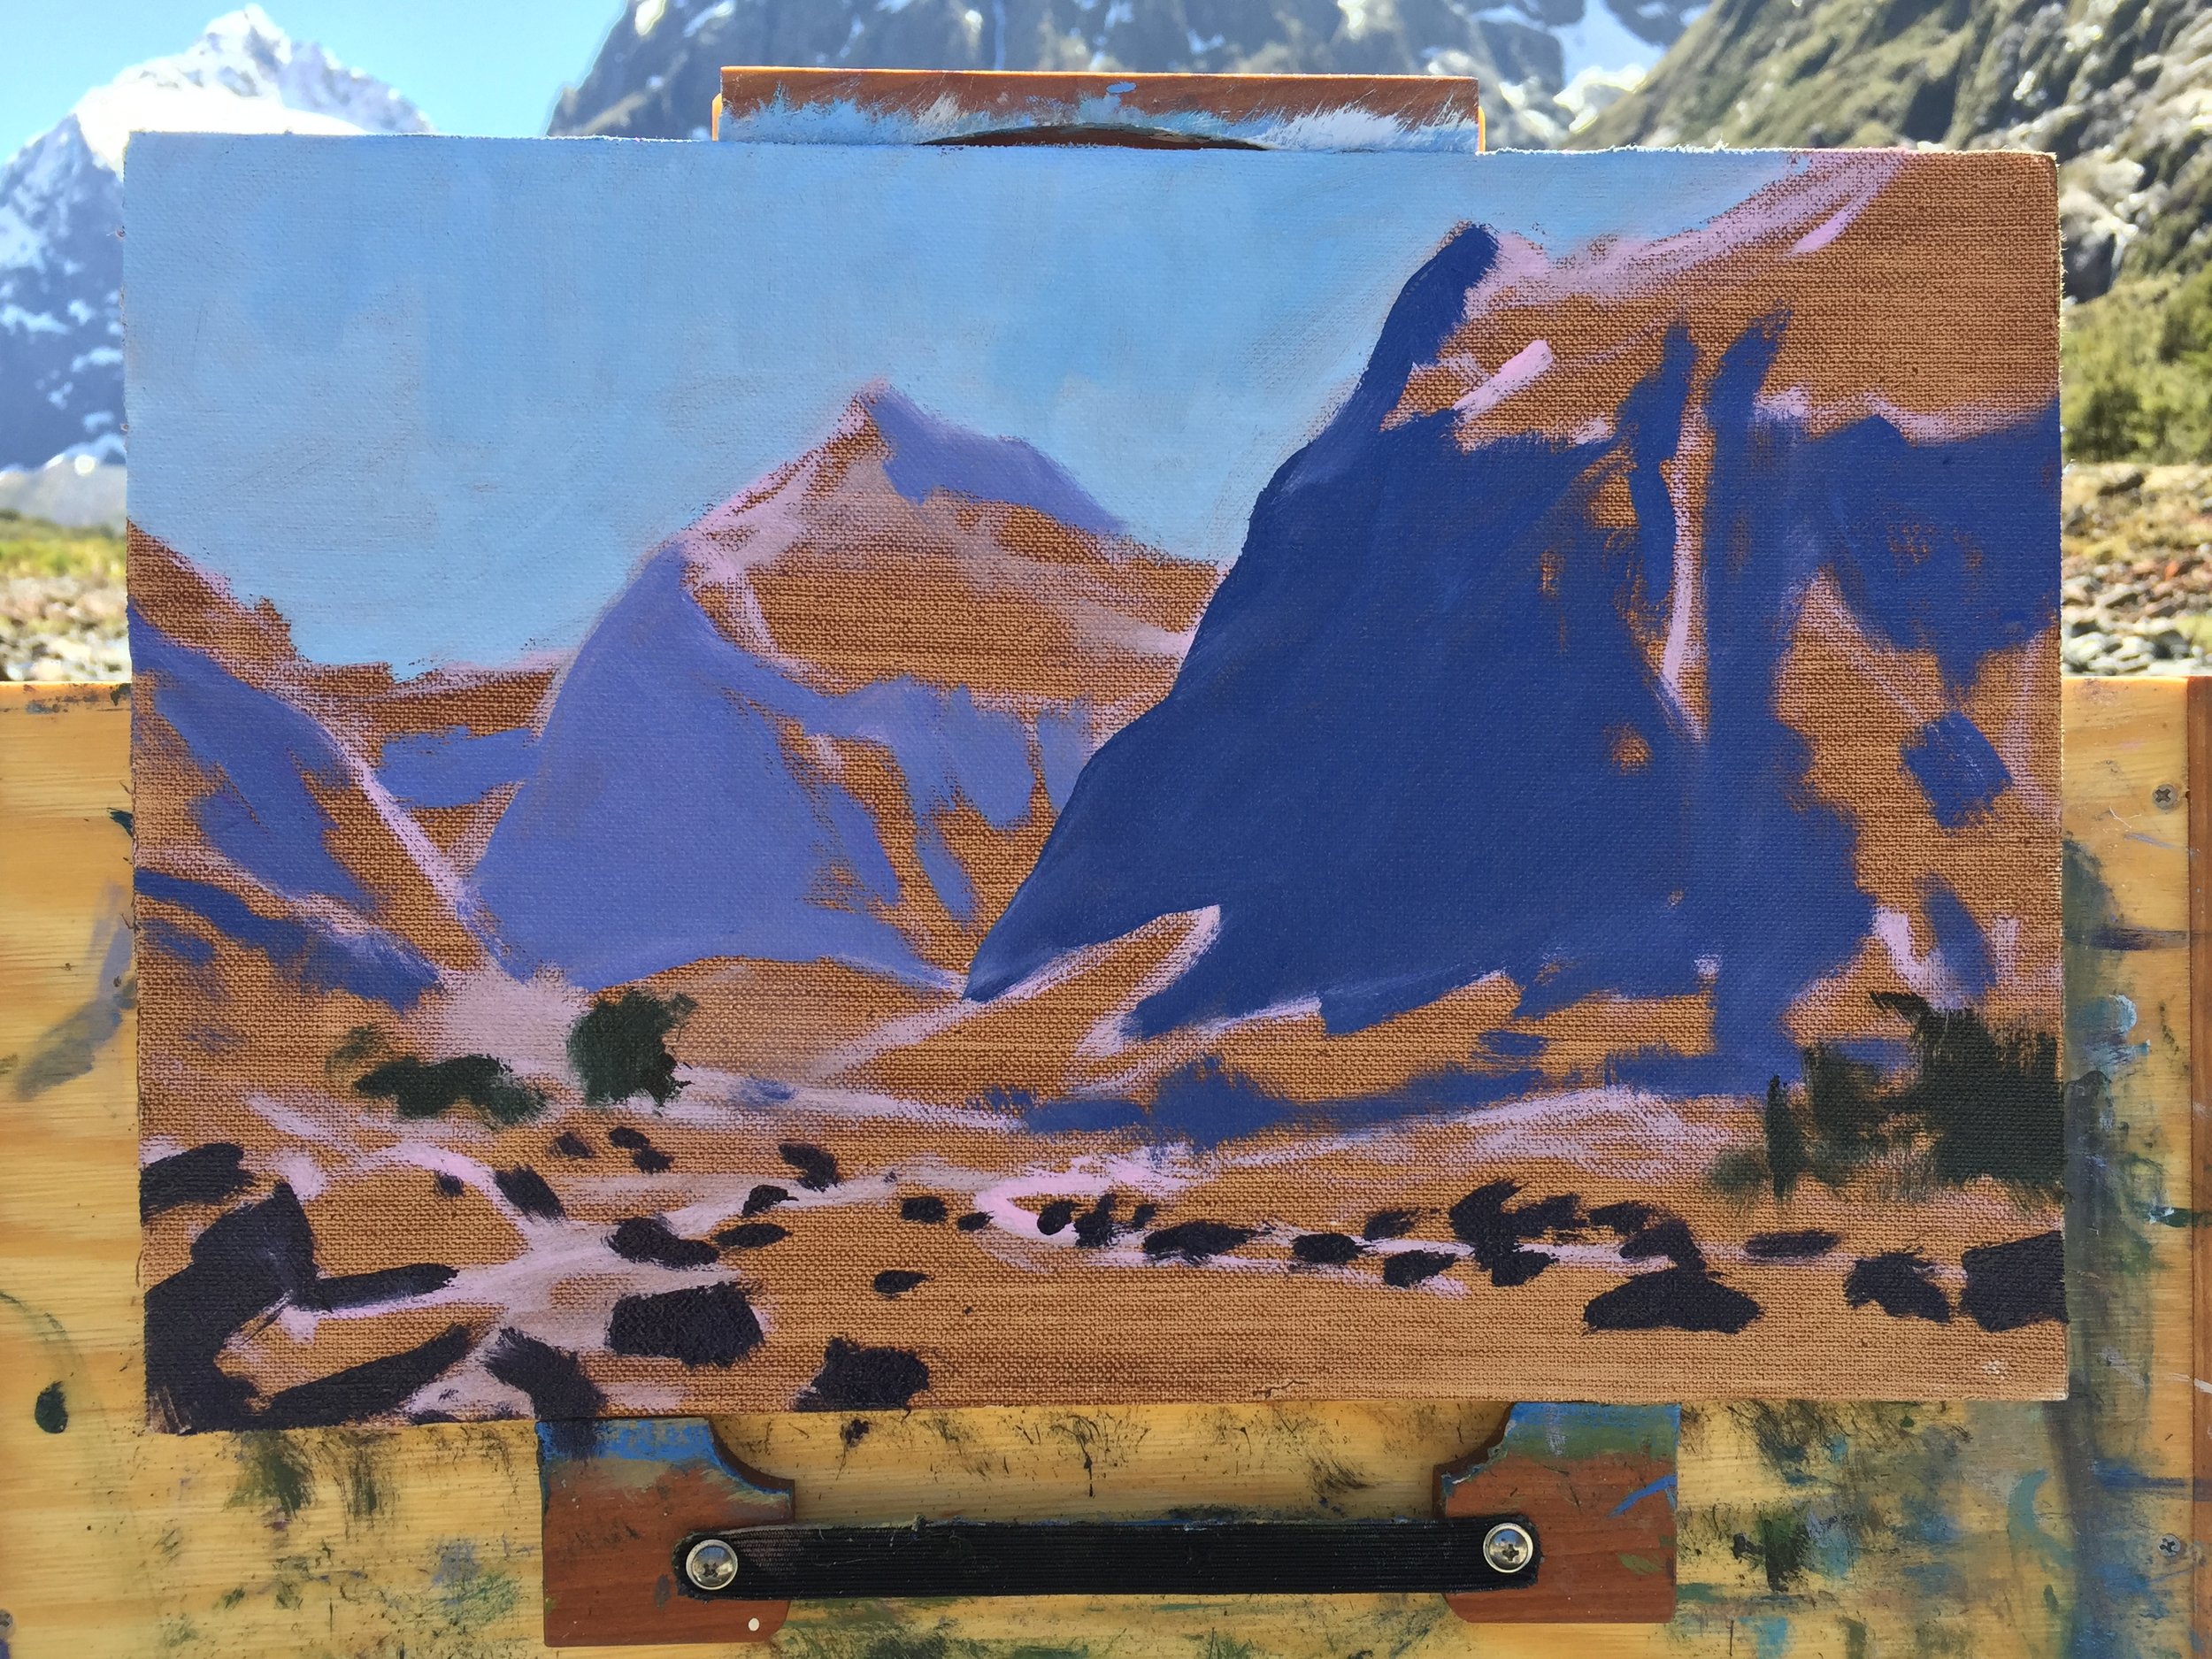
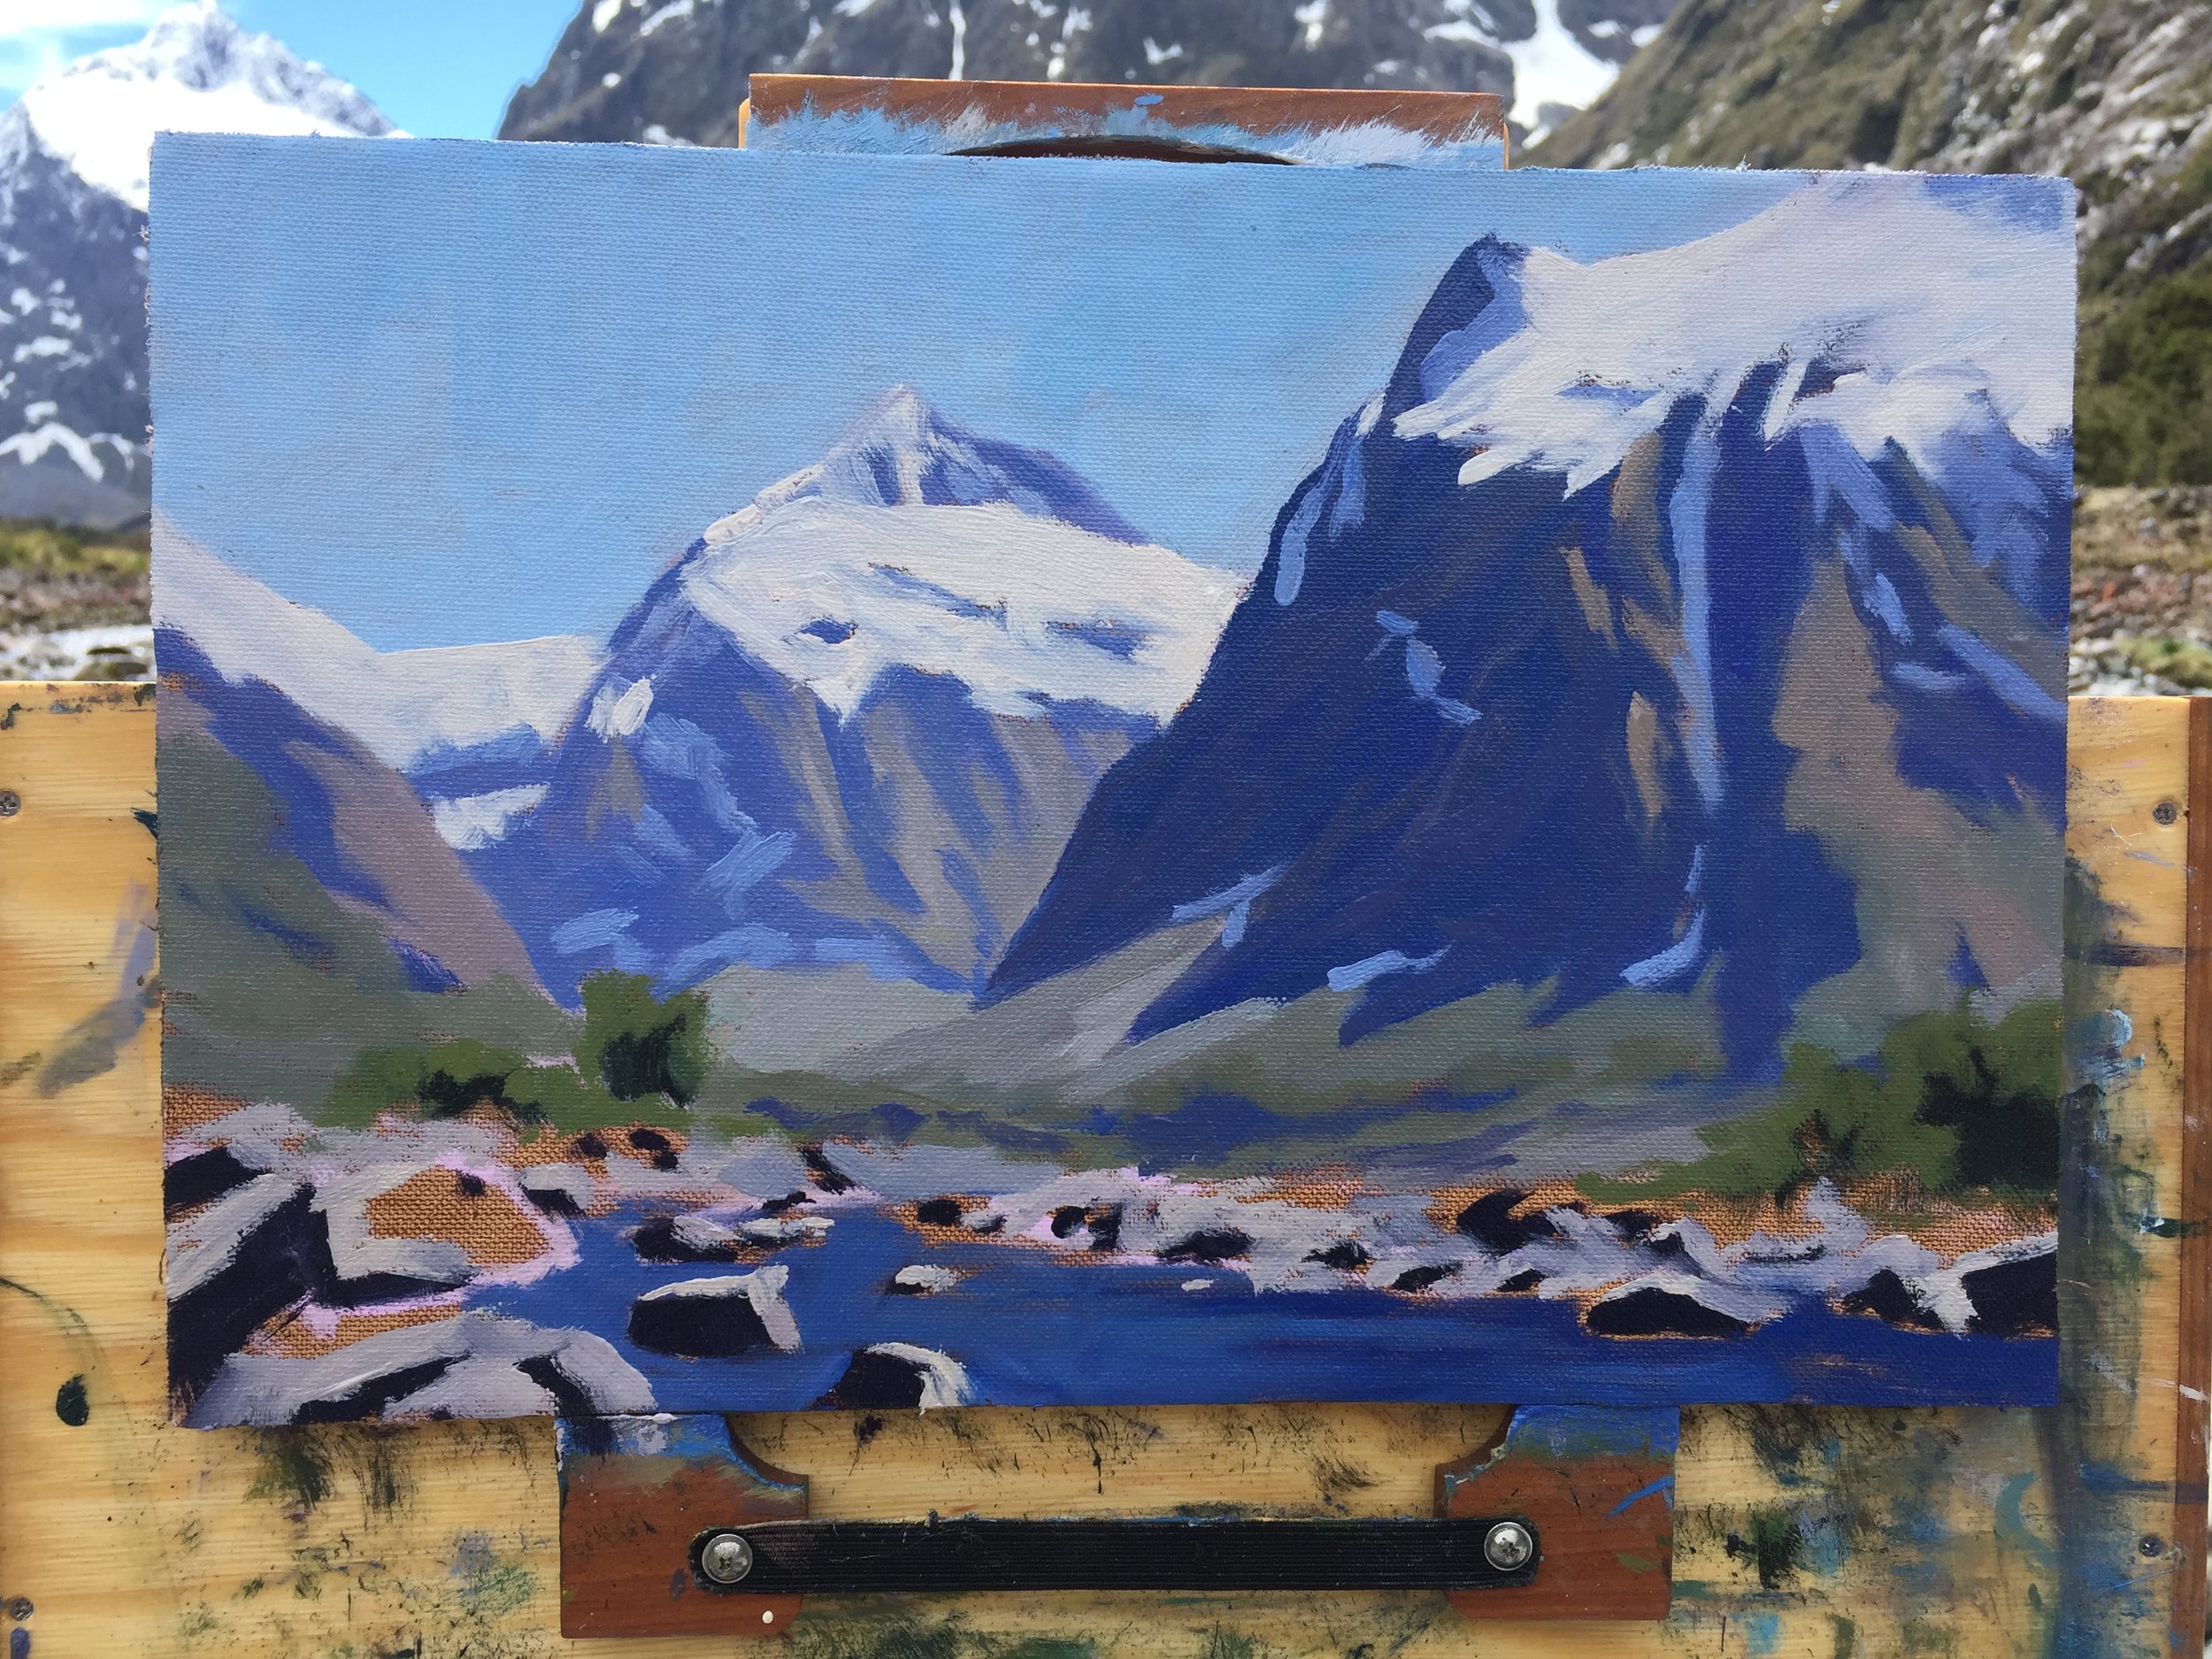
Now that my dark / shadow tones are established it’s time to start working on the areas of the painting that are in light. As I finished establishing the shadow areas some clouds where forming over the mountains and the direct sun was becoming diffused but it didn’t matter as I had painted in my darks.
I start painting the sunlit rock faces of the Mt Talbot, this distant mountain in the painting and I use a combination of burnt umber, ultramarine blue and titanium white increasing the saturation slightly for the sunlit areas of Mt Crosscut.
To paint the distant grass and foliage I keep in mind that green doesn’t travel well over a long distance and so becomes very desaturated. The problem can occur in that our eyes trick us into thinking that the green is more saturated than it is so this is something to be aware of. I mix the distant greens with yellow oxide, ultramarine blue and titanium white and in places I earth the mixture with burnt sienna.
The desaturated green mixture has the appearance of grey on my palette but appears green when juxtaposed to the light violet blue of the mountain shadows.

Next I establish the colours of the foliage of the trees which are in sunlight. I mix combinations of cadmium yellow deep, ultramarine blue, pthalo green to increase the saturation, a little sienna and titanium white.
All the while I am still using flat bristle brushes.
Now for the fun part as I start painting the snow, water and highlights that will make this painting start to come alive.
When painting the snow I don’t opt for pure titanium white straight from the tube. I want to give the snow a more three dimensional effect for Mt Crosscut in the mid ground and I want the snow on Mt Talbot to recede in the painting. Snow is tonally very light so it’s easy for it to come forward in the painting and we don’t want that for our distant mountains. To knock it back, I add a little burnt umber and if necessary a little ultramarine blue to the titanium white I am using.
For the snow on Mt Crosscut in the mid ground I mix titanium white, and small amounts of burnt umber, ultramarine blue and quinacridone magenta in order to drop the tone a little.
I start adding in the water by using the same colours I used for the sky. Keep in mind that when painting water it is reflecting colours from above which is very often the sky. I bare in mind that the water will also be reflecting some of the shadow colours of the mountains.
I also begin to paint the highlights of the rocks using titanium white, burnt umber and yellow oxide.
I’m am now in the final stages of painting this art work, I paint the foliage on the river bank using the same green mixture I used for the trees, however I also add yellow oxide and a little more titanium white for the foliage that is receding into the distance in order to desaturate the green.
I paint reflected light on some of the rocks using varying mixtures of cobalt blue, quinacridone magenta and burnt umber.
I refine the snow on the mountains. The snow in shadow is painted using cobalt blue, ultramarine blue mixed with titanium white. I add some slightly lighter tones to to the mountain faces in shadow to give the suggestion of a rugged weathered surface and jagged rocks.
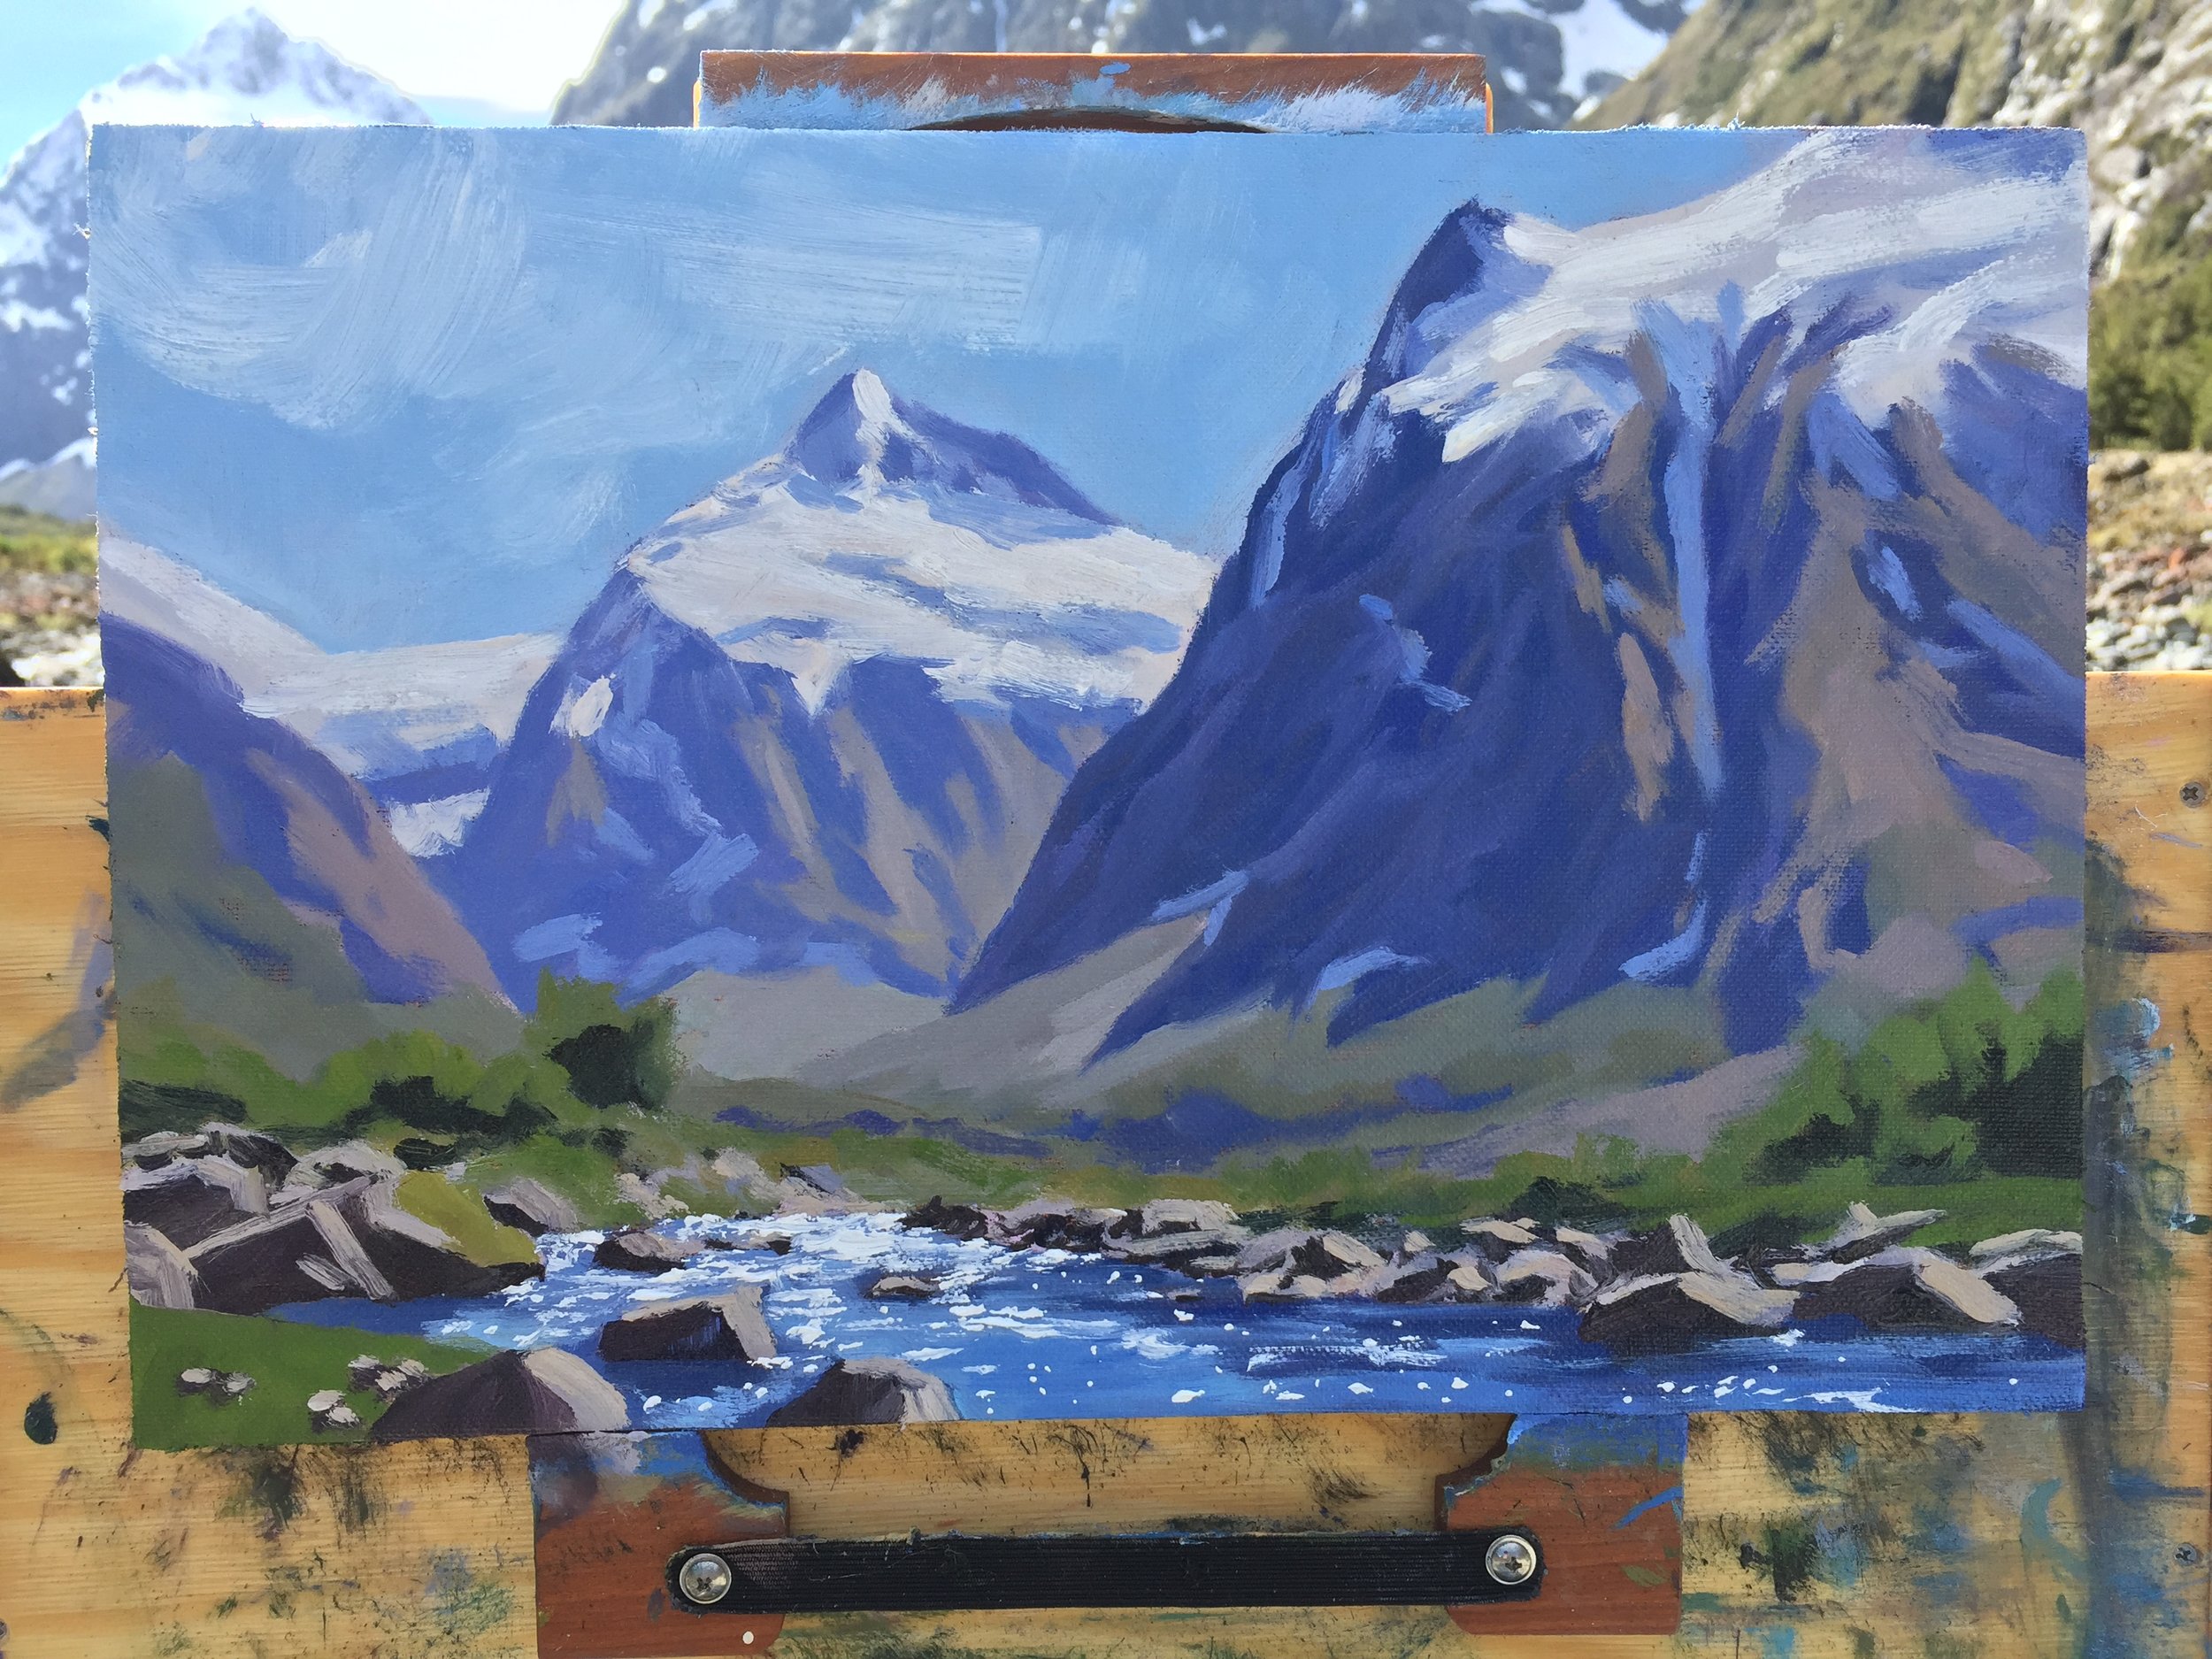
To complete the painting I add sparkles to the river by using pure titanium white from the tube to create the illusion of the strong sunlight reflecting in the water.
I add snow highlights to the mountains by adding a few quick brushstrokes of pure titanium white mixed with a tiny amount of yellow oxide.
I also do a couple of quick brushstrokes of titanium white with a large bristle brush in to the sky to give the suggestion of some hazy clouds.
The completed painting.
Thanks for reading 😊
