This article may contain affiliate links, please read my affiliate disclosure for more information
In this blog post I show you how to draw a coastal landscape. Sketching and drawing is an important part of my painting process as I use the sketching process to create engaging compositions and design paintings. It also helps to give me an idea of the tonality of the landscape I would like to paint.
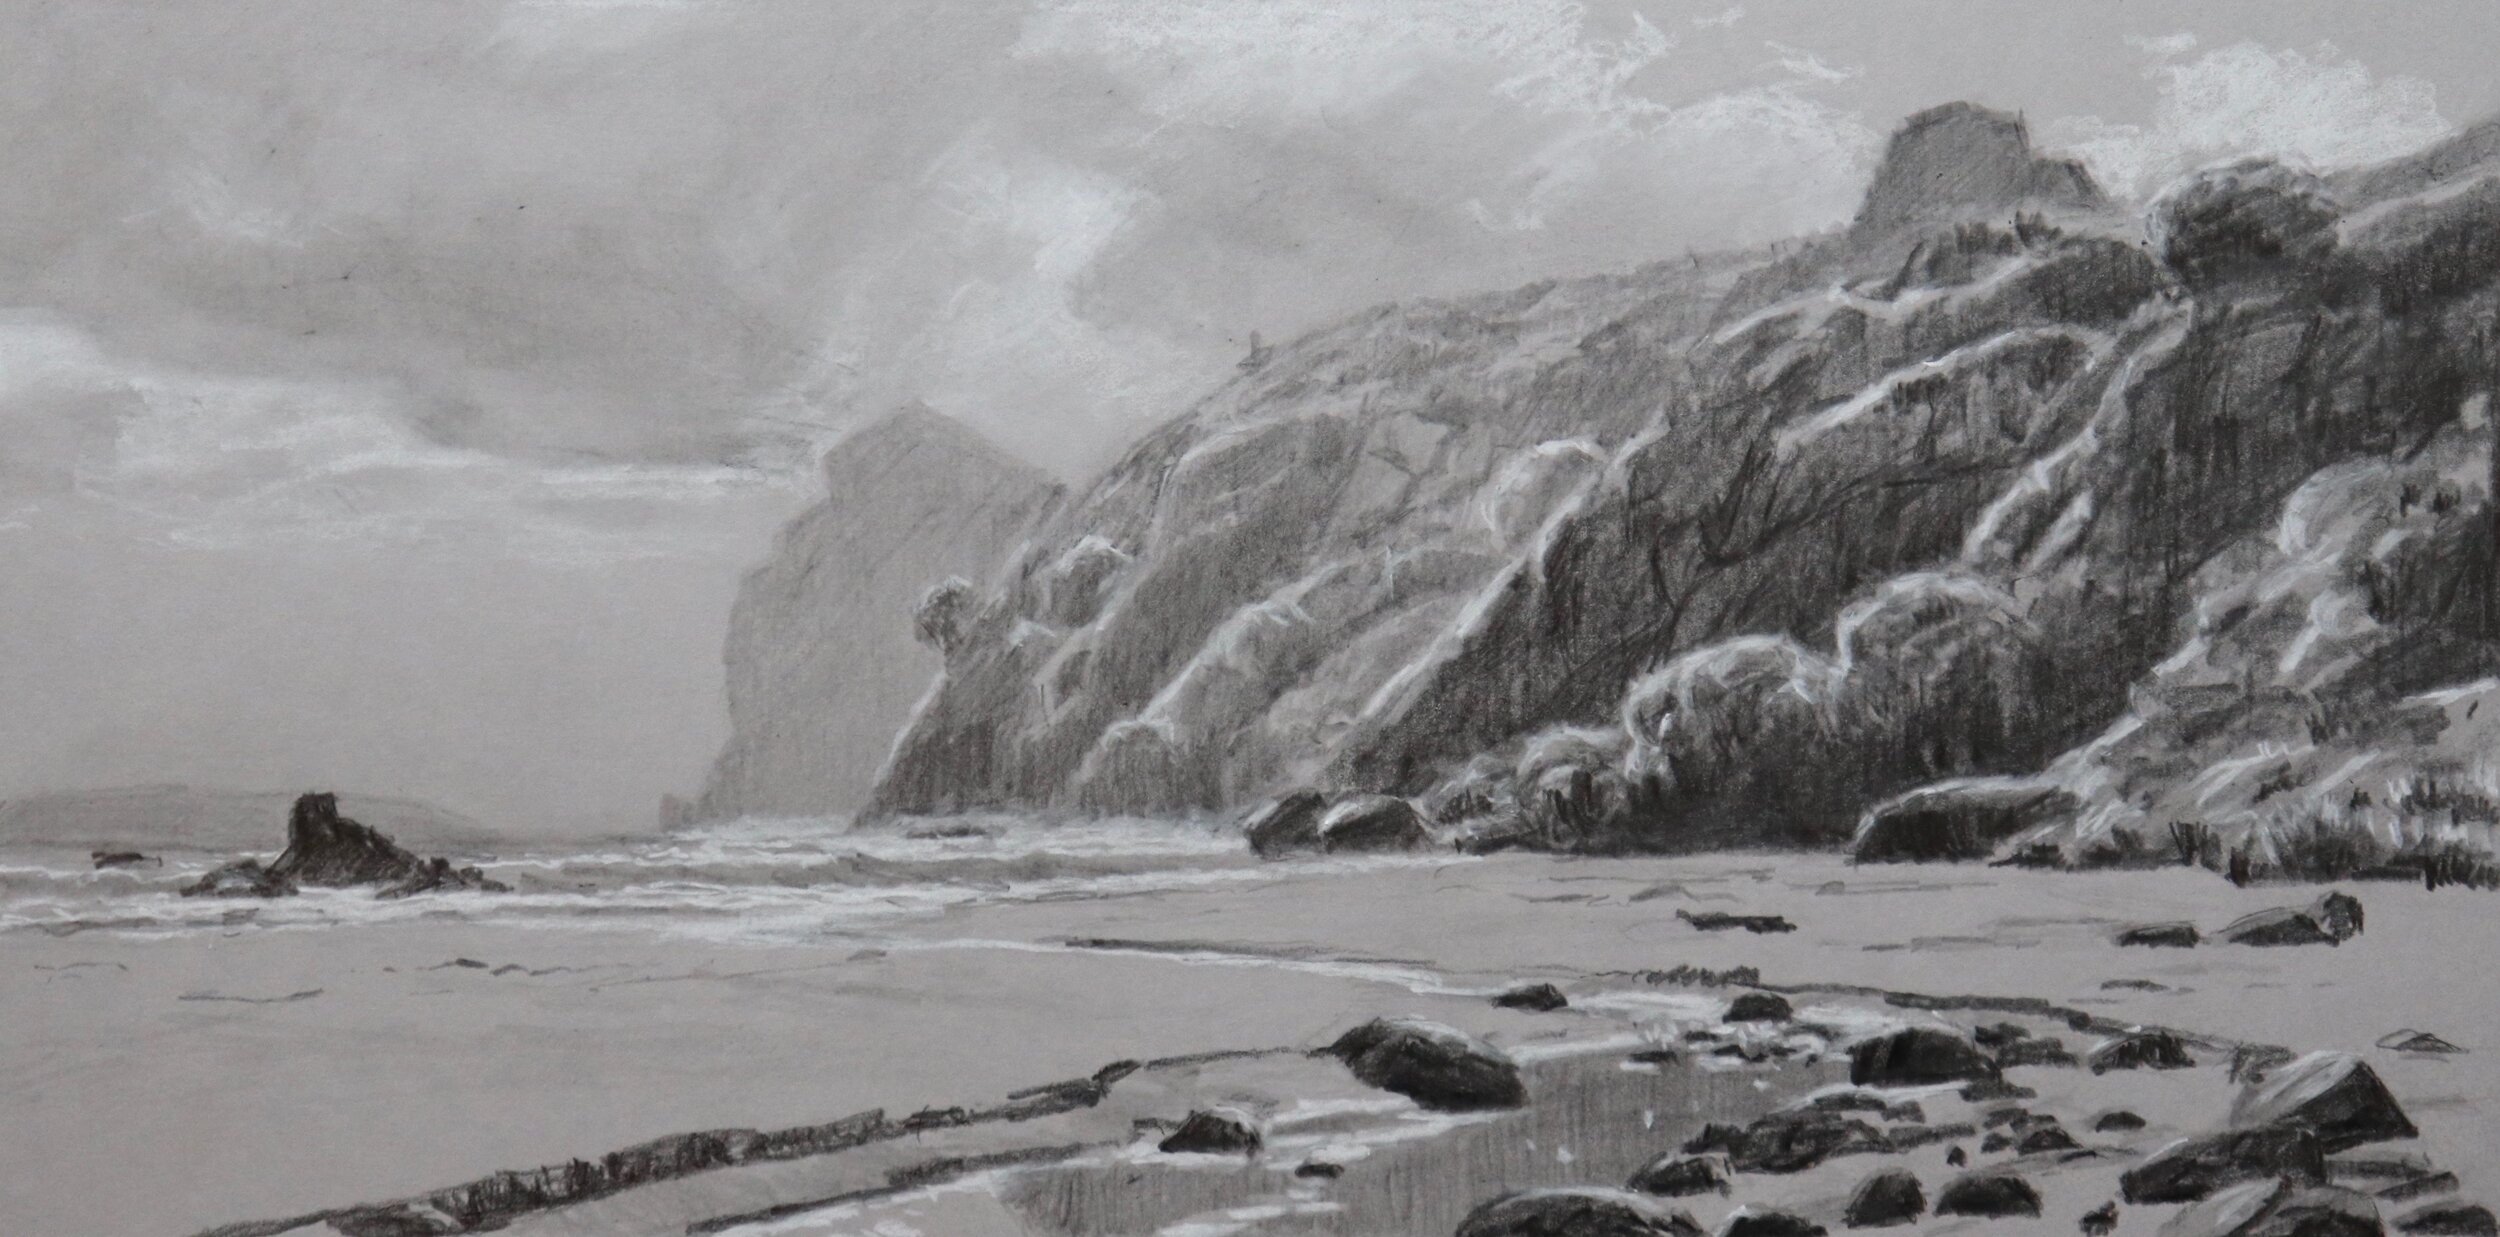
The coastal landscape featured in the drawing is inspired by a place called Taupo Bay in far north New Zealand. I have drawn this scene on grey card using graphite pencils and other materials including a white pastel pencil for the highlights. The advantage of using grey card or paper to draw on is that the darker value sets a whole different dynamic in the drawing and allows the highlights to really stand out. It adds a whole new depth to the drawing.
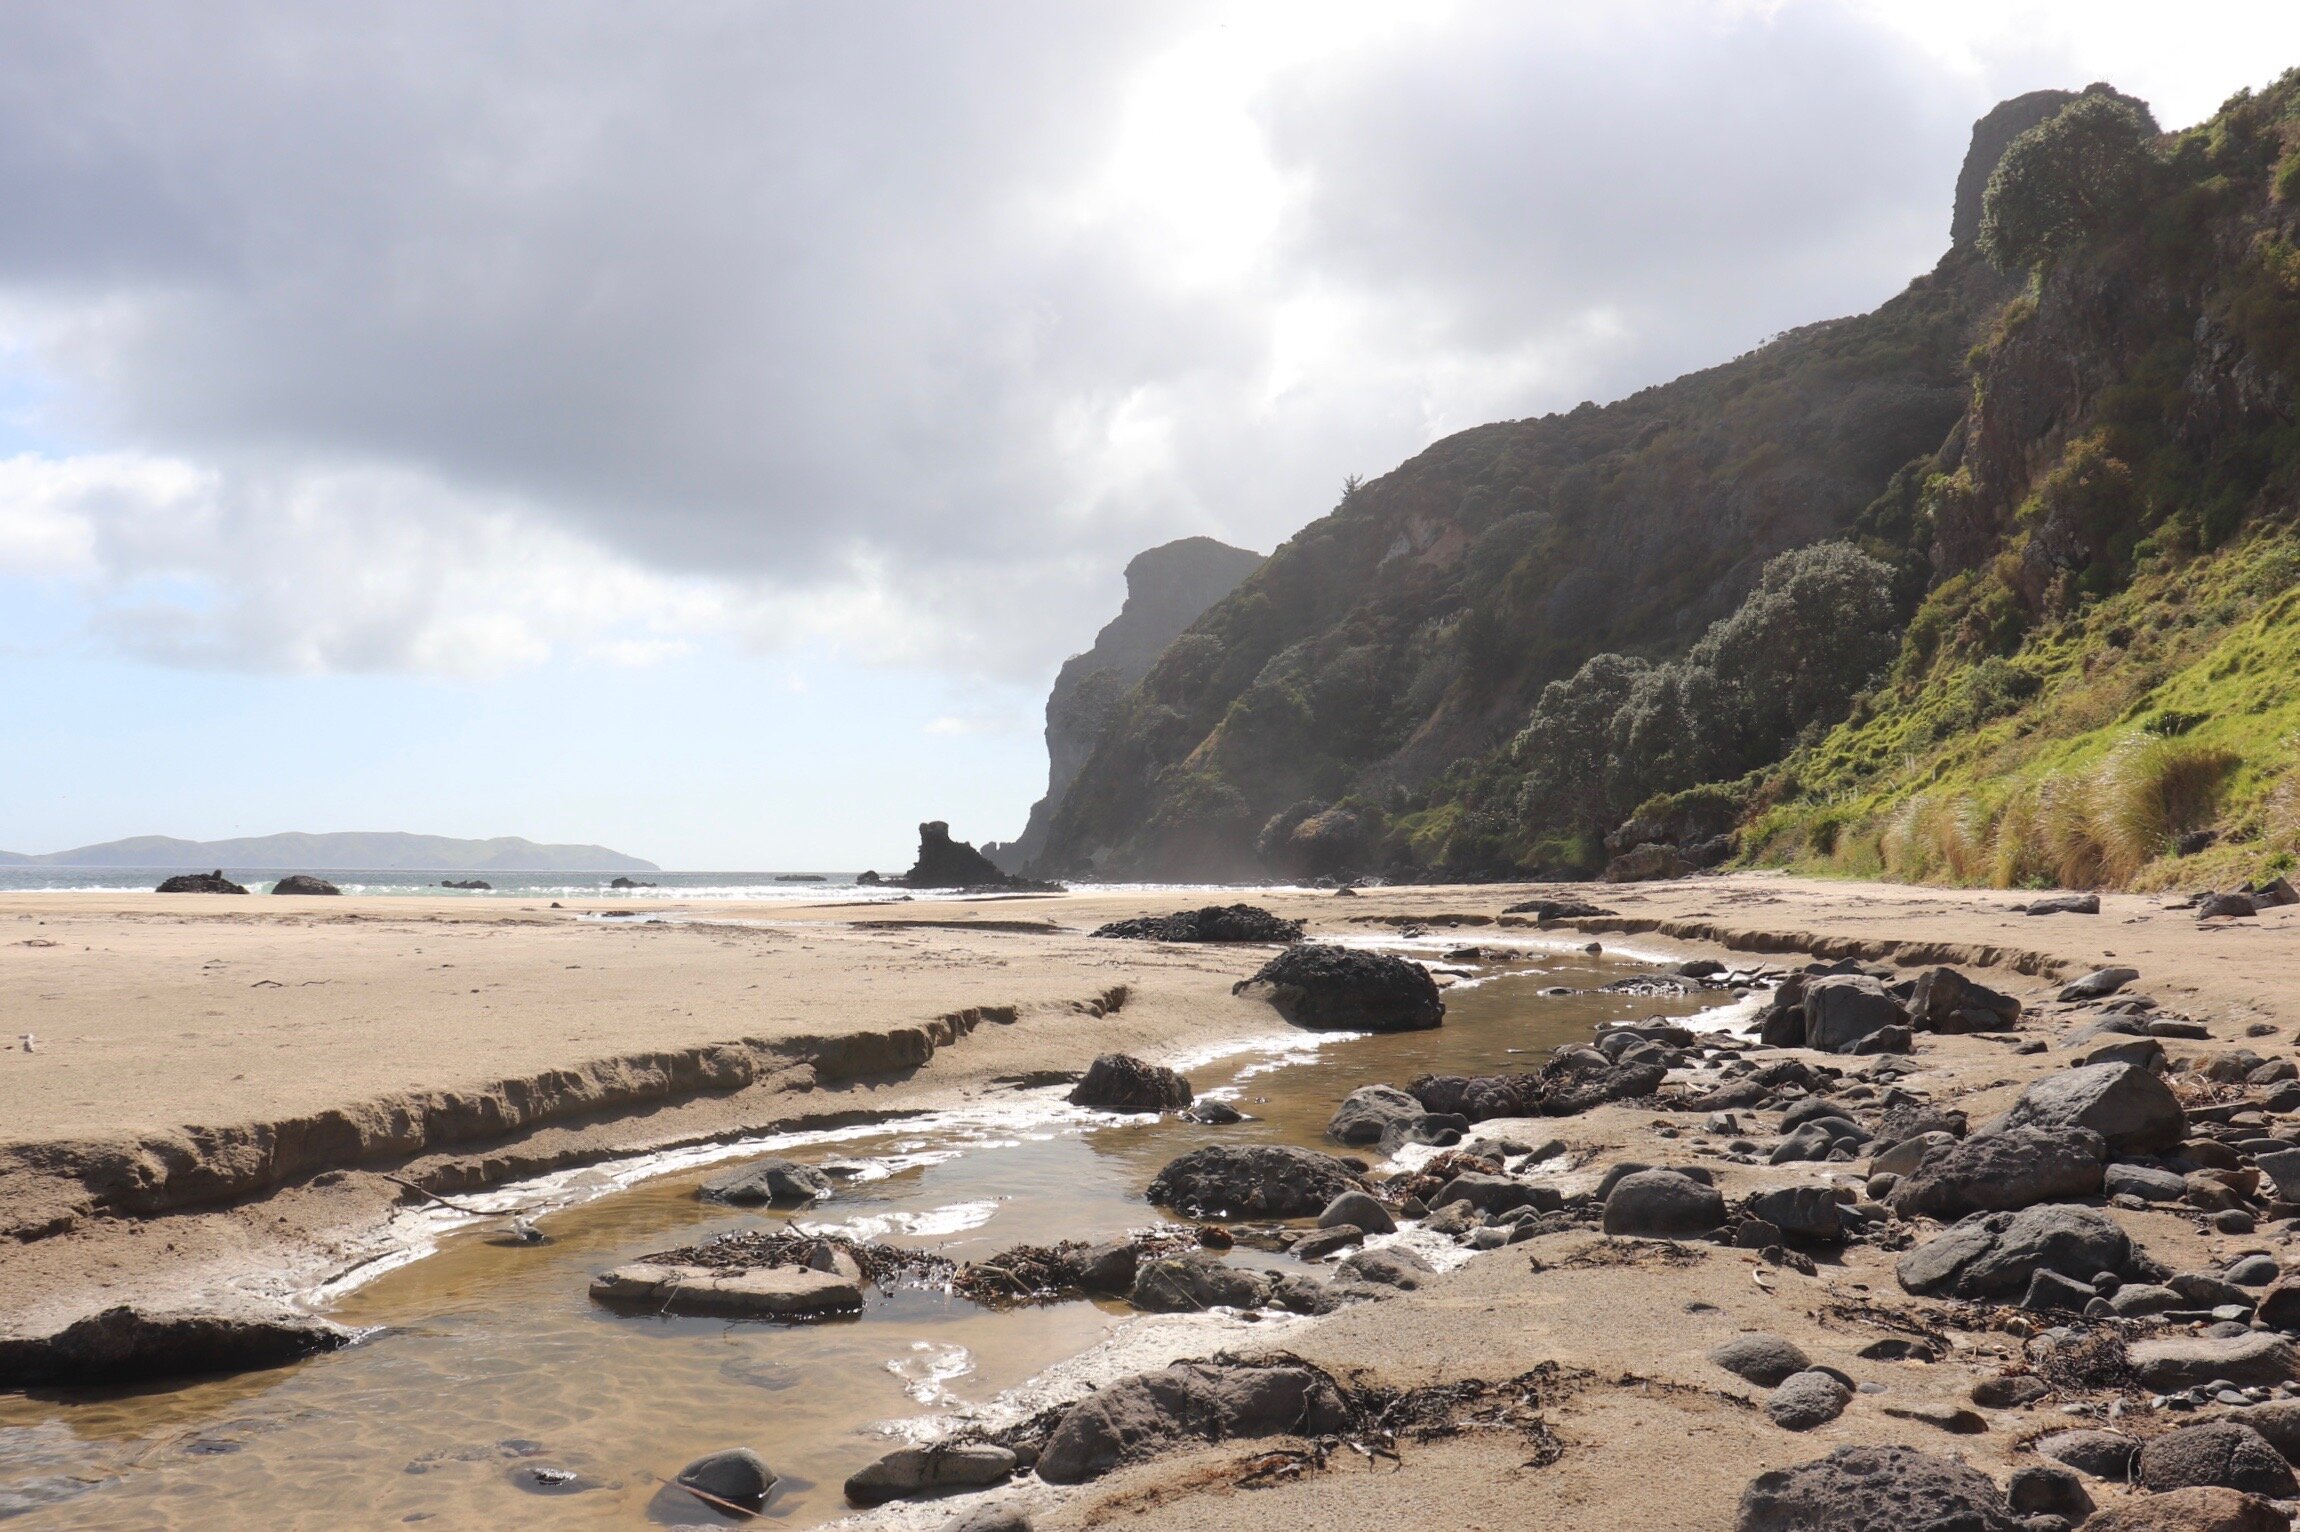
Reference Photo
This is one of the reference photos I used, please feel free to copy it if you would to have a go at drawing this.
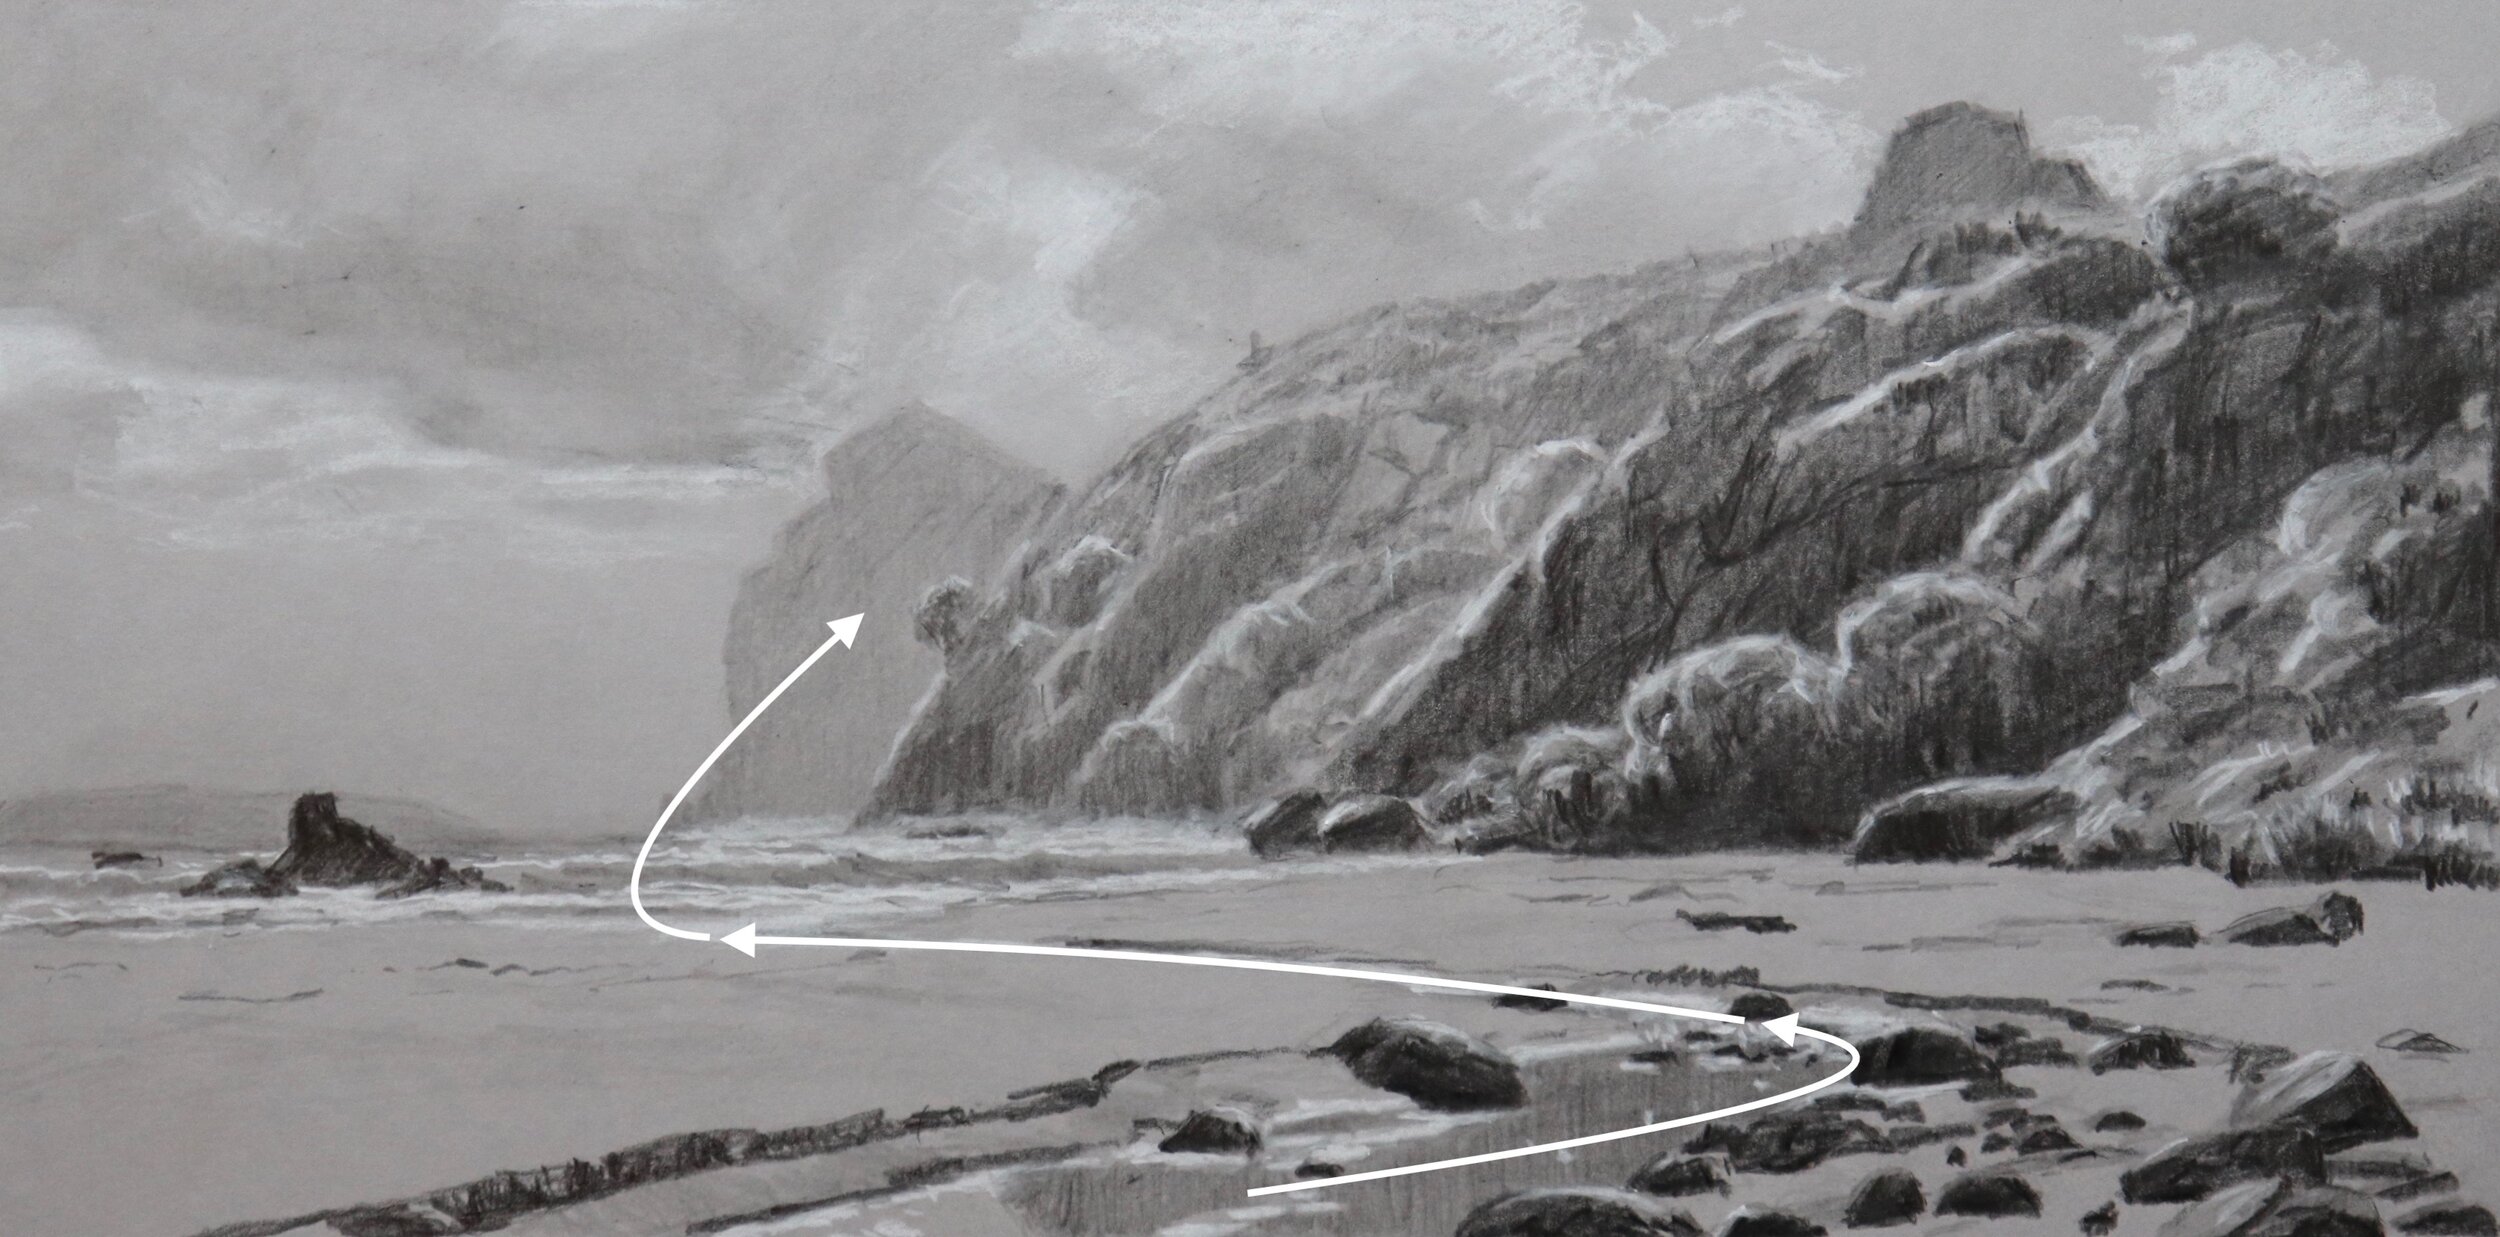
Composition
I have changed the composition compared with what is shown in the reference photo. I have incorporated an ‘S’ composition where the stream is leading the eye towards the headland which is the main area of interest in this drawing. I have moved the large rock to the left which helps to anchor the whole composition. As there is a lot of weight in the cliffs I have placed heavy clouds on the left side of the composition.
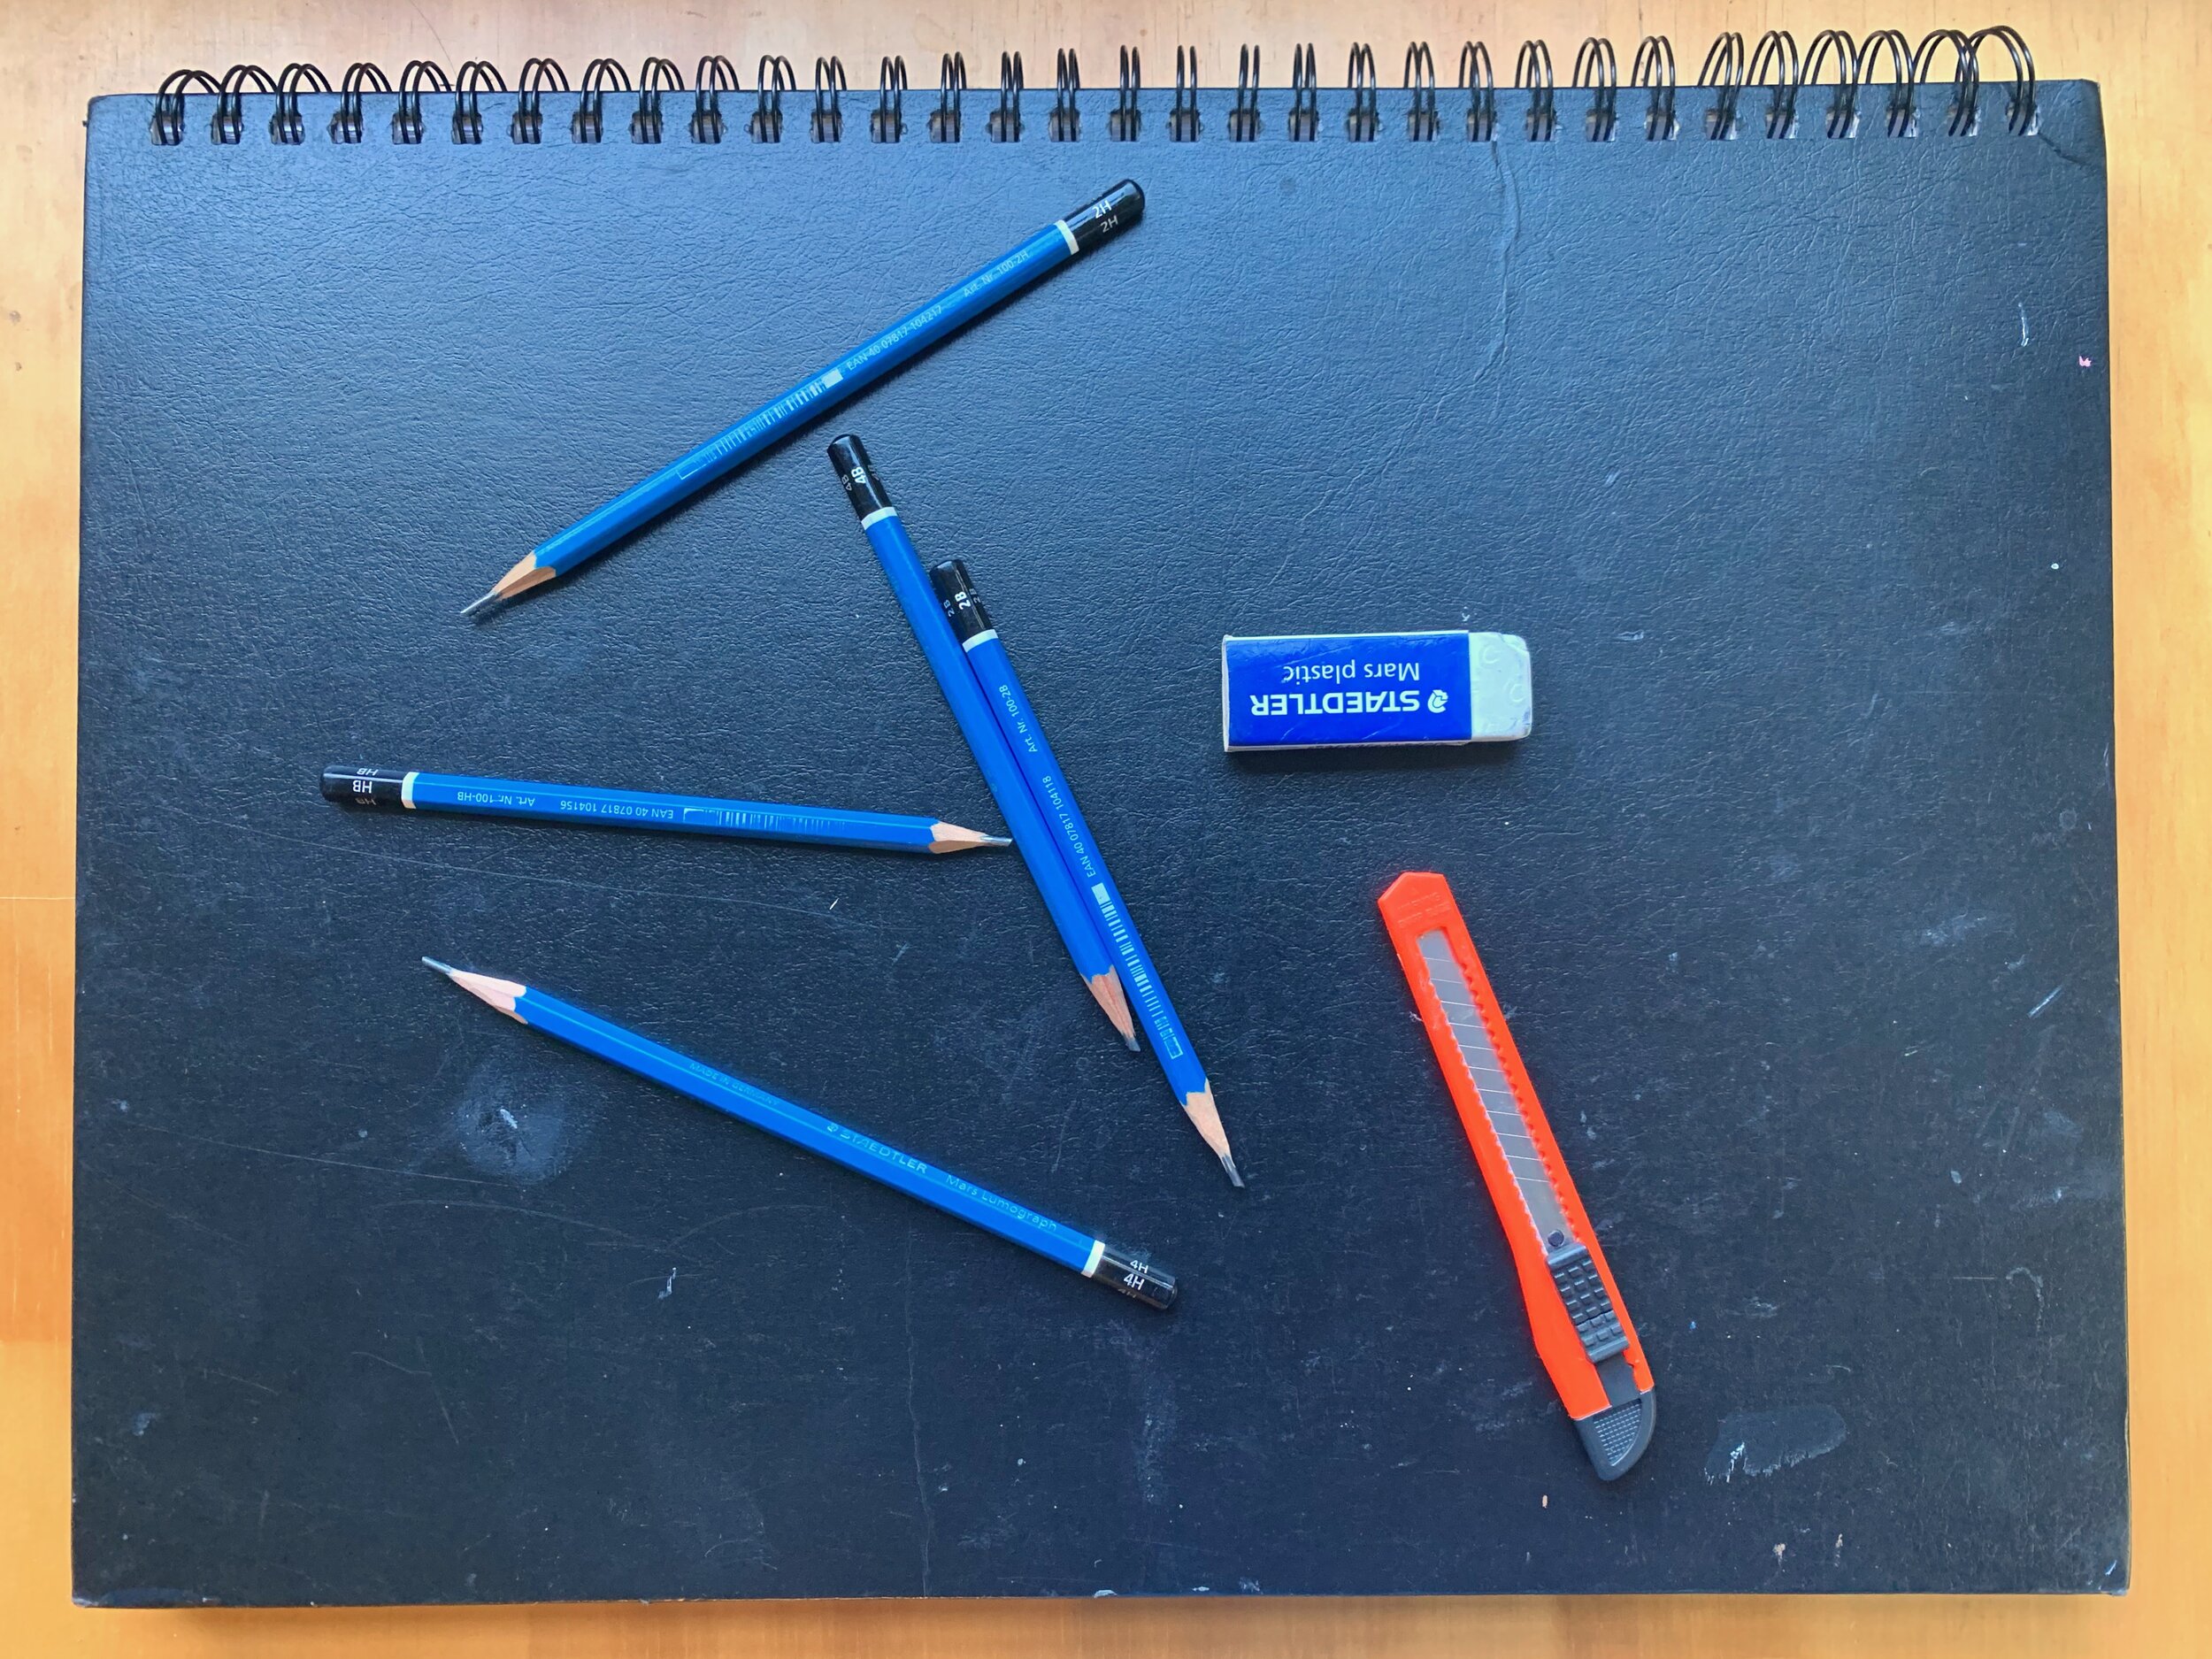
Materials
Here is a list of basic materials you will need:
- Sketchbook (A3 is ideal)
- Grey card or paper
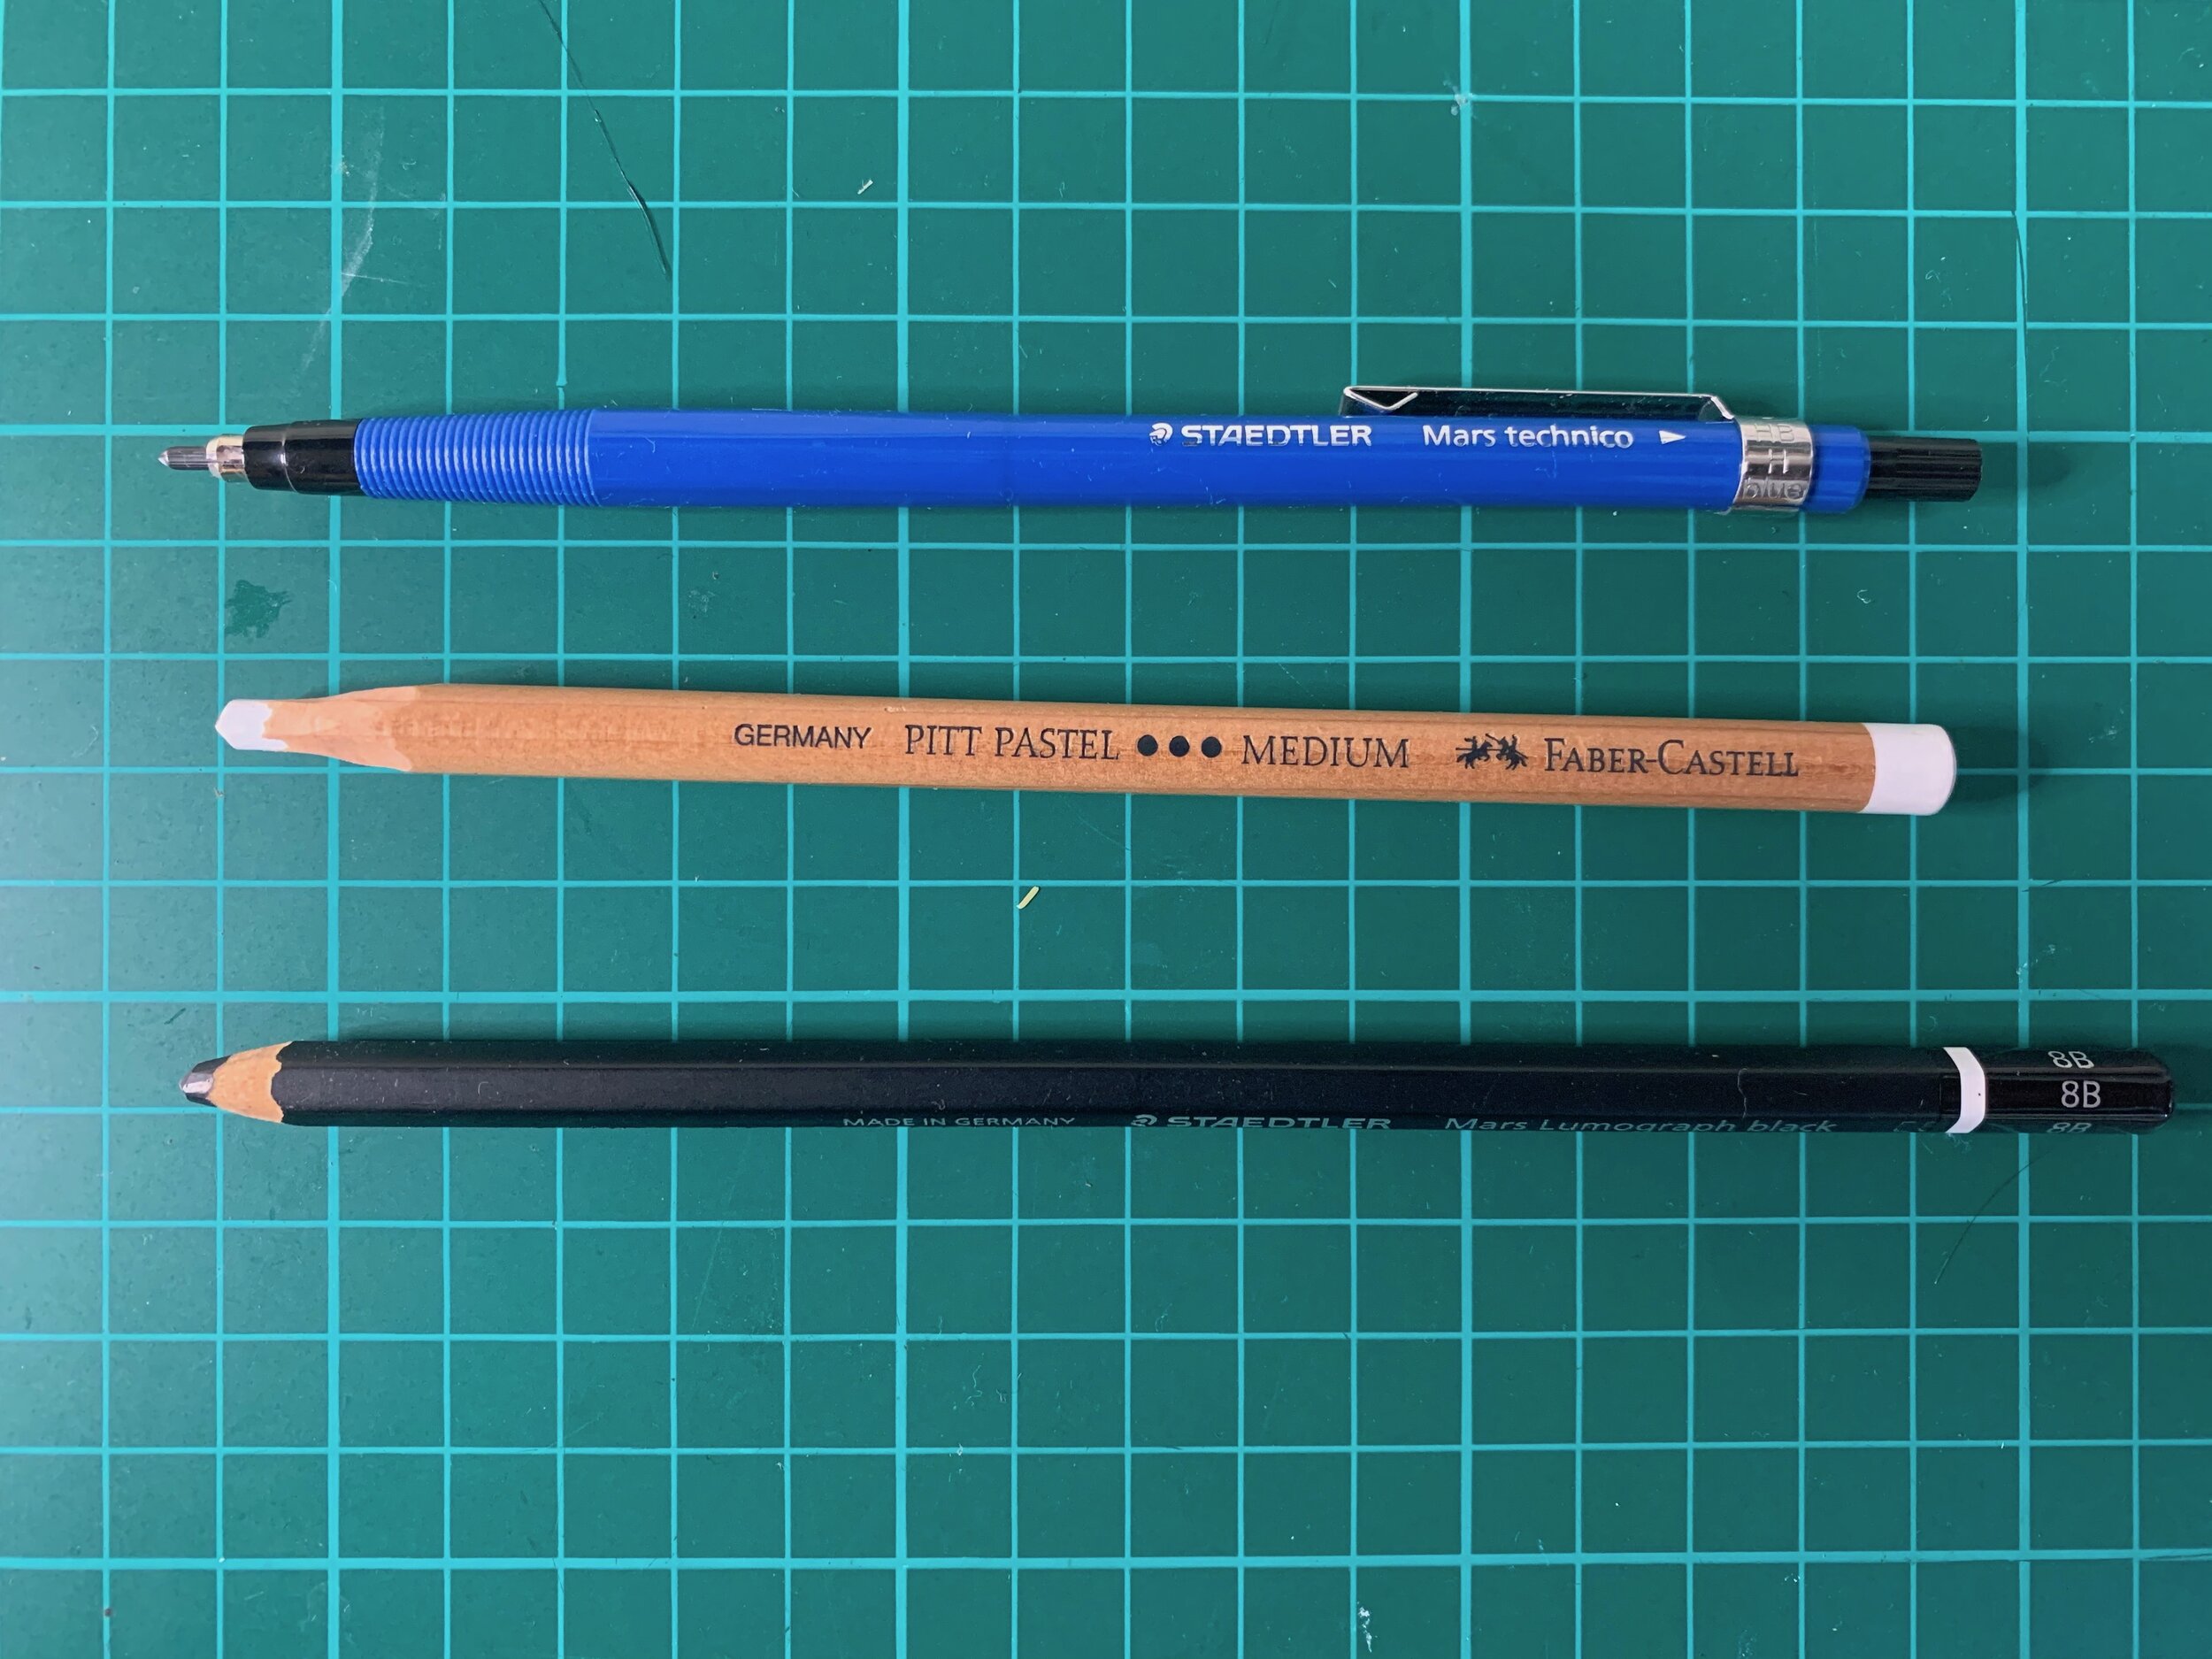
- Pencils (4H, 2H, HB, 2B, 4B, 6B and 8B are ideal)
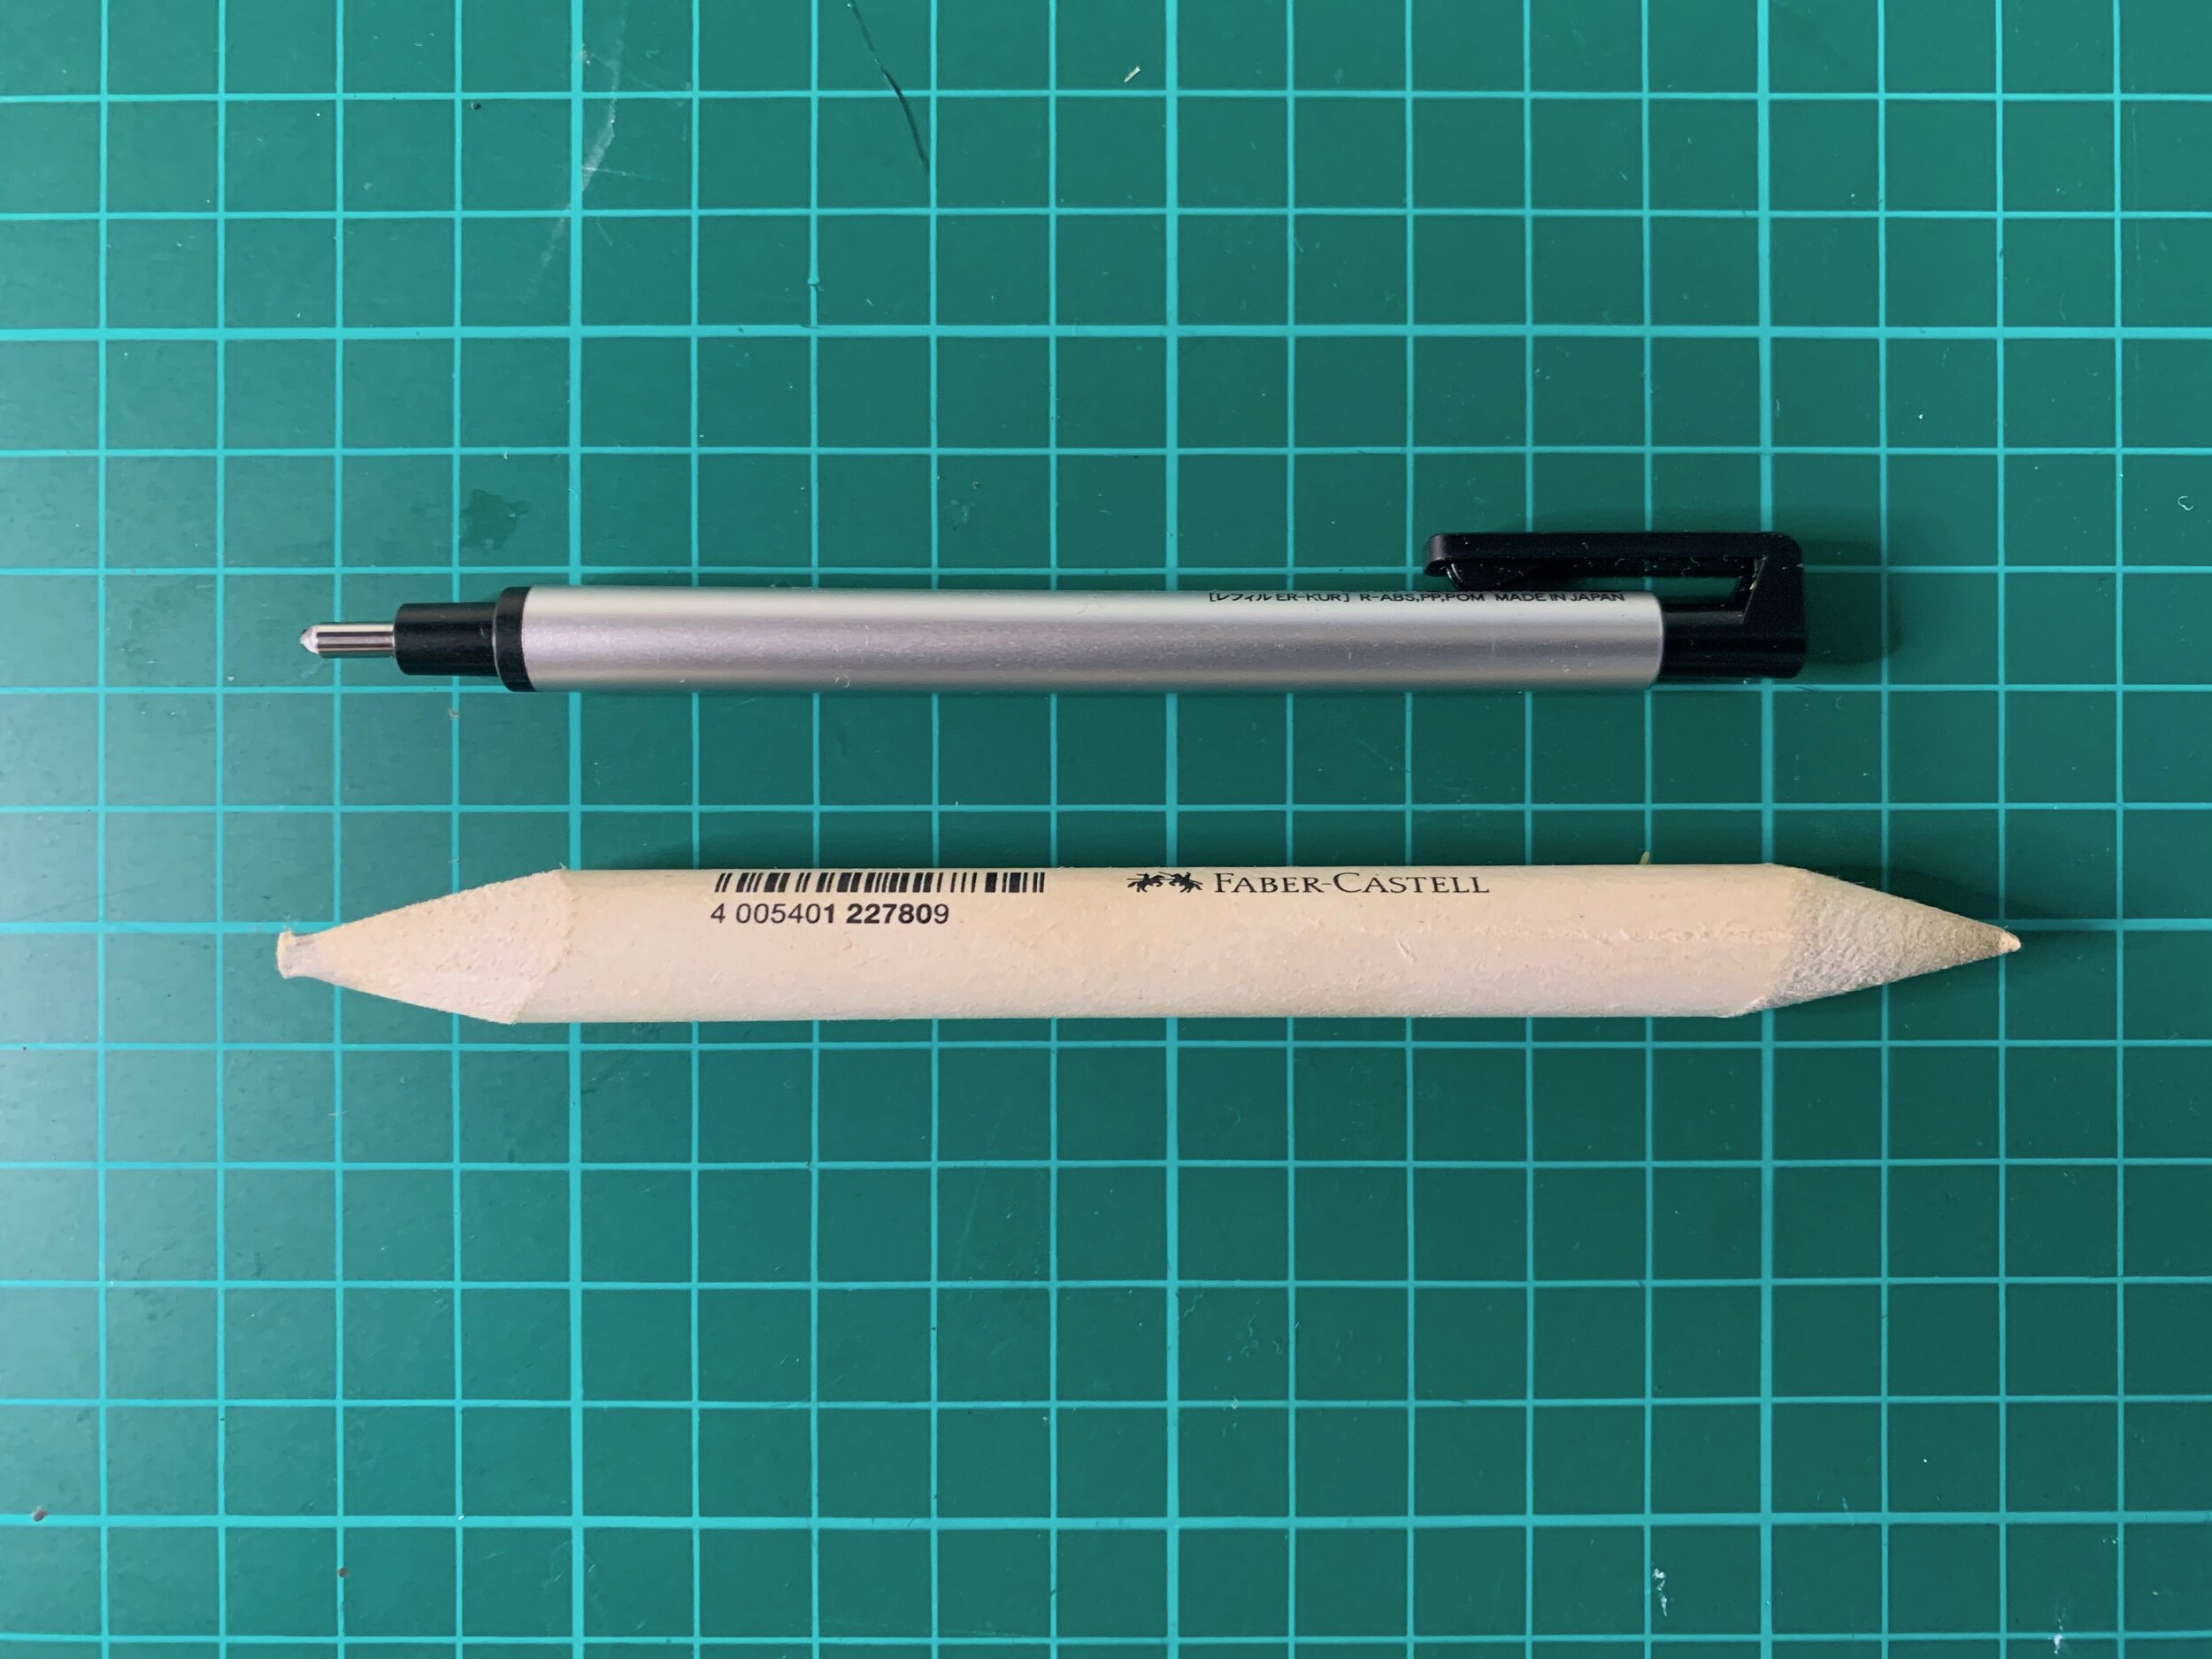
- Mechanical pencil (HB)
- Mars Lumigraph black pencil (8B)
- White pastel pencil
- Craft knife (for sharpening your pencils)
- Sandpaper (for filing the graphite of your pencils)
- Pencil wiper
- Eraser
- Eraser pen
- Ruler (optional)
Pencil Mark Fundamentals
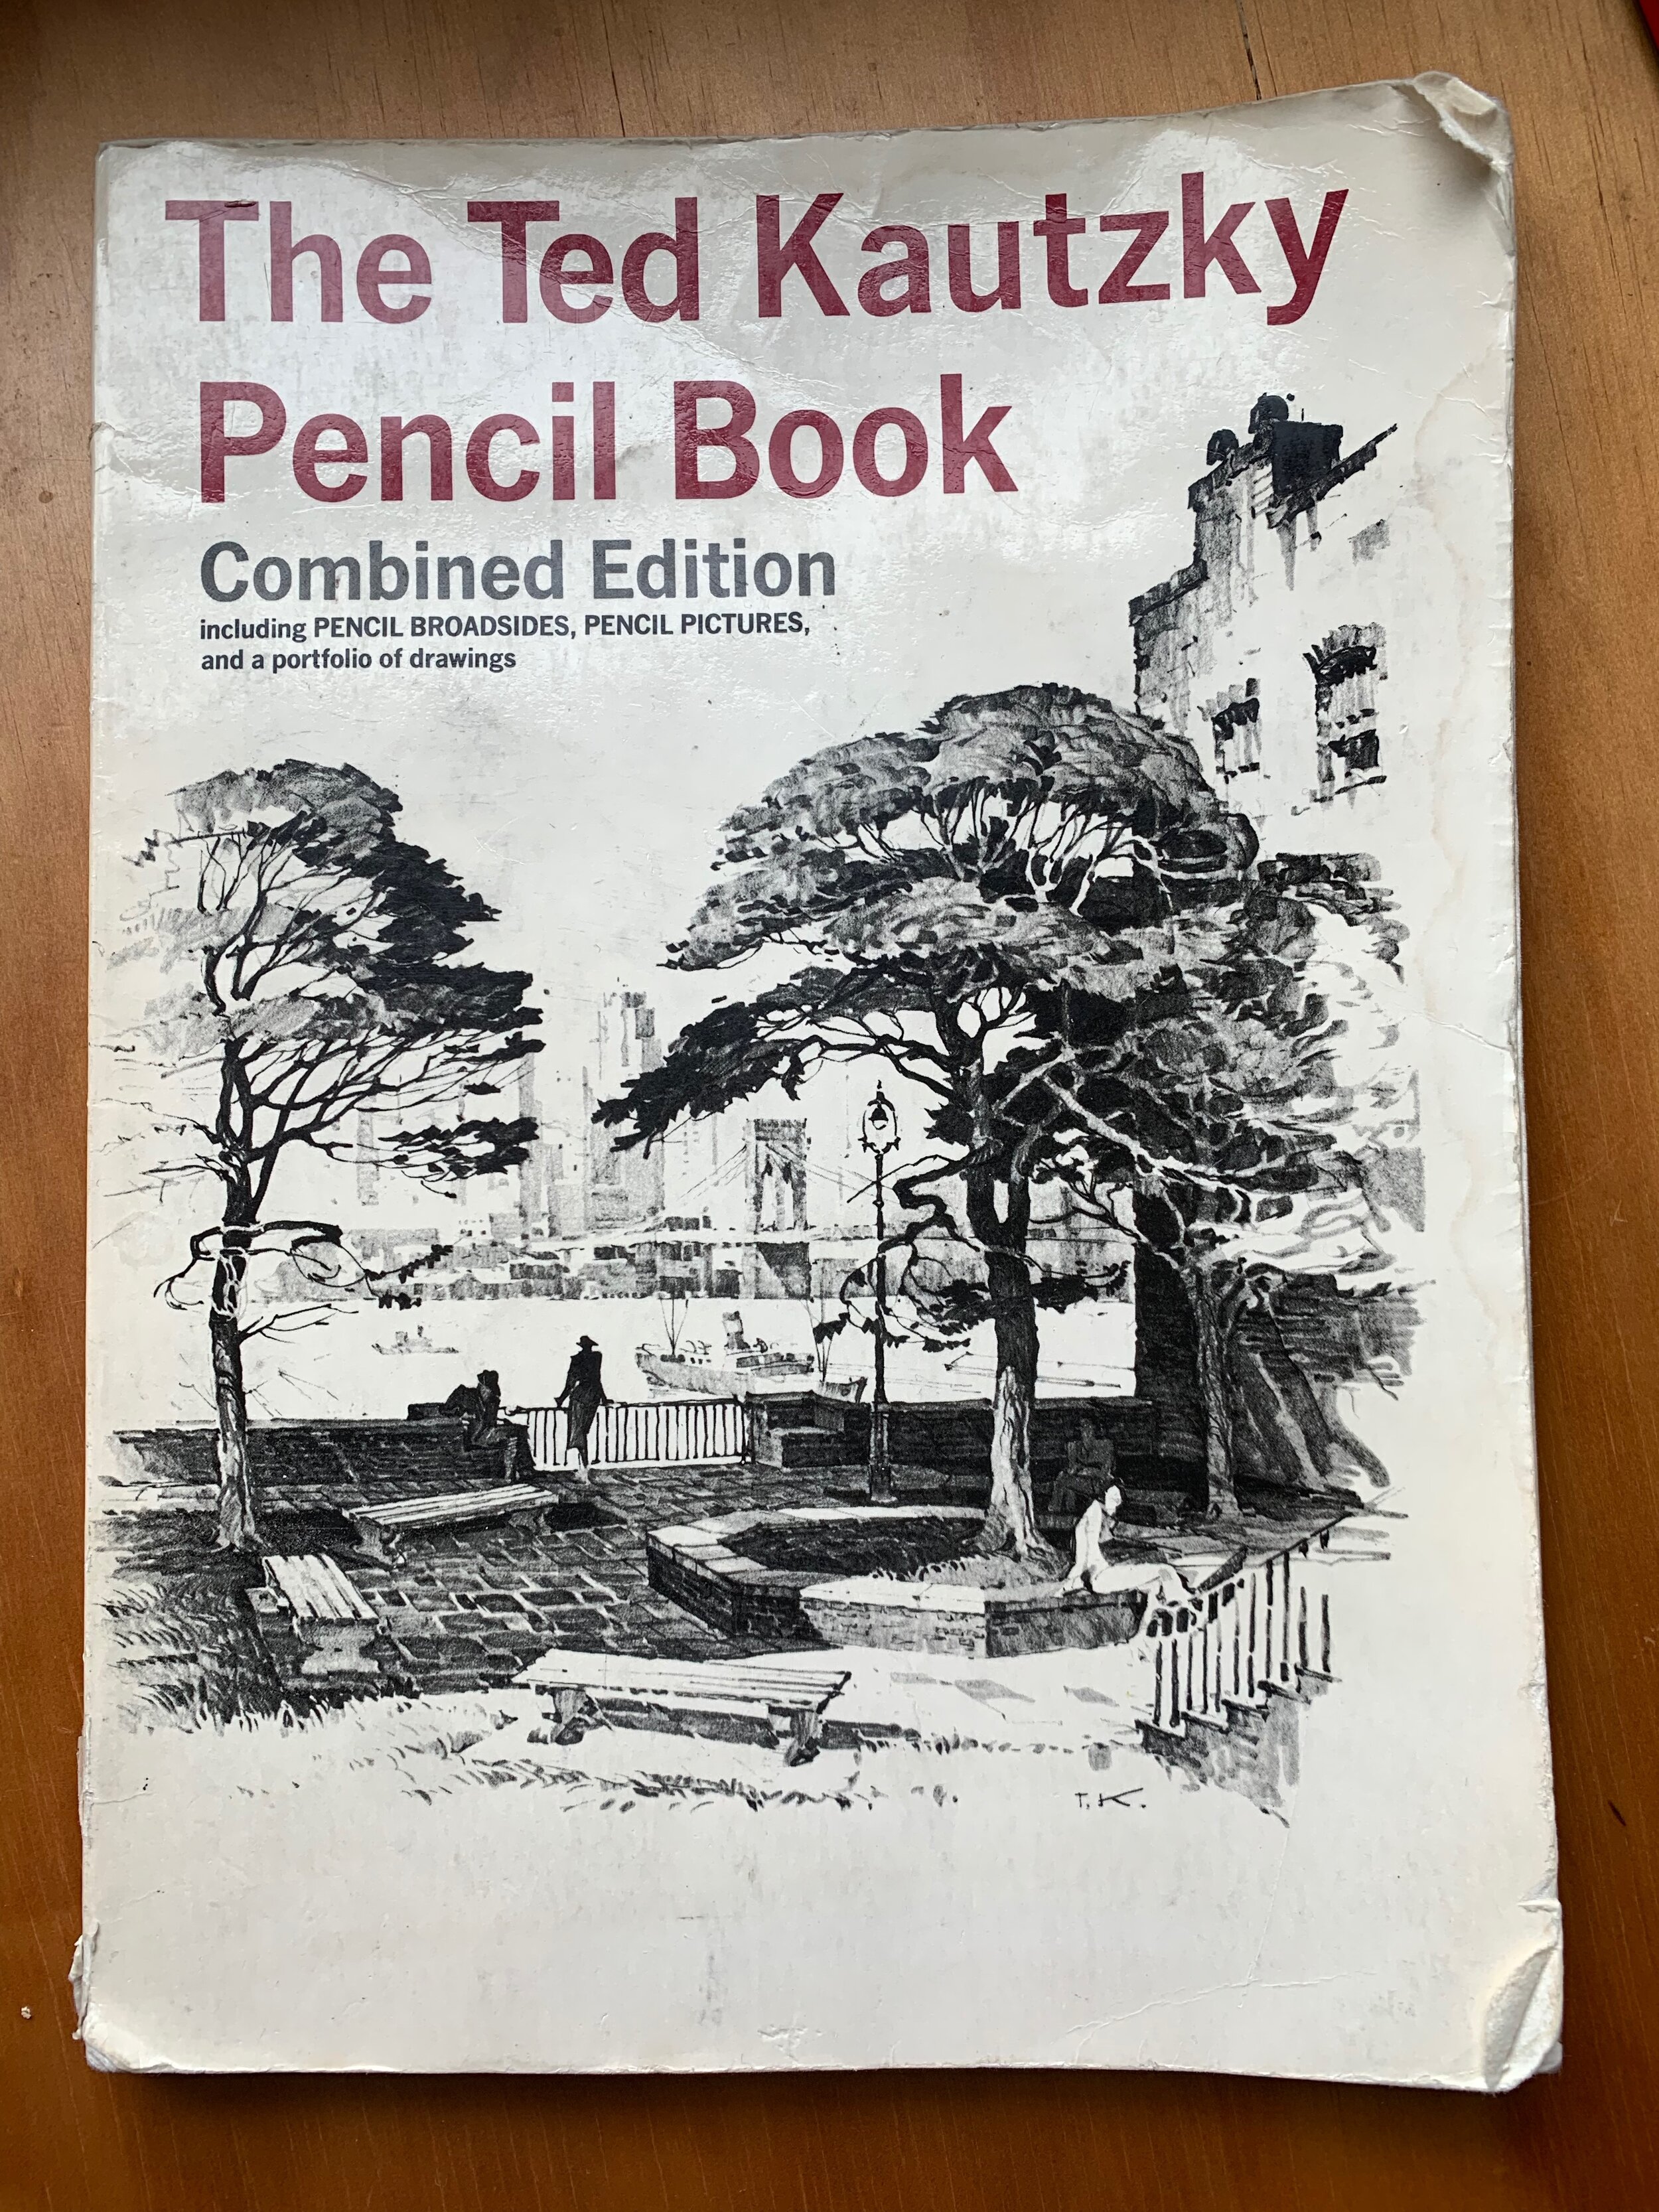
When it comes to using pencils there are many different methods to achieving successful pencil drawings but the method that I like and that works for me is the Ted Kautzky ‘broad stroke’ method of drawing. I learned his method from his book which I’d thoroughly recommend called The Ted Kautzky Pencil Book.
I personally like this particular drawing style.
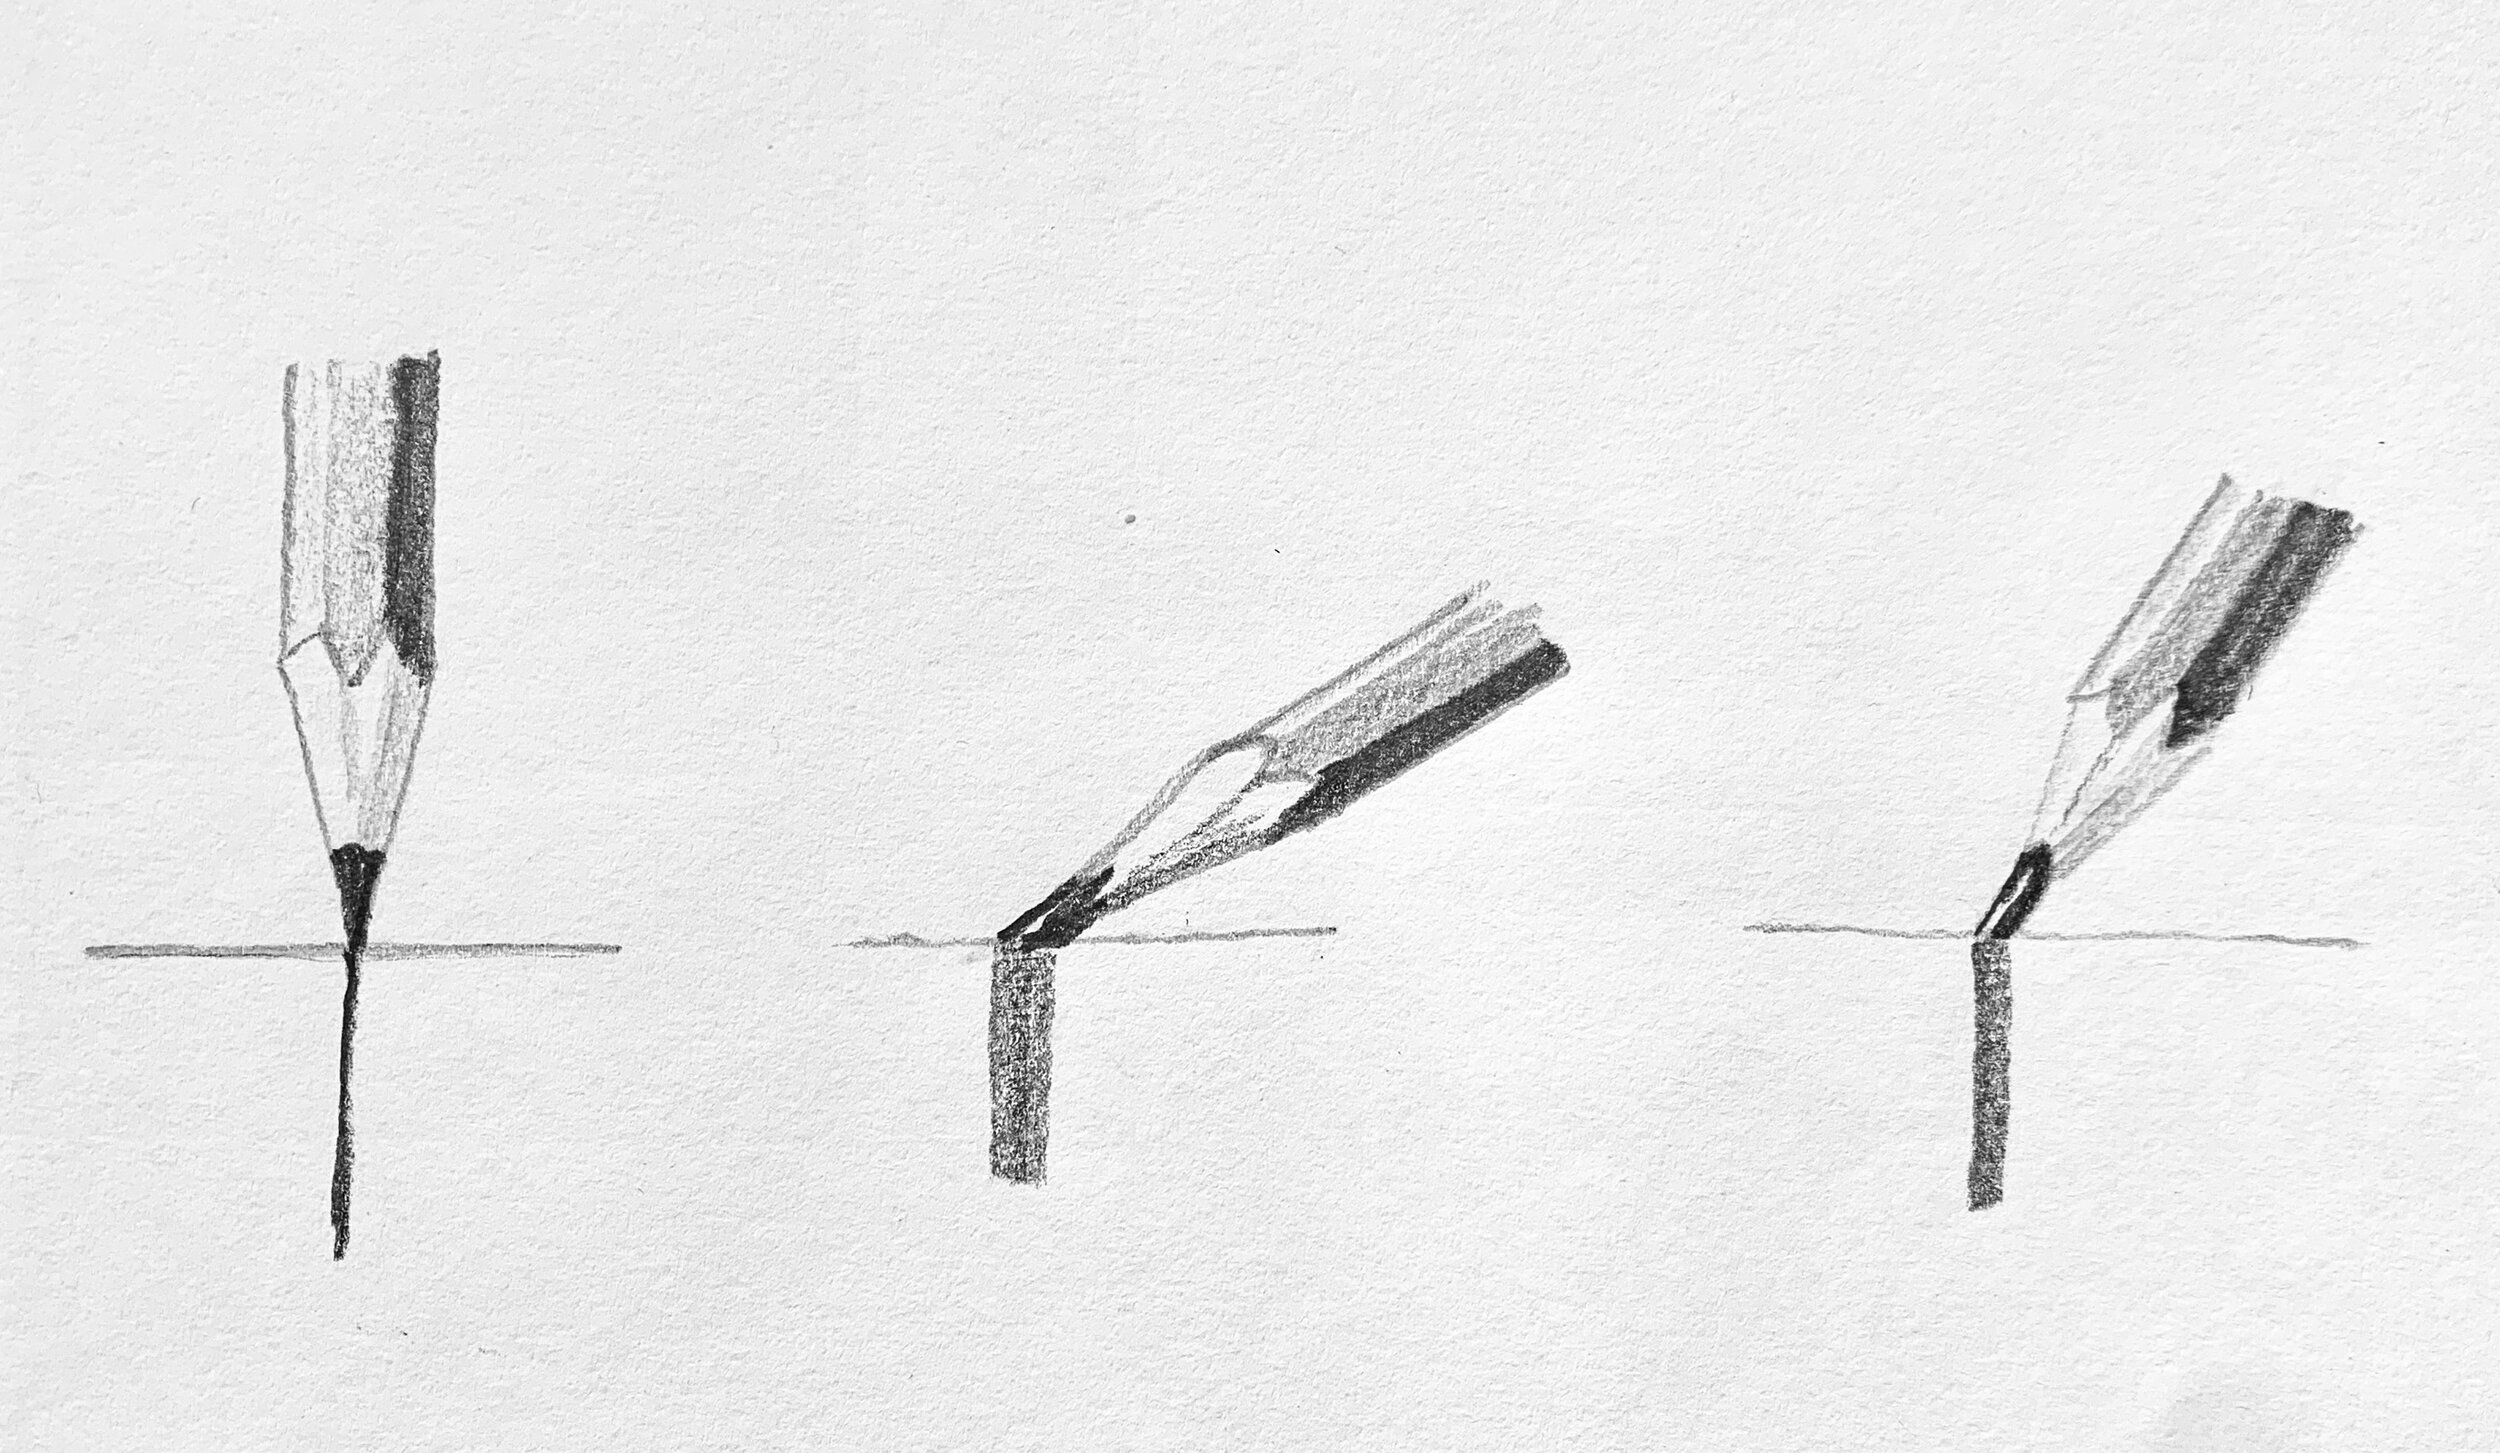
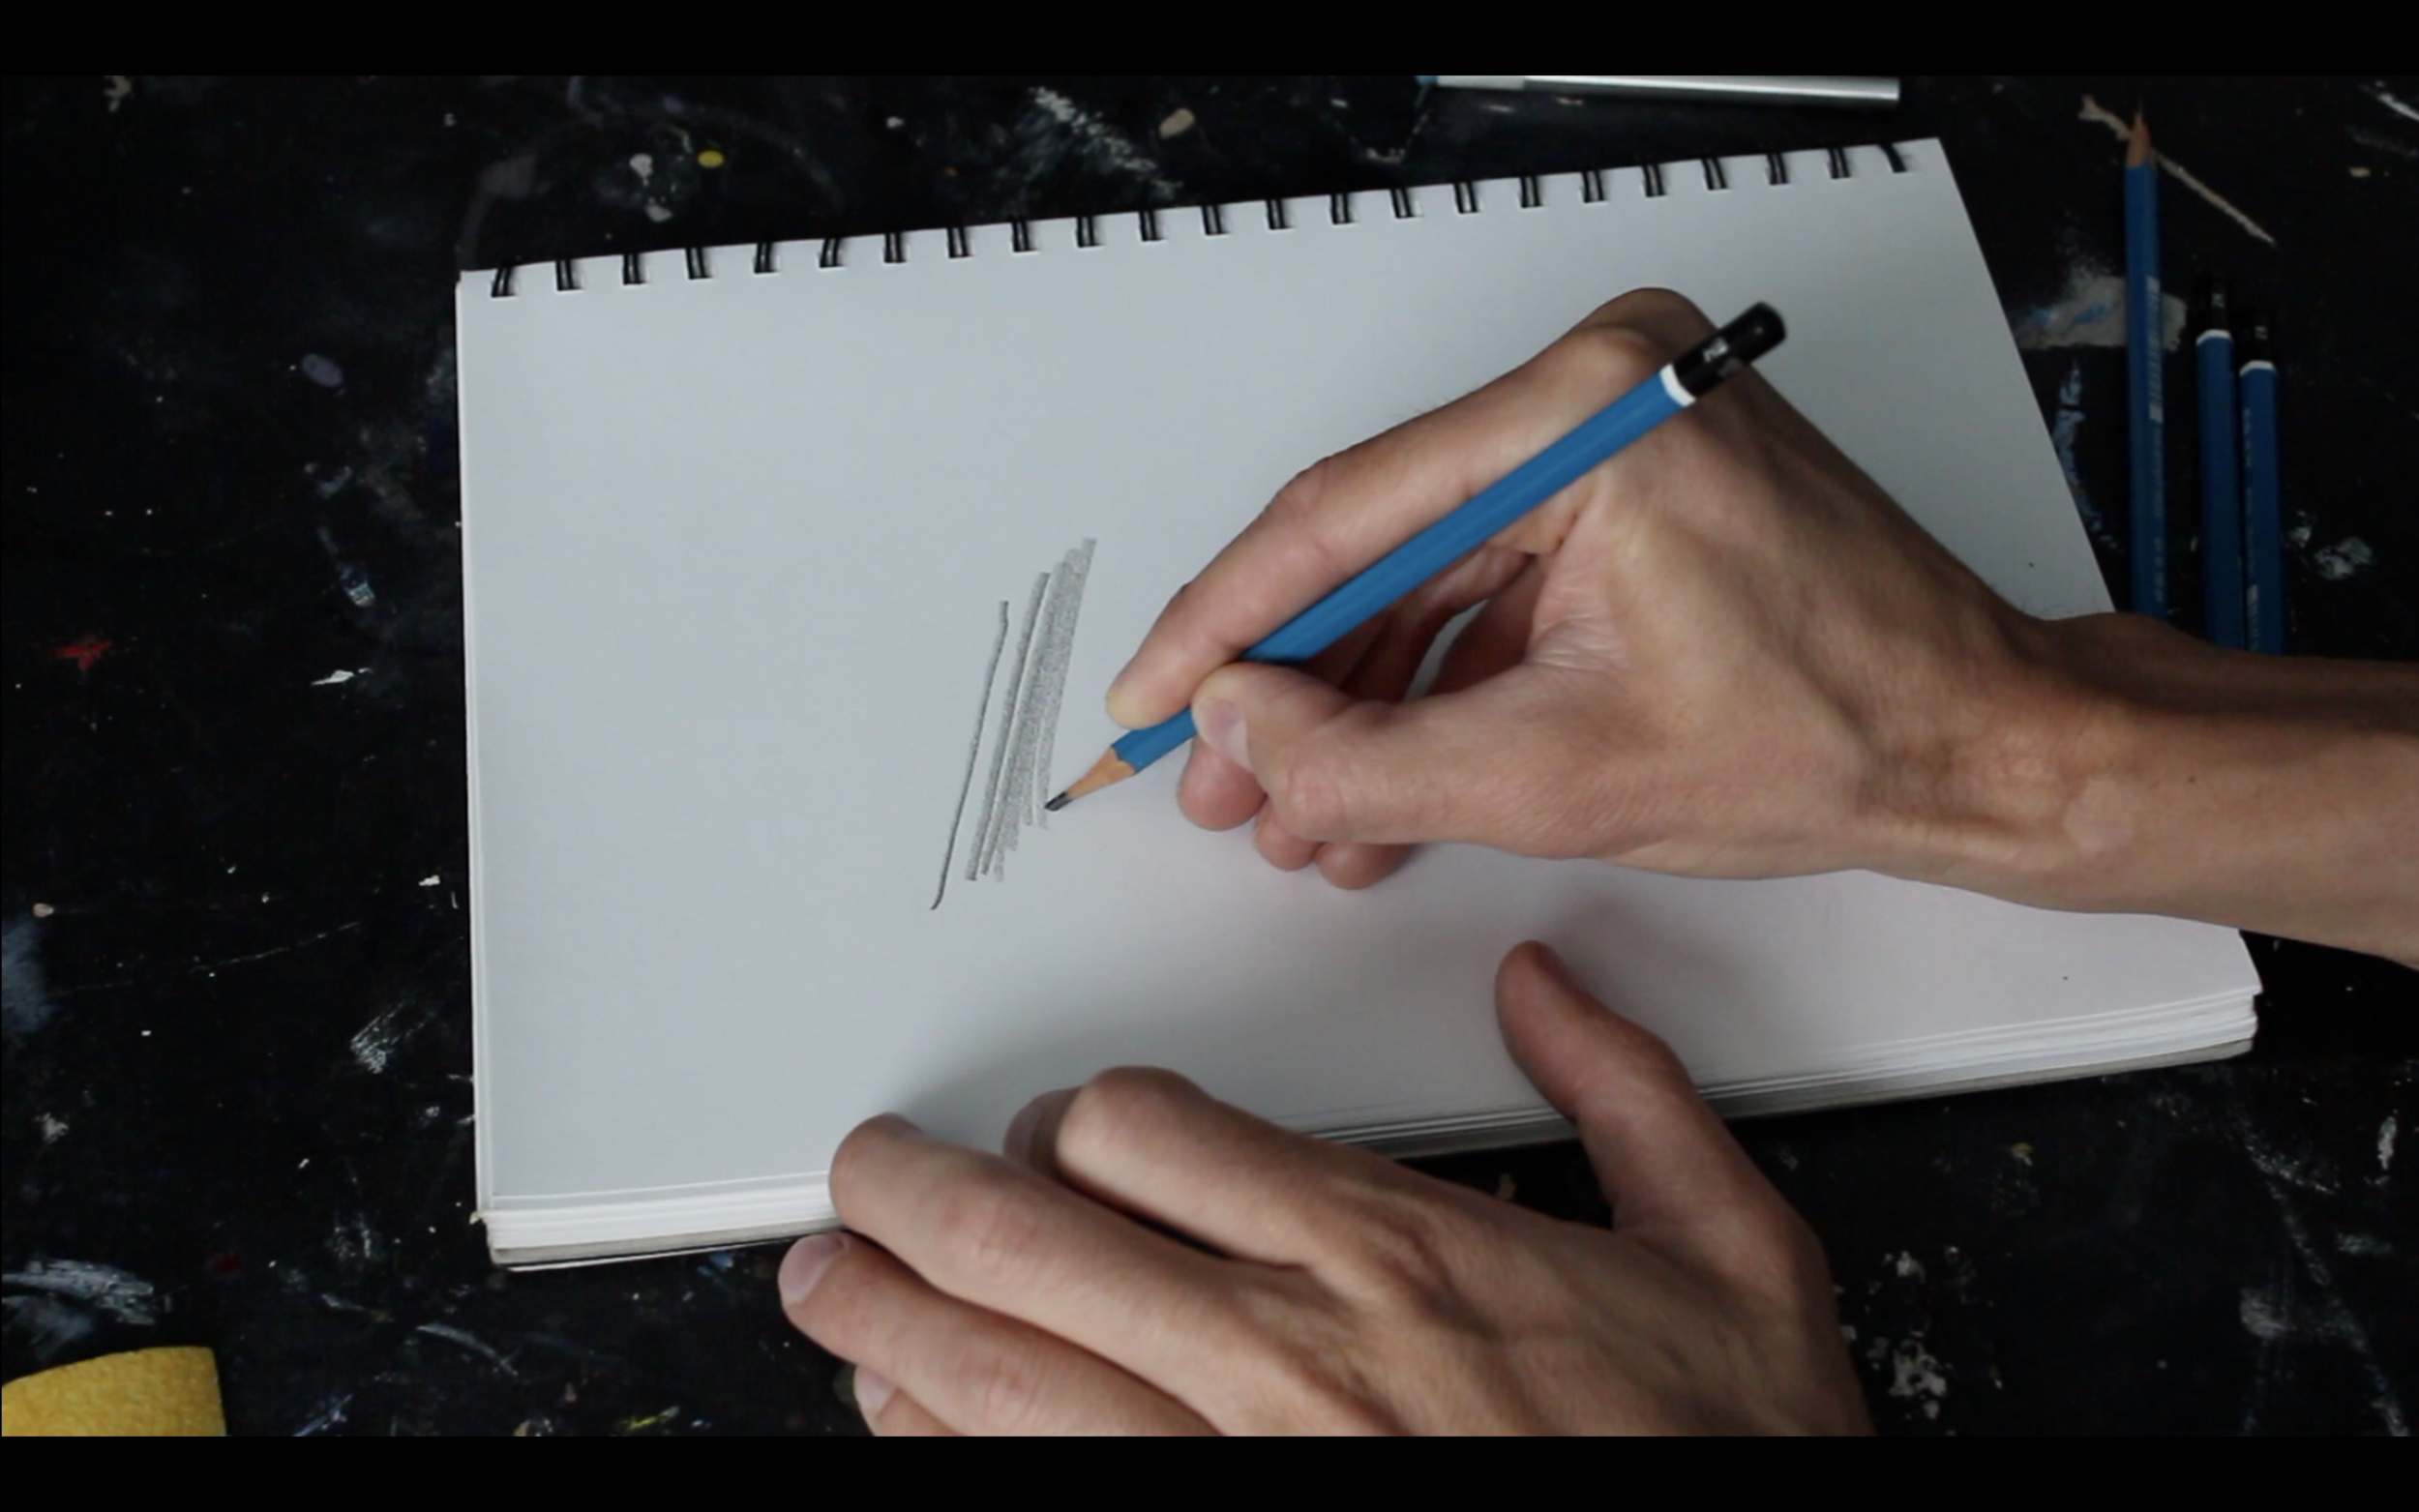
The broad stroke method allows you to create a variety of uniform wide marks that are very effective at communicating realistic forms that you would find in landscapes. This is achieved by sharpening your pencil and then filing the graphite (lead) at an angle to form a flat wedge that is held evenly against the paper.
When sketching the pencil itself must be held at an angle and marks made evenly, not too quickly but not too slowly either. This is depicted in the image below.
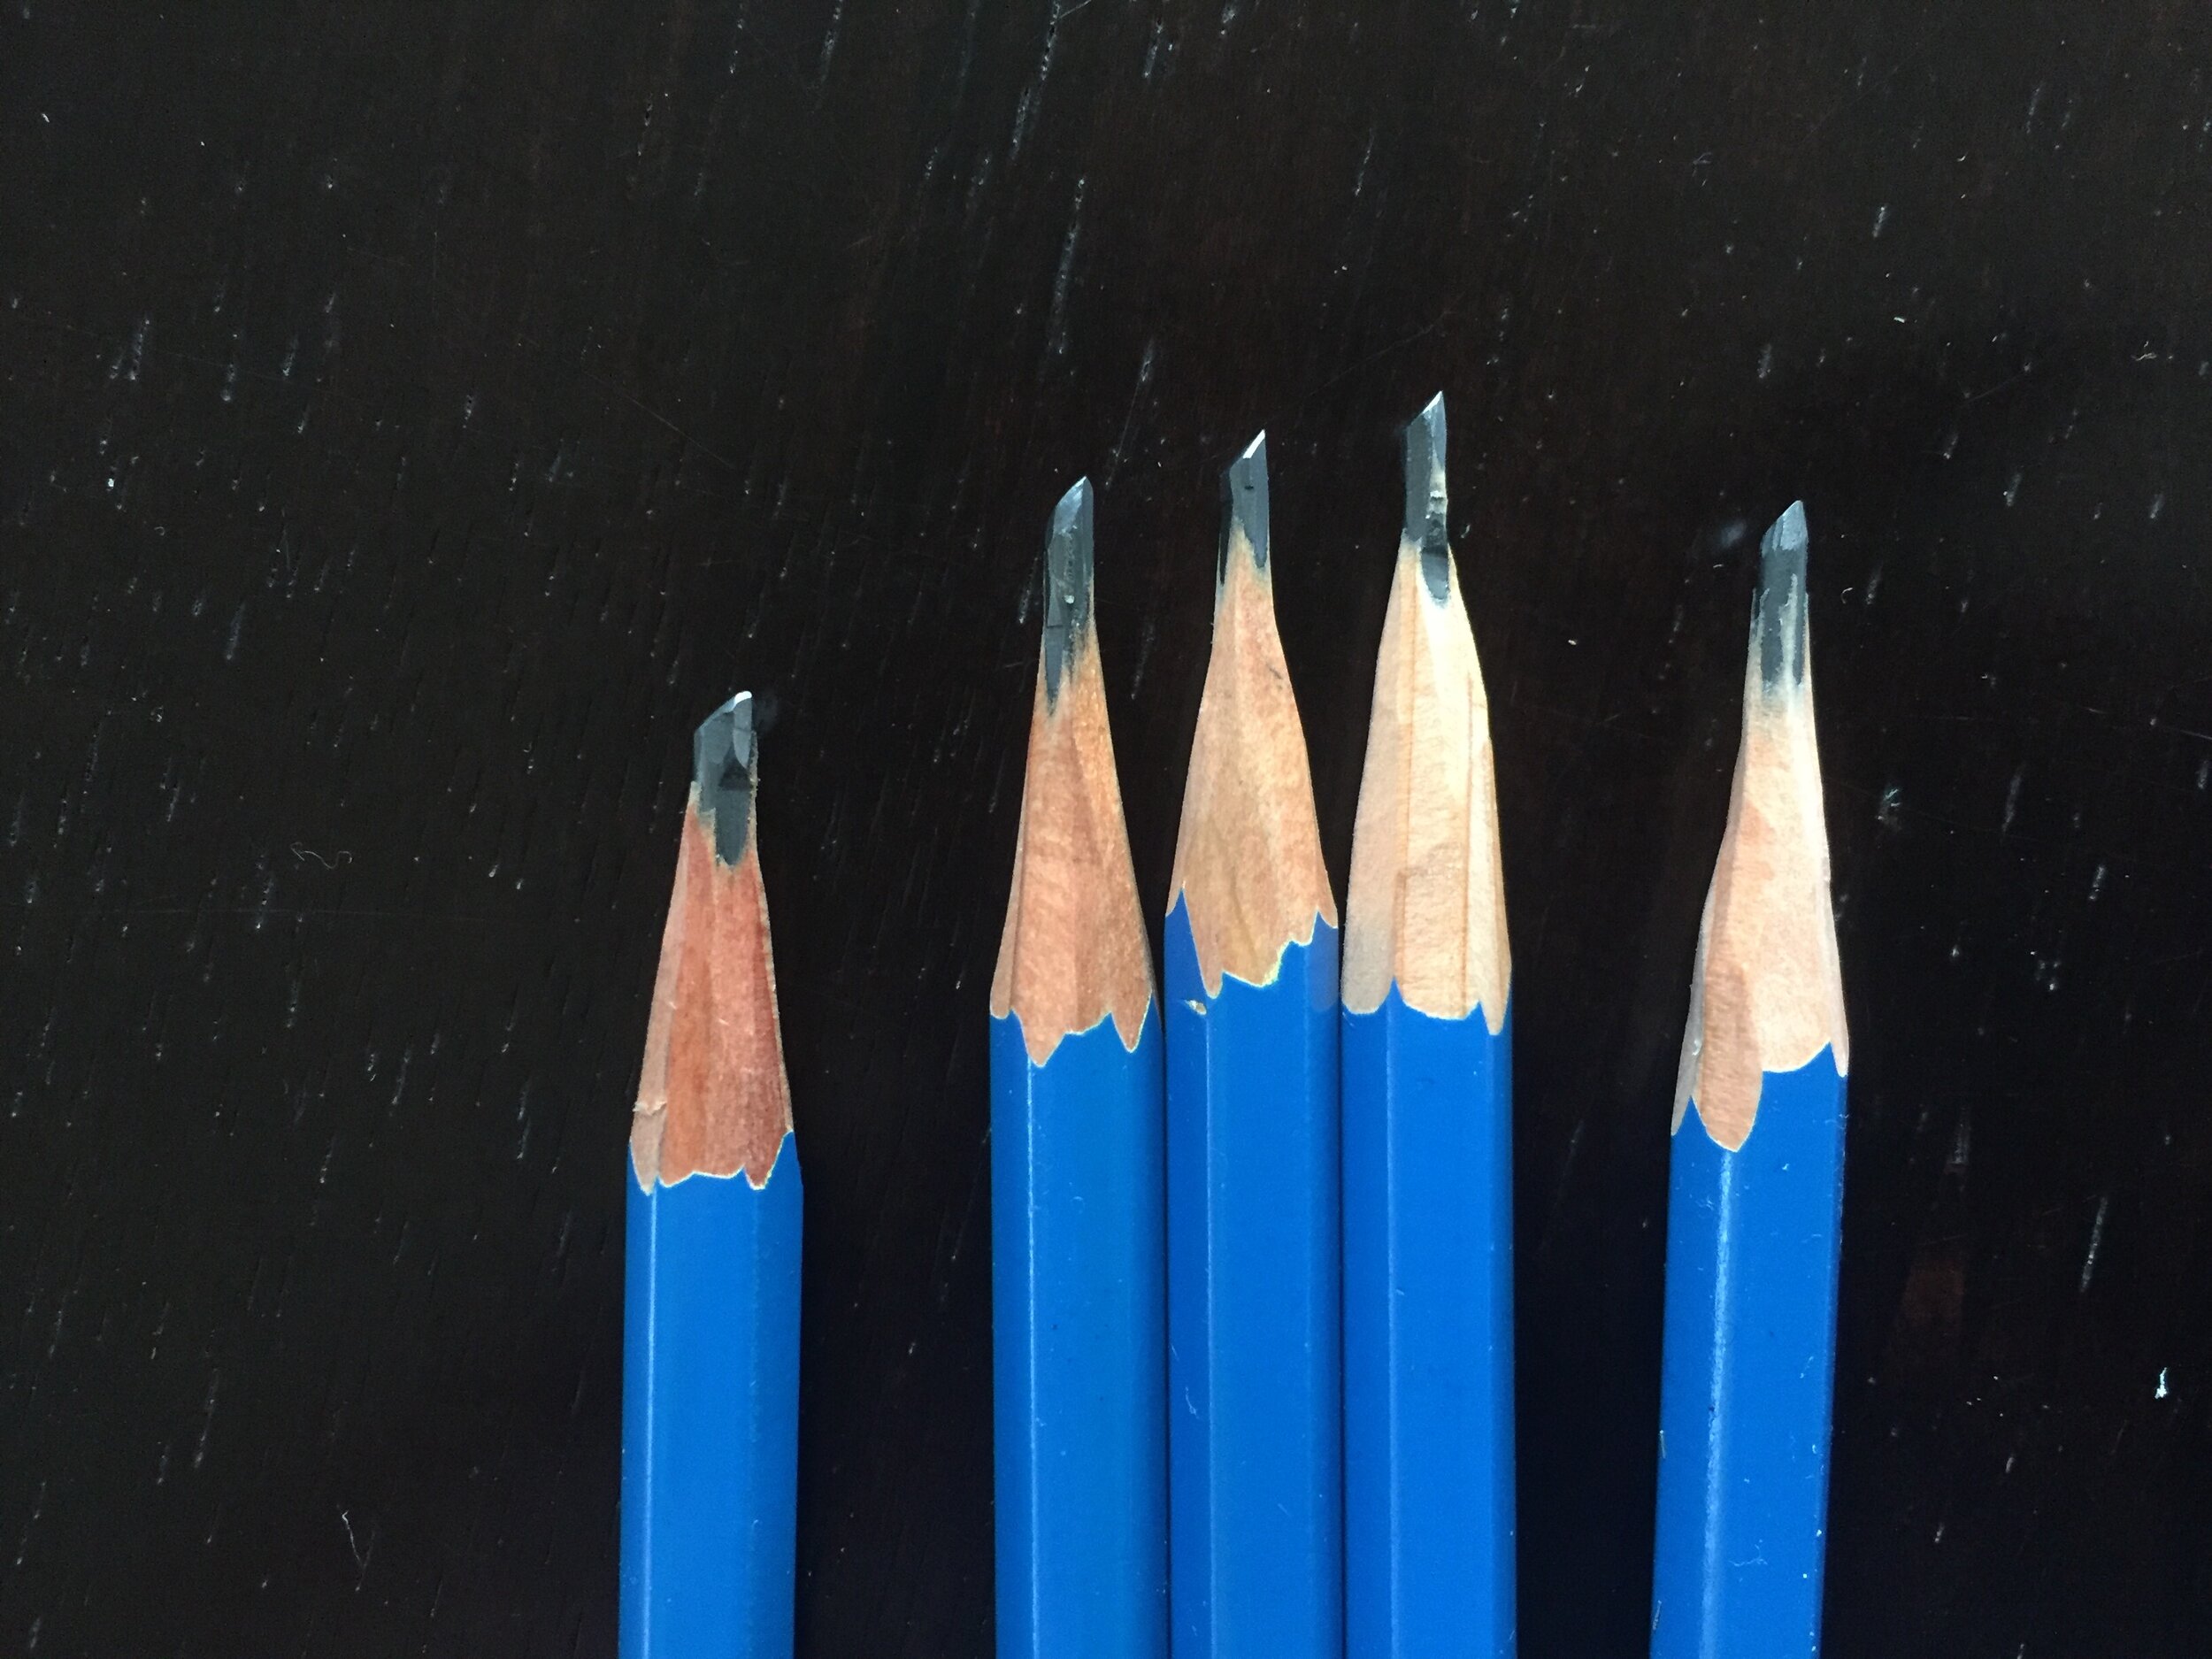
How to Sharpen Your Pencils
The pencil is first sharpened with a craft knife to leave about 1/4” of graphite exposed. This should then be filed on some sandpaper to for a flat wedge. The broad strokes are made with the flat side of the wedge.

Filing your pencil on the sandpaper allows you to achieve the broad stroke or hatching marks as seen in the image below.
The tip of the lead can be used for fine marks but keep in mind that filing it again on the sandpaper maybe needed if further broad strokes are required within the drawing or sketch.
Demonstration – Taupo Bay Drawing
I am sketching on a piece of grey card and I outline the composition with a 4H pencil. I want a faint outline and very light marks at this stage so I can easily erase marks in case I make a mistake.
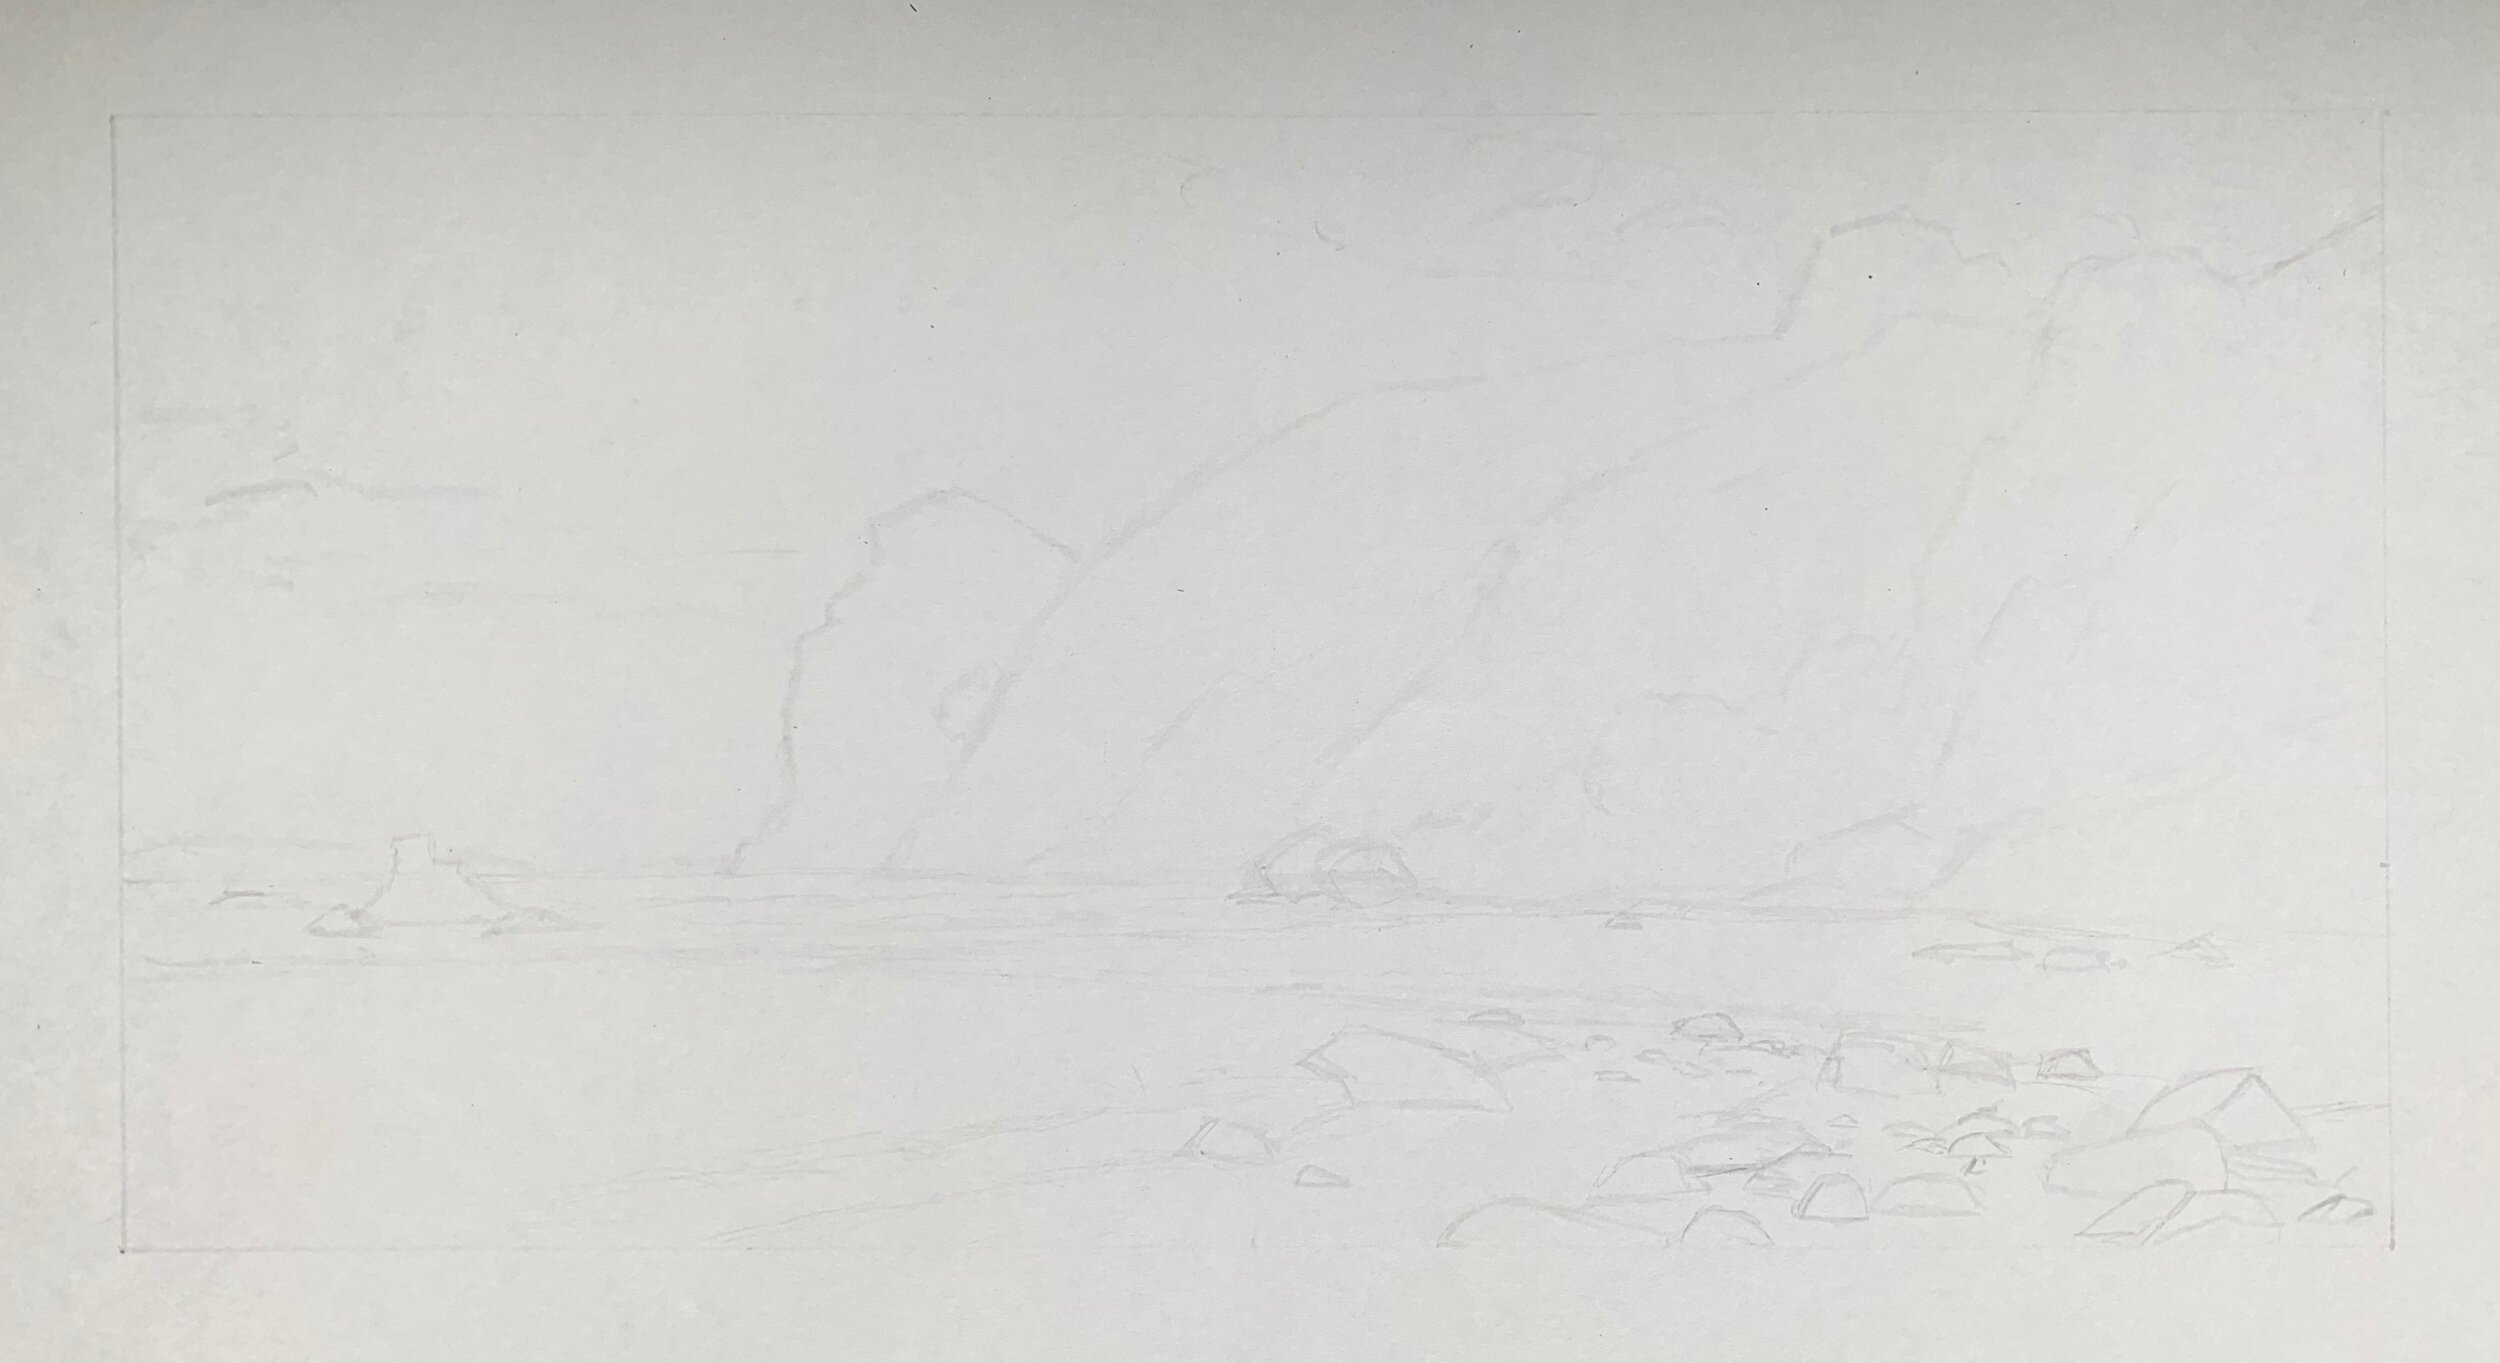
Once I have outlined my composition I begin establishing all the dark values in the drawing. I begin the with cloud shadows starting with a 4H pencil as the value of these are quite light.
I want the headland to be darker than the clouds so I use a 2H pencil however I want the headland to sit back in the composition so I have to make sure the value is not too dark.
The shadows in the next tier of cliffs are even darker so I use a HB pencil and I shade in the cliffs using a hatching technique where possible.

The values in the cliffs on the right side of the drawing are getting progressively darker. This is because the closer you get to the foreground the darker the shadows become. I’m still using the hatching technique and even cross hatching in certain areas to add a bit of texture.
I leave gaps for the areas of the foliage and ridges that are in full sunlight. Using an eraser pen can assist with outlining the areas of of the cliffs and foliage that are in light.
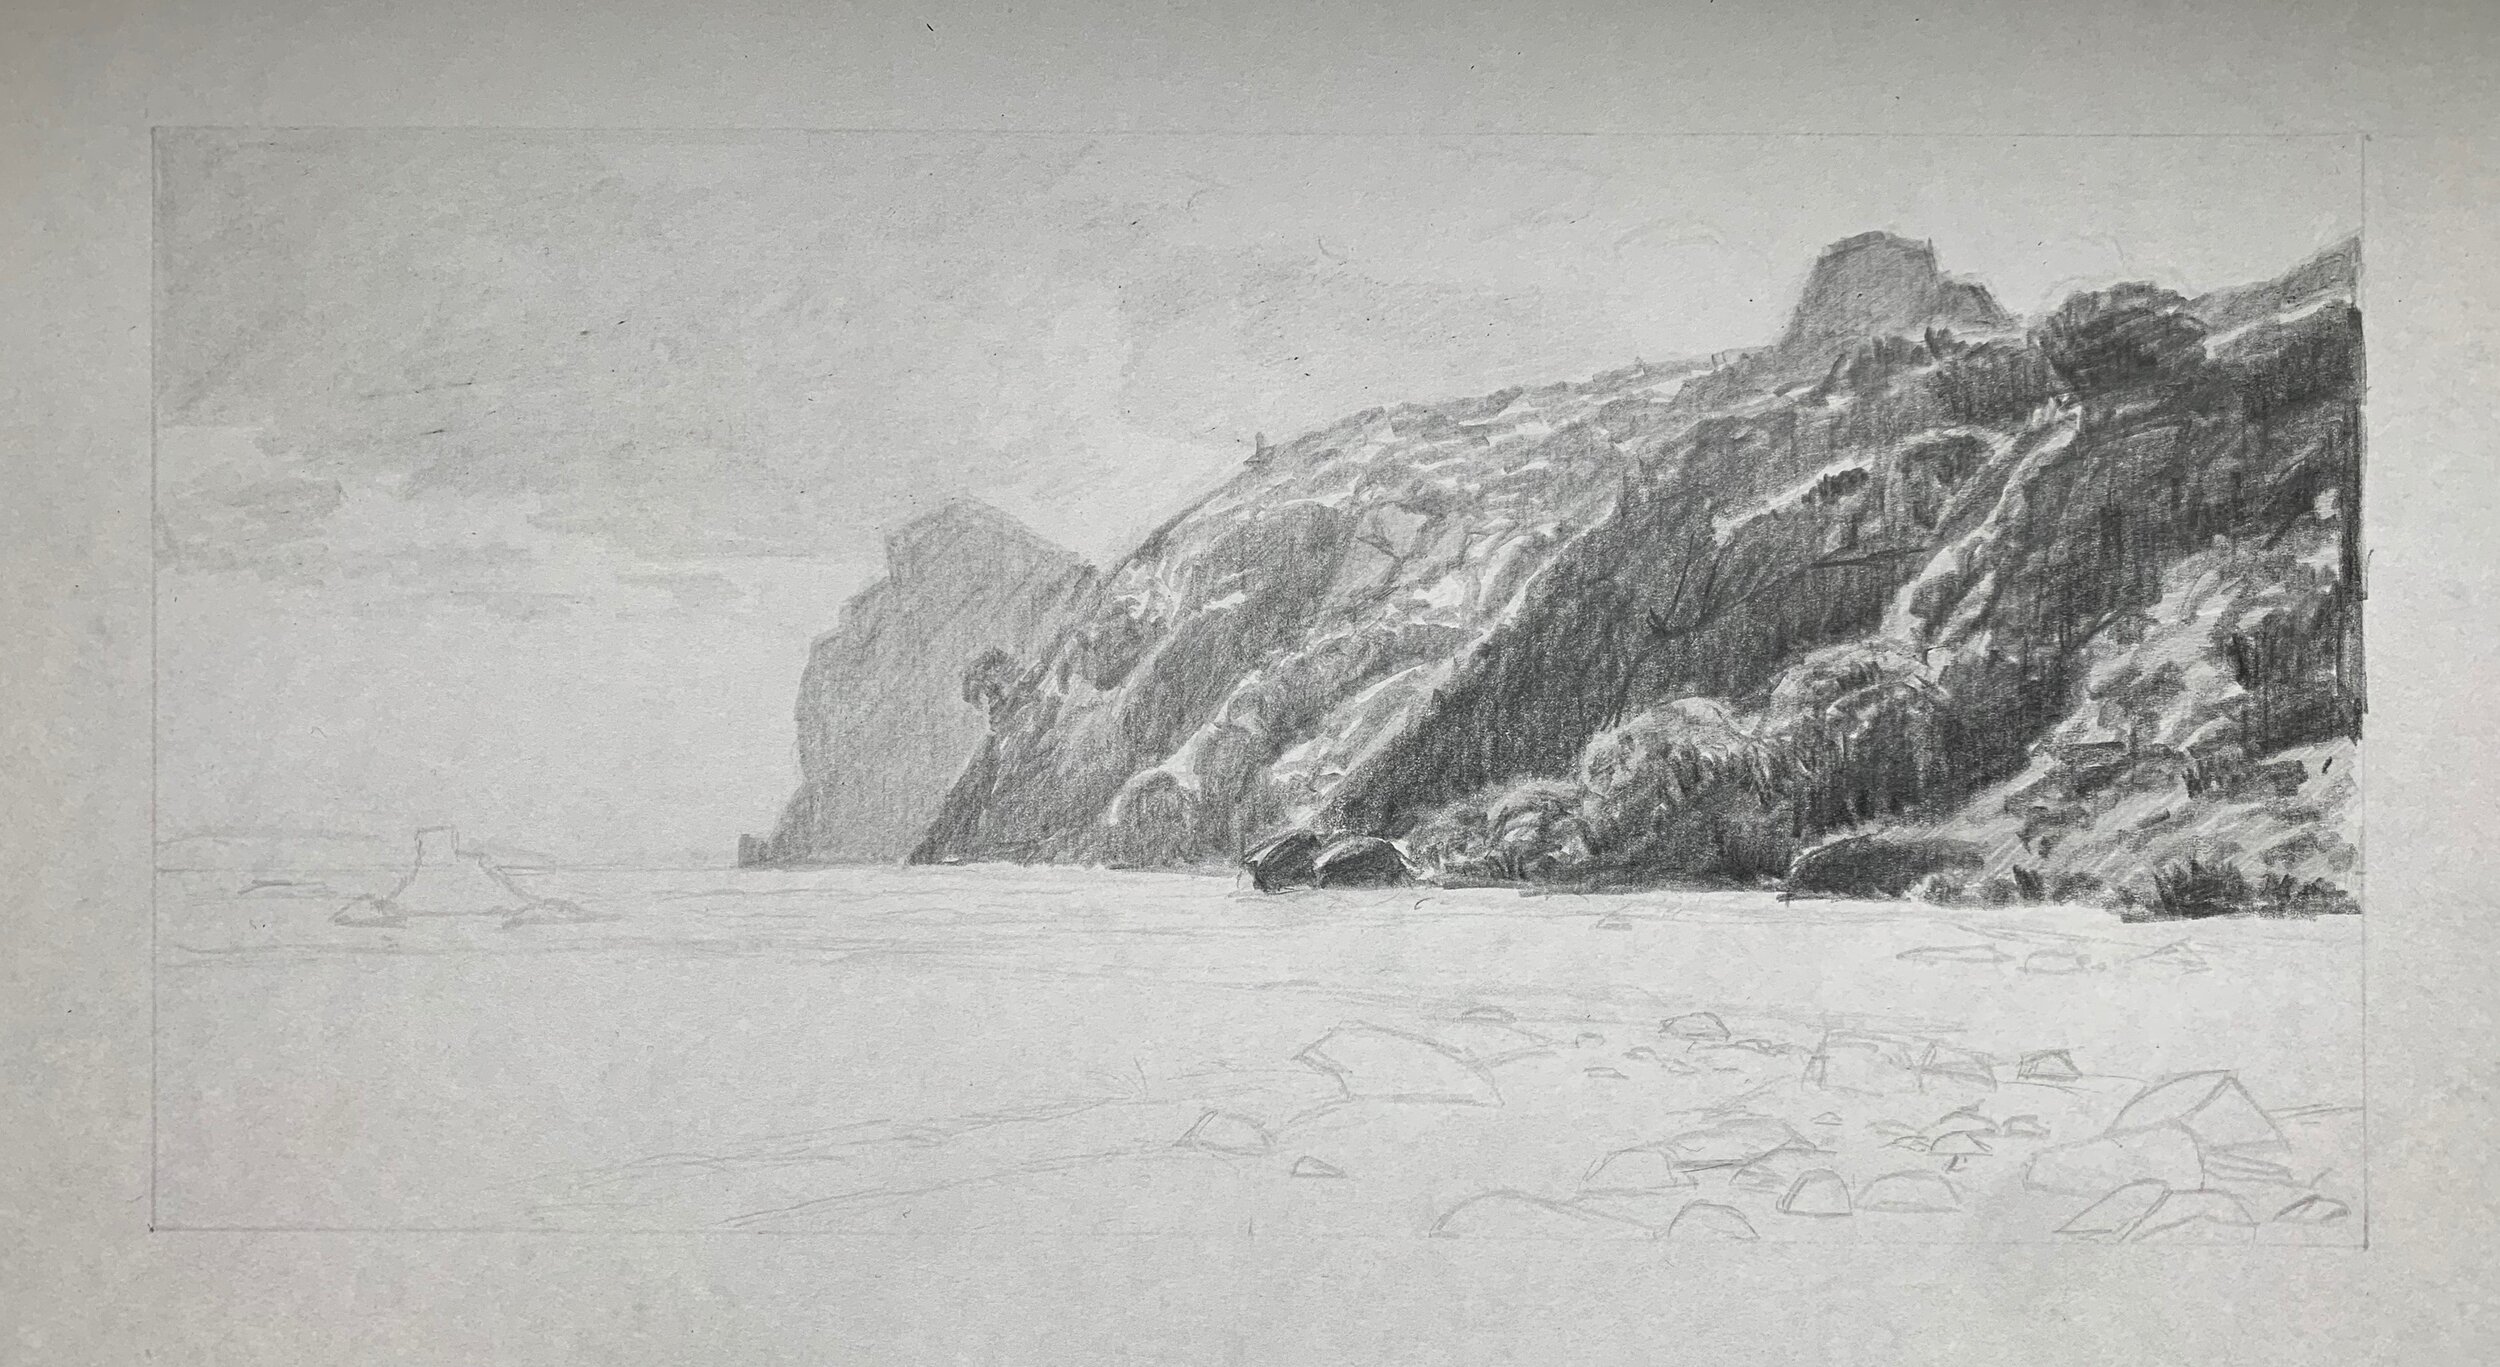
I shade in the sea with a 2H pencil as the value is light and I’m making sure to leave a few spaces for me to add the highlights at the end of the drawing with my white pastel pencil.
The darkest shadows are in the foreground and it’s here that I am using a combination of 8B graphite and 8B Mars Lumograph black pencils.
I use my mechanical pencil to add finer detail to the cliff faces and foliage. The mechanical pencil produces a fine mark so it is great for details.
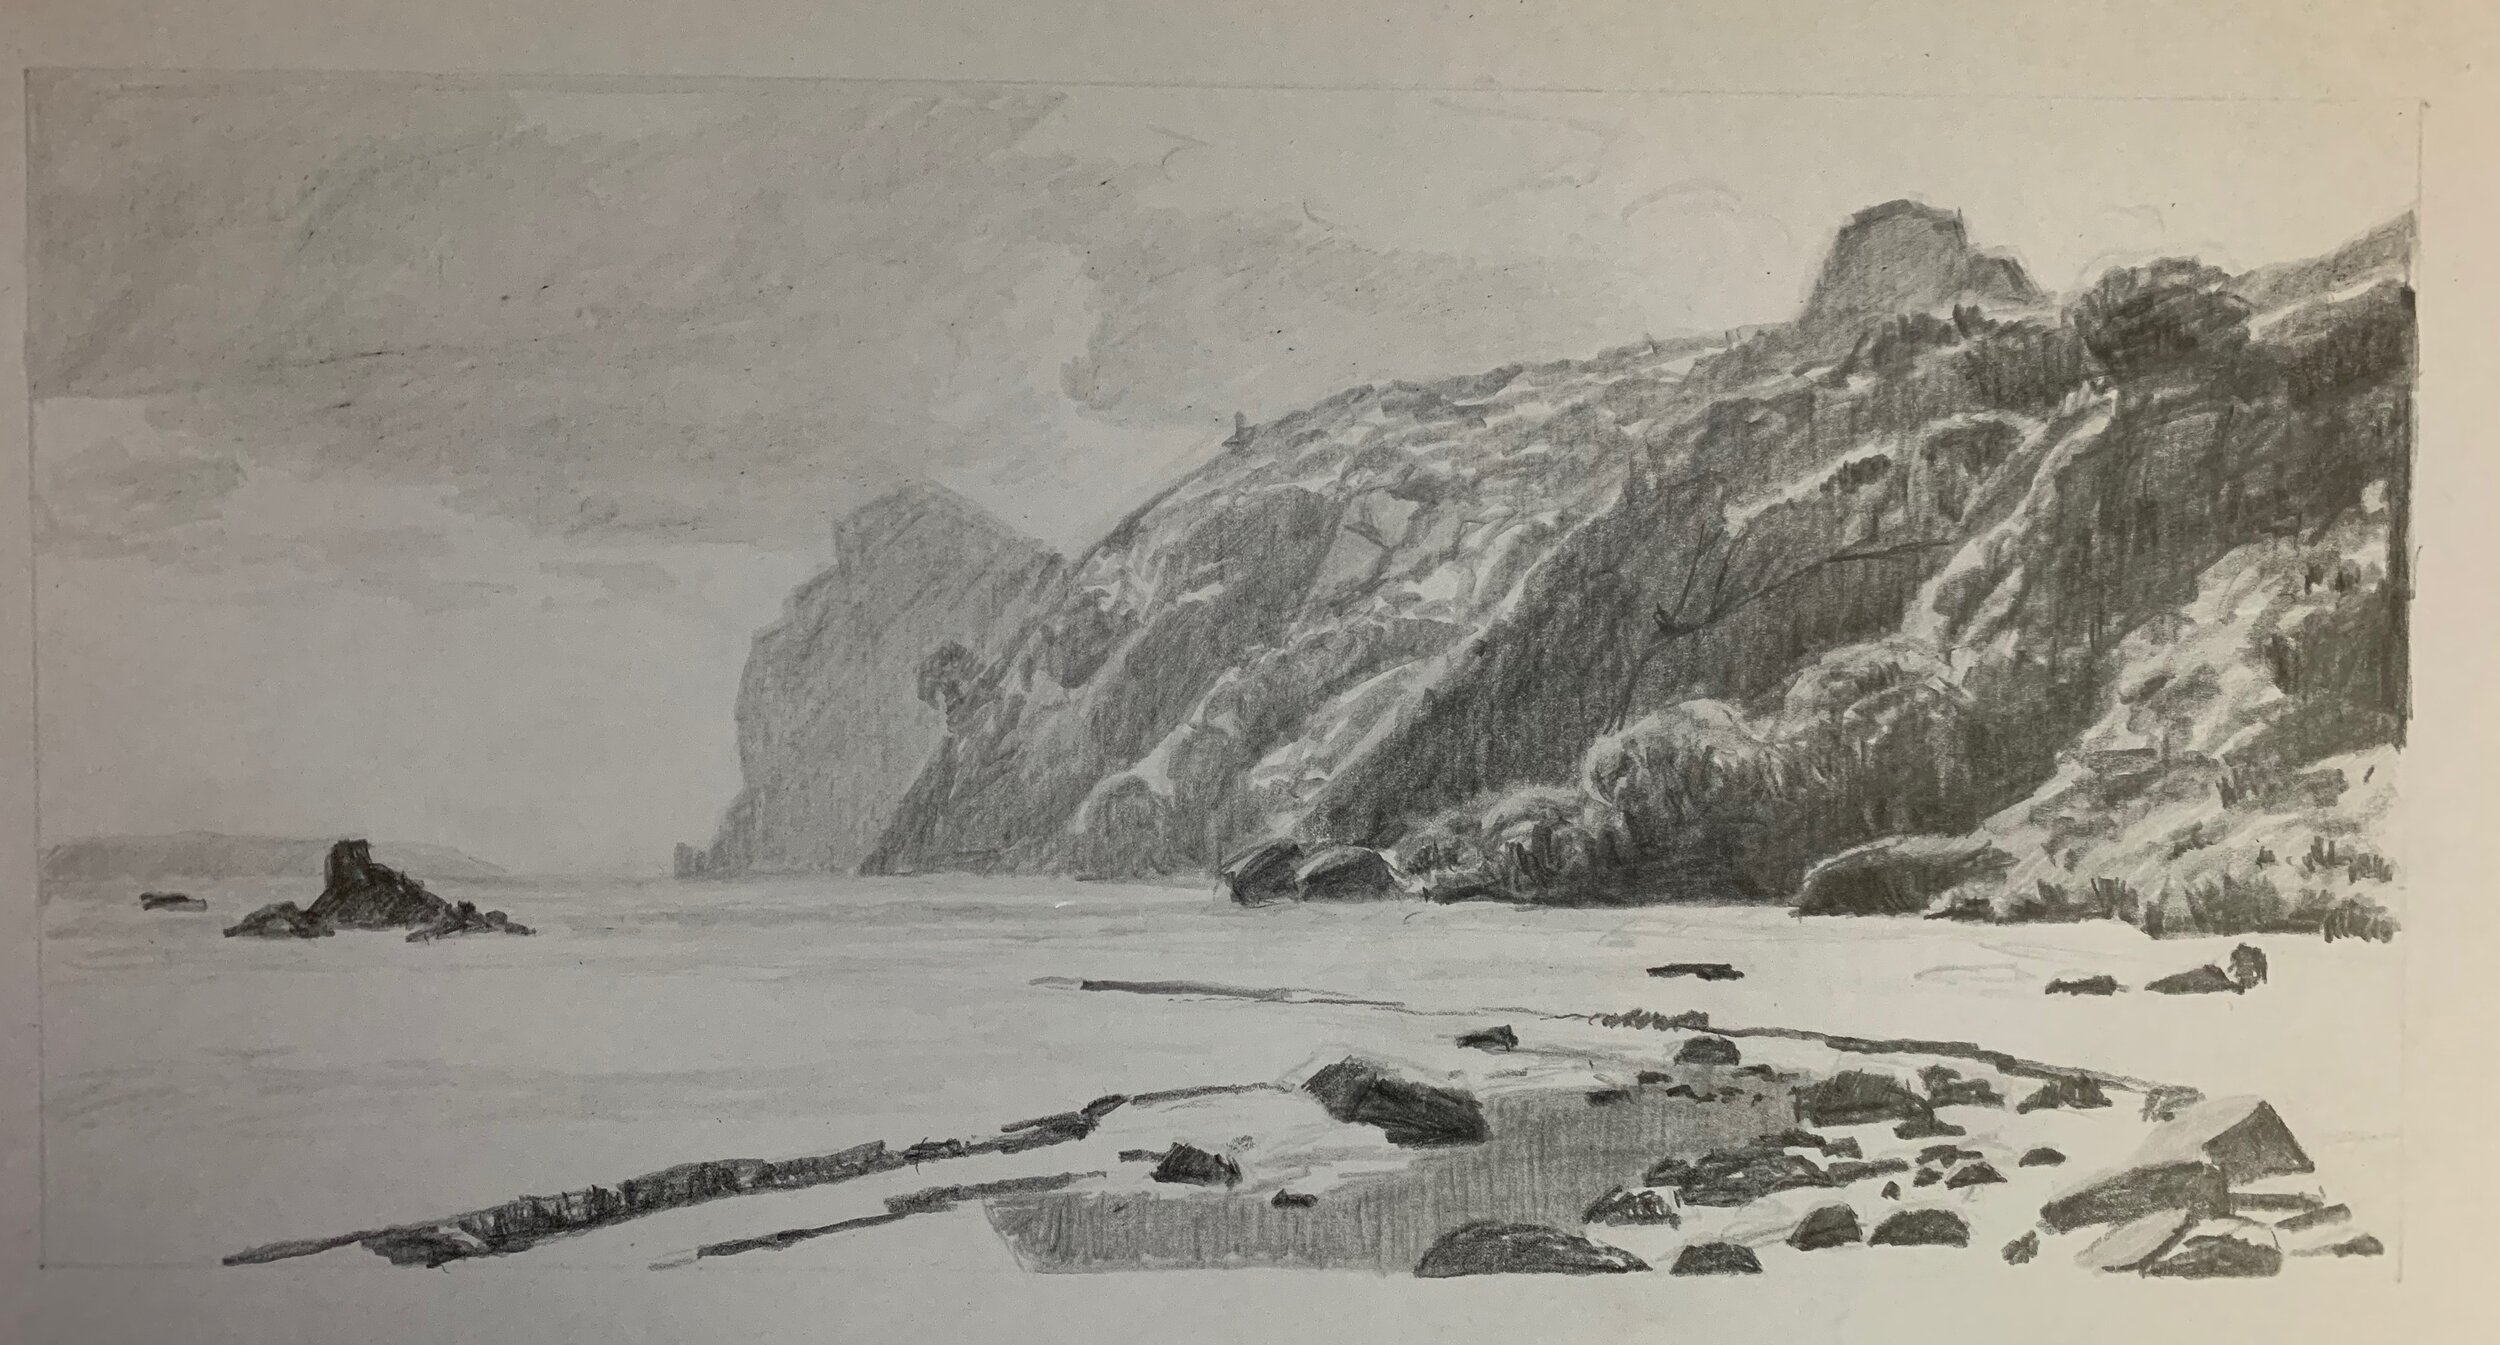
Now for the fun part of the drawing. This is where I’m adding my lightest values with a white pastel pencil. This instantly adds a sense of light and communicates a convincing three dimensional form. It also further states the atmospheric perspective in the drawing.
I use the white pastel pencil only for the very lightest values which are the sunlit clouds, the white water, waves crests and the sparkles in the foreground stream.
Thanks for reading.
