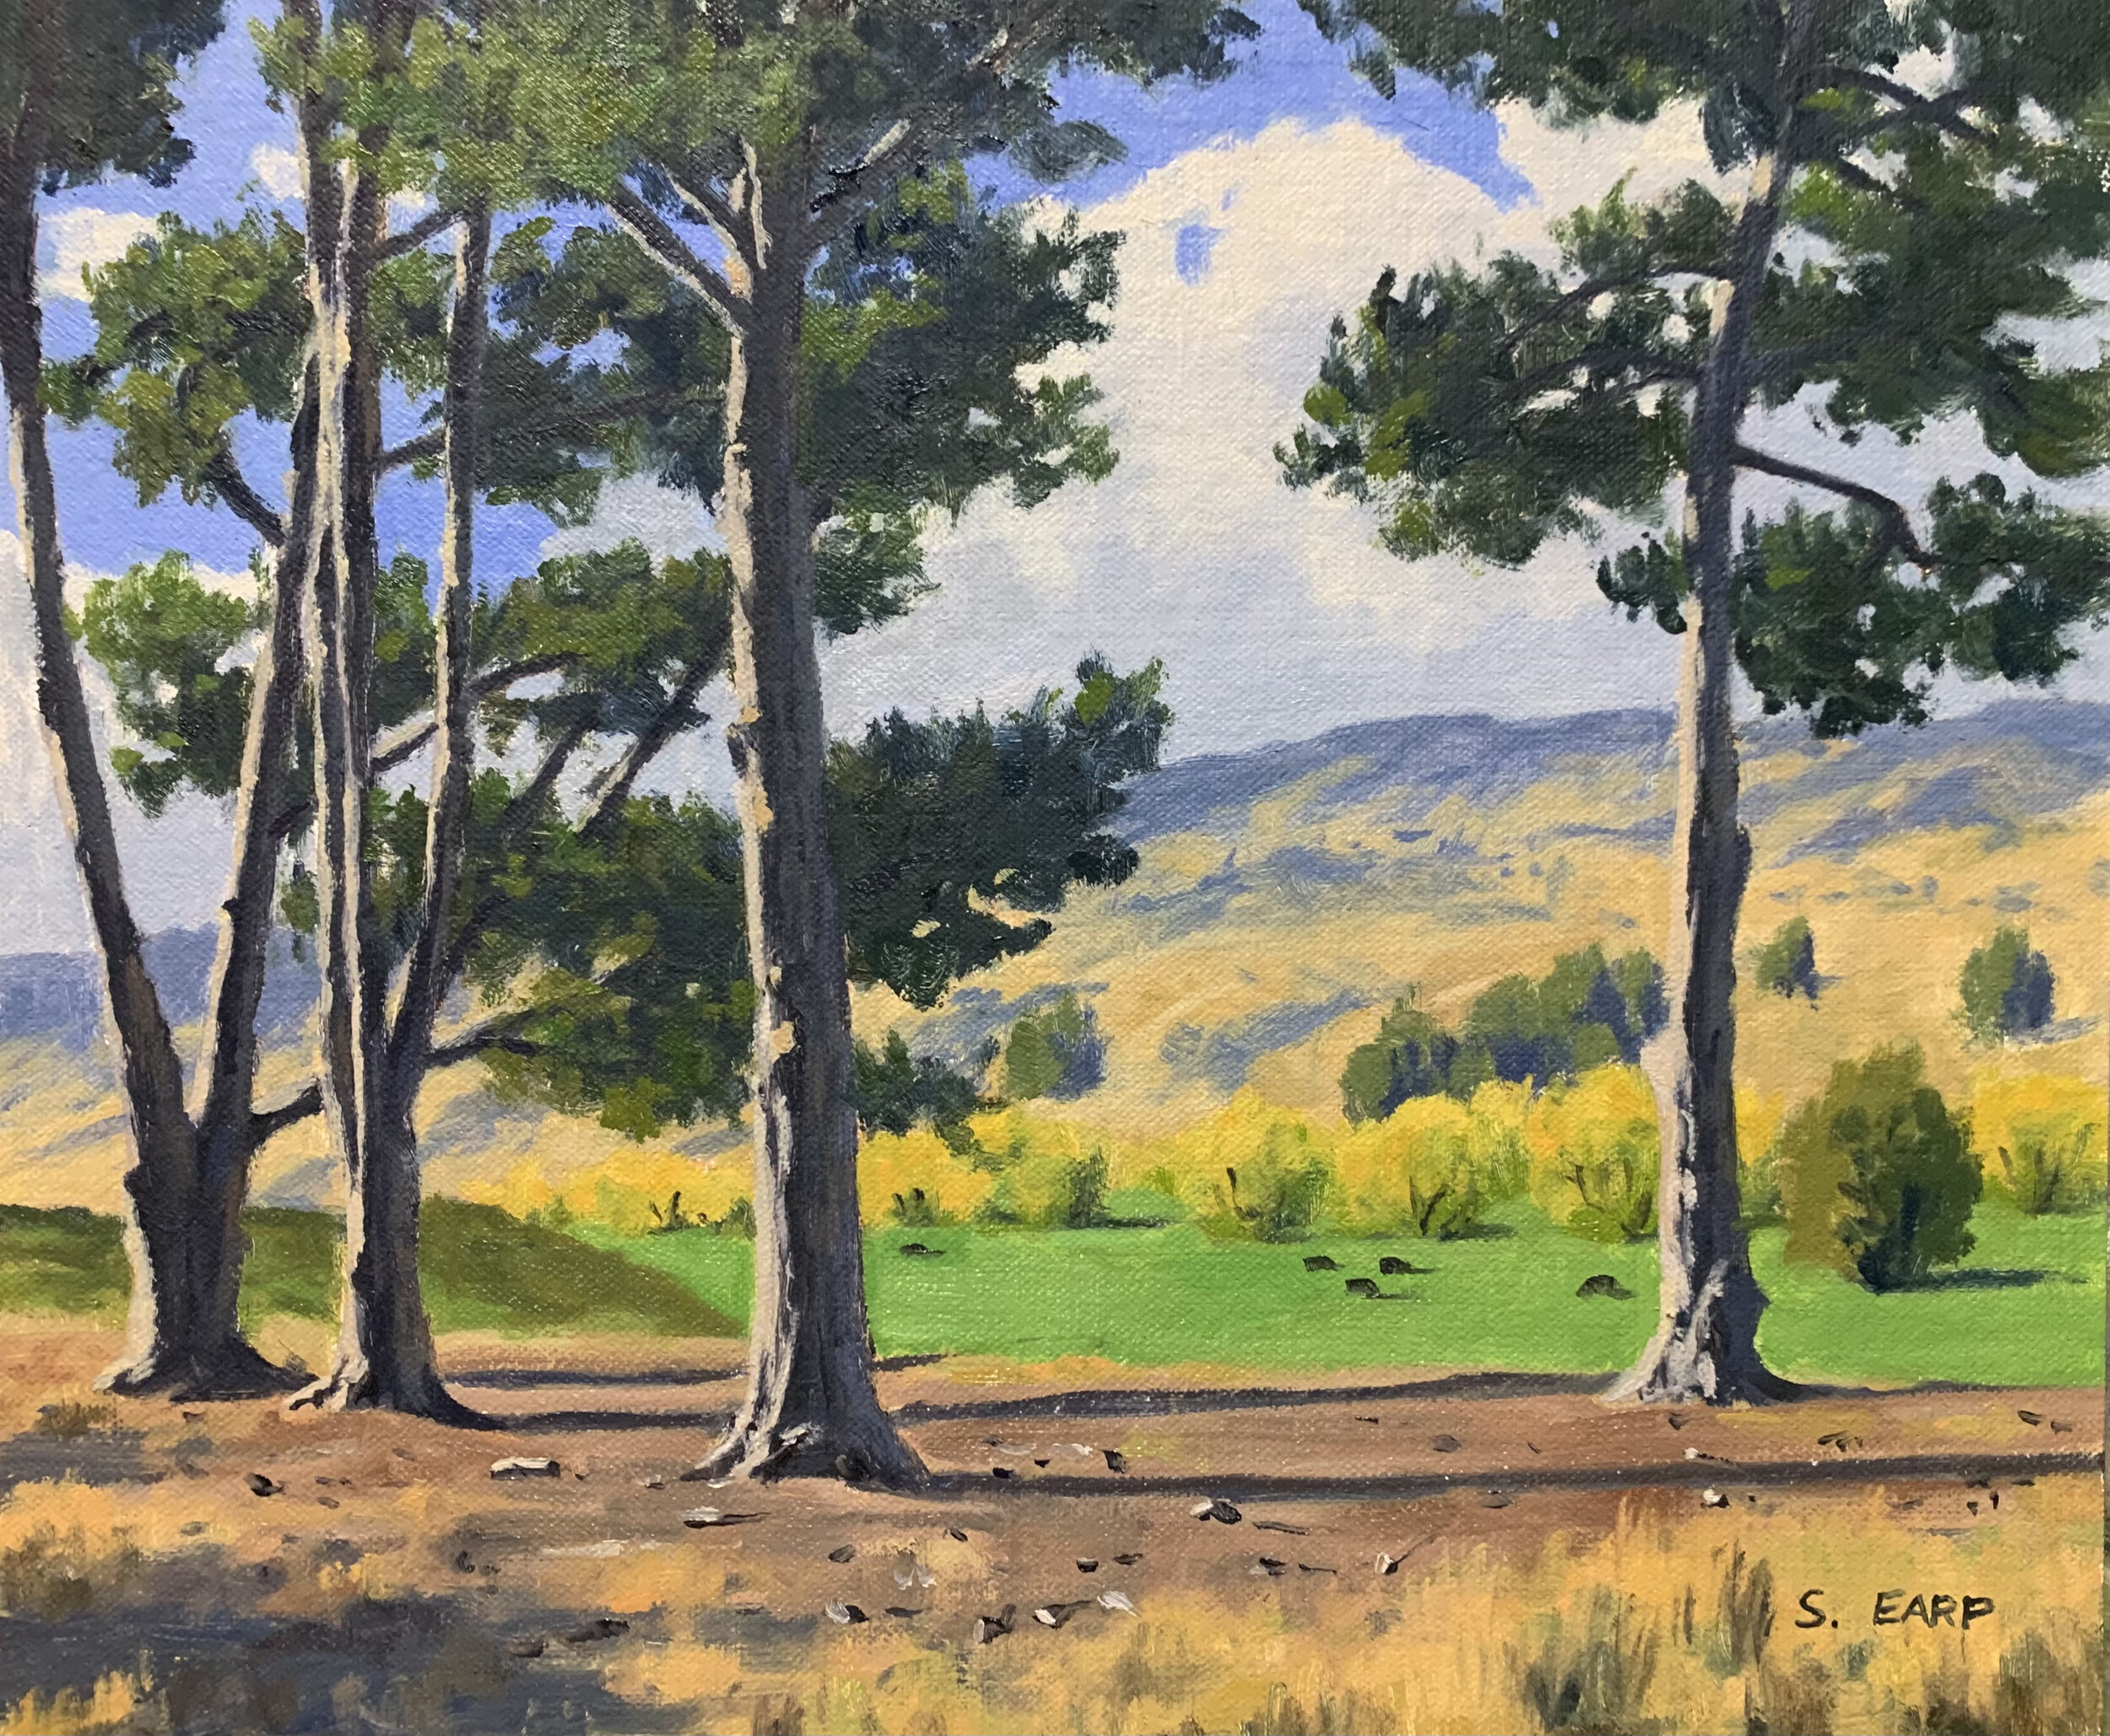
In this written painting tutorial I will show you how to paint this landscape that features a stand of pine trees. This painting is inspired by the Otago region in New Zealand.
I painted this artwork in oils but you could use acrylics instead.
Reference Photo
Here is a reference photo I took and used in this painting. Please feel free to use or copy this photo if you would like to have a go at painting this artwork.

Composition
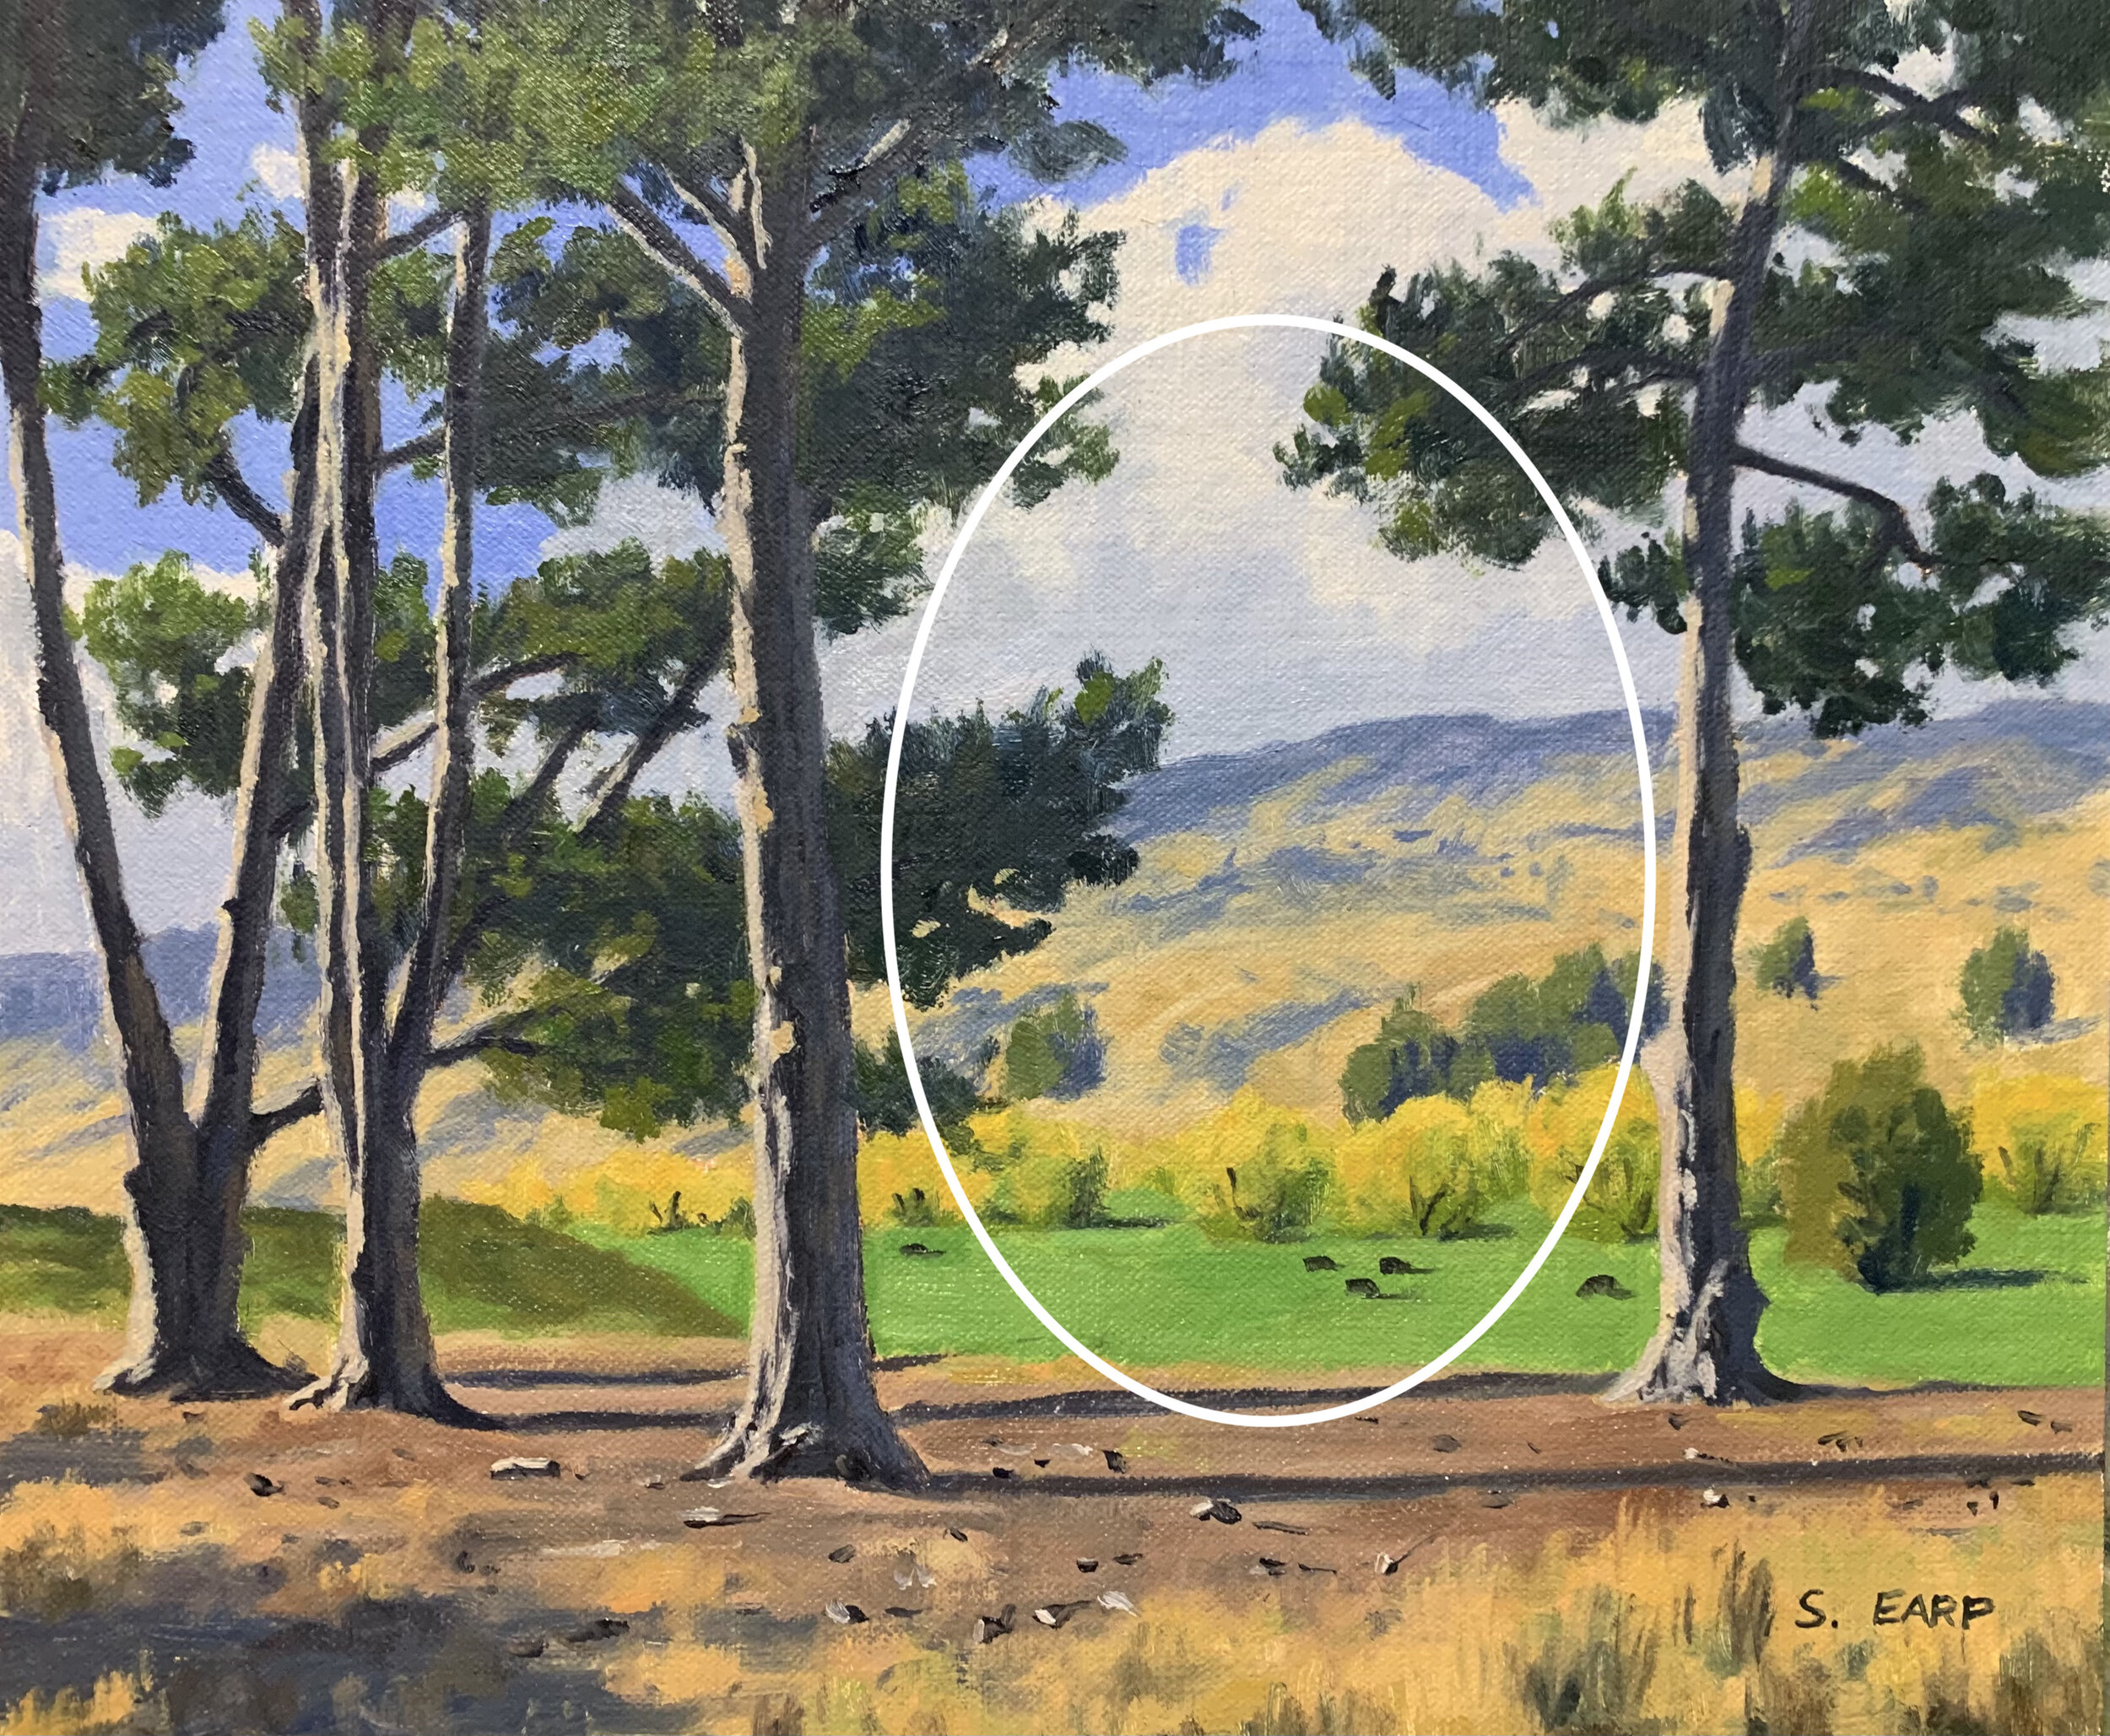
This artwork features a tunnel composition where there is a gap within the stand of trees that leads the eye to the hills in the background. Note how the gap between the trees is not in the middle of the composition but to the right of the centre. You should never have your focal area in the middle of your composition as it forms a displeasing static within the painting.
I have made the horizon line lower in the composition and just as you should never have centred objects your horizon line should never be in the middle either, so use a low or high horizon line in landscape paintings.
Colours
I painted this artwork using oil paint and the colours I used in this painting are as follows:
- Titanium white
- Burnt sienna
- Yellow ochre
- Cadmium yellow
- Cadmium orange
- Alizarin crimson
- Ultramarine blue
- Phthalo green
Brushes
Here is a list of the brushes I used in this painting:
- No.5 flat
- No.3 flat
- No.2 flat
- No.3 filbert
- No.0 round
Painting Demonstration
Stage 1 – Blocking in the Painting
I am painting on a 10” x 12” linen panel. The panel is pre-made with a medium weave linen that is oil primed.
I sketch the composition using a No.1 round brush with burnt sienna mixed with Liquin Original (Liquin). I am using Liquin as a medium to thin the paint and it also has the advantage of speeding up the drying time.

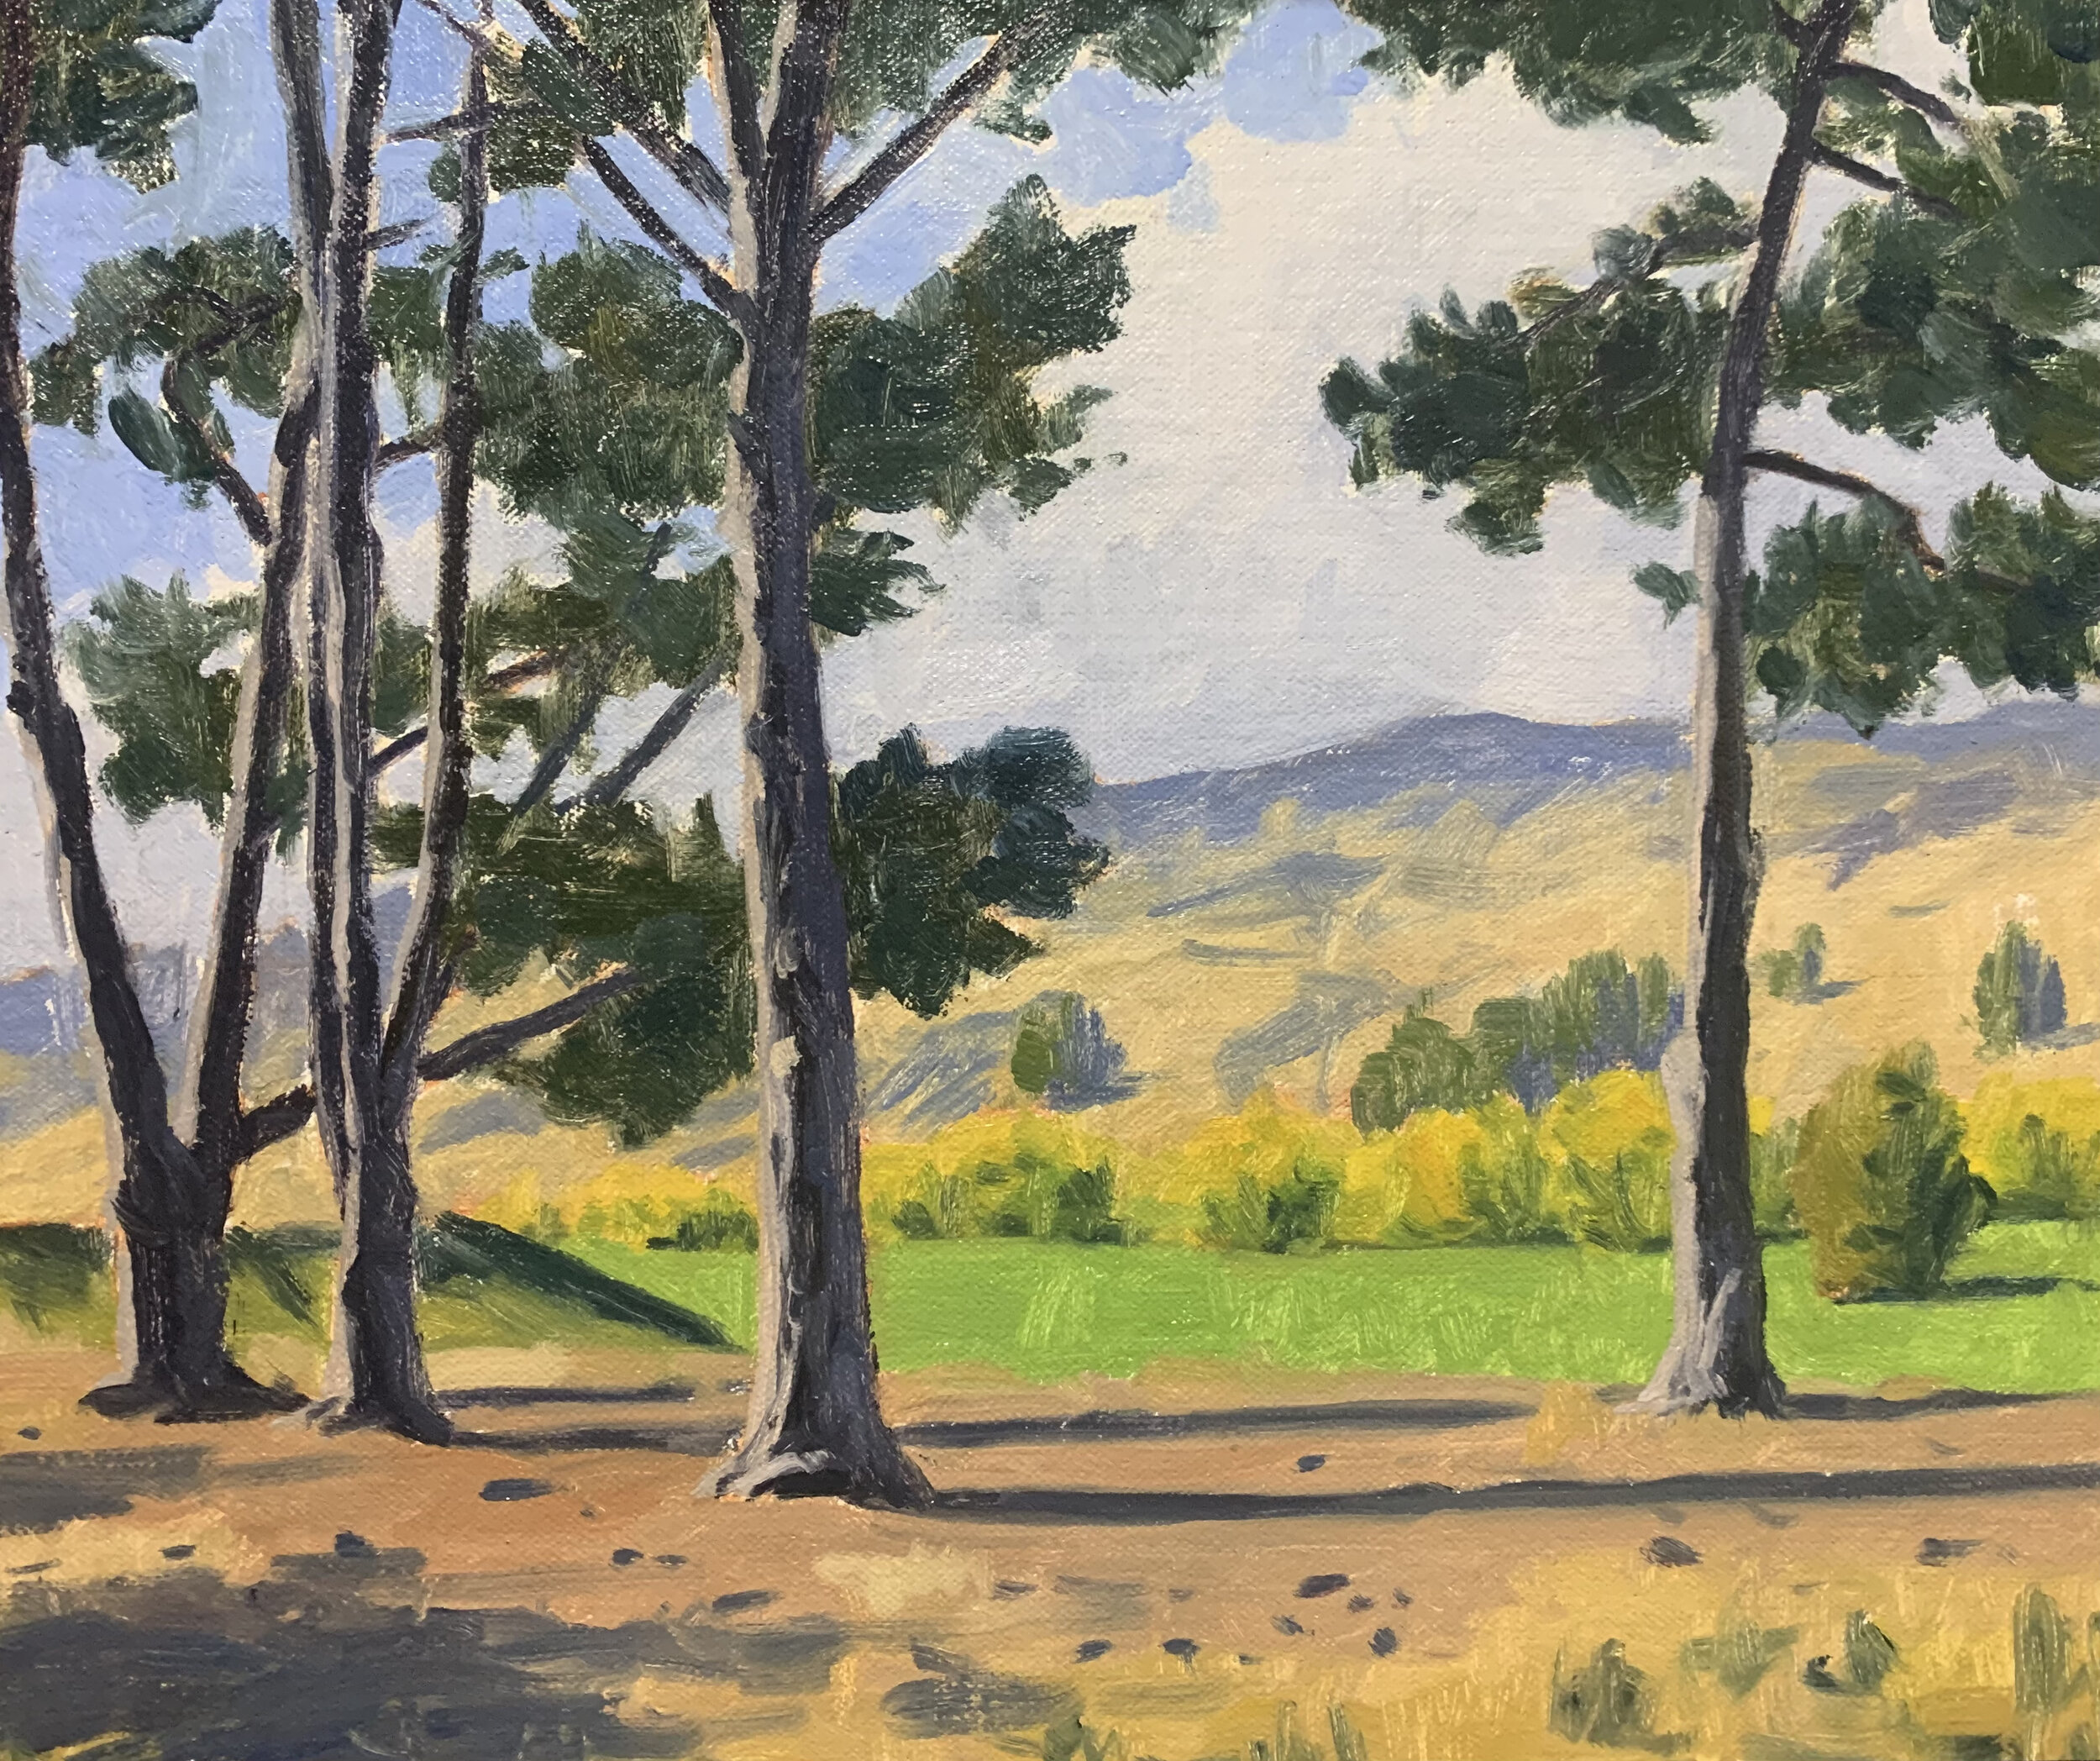
Whenever I begin blocking in a landscape I always start by painting my dark values and shadows first. The darkest values are the trees and trees in general are the darkest values to be found in the landscape.
The shadows in the tree trunks are a mix of ultramarine blue, burnt sienna, titanium white and a little alizarin crimson. I also use this same colour mix for the hills in the background but there is more titanium white to make the value lighter.
The tree foliage is a mix of ultramarine blue and yellow ochre.
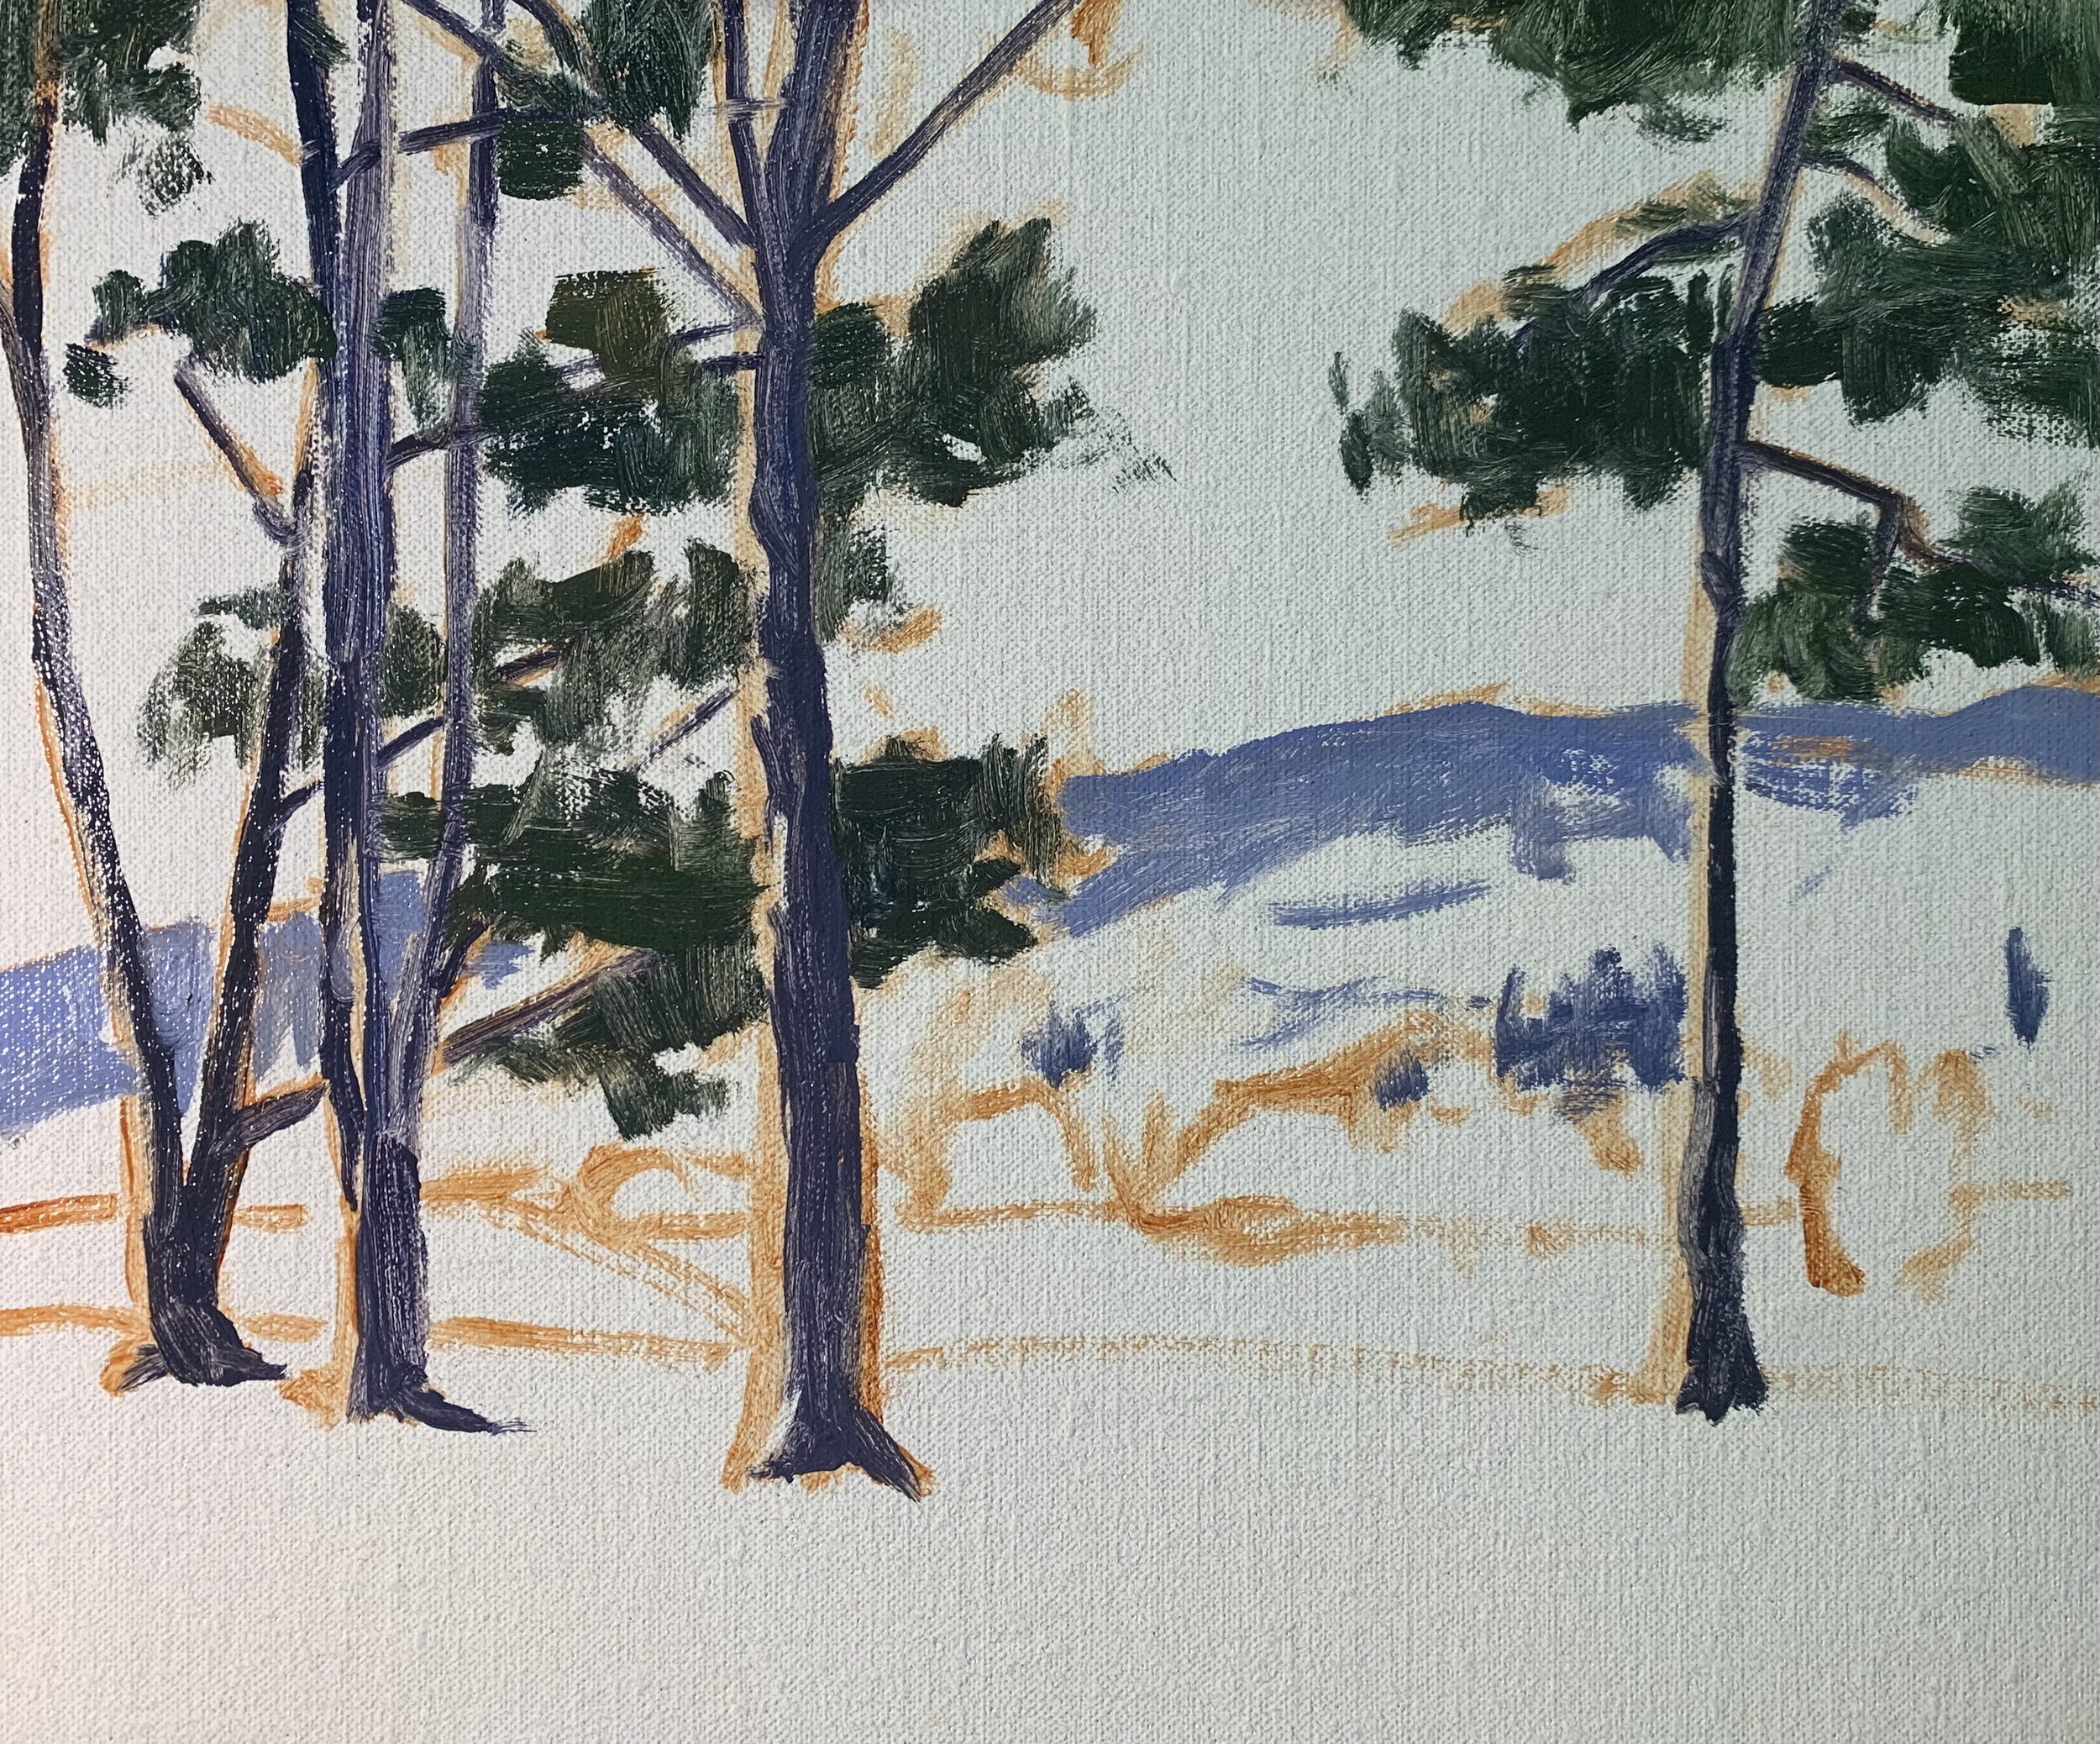
I mark in the cloud shadows with a mix of ultramarine blue, burnt sienna, titanium white and a little alizarin crimson. The value is lighter than the hill shadows but note how I’ve used the same colours in the clouds as I have for the hills and tree stems. By using similar colours throughout your painting you are much more likely to achieve colour harmony and a painting that reads well.
Throughout the blocking-in stage, I have mainly used No.5 flat brushes so I can create some gestural painterly brush marks.
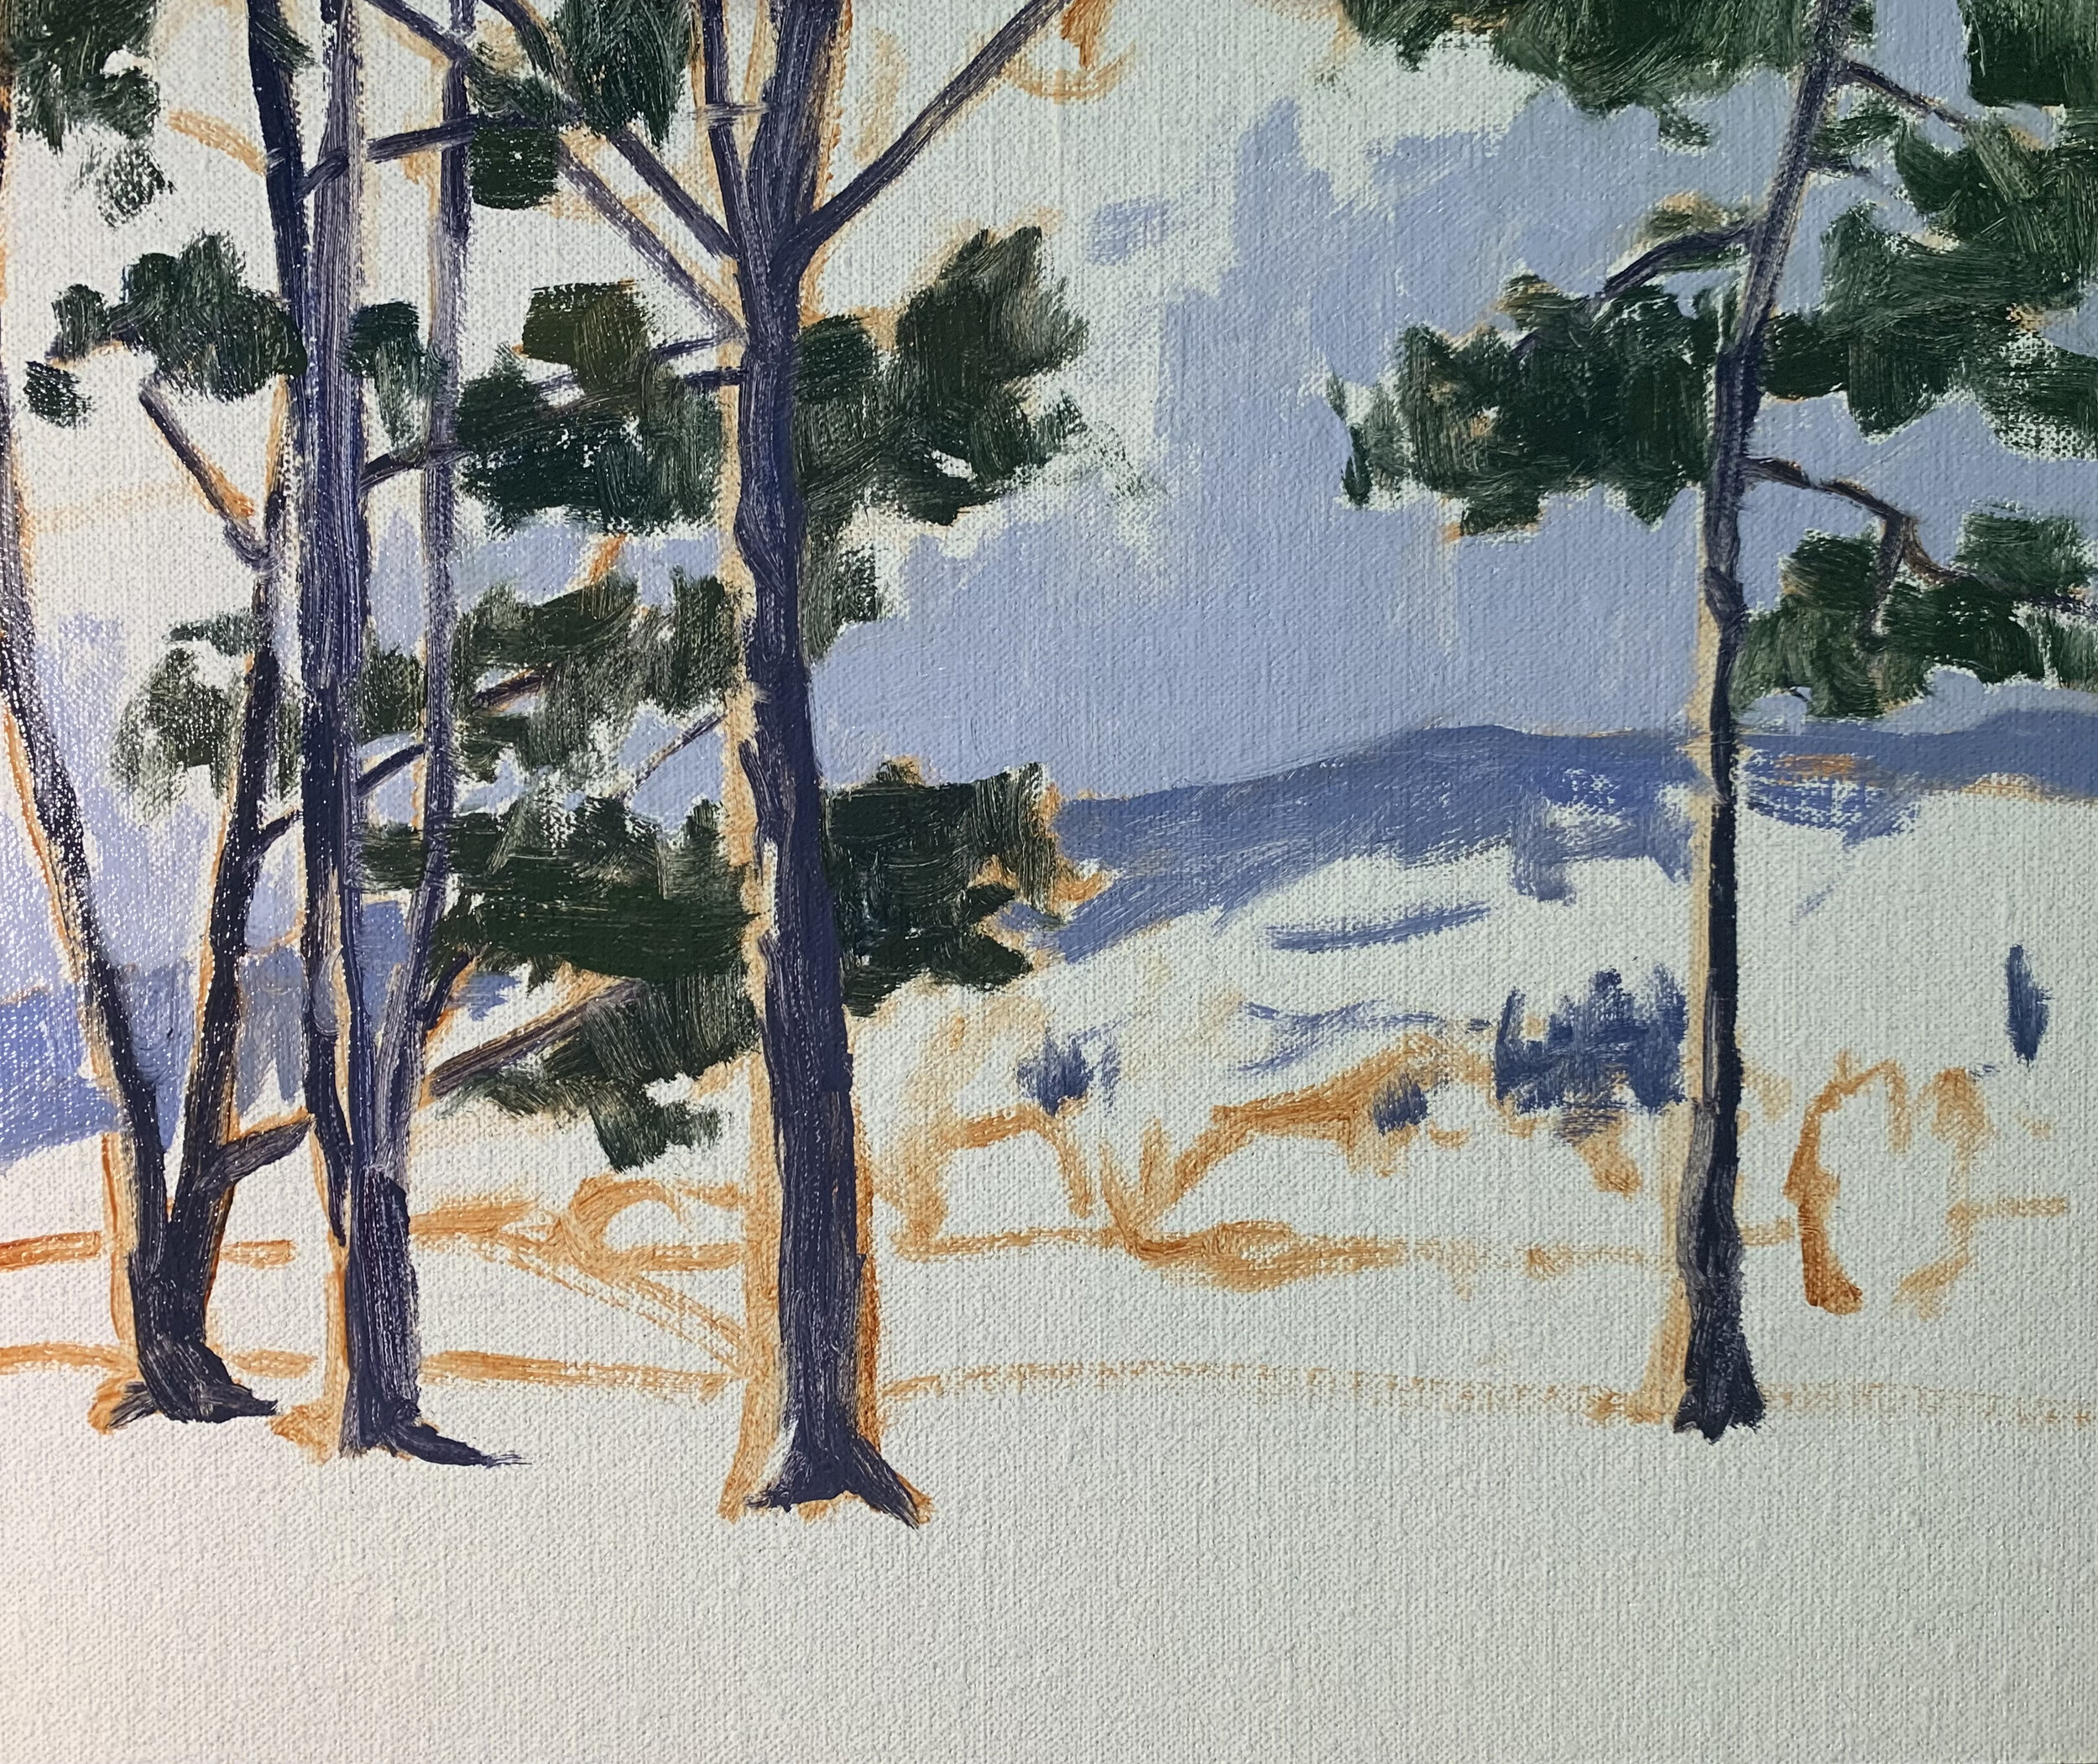
I paint the cloud highlights with a mix of titanium white and a little burnt sienna. The sky is a mix of ultramarine blue and titanium white. I am careful to paint around the tree foliage and stems so the green doesn’t accidentally mix with the sky and clouds.

Next, I work on the background hills and mid-ground. The areas in light on the hills are a mix of yellow ochre, alizarin crimson, titanium white and ultramarine blue. There is mountain grass growing on the side of the hills which is low in chroma and quite pale.
The grass in the mid-ground is a mix of ultramarine blue, yellow ochre, cadmium yellow and titanium white. I also mix in a little cadmium orange to balance out the green. I use the same colours in the willow trees and add more yellow ochre, cadmium yellow, cadmium orange and titanium white for the yellow areas of the tree canopies.

The foreground is relatively light in value and consists of dirt and grass. For this, I use a mix of burnt sienna, ultramarine blue, titanium white and a little alizarin crimson. The straw colour grass is a mix of yellow ochre, alizarin crimson, titanium white and ultramarine blue.
I paint the areas of the tree stems that are in the full sunlight with a mix of titanium white, burnt sienna, a little ultramarine blue and alizarin crimson.
I tidy up areas within the painting and then allow it to dry so that I can add details to it.
Stage 2 – Adding Details
Now that the painting is dry and I can add details and build up some layers within the painting. I am pretty much using the same colours I used during the blocking-in stage but building up details and lighter layers of paint.
Here I add further details and layers to the sky and clouds.
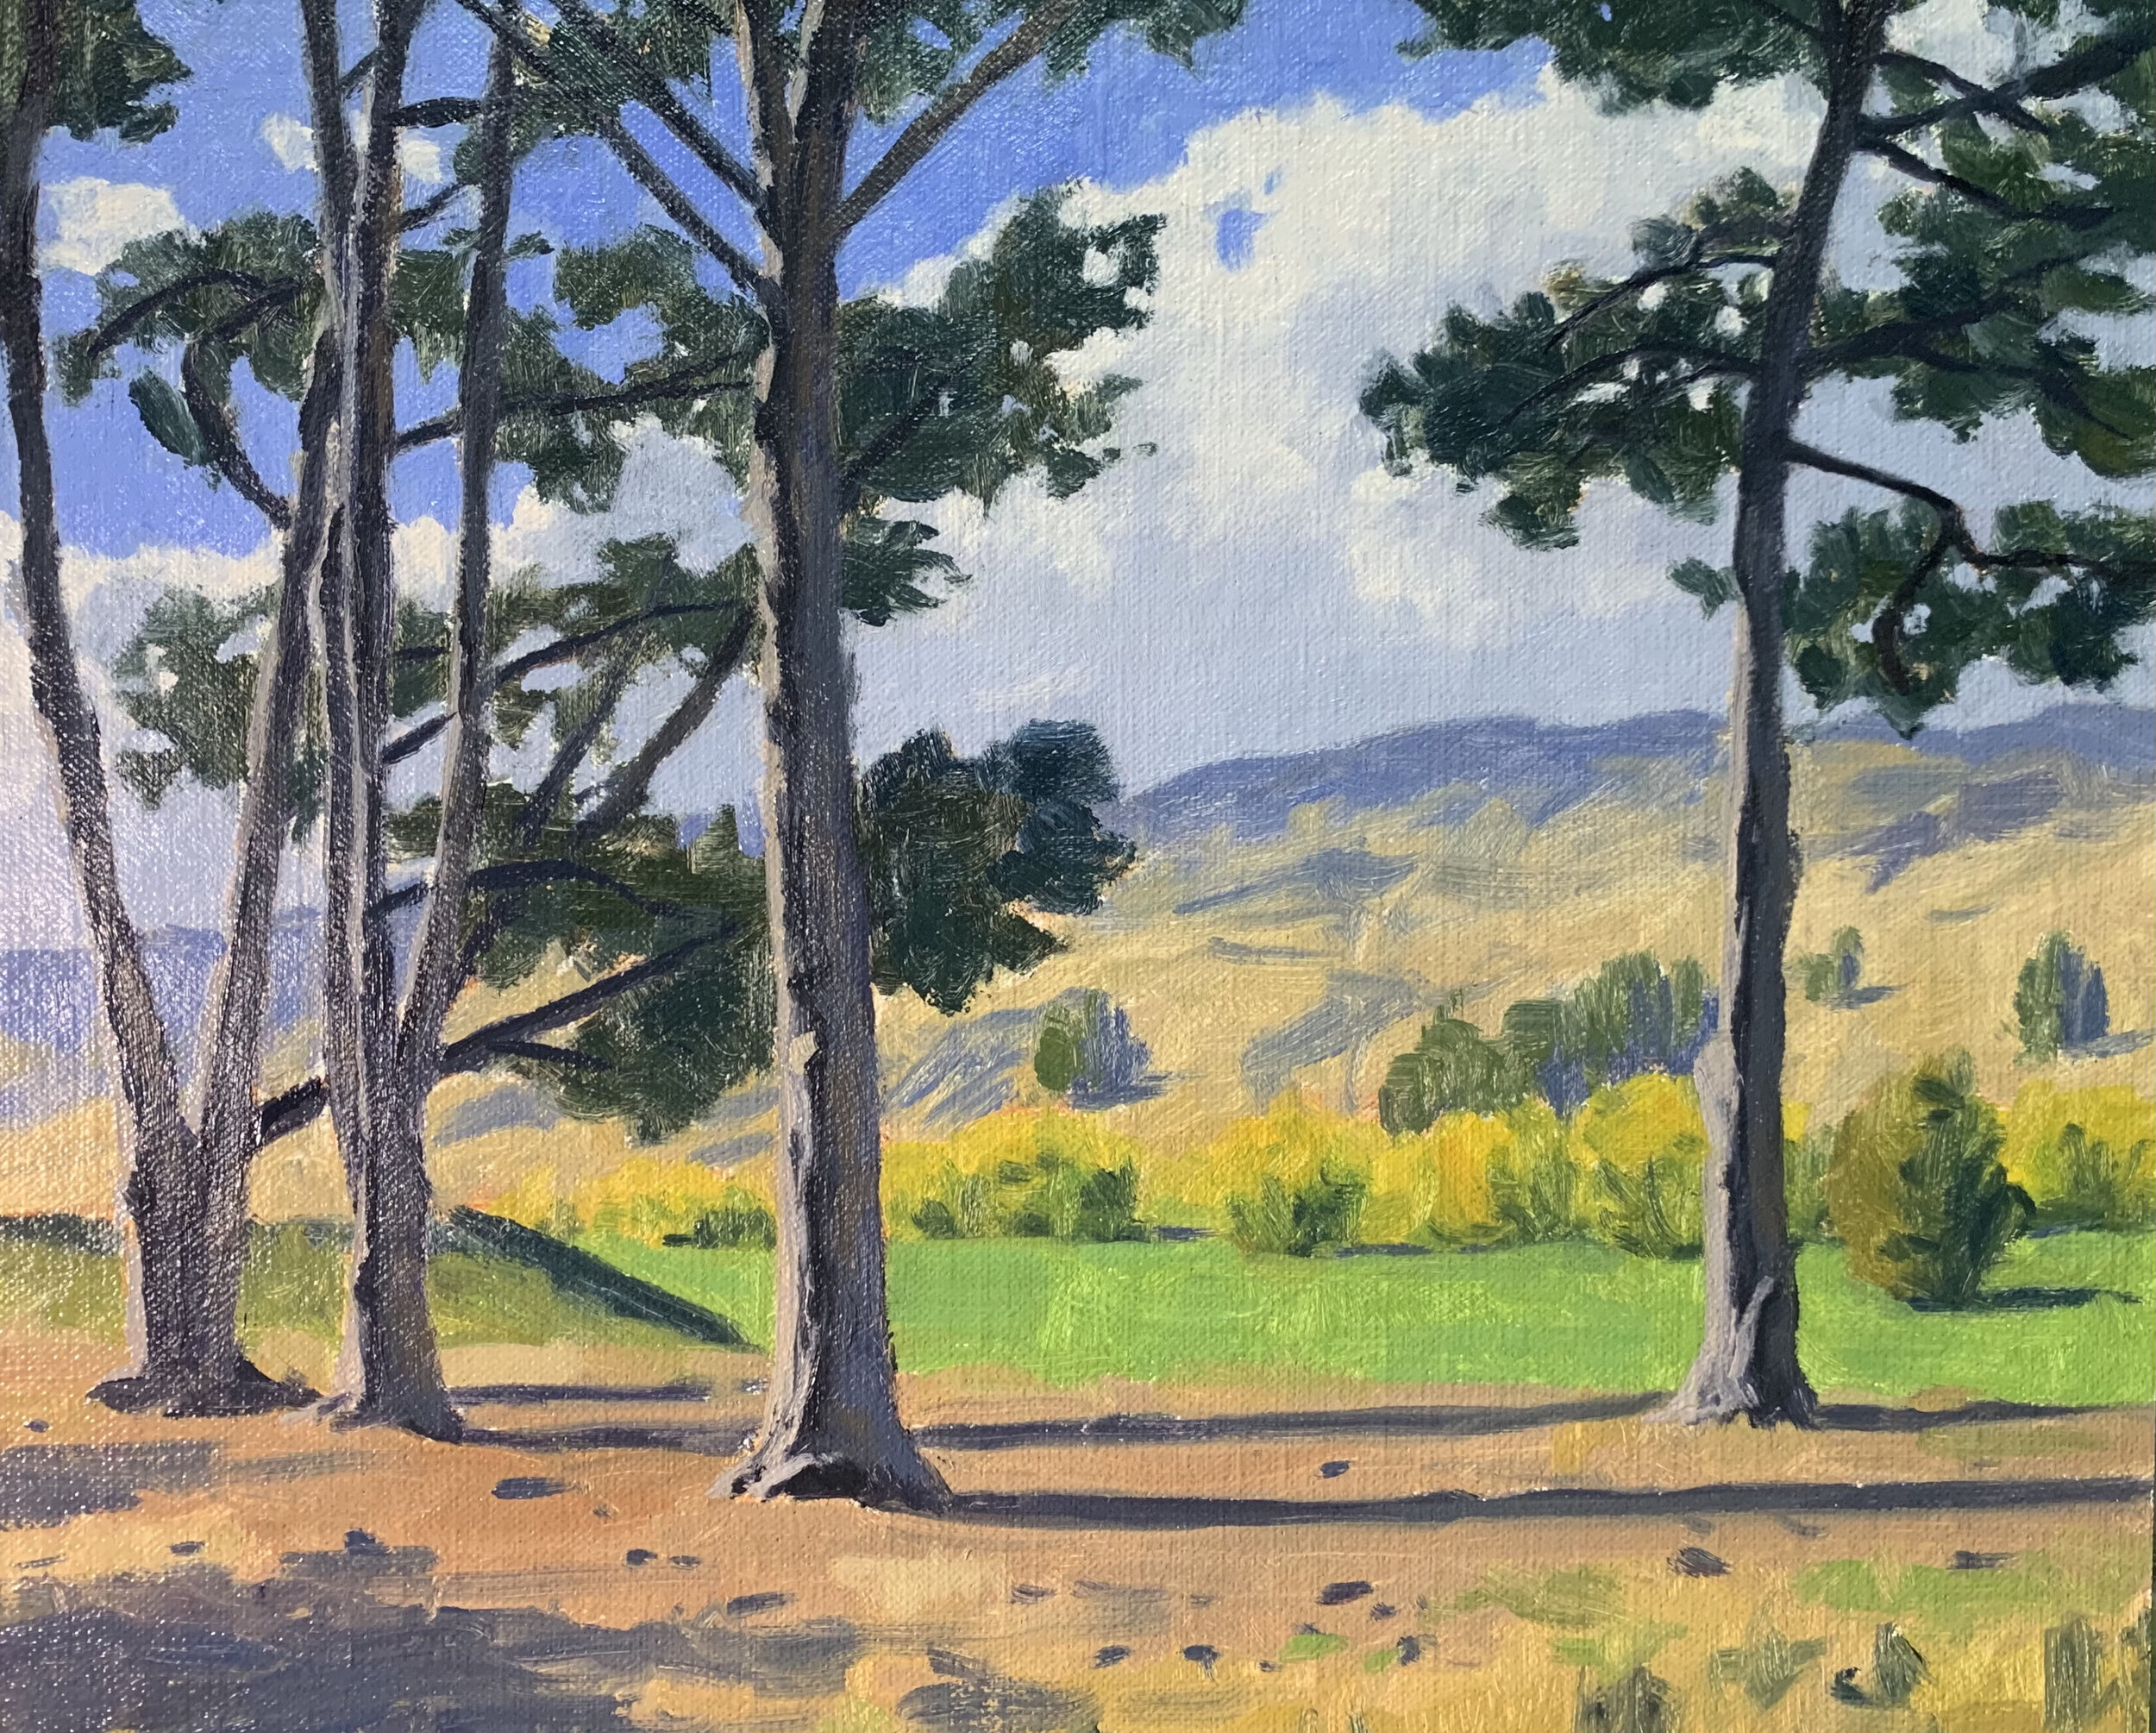
I add details to the trees, particularly in the stems. In order to create a three-dimensional form within the tree stems I have painted an area of dark shadow immediately next to the area that is in the full sunlight. To the other side of the lines of dark shadows, I have painted reflected light on the side of the bark using a mix of ultramarine blue, burnt sienna, titanium white and a little alizarin crimson.
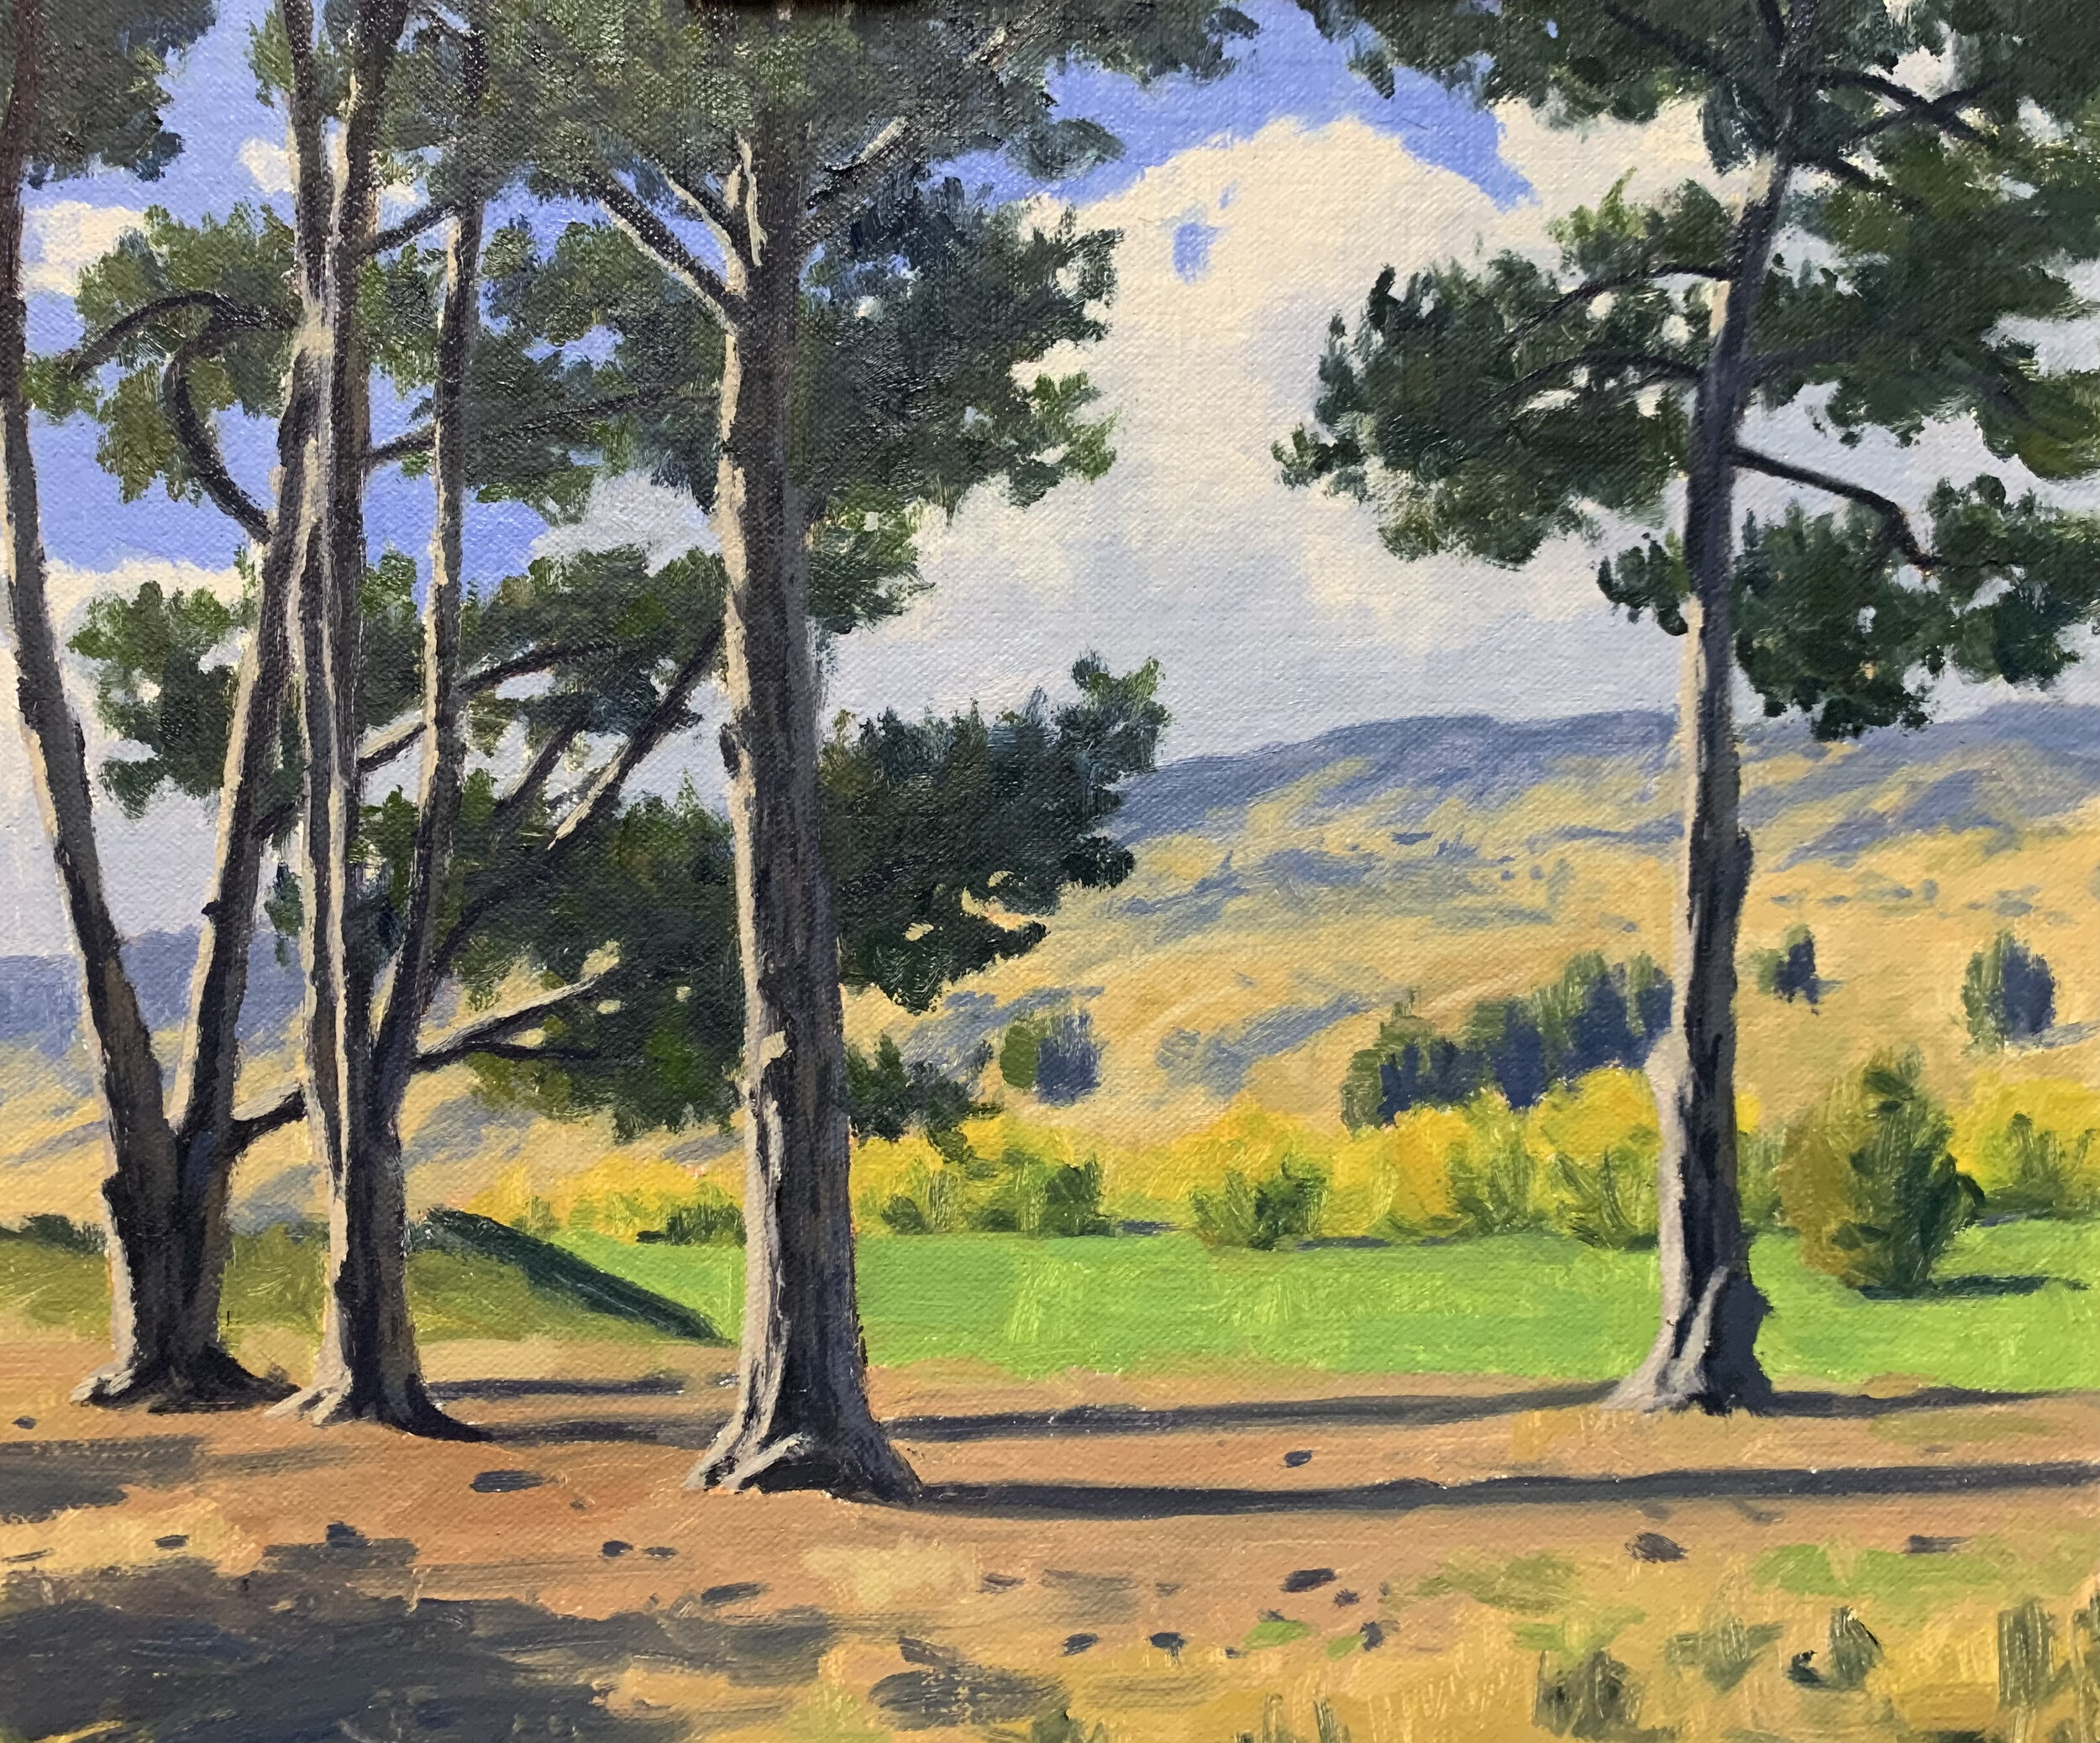
I build up layers in the background hills and mid-ground trees and fields again using the same colours I used during the block-in stage.
I finish the trees by adding areas of foliage that are in full sunlight with a mix of yellow ochre, ultramarine blue, cadmium yellow and titanium white. If I need to I can knock back the green by mixing in a little burnt sienna.
I add final small details such as the stones in the foreground and the furrows within the bark of the trees.

Thanks for reading 😊
Painting tutorial videos
-
LANDSCAPES #2 – PAINTING TUTORIALS – 6 Videos, Over 7 Hours of Content
$90.00 -
LANDSCAPES, PAINTING TUTORIALS – 4 Videos, Over 4 Hours of Content
$60.00 -
Painting Landscapes in Oils – eBook
$25.00 -
Painting Tutorial Video Download – Summer Willows
$25.00 -
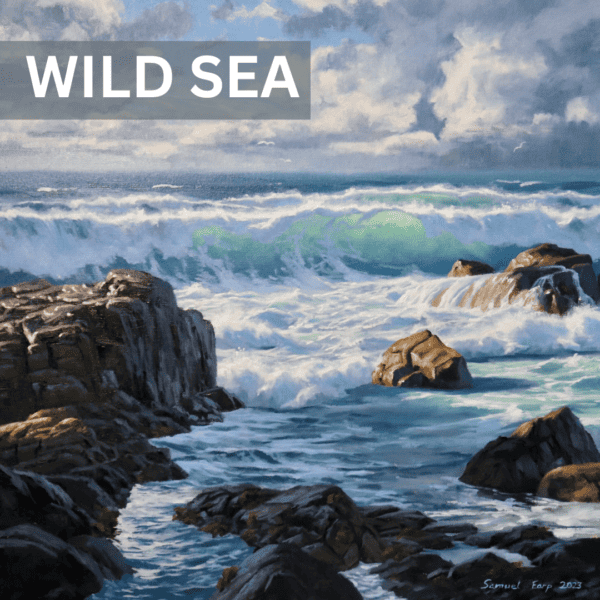
Painting Tutorial Video Download – Wild Sea
$50.00 -
Sam’s Art School – Lifetime Membership
$997.00 -
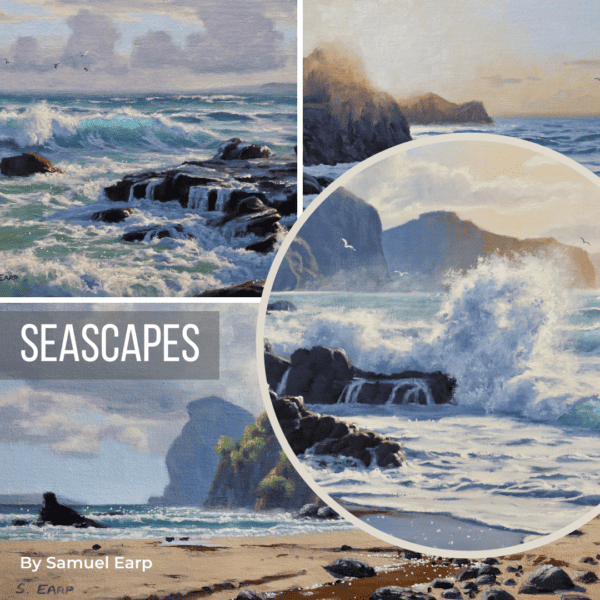
Seascapes – Painting Tutorials – 6 Videos, Over 6 Hours of Content
$90.00 -
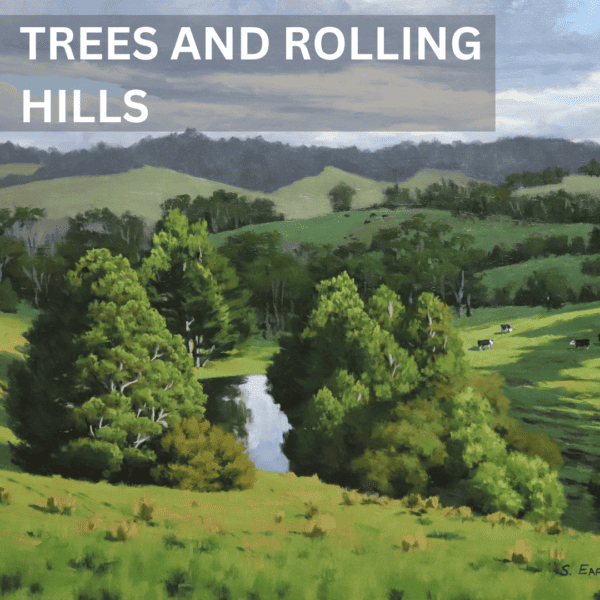
Trees and Rolling Hills – Landscape Painting Tutorial Video
$40.00
