Have you ever marveled at those magical moments when sunlight pierces through dark clouds, creating a breathtaking spectacle in the sky? You’re not alone. Painting these mesmerizing cloudscapes can be a daunting challenge, but with the right techniques, you can bring these beautiful light effects to your canvas with ease. Even my students have achieved spectacular results using this method, and you can too!
I remember standing in my studio, staring at a half-finished canvas, frustrated because I couldn’t capture that dramatic interplay of light and shadow I’d witnessed during a storm. It wasn’t until I learned to see clouds as three-dimensional forms rather than flat shapes that everything clicked. Now I approach every dramatic sky with confidence, knowing I have the tools to translate those fleeting moments of natural drama into lasting works of art.
Inspired by the Masters
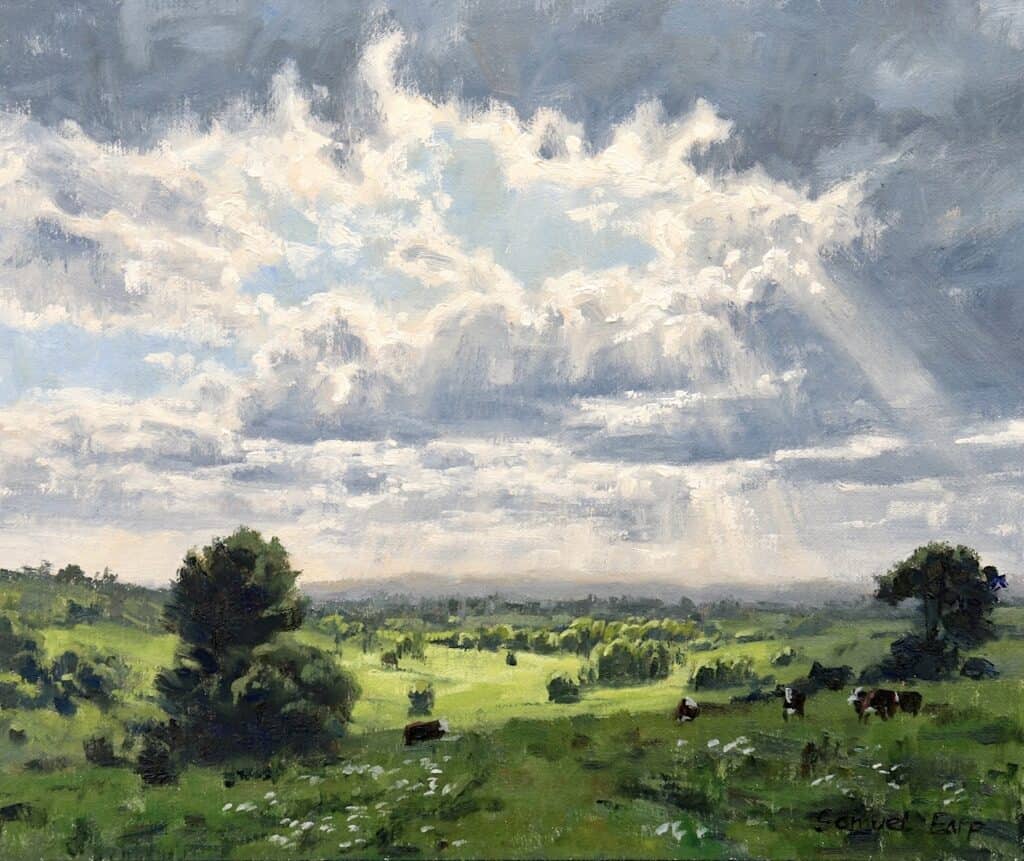
Recently, I’ve drawn inspiration from the great 19th-century painters like Albert Bierstadt and William Trost Richards. Their ability to depict dramatic skies and clouds in their landscape paintings is simply awe-inspiring. A recent excursion for plein air painting in my local area revealed a stunning cloudscape with sunlight cutting through layers of mist over the rolling hills. The scene compelled me to recreate it in a painting, which is precisely what I chose to do.
Choosing the Right Materials

While I prefer working in oils, you can achieve similar effects using acrylics. For this project, I used Blue Ridge oils—one of my favorite brands. If you’re interested in trying these paints, I’ve included a link in the description box below.
Composition and Initial Sketch
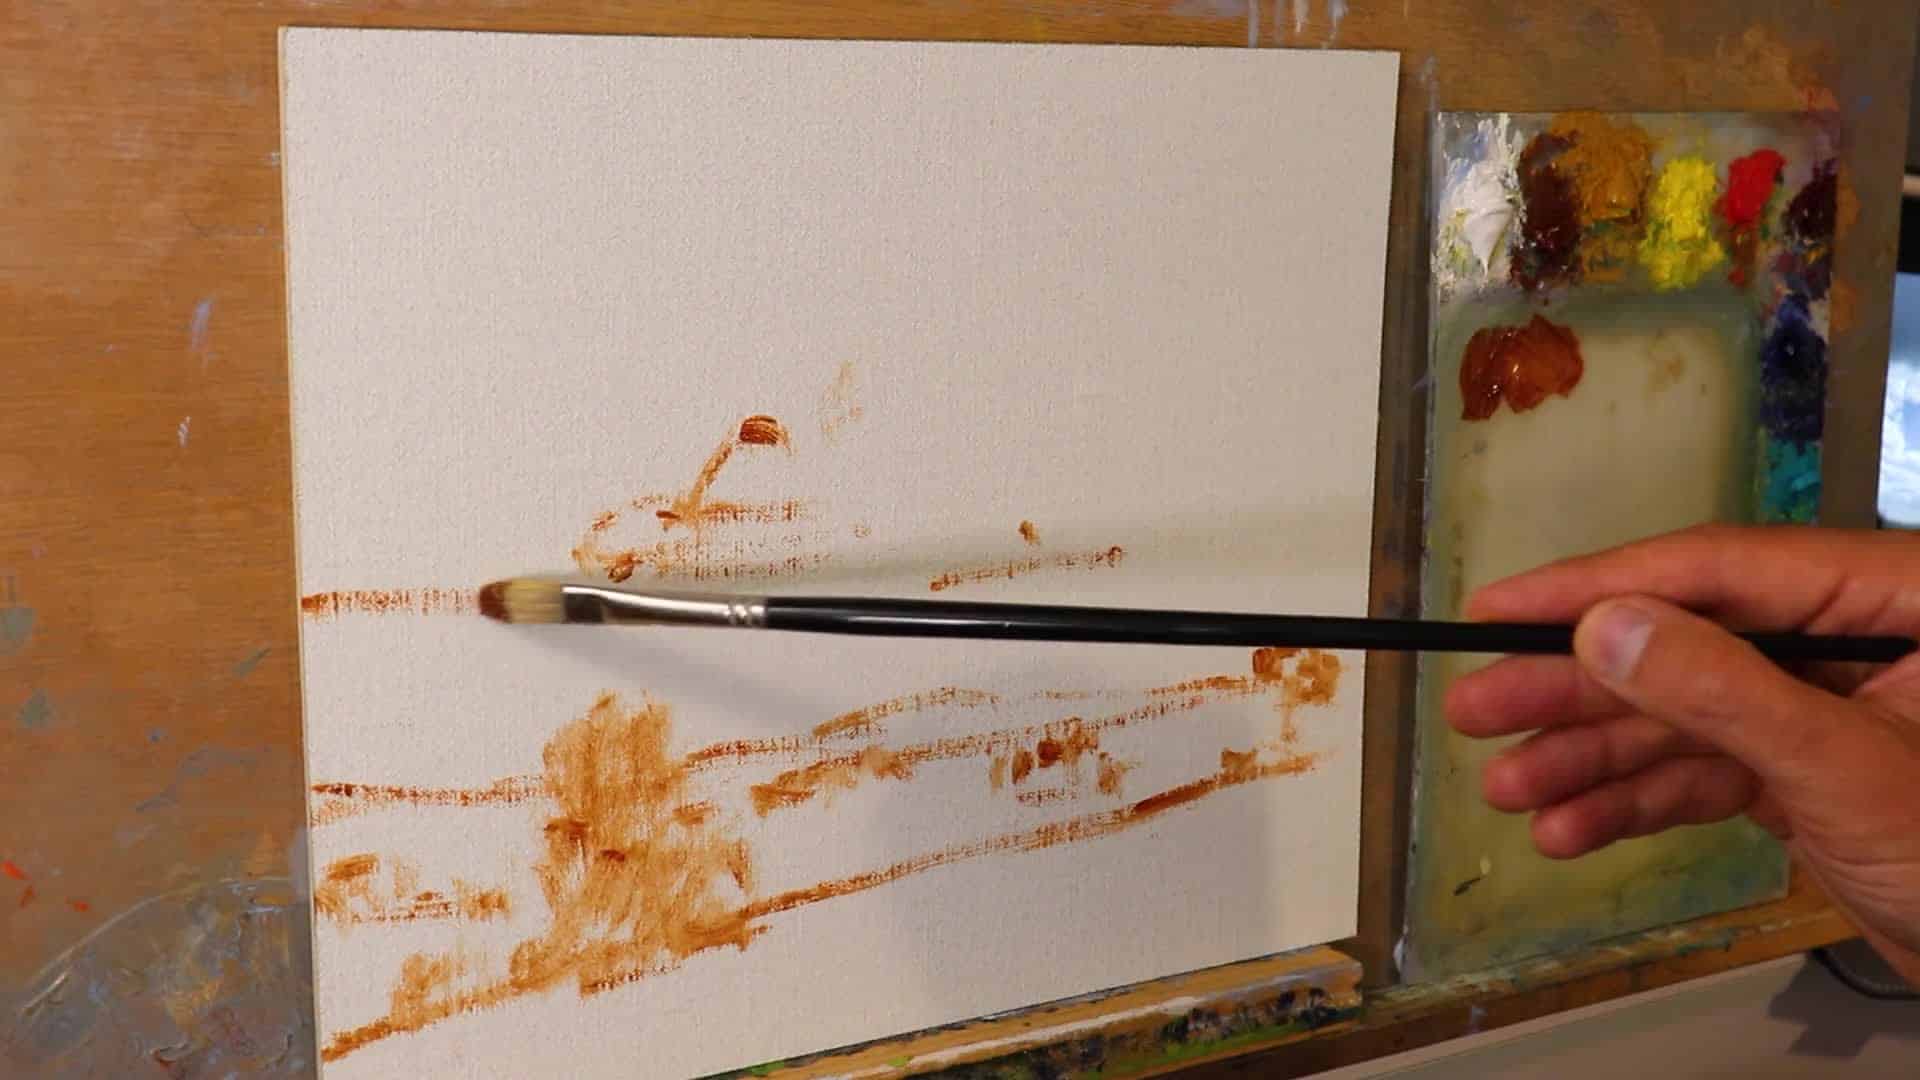
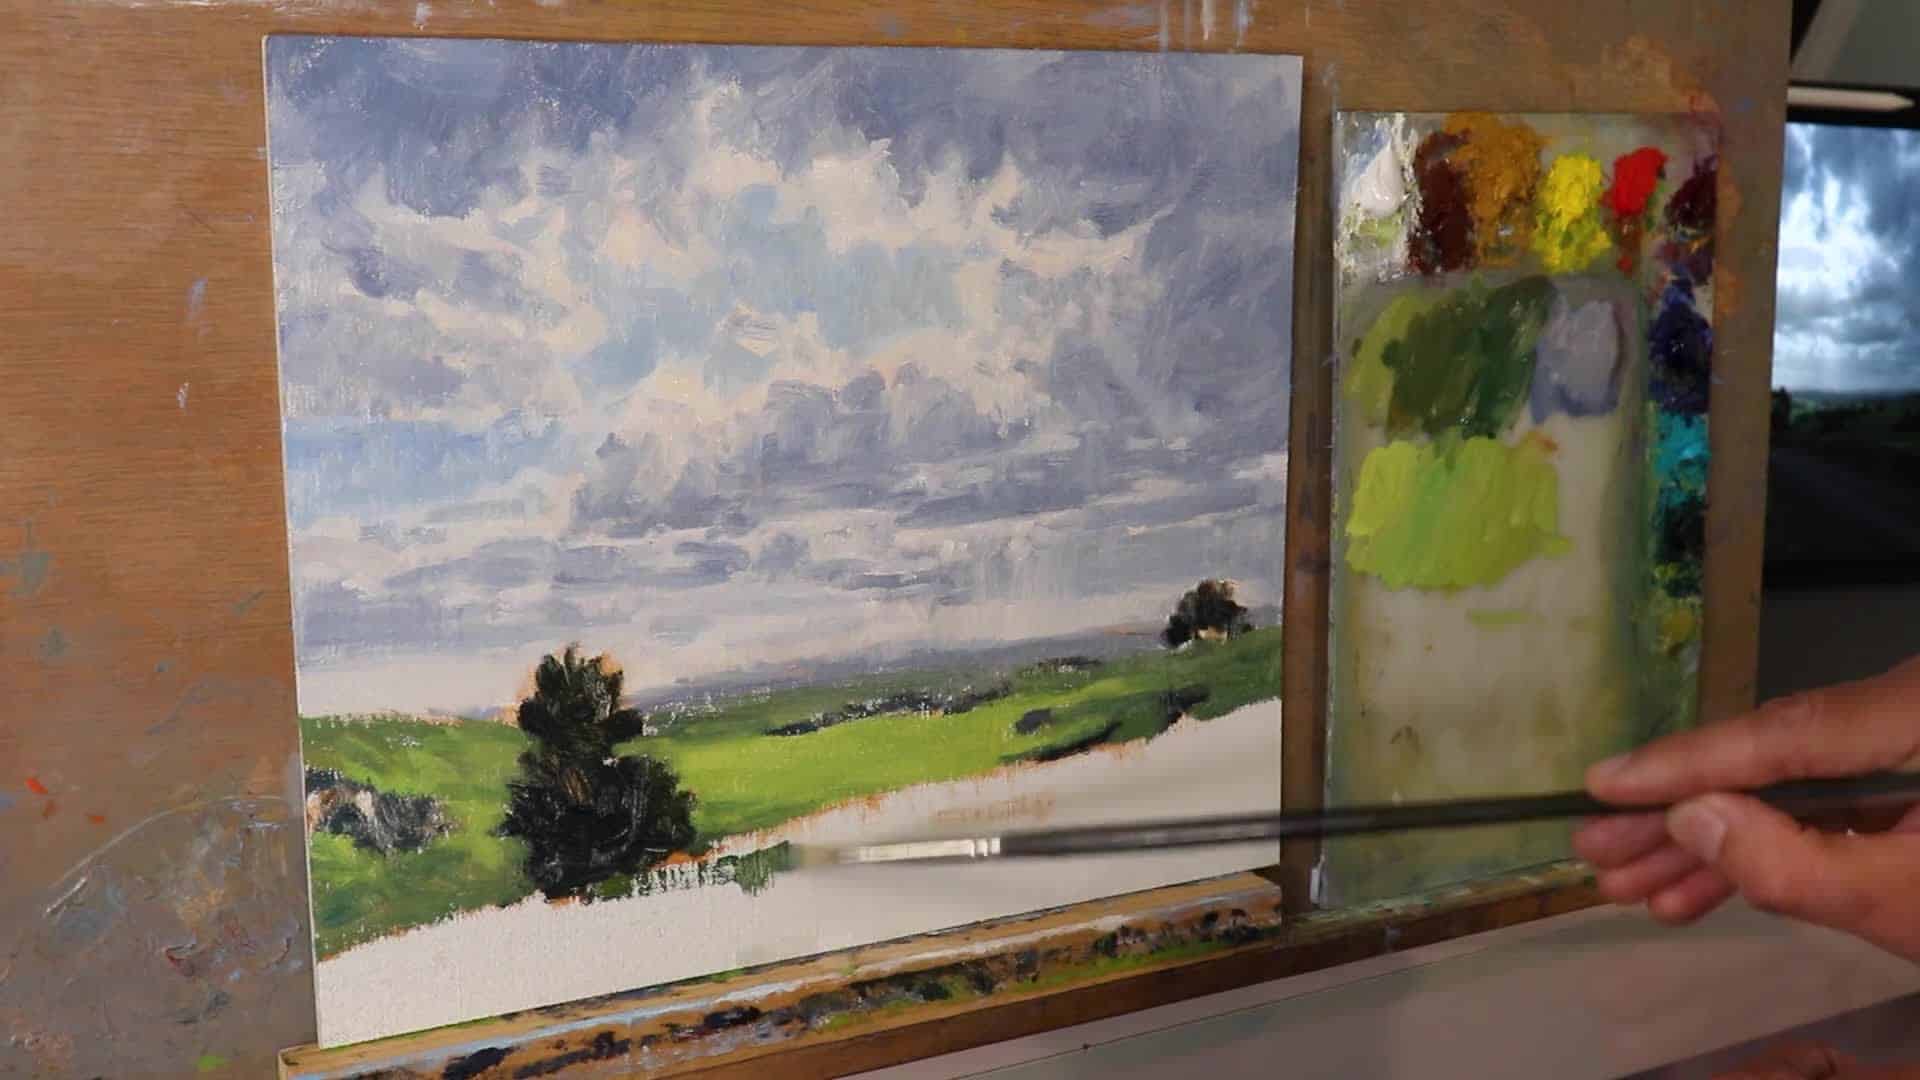
I began by sketching the composition using burnt sienna, mixed with a small amount of pale drying gel to speed up the drying process. It’s a non-toxic medium, making it ideal for artists looking for safer alternatives. I’ve found that starting with burnt sienna gives me a warm undertone that enhances the overall mood of dramatic skies, rather than working against it like a cooler preliminary sketch might.
The addition of the drying gel not only speeds up my workflow but also gives me more control over the paint consistency, allowing me to establish my composition quickly before the light changes. This initial sketch becomes the roadmap for everything that follows, so I take time to get the cloud formations and horizon line exactly where I want them.
Painting the Dark Values First

A tried-and-true technique in my landscape painting repertoire is starting with the dark values, which provides a foundation for establishing the painting’s tonal range. It’s particularly effective for differentiating the brightest lights in the composition later on.
- Darkest darks in foreground- Lightest lights are emphasized against theseUnderstanding Cloud Values
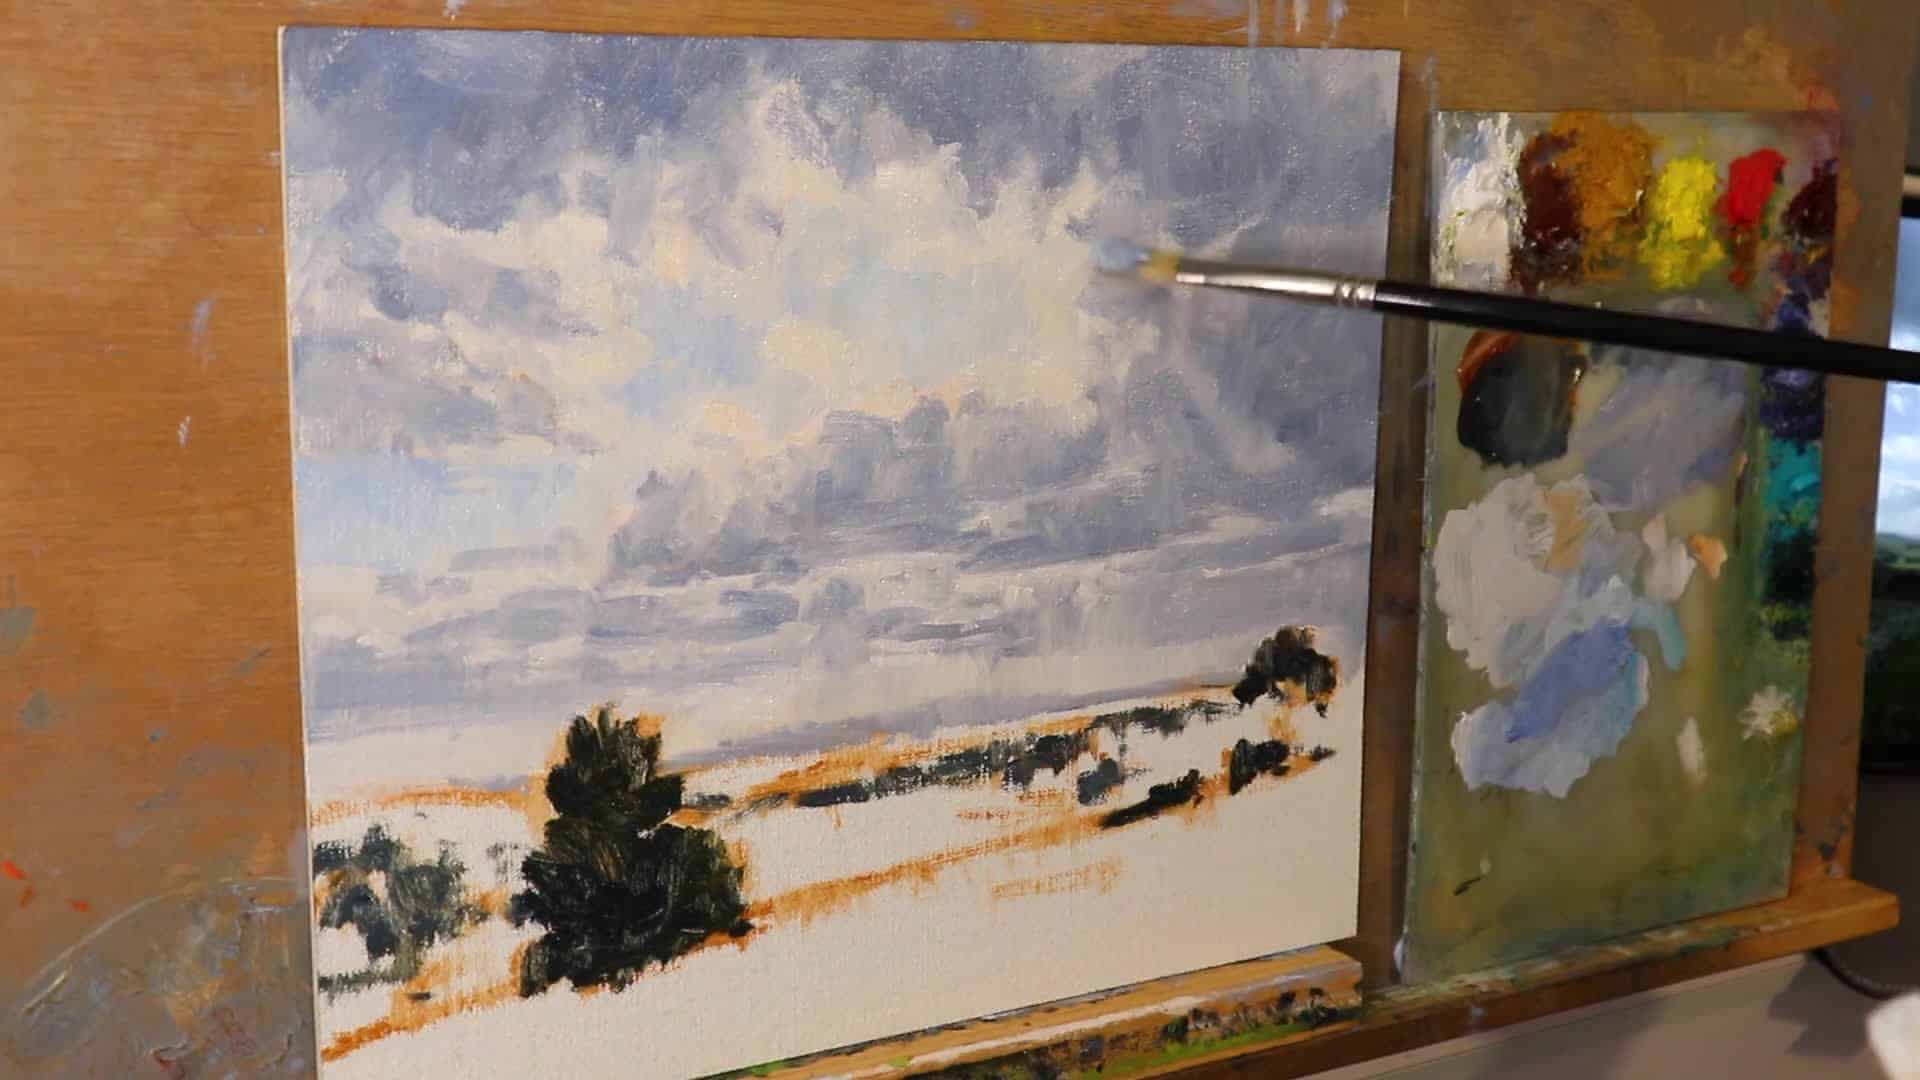
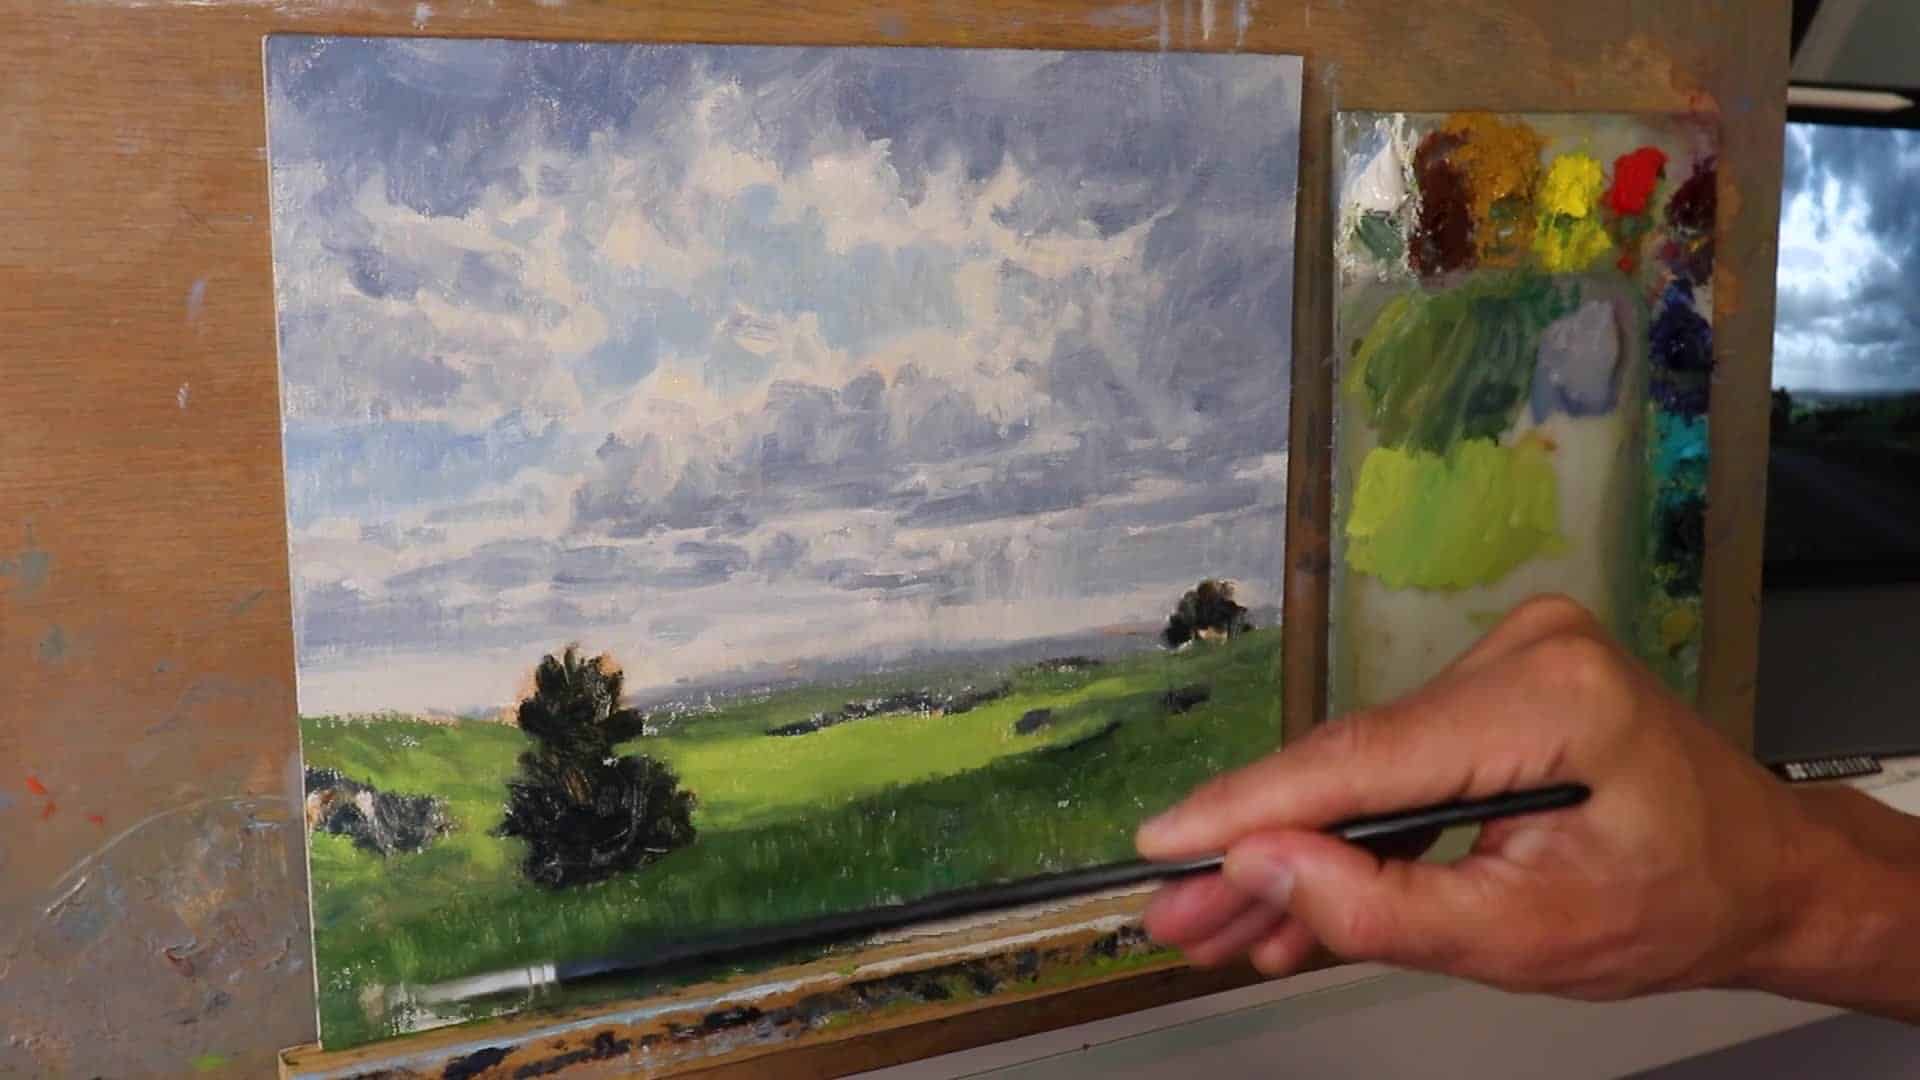
Clouds and skies usually contain lighter values, but this technique involves painting darker clouds to increase contrast and enhance the dramatic effect. Using ultramarine blue, burnt sienna, titanium white, and a touch of alizarin crimson gives the clouds a richer, more dynamic appearance.
I’ve learned that most artists make the mistake of painting clouds too light from the start, which robs them of their dramatic potential. By pushing those shadow areas darker than what I initially think is correct, I create space for the light to truly sing when I add it later.
This approach mimics how our eyes actually perceive dramatic lighting in nature—we’re drawn to the contrast between the deep, brooding shadows and the brilliant light breaking through them.
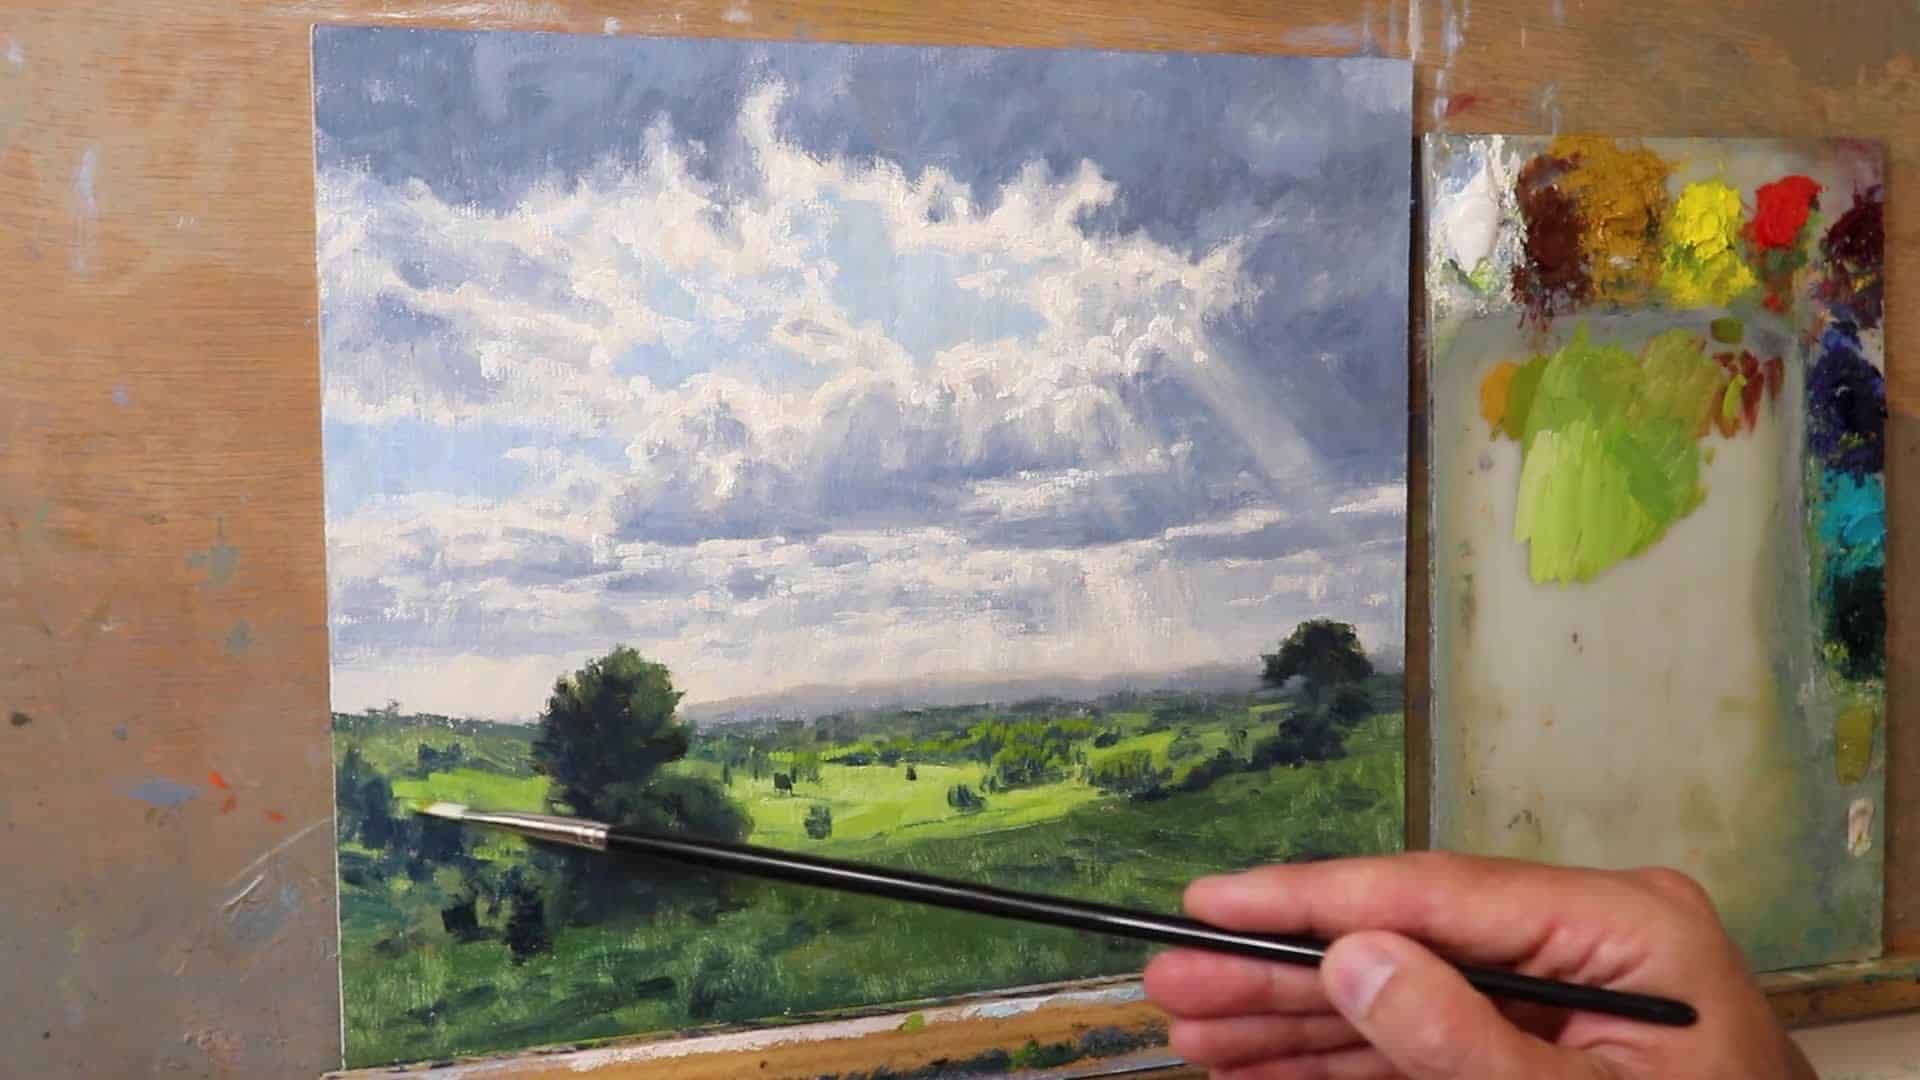
Blocking and Starting the Highlights

As the painting progresses, I block in the general shapes and values of the clouds with my largest brushes. These initial strokes set the stage for the highlights that accompany the sunlight piercing the cloud cover.
Creating Sun Rays
For the rays of sun, I utilized titanium white—an opaque oil paint—which helps articulate the light without any need for glazes. Capturing subtle rays at this stage builds the groundwork for the enchanting lighting effect.
I’ve discovered that the key to convincing sun rays lies in their subtlety—they should emerge gradually from the canvas rather than appearing as harsh, obvious streaks. By using titanium white at this early stage, I can establish the direction and intensity of the light source, creating a foundation that will support all the luminous effects I’ll add later.
The beauty of working with opaque white is that I can always soften or intensify these rays as the painting develops, giving me complete control over the final dramatic impact.
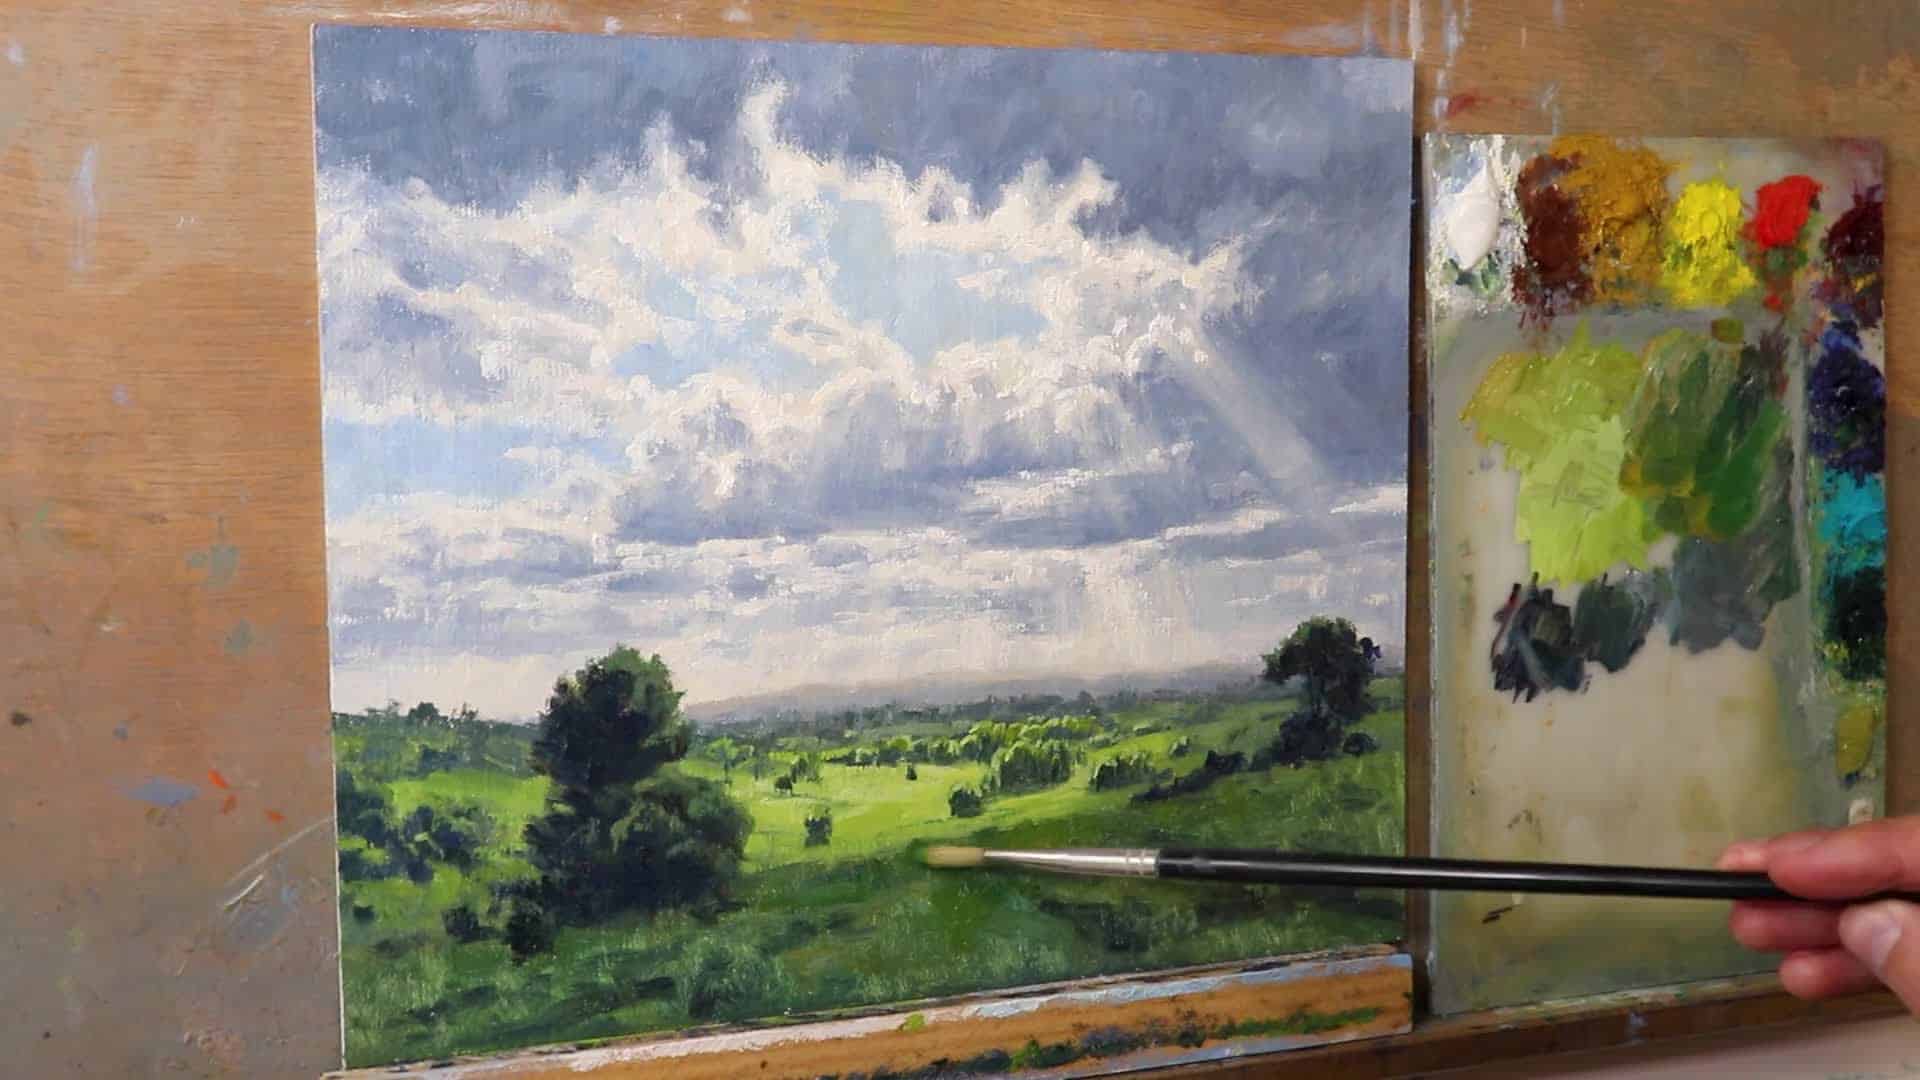
Building the Landscape Below
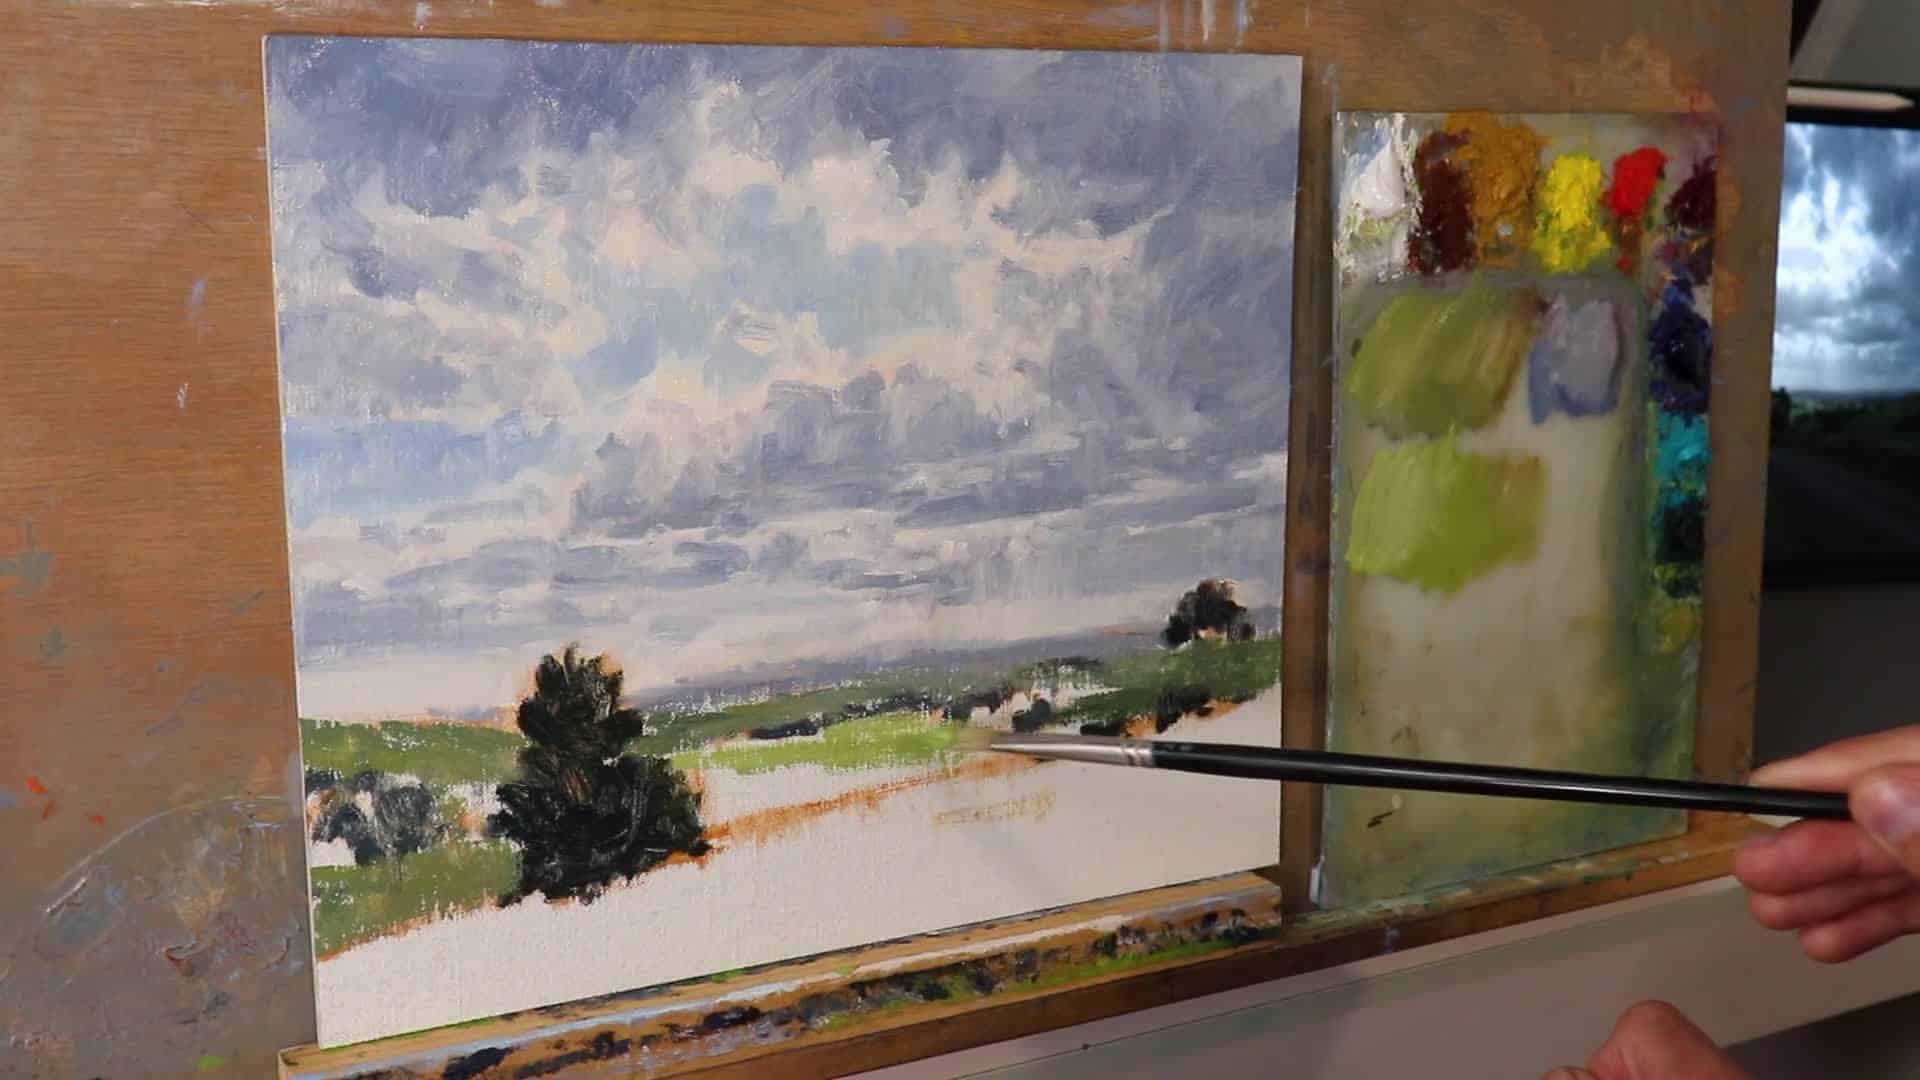
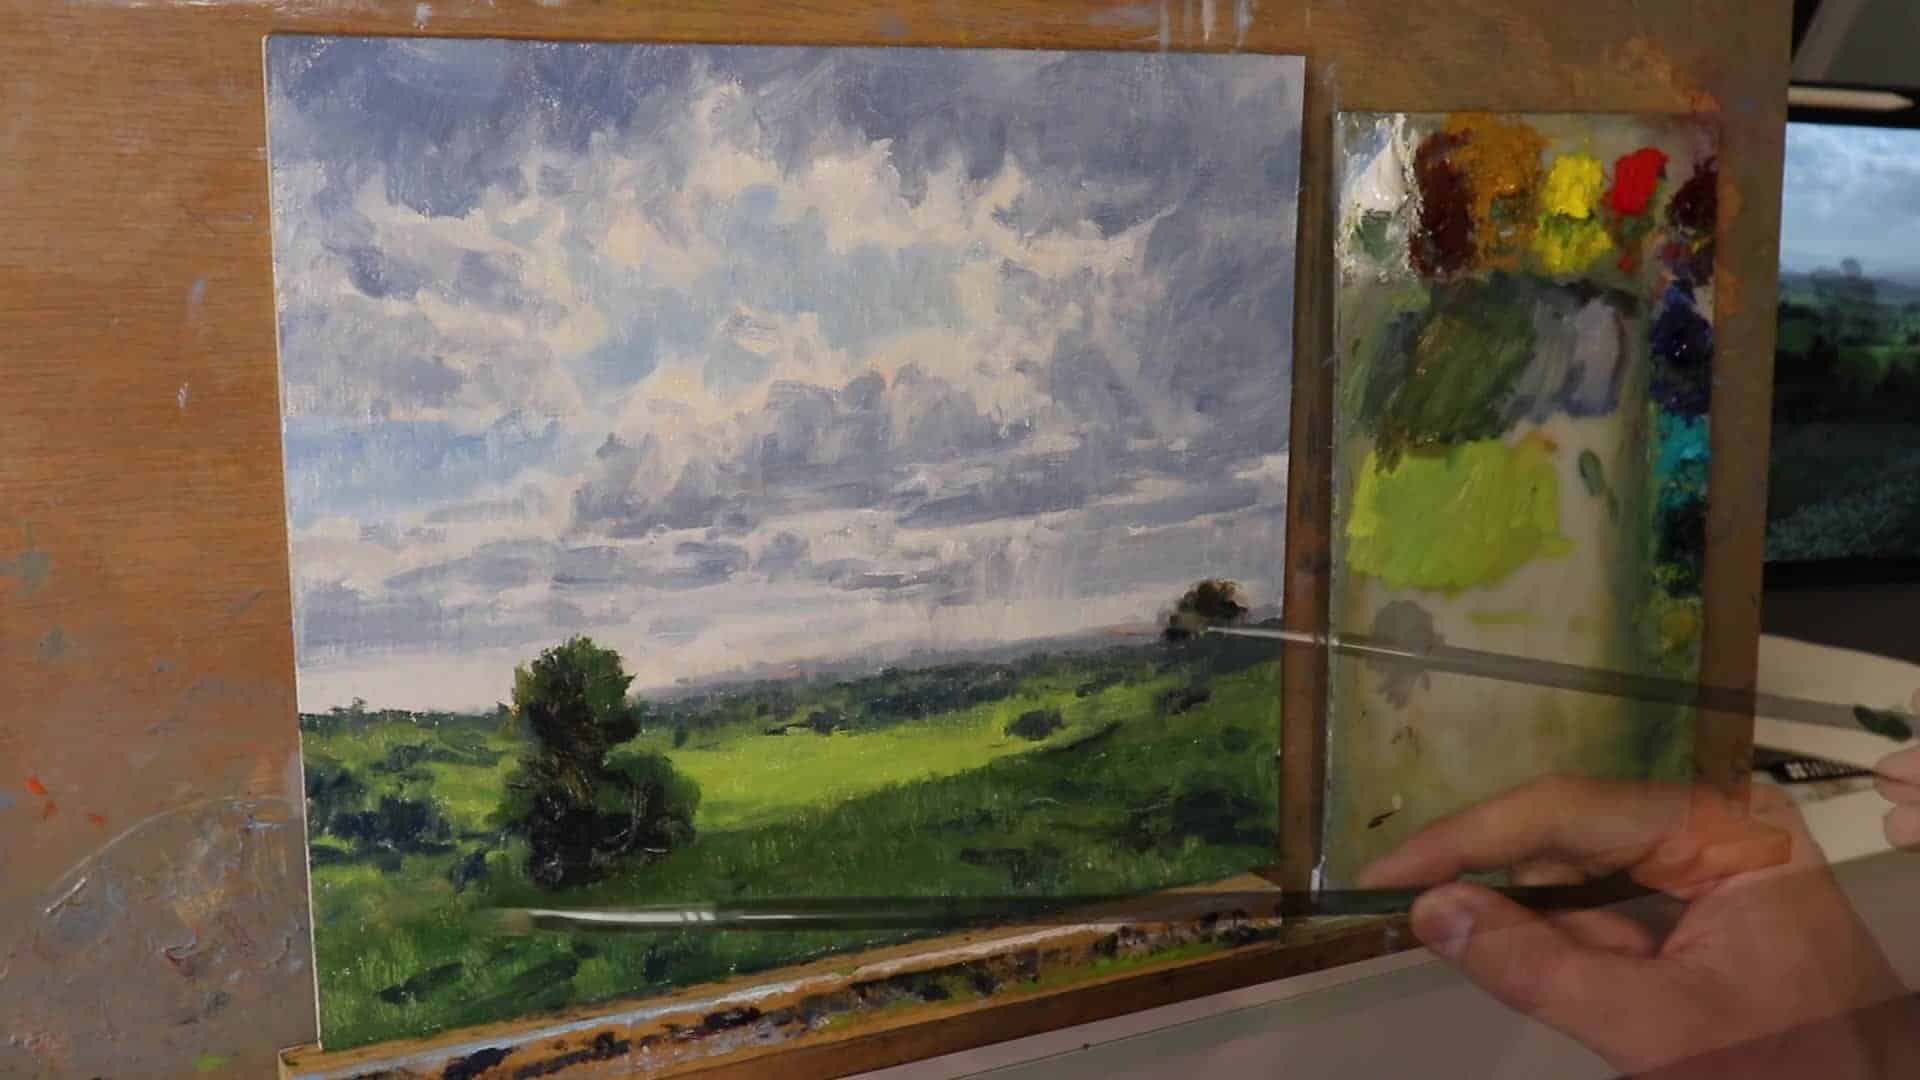
Once the sky elements are in place, the landscape below takes form. It’s essential that the green hues, often fading with distance, lessen in saturation. By using combinations of ultramarine blue, yellow ochre, and cadmium yellow medium, and occasionally increasing saturation with cobalt teal, the scene appears natural and cohesive.
Painting Foreground Details
In the foreground, where the grass is in shadow, maintaining darker values further accentuates the aerial perspective while also adding depth. I avoid detailing every blade of grass—favoring a looser brushstroke style that suggests the texture and growth direction instead.
I’ve found that when painting dramatic skies, the foreground should act as a supporting player rather than competing for attention with the celestial drama above. This approach also creates a more natural, spontaneous feeling that mirrors how we actually perceive landscapes when captivated by dramatic lighting.
Adding Enrichment
Revisiting dark values can strengthen and guide the viewer’s interpretation of the scene. Continuously adding enhancements valuable to the composition ensures everything fits harmoniously.
“Painting is a never-ending process of balancing colors and tones to create an image that’s greater than the sum of its parts.”
Fine-Tuning Cloud Dynamics
With the painting dry, it’s time to refine details, such as darkening clouds to intensify the sunlight’s brilliance. The balanced harmony within these adjustments roots from using a consistent palette of ultramarine blue, burnt sienna, titanium white, and alizarin crimson, which is ideal for shadow depiction.
Employing Color Harmony
The limited palette of around nine colors on my palette fosters cohesion across the painting. The viewer senses that all colors belong together, though they may not fully understand why—it’s the subtle magic of well-executed color harmony.
I’ve learned that restraint with color choices often produces more powerful results than trying to use every tube on my palette. By repeating variations of the same nine colors throughout the sky, clouds, and foreground, I create an underlying unity that ties the entire composition together. This approach mimics how natural light affects everything in a scene, bathing all elements in the same atmospheric conditions.
Retry
Claude can make mistakes. Please double-check responses.
Final Touches: The Finishing Flairs
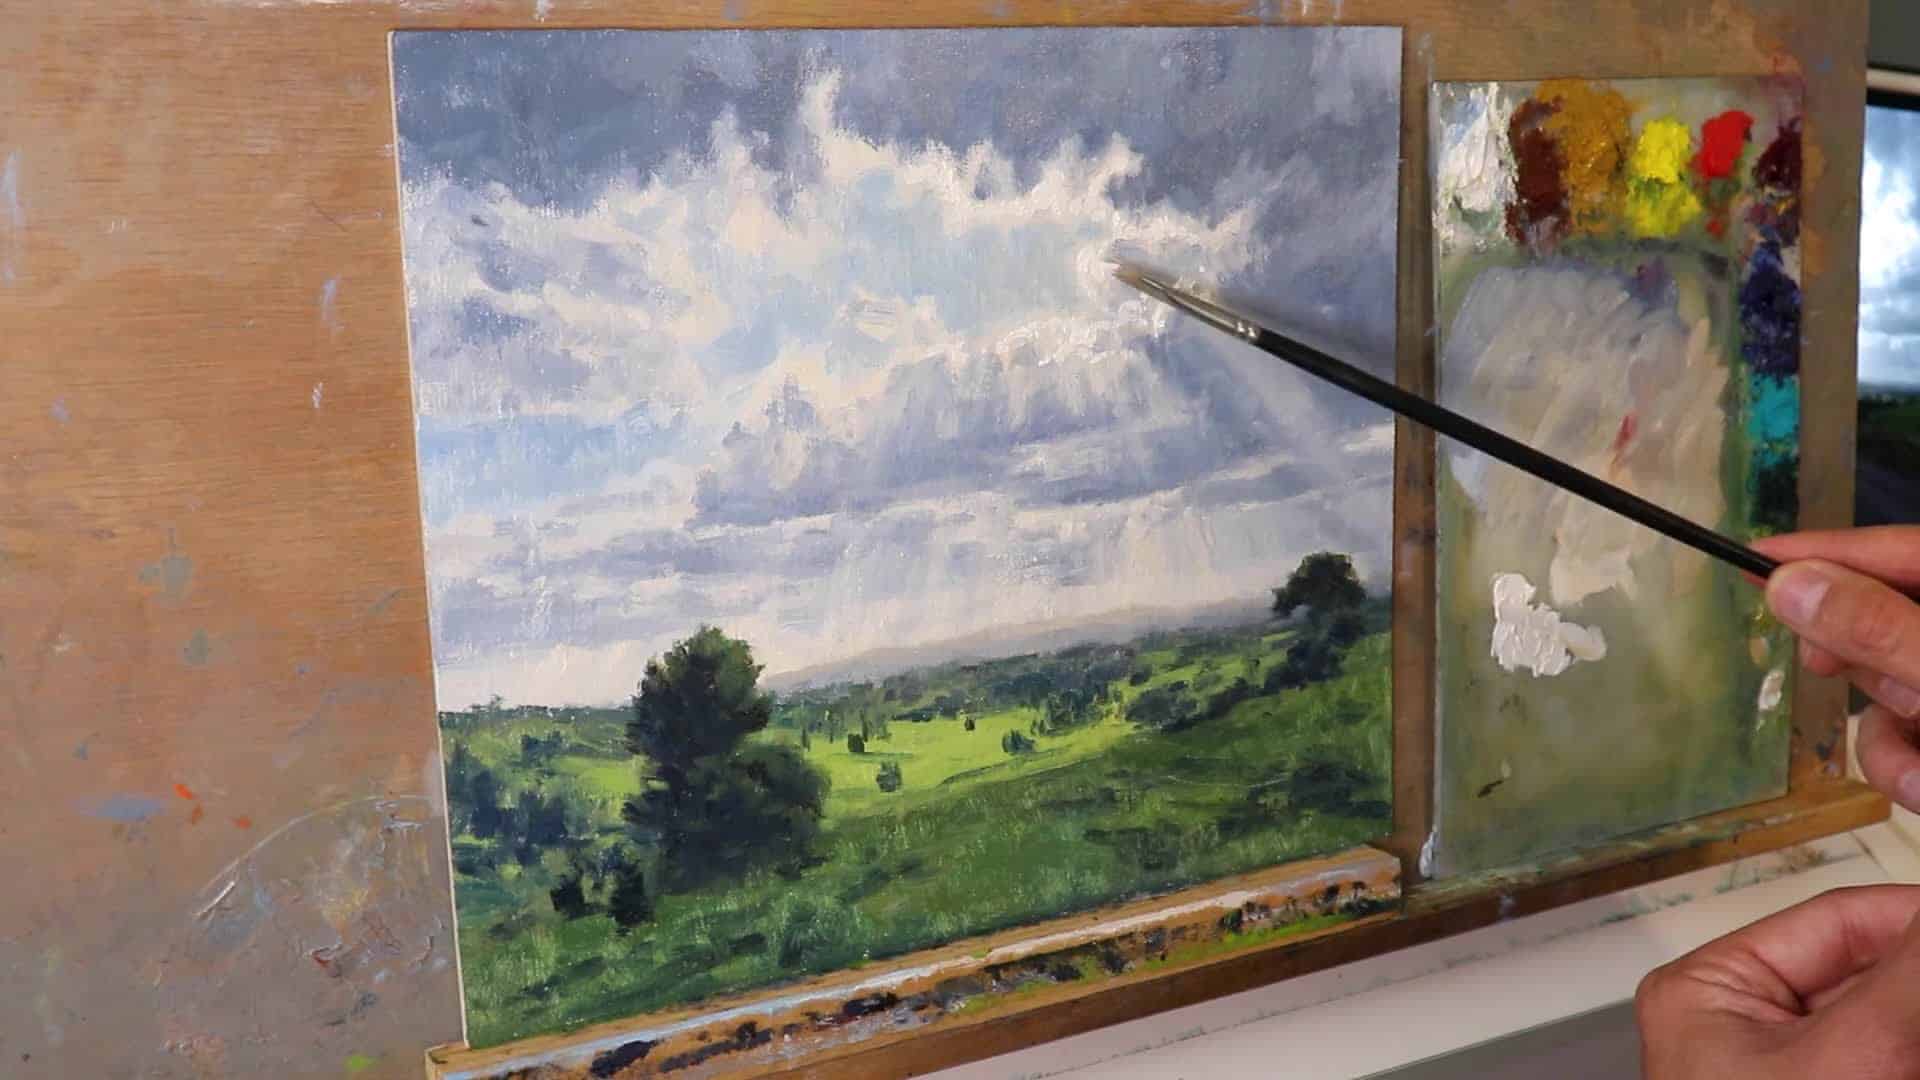
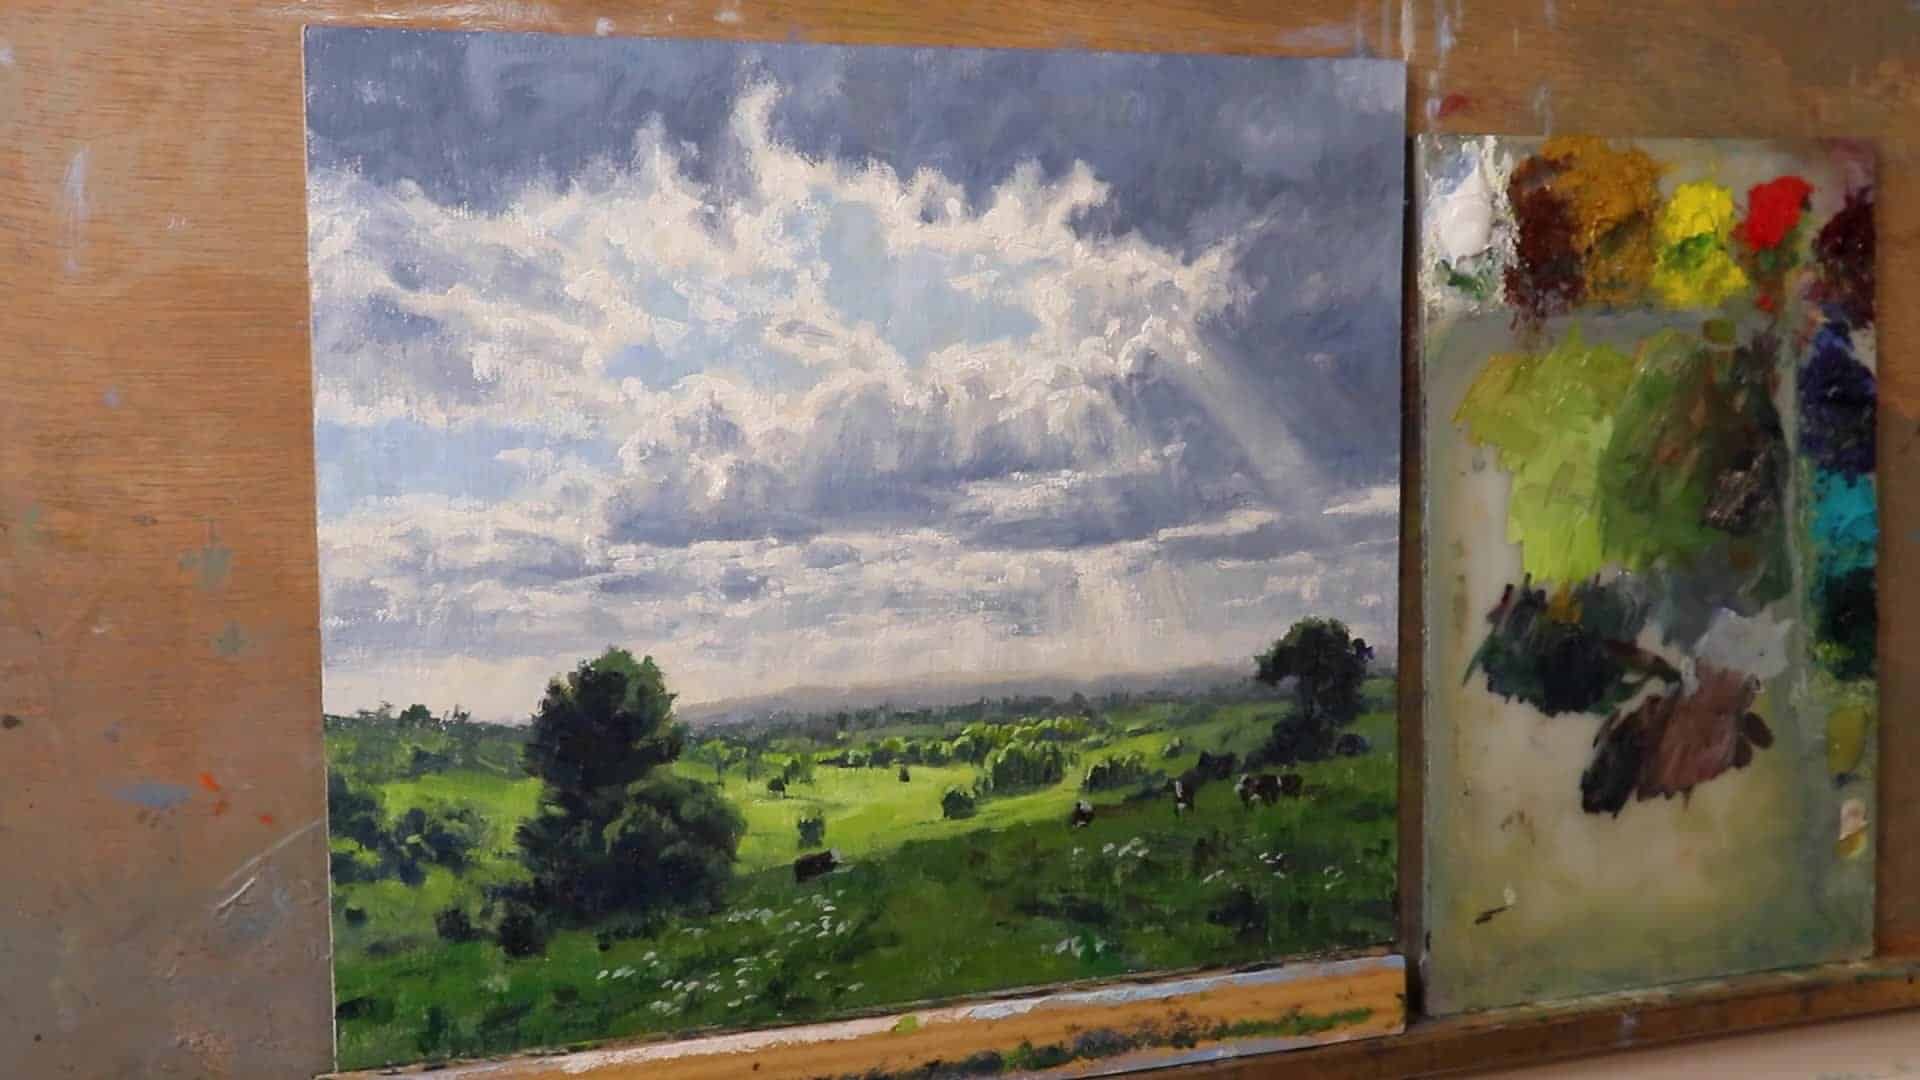
Completing the painting involves adding the zenith of lightest lights in the clouds, a critical step saved for the end to make them pop. Using a refined amount of titanium white with yellow ochre introduces a stark contrast, bringing the sun’s luminescence to life.
Blossoming Below
The landscape’s development continues with enriched highlights within the fields, mimicking spotlit areas—a perfect setting for grazing cattle or wildflower suggestions to increase interest.
I love how these bright patches of sunlight create natural focal points that draw the eye through the composition, leading viewers from the dramatic sky down into the peaceful countryside below.
The contrast between the moody clouds above and these sun-kissed fields creates a sense of hope and tranquility that makes the entire scene feel alive and inviting.
Reflection and Inspiration
The verdant landscapes of Northland New Zealand provide endless inspiration, and artists like Albert Bierstadt and Arthur Streeton influence my creative journey. Their work resonates with my own artistic vision, encouraging me to paint from both my surroundings and my heart.
The location so close to home holds a rare tranquility, and in articulating this through my art, I hope to convey the peace and beauty found in nature’s quiet moments.
Closing Thoughts
By following this guide, you, too, can capture these wondrous atmospheric moments on canvas. If you’d like to dive deeper into landscape painting, including tips on oils, brushes, and techniques, check out my free landscape painting blueprint linked here.
Thanks for reading, and see you in the next painting adventure!
Start practicing these techniques, and soon you’ll create your cloudscapes that are bound to impress. 🎨 Happy painting!
