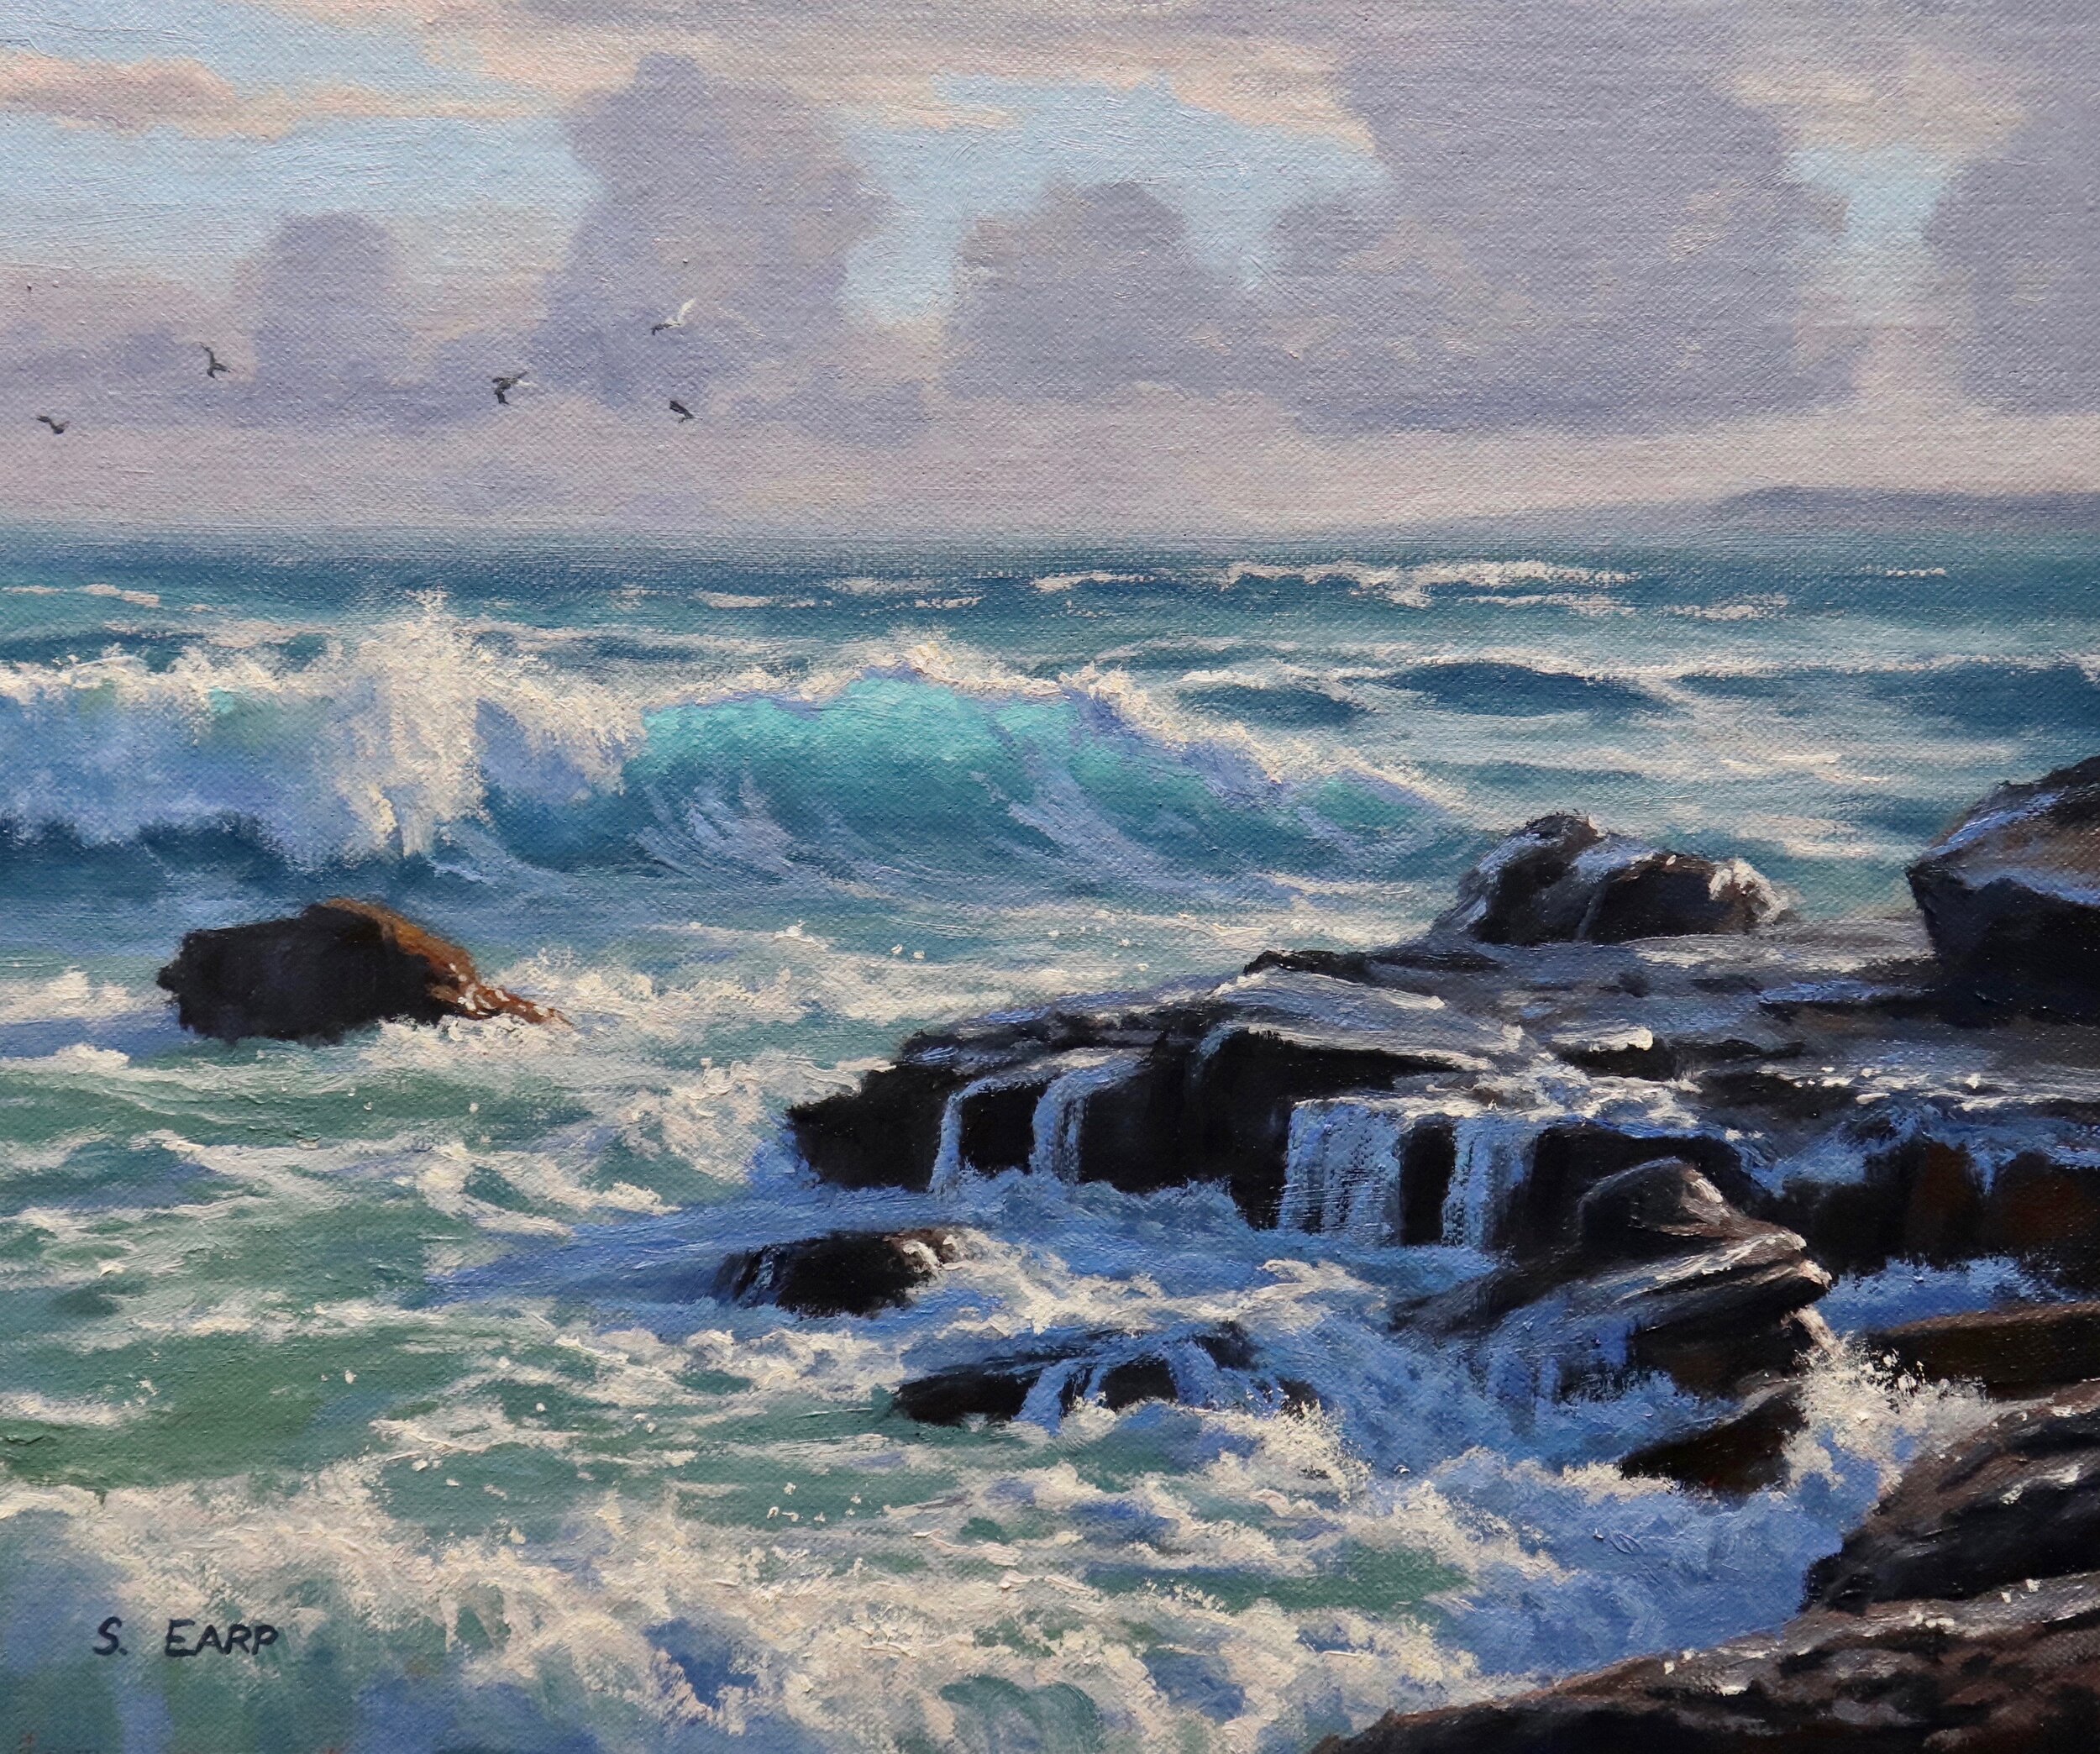
I love painting dramatic seascapes that depict stormy oceans and heavy swells. In the painting blog I will show you how to paint this rocky shore seascape.
This painting is inspired by the Central Coast area in Australia but really, as this painting is more about the sea and the rocks, the location could be anywhere.
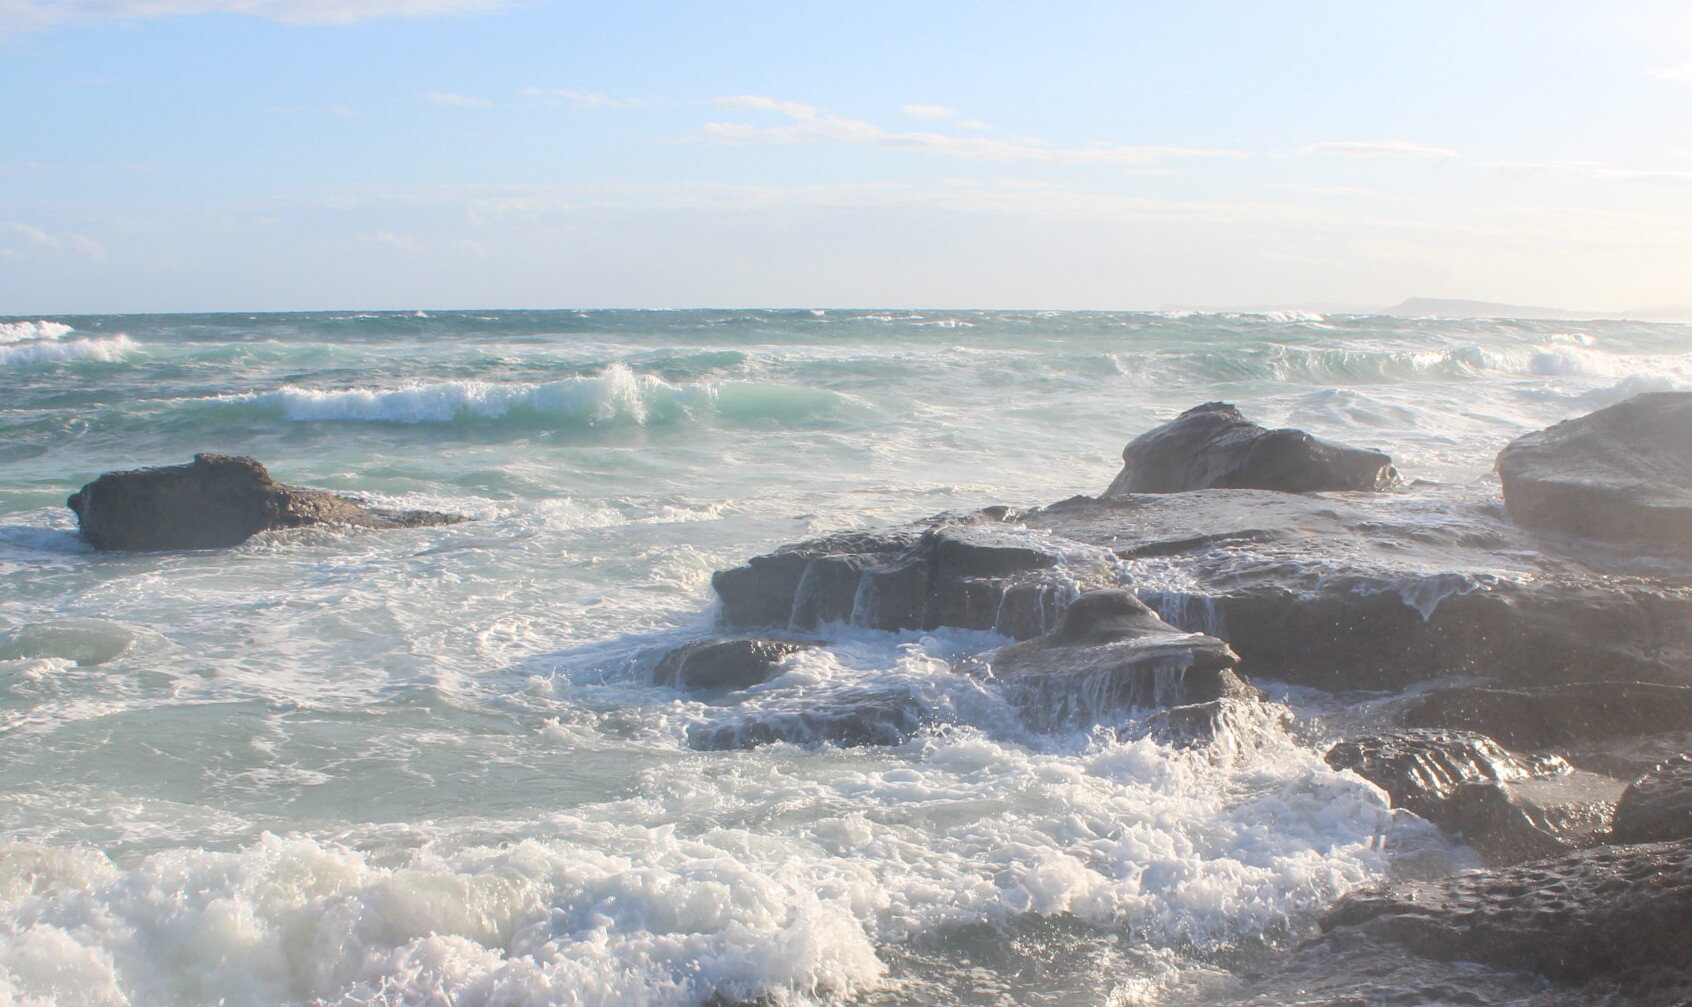
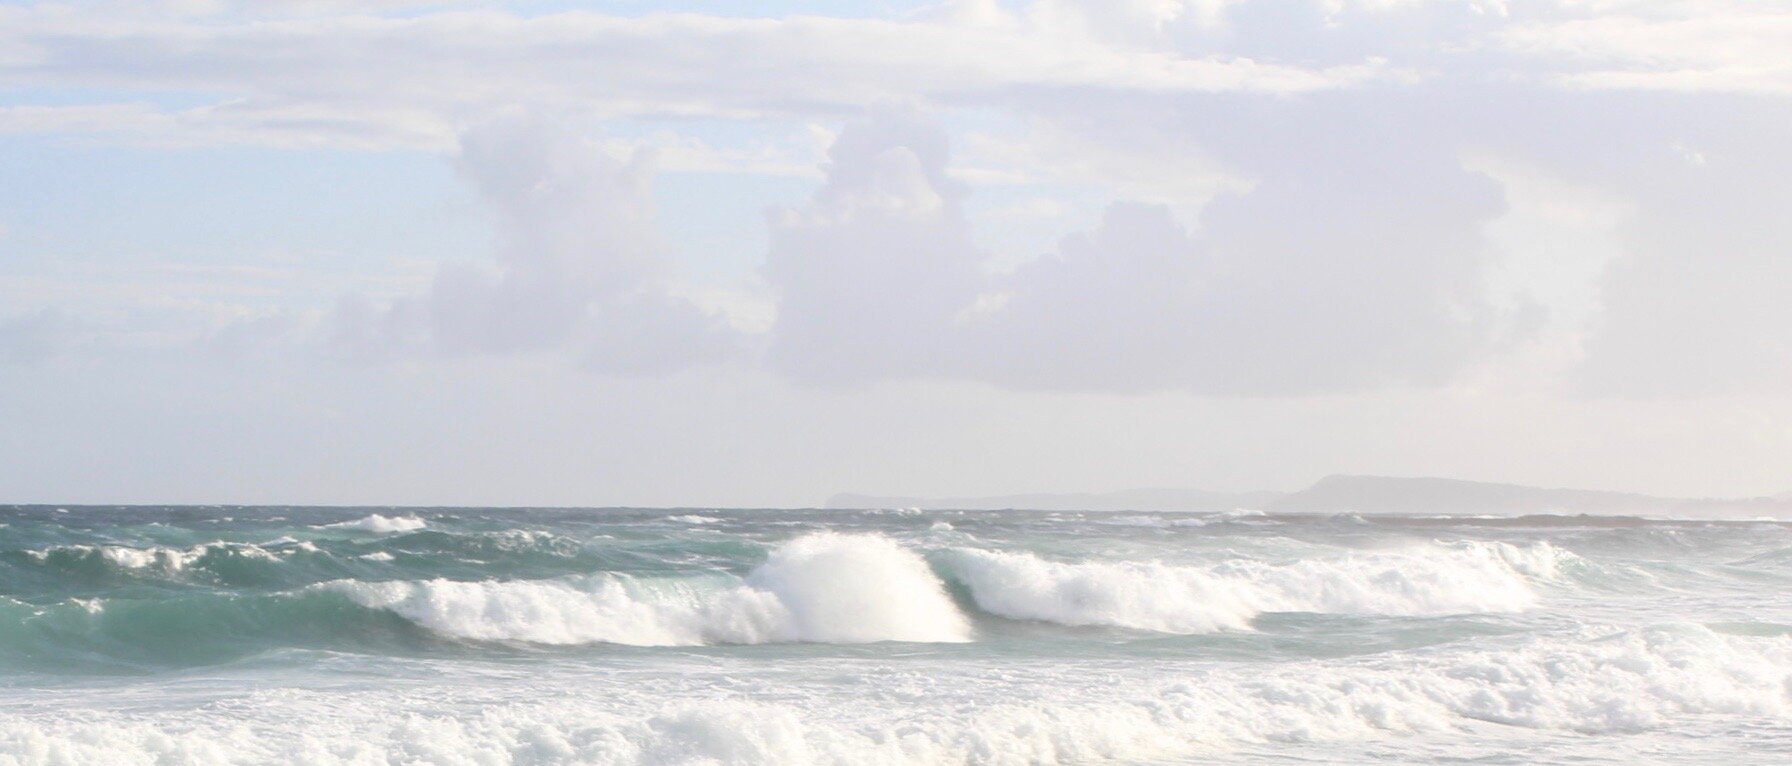
Reference Photos
Here are some of the reference photos I took. Please feel free to use them or copy them if you would like to have a go at painting this art work.
Colours
I painted this artwork using oil paint and the colours I used in this painting are as follows:
- Titanium white
- Burnt sienna
- Yellow oxide
- Quinacridone magenta
- Ultramarine blue
- Cobalt teal
- Phthalo green (optional)
Brushes
Here is a list of the brushes I used in this painting:
- No.6 flat
- No.2 flat
- No.3 filbert
- No.1 round
- No.0 round
- No.00 round
- 3/8 dagger
- 1/4 dagger
Composition
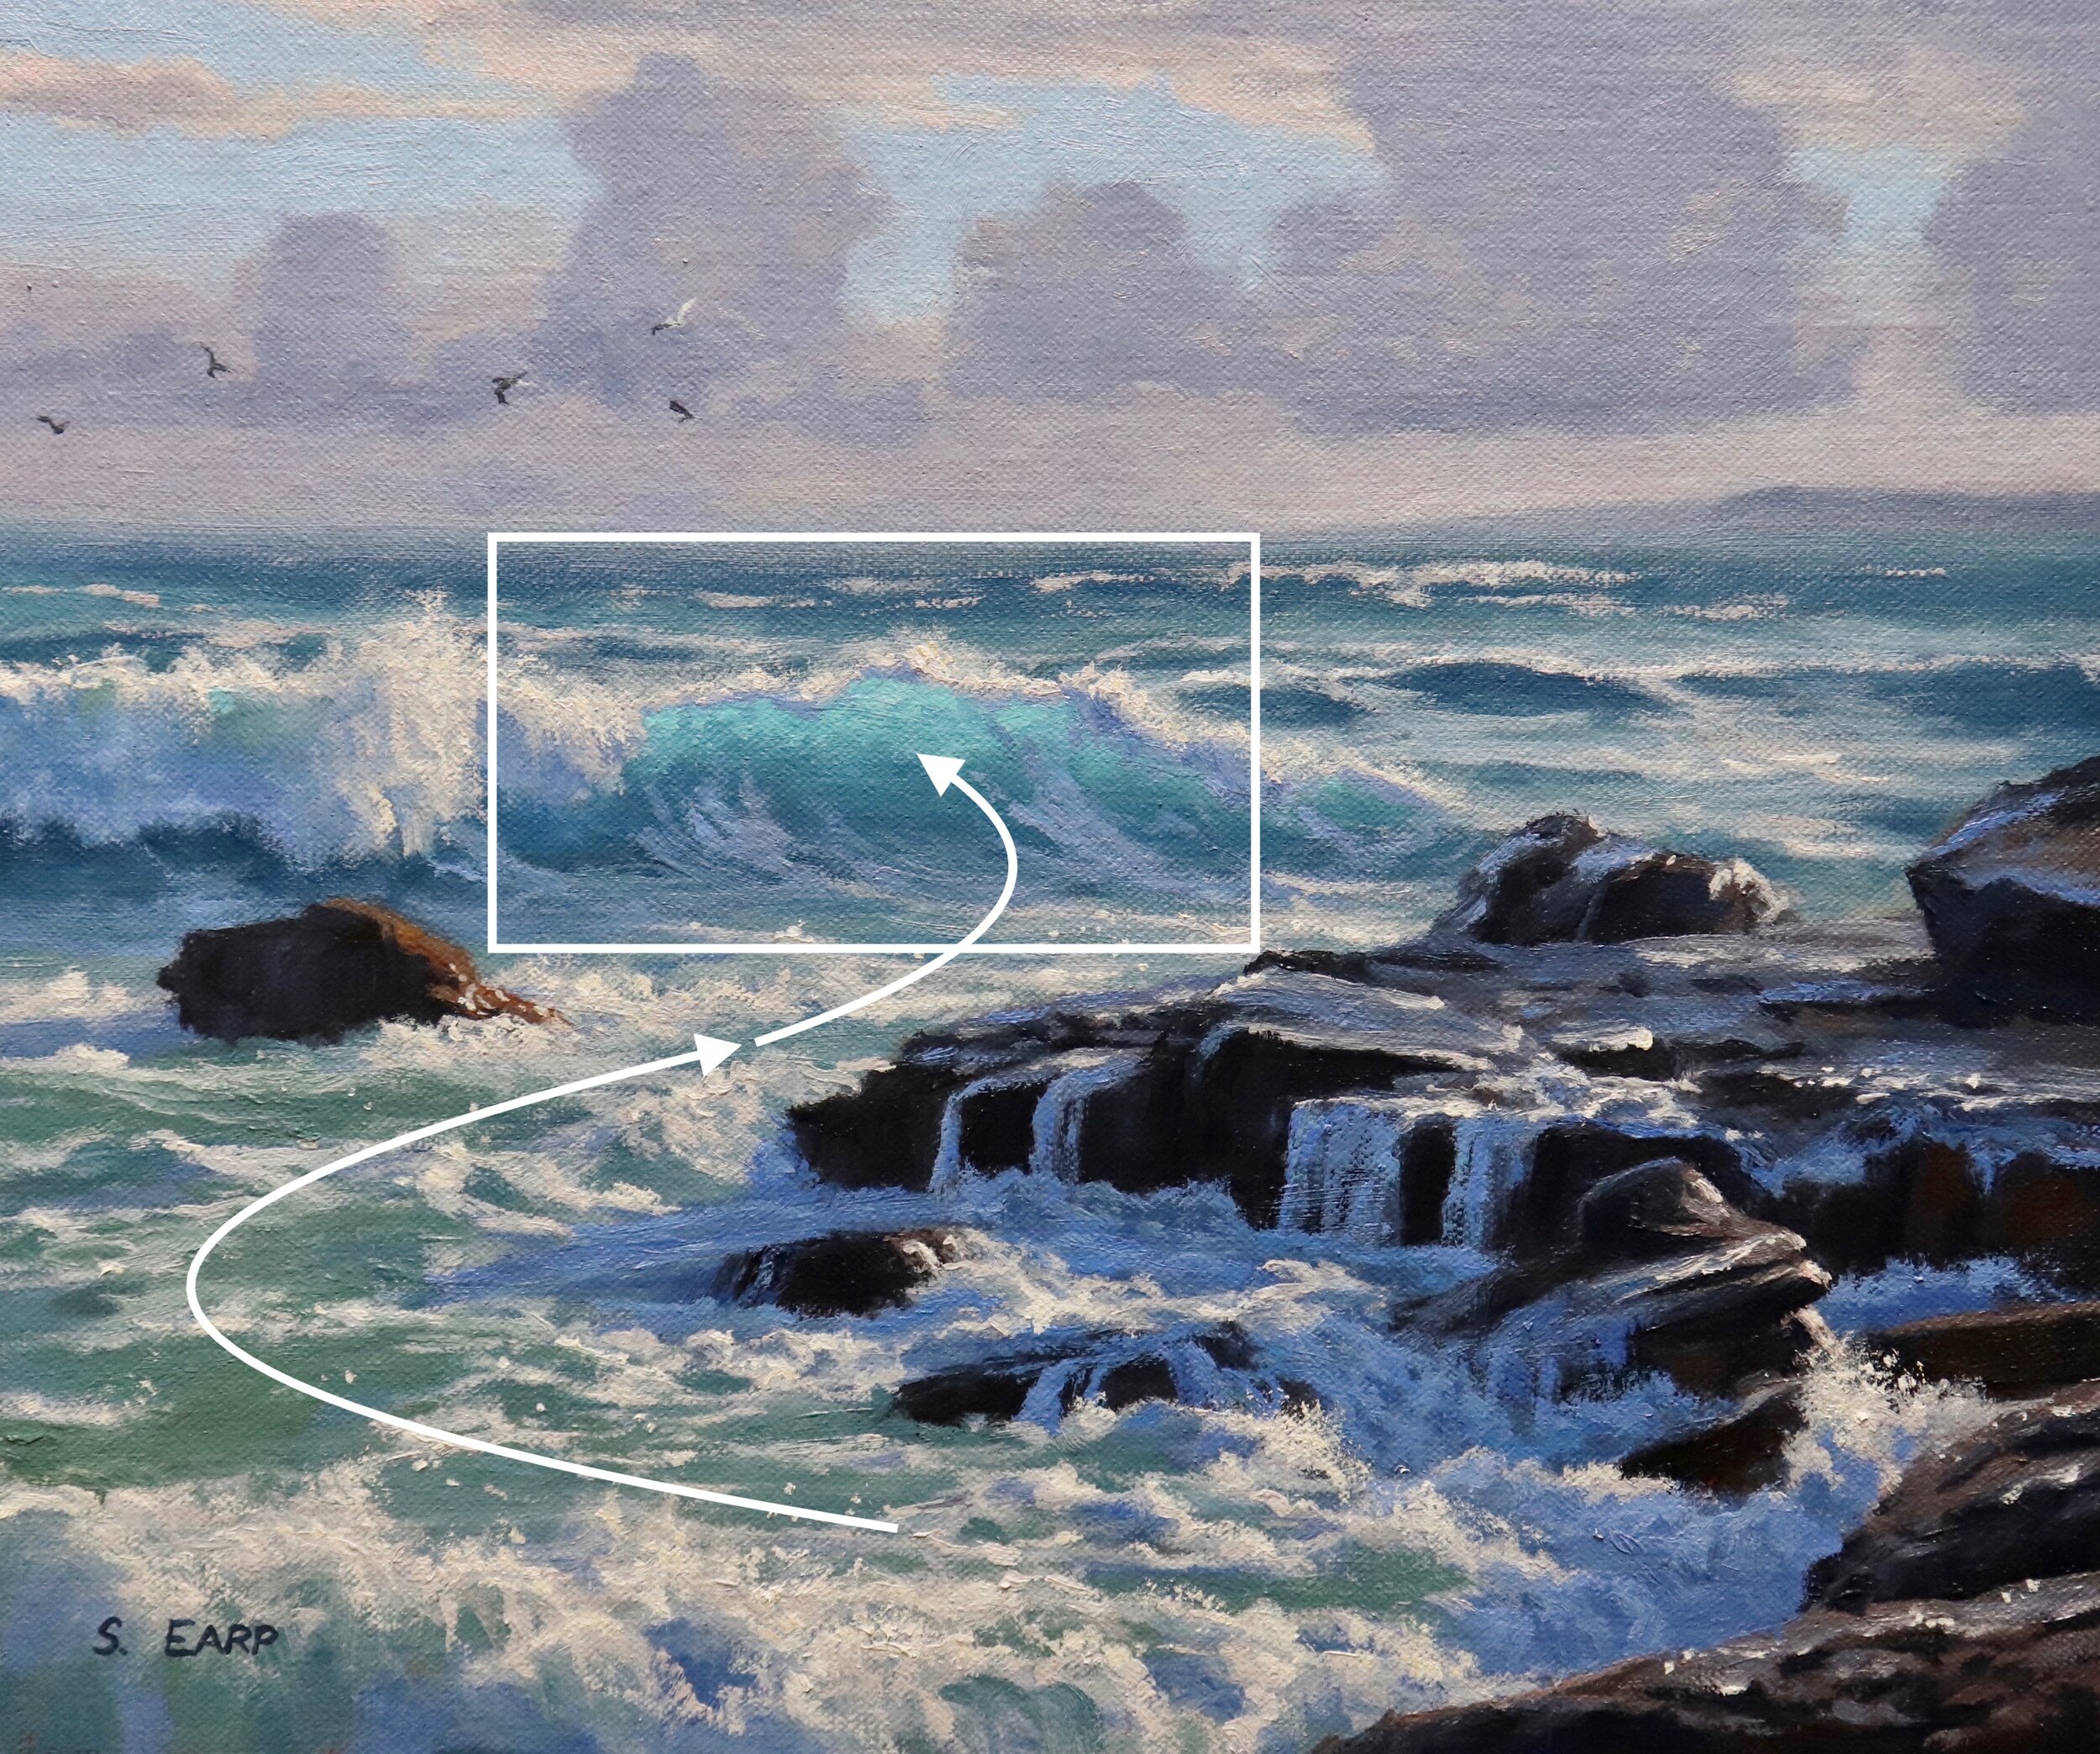
The breaking wave is the main focal area of this painting and the rocks are of secondary interest in the scene. This composition follows and ‘S’ composition where the foreground water and foam patterns leads the eye towards the braking wave. The smaller rock on the left provides some balance to the composition.
First Stage – Blocking in the Painting
I am painting on a 10” x 12” linen panel that I toned with a layer of burnt sienna. The burnt sienna adds vibrancy to the painting.
I sketch out the composition using a No.1 round brush with burnt sienna mixed with Liquin Original (Liquin). I am using Liquin as a medium to thin the paint, it also has the advantage of speeding up the drying time.
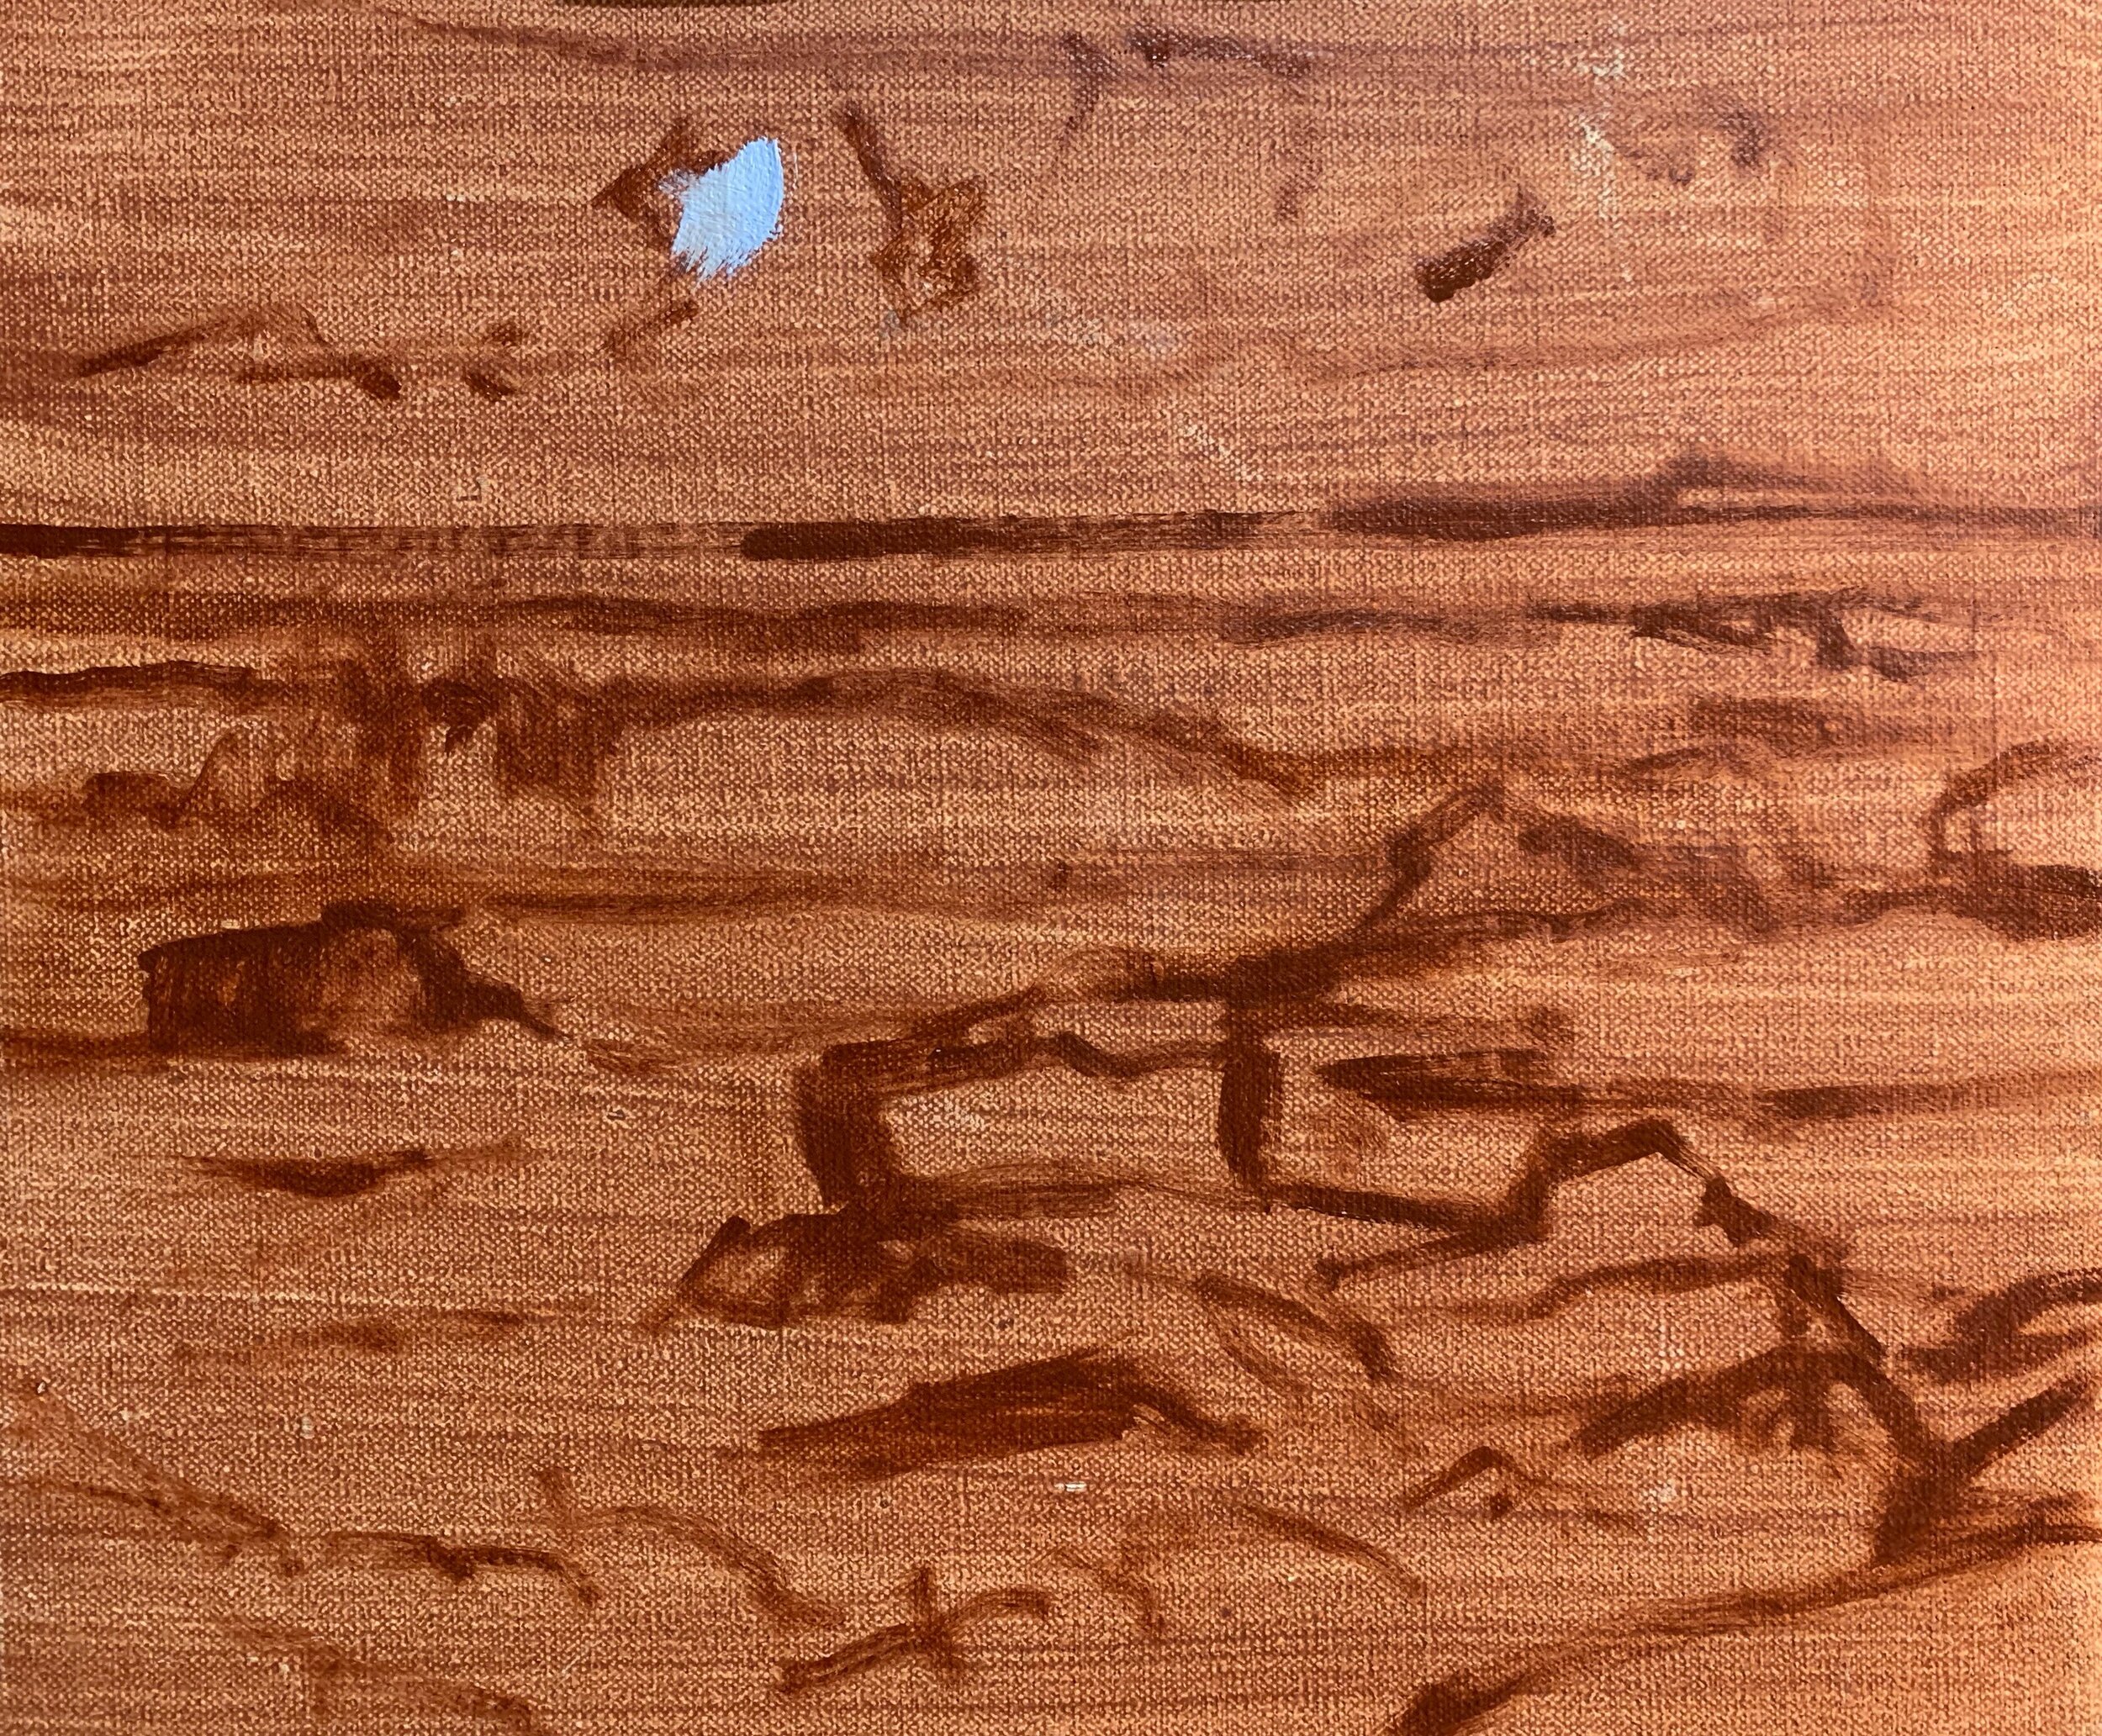
Whenever I begin a painting I always start with my dark values and shadows first, that way I can quickly establish a tonal dynamic that I can work to.
There are two main areas of shadows in this painting which includes the clouds and the rocks. There are also shadows in the waves but I’ll be using more saturated colour for this. The clouds and rocks are more neutral greys.
I mix the colour for the clouds with burnt sienna, ultramarine blue and a lot of titanium white as these shadows are light in value. I also mix in a little quinacridone magenta to give the clouds a violet tint.
The rock shadows are the darkest values in the painting and I mix the colour with burnt sienna and ultramarine blue which creates a near black.
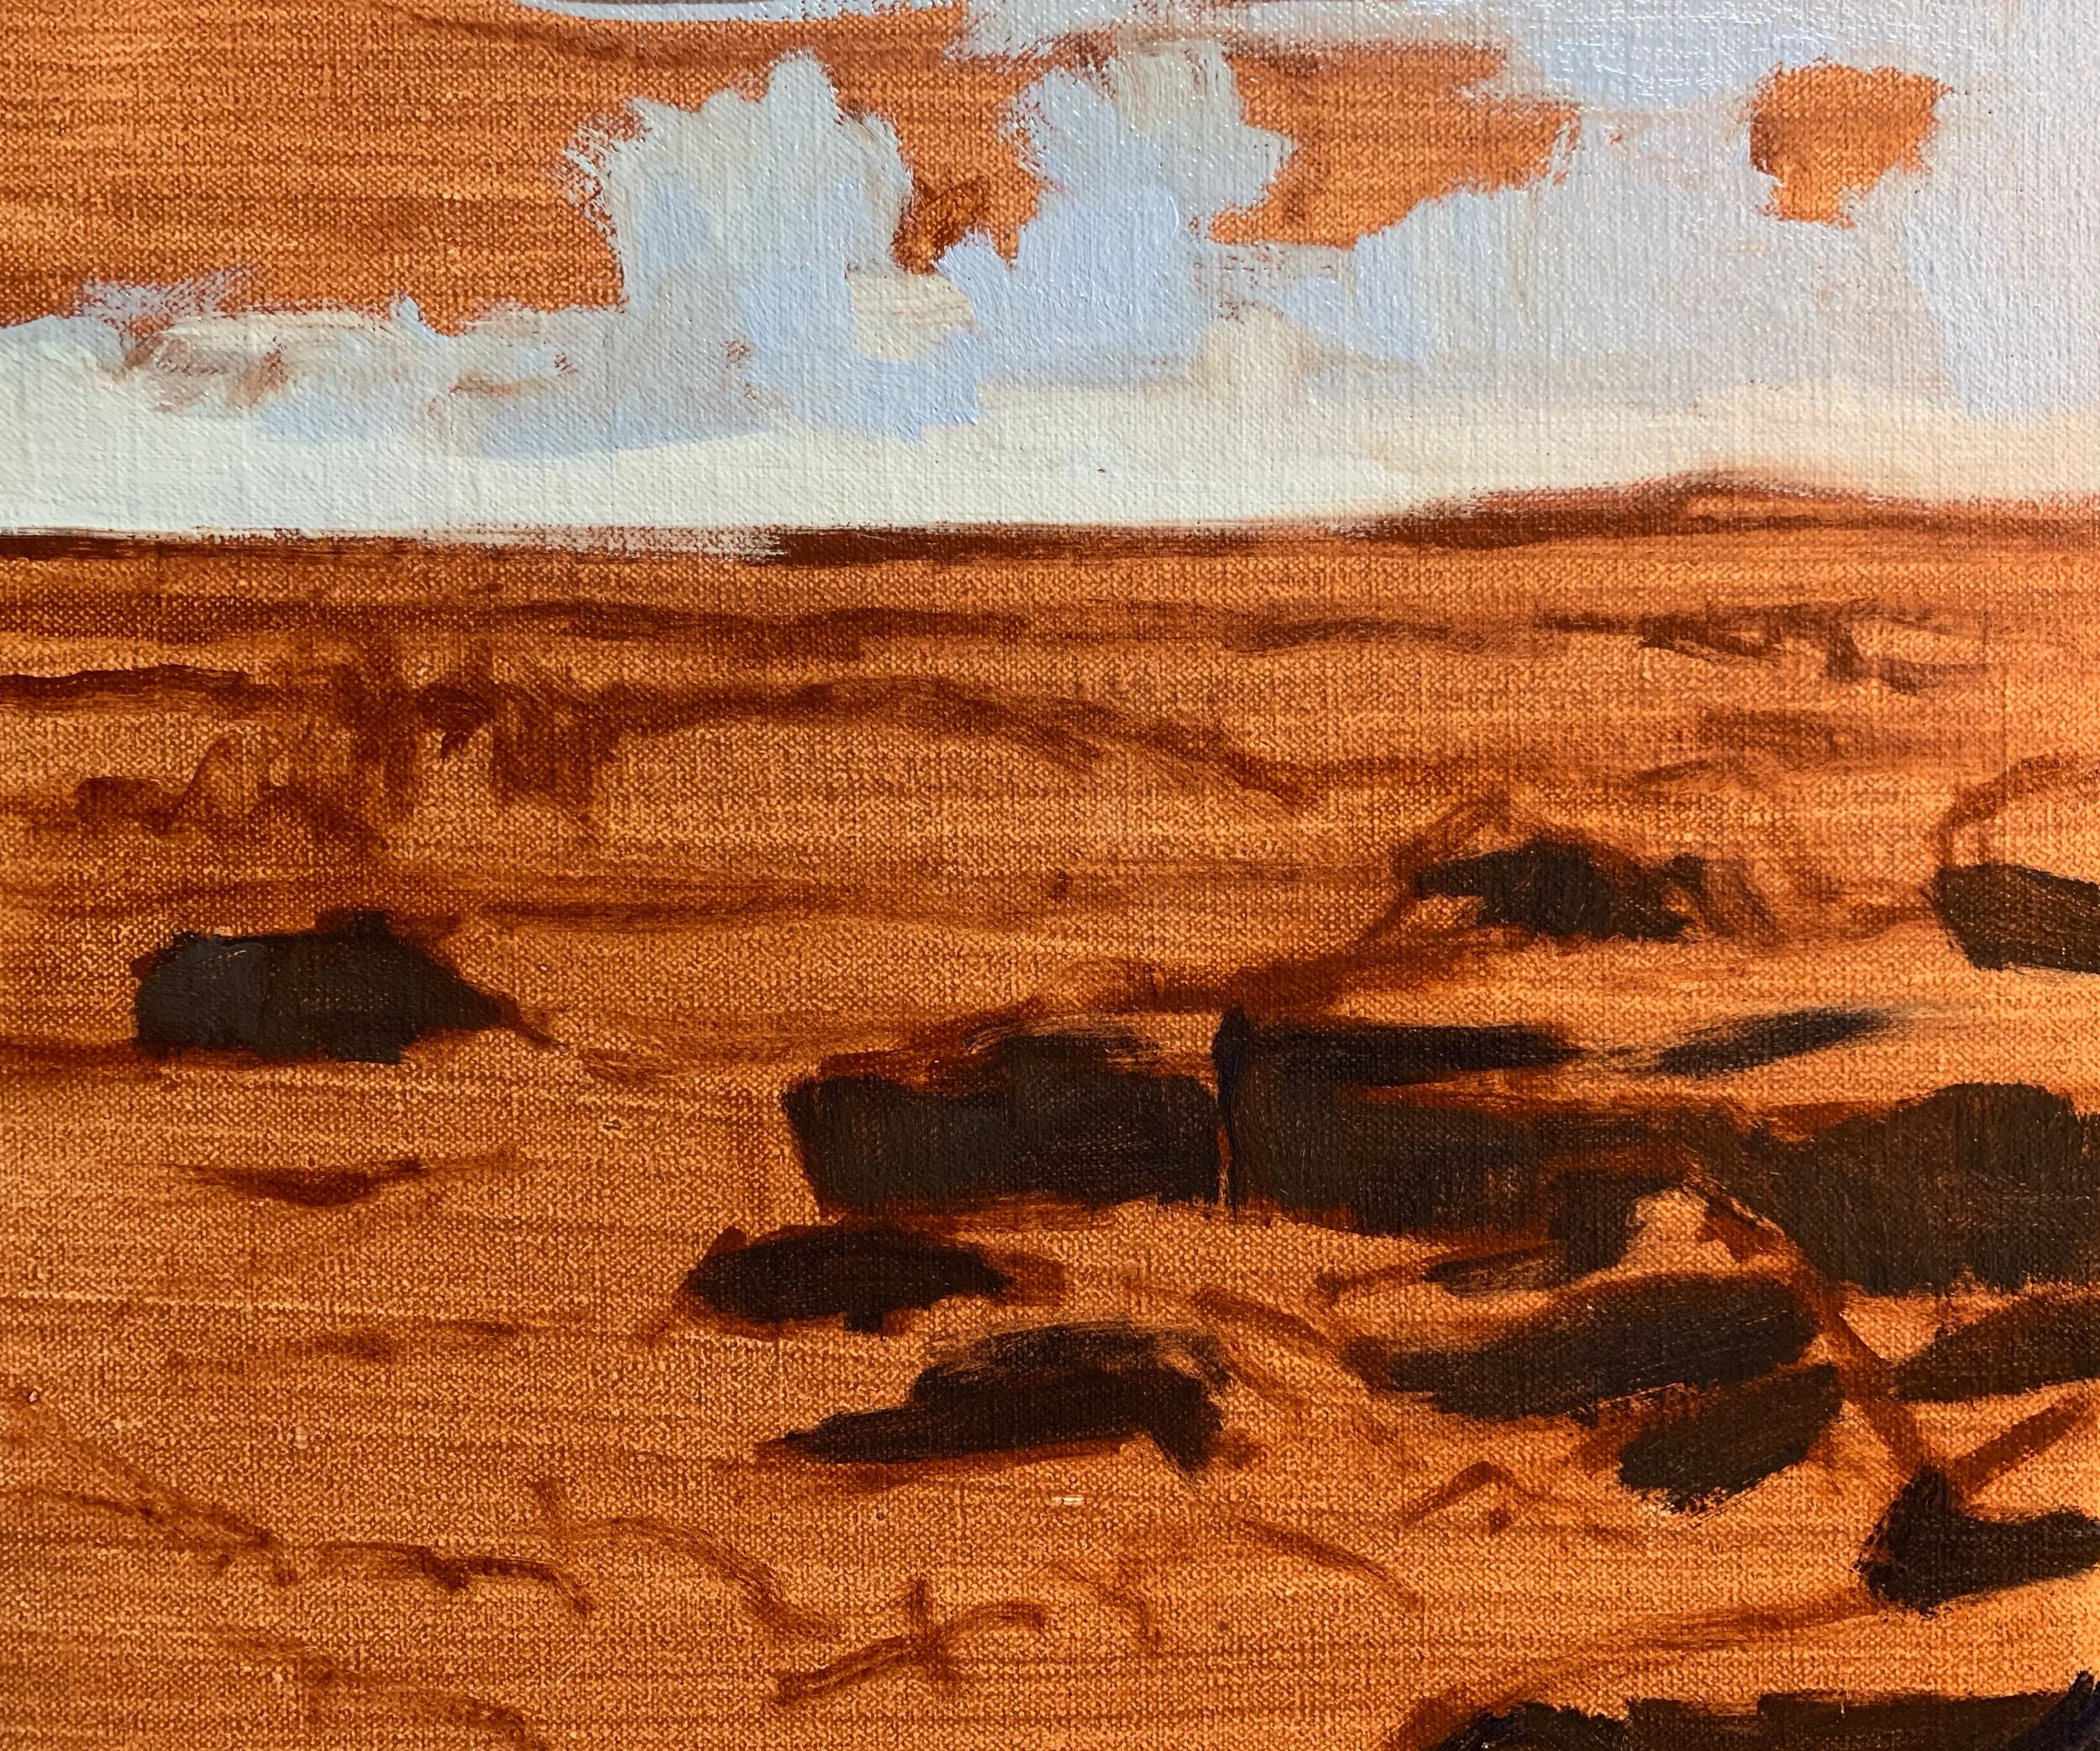
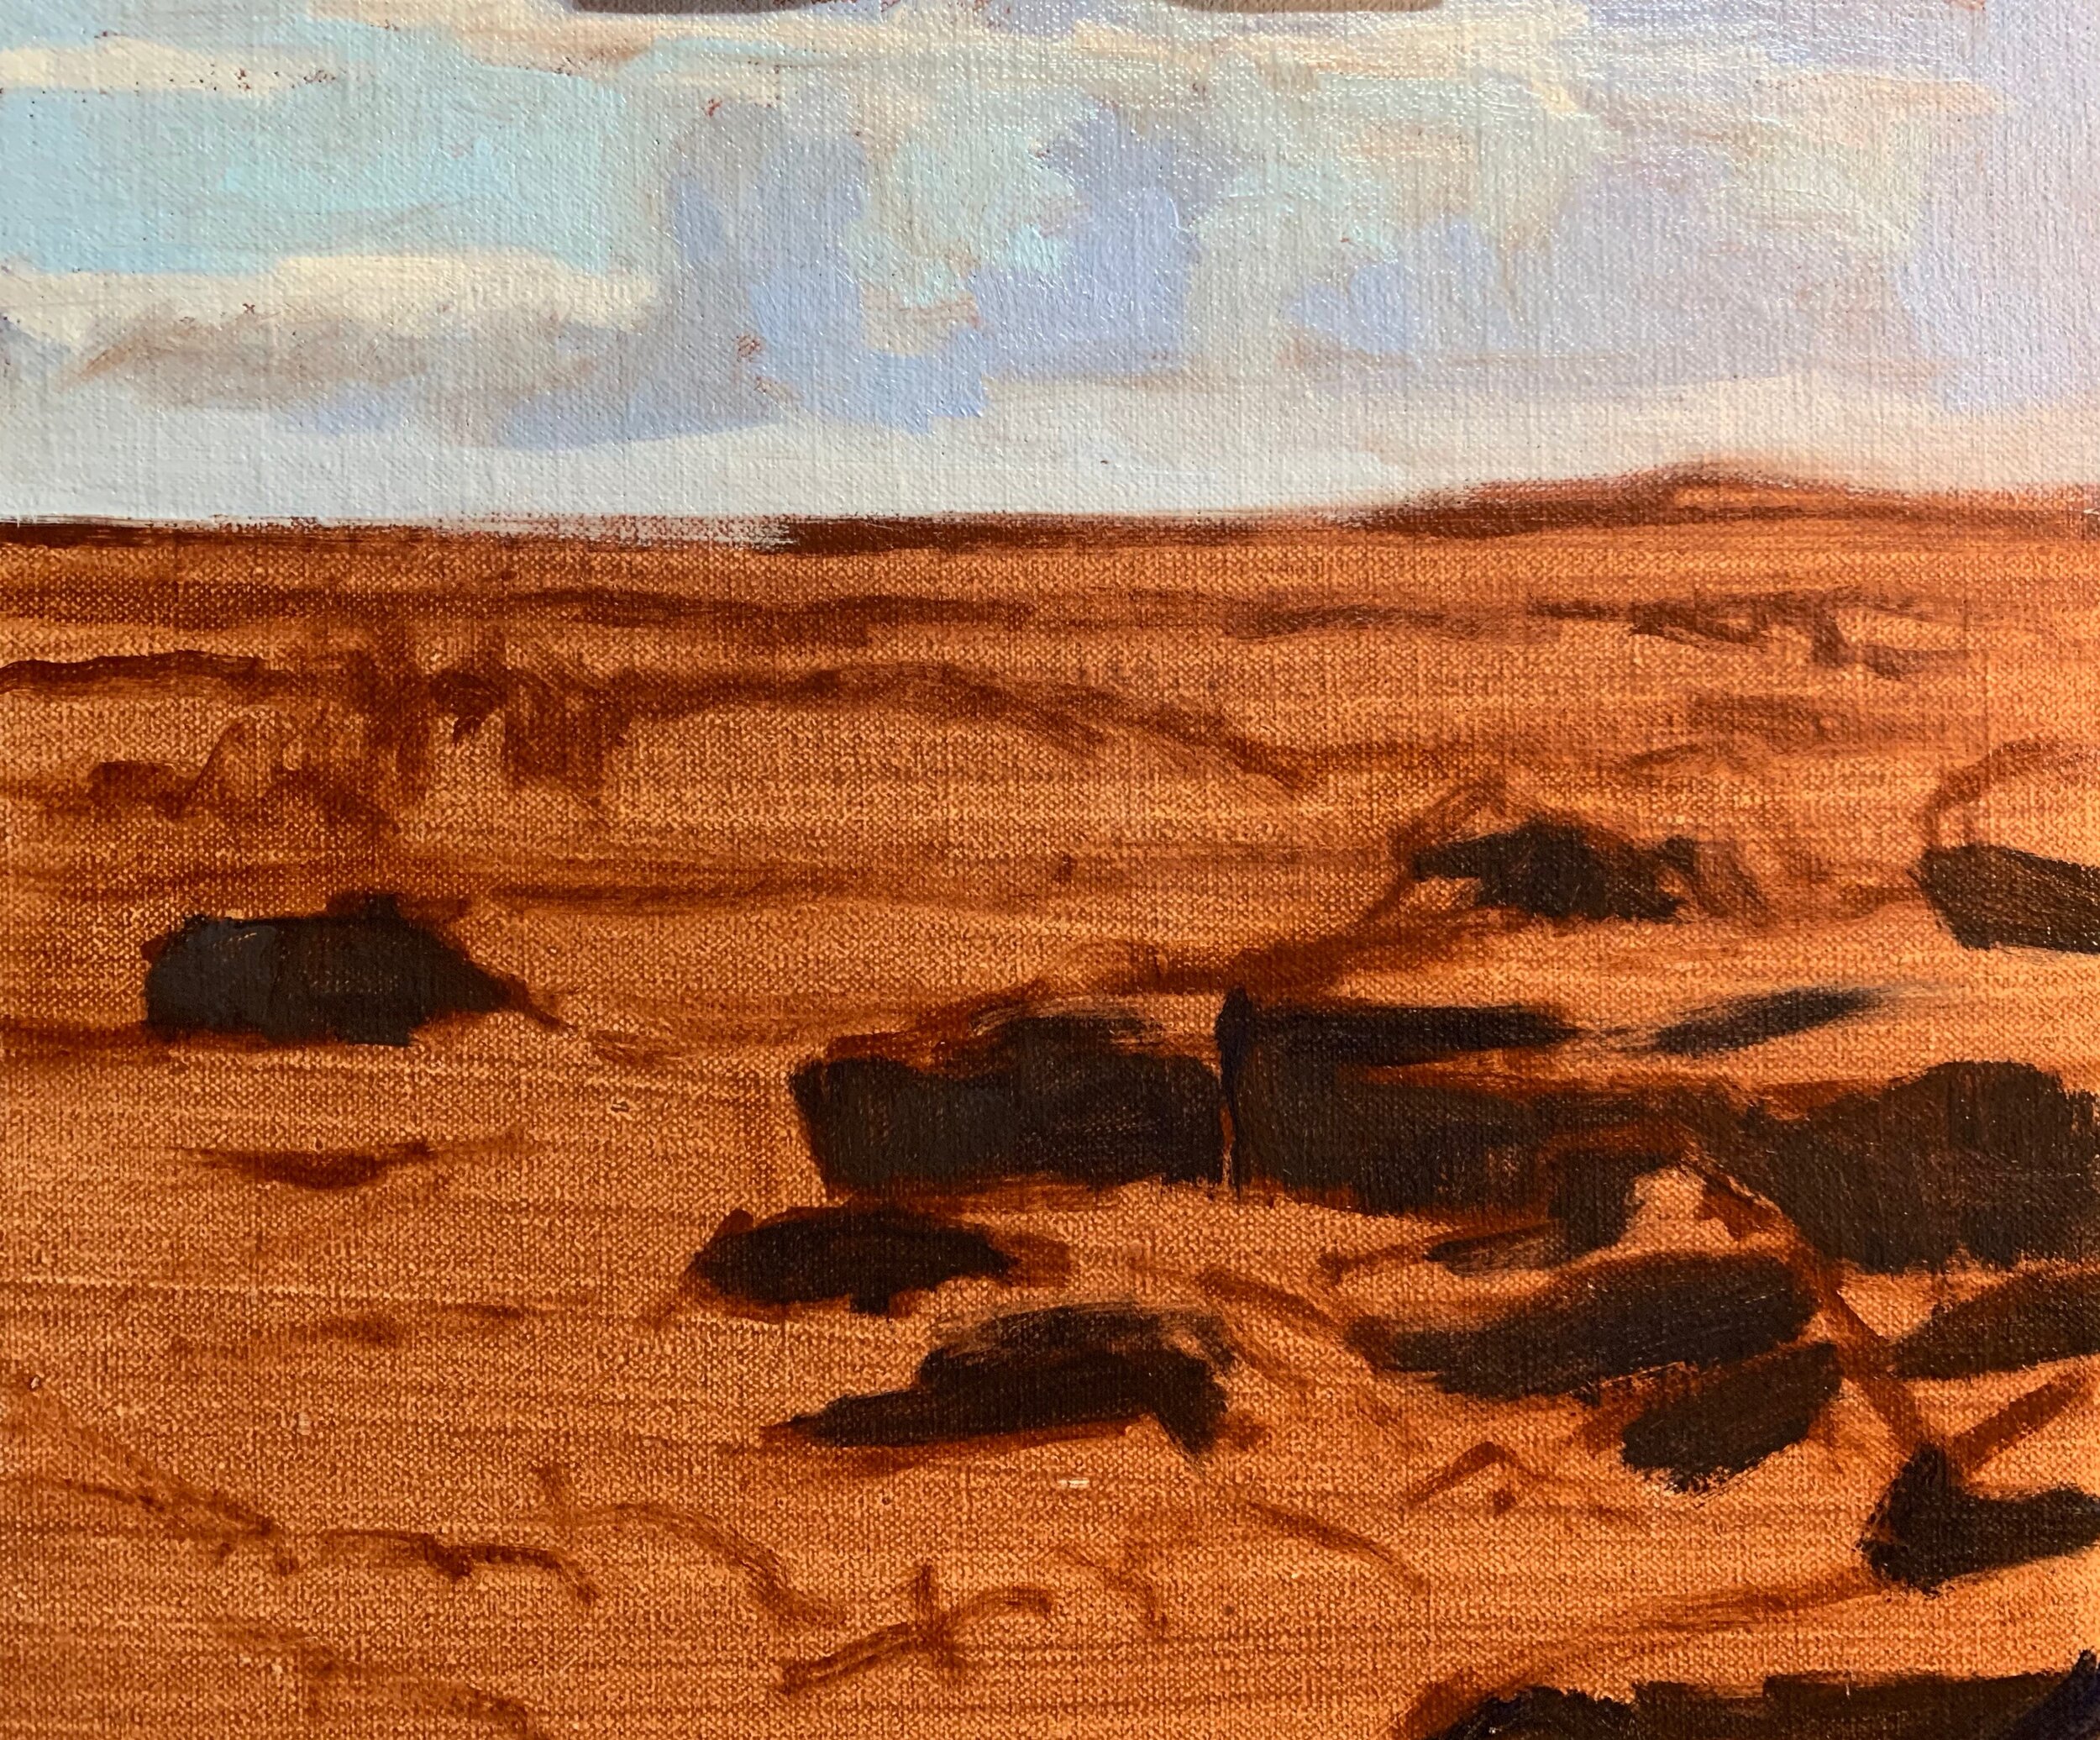
I mark in the cloud highlights with a mix of titanium white and burnt sienna. The burnt sienna warms up the clouds and makes it recede and sit back in the distance.
For the sky I create a light tone of ultramarine blue, cobalt teal and titanium white.
I use my cloud highlight mix to roughly mark in the main highlights in the sea, waves and foam patterns. I then start painting the main body of the ocean using a mix of ultramarine blue, yellow oxide, a little cobalt teal and titanium white.
I mix cobalt teal and titanium white for the translucent area in the upper section of the breaking wave.
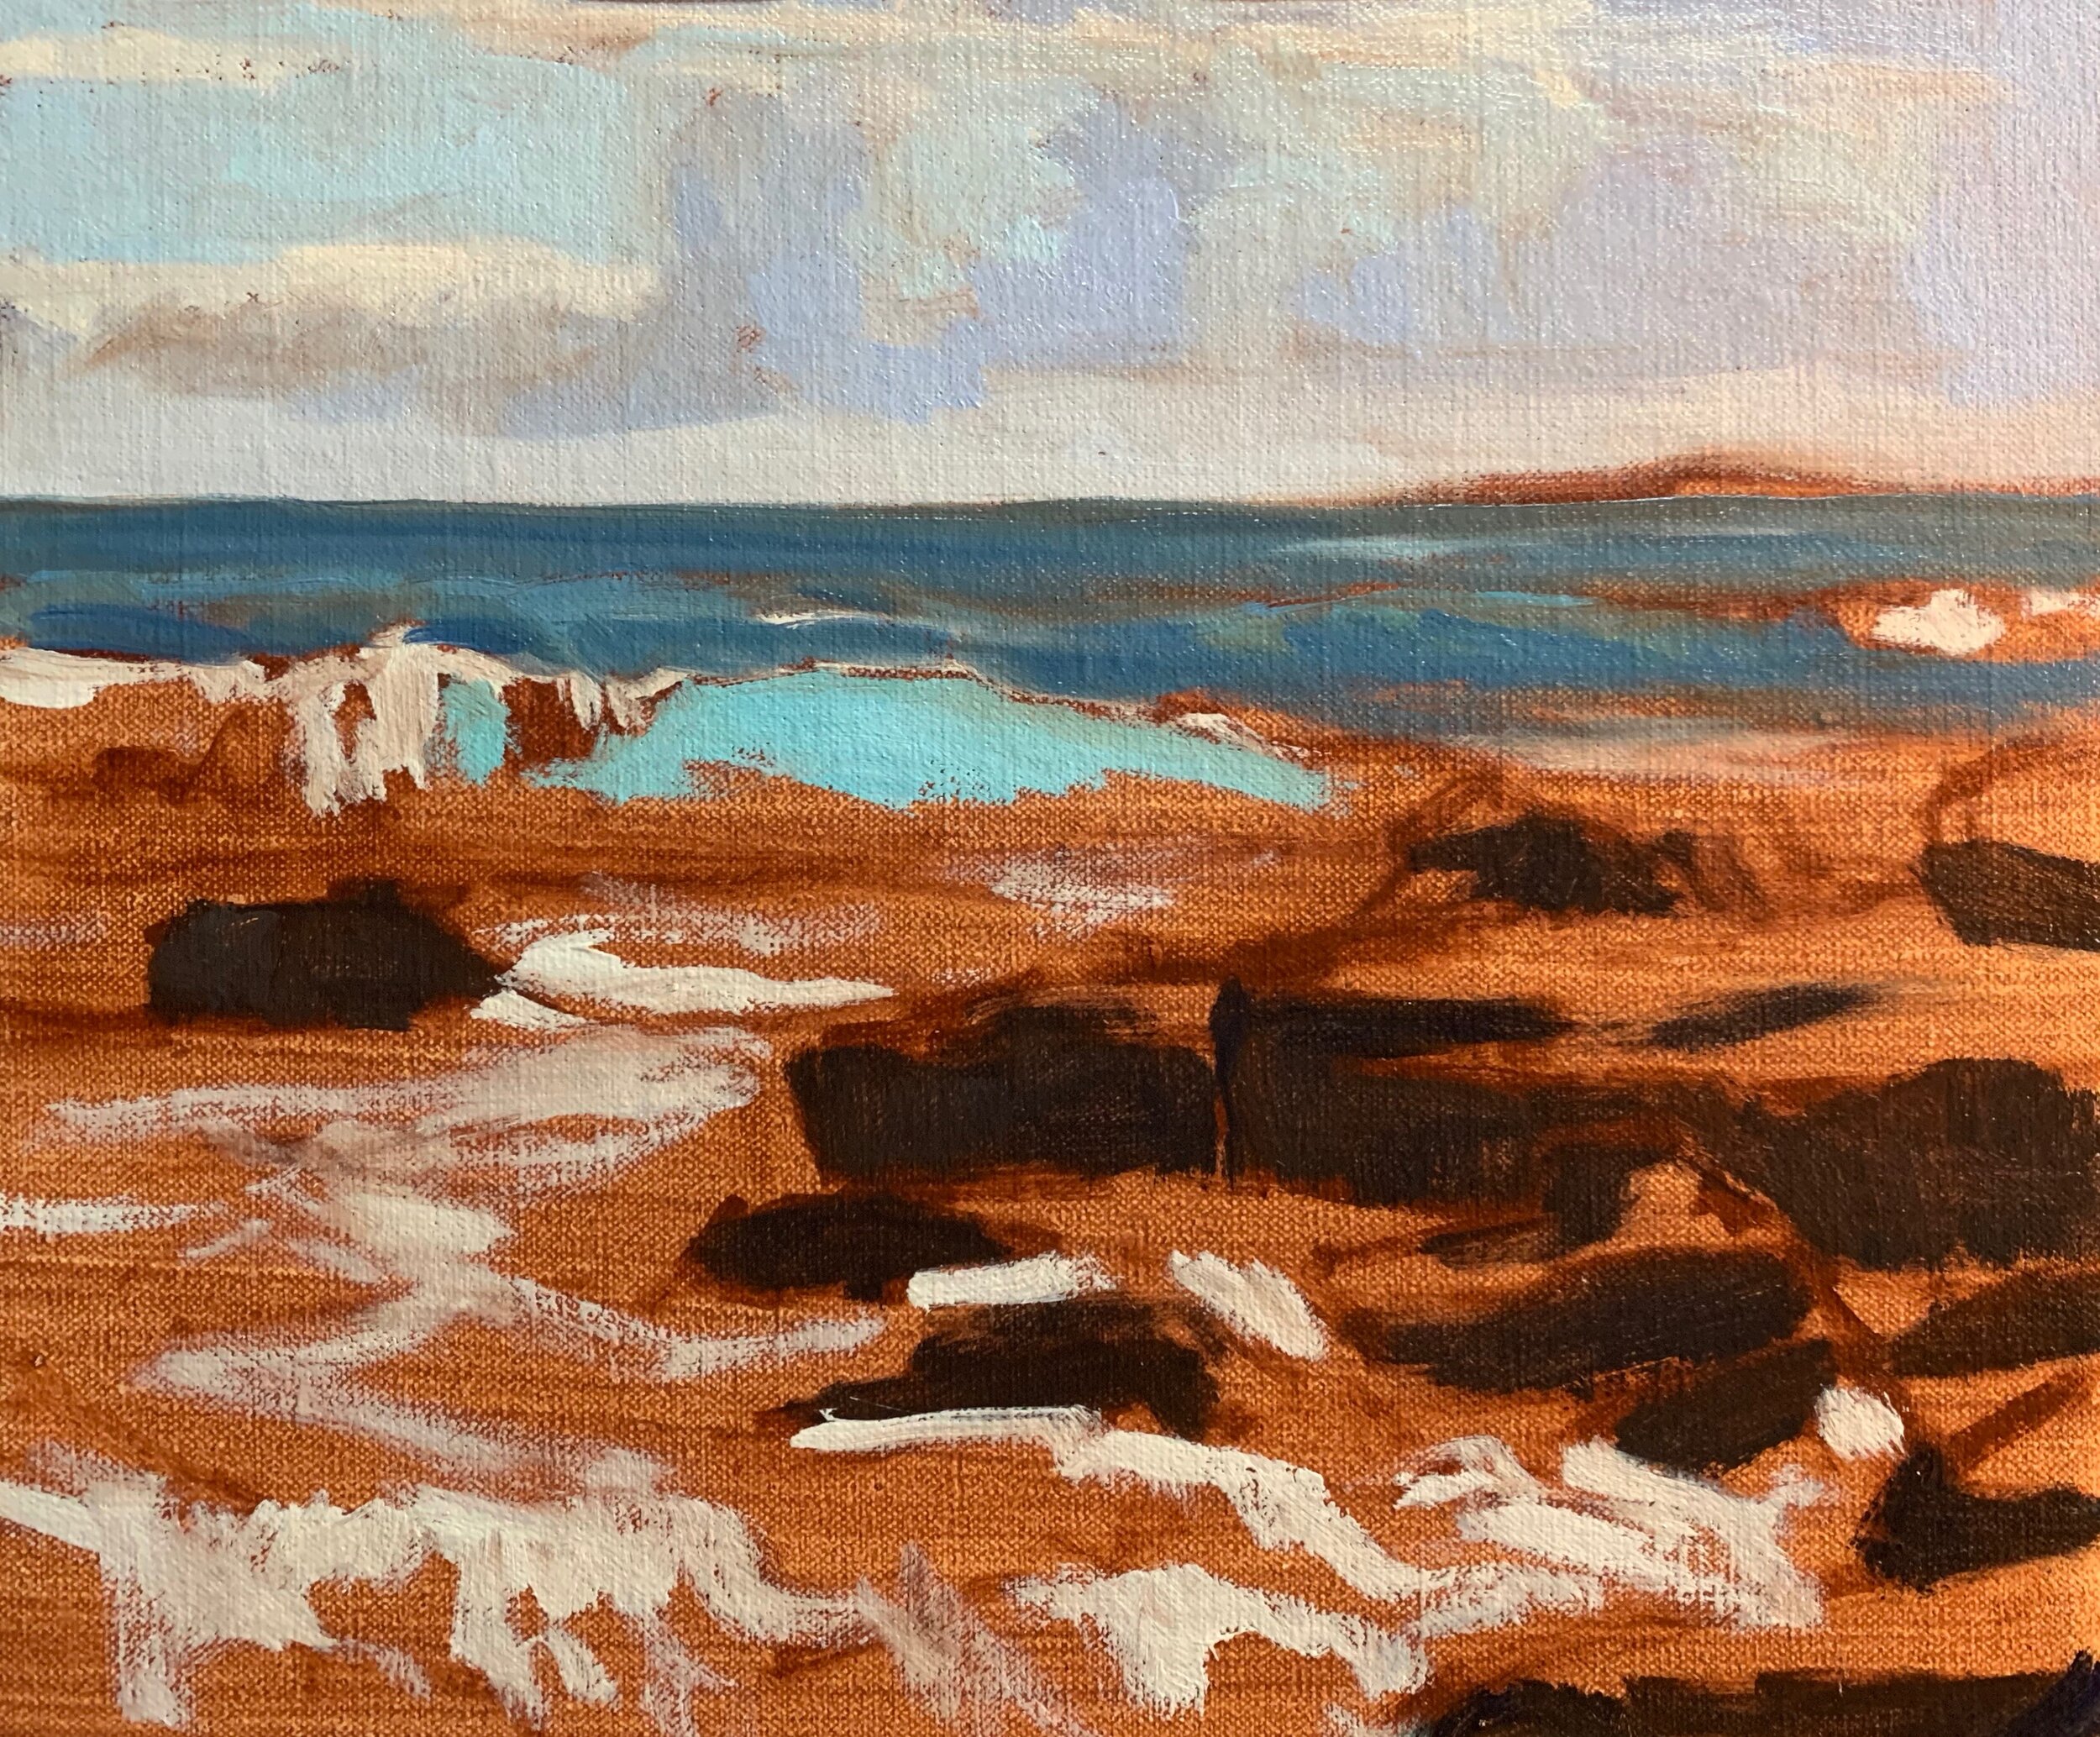
I paint the lower section of the braking wave with the same colour mix I used in the ocean. I create a transition zone between the translucent area of the wave and the lower section.
I’m using the same colours again for the water in the foreground but with more yellow oxide and titanium white.
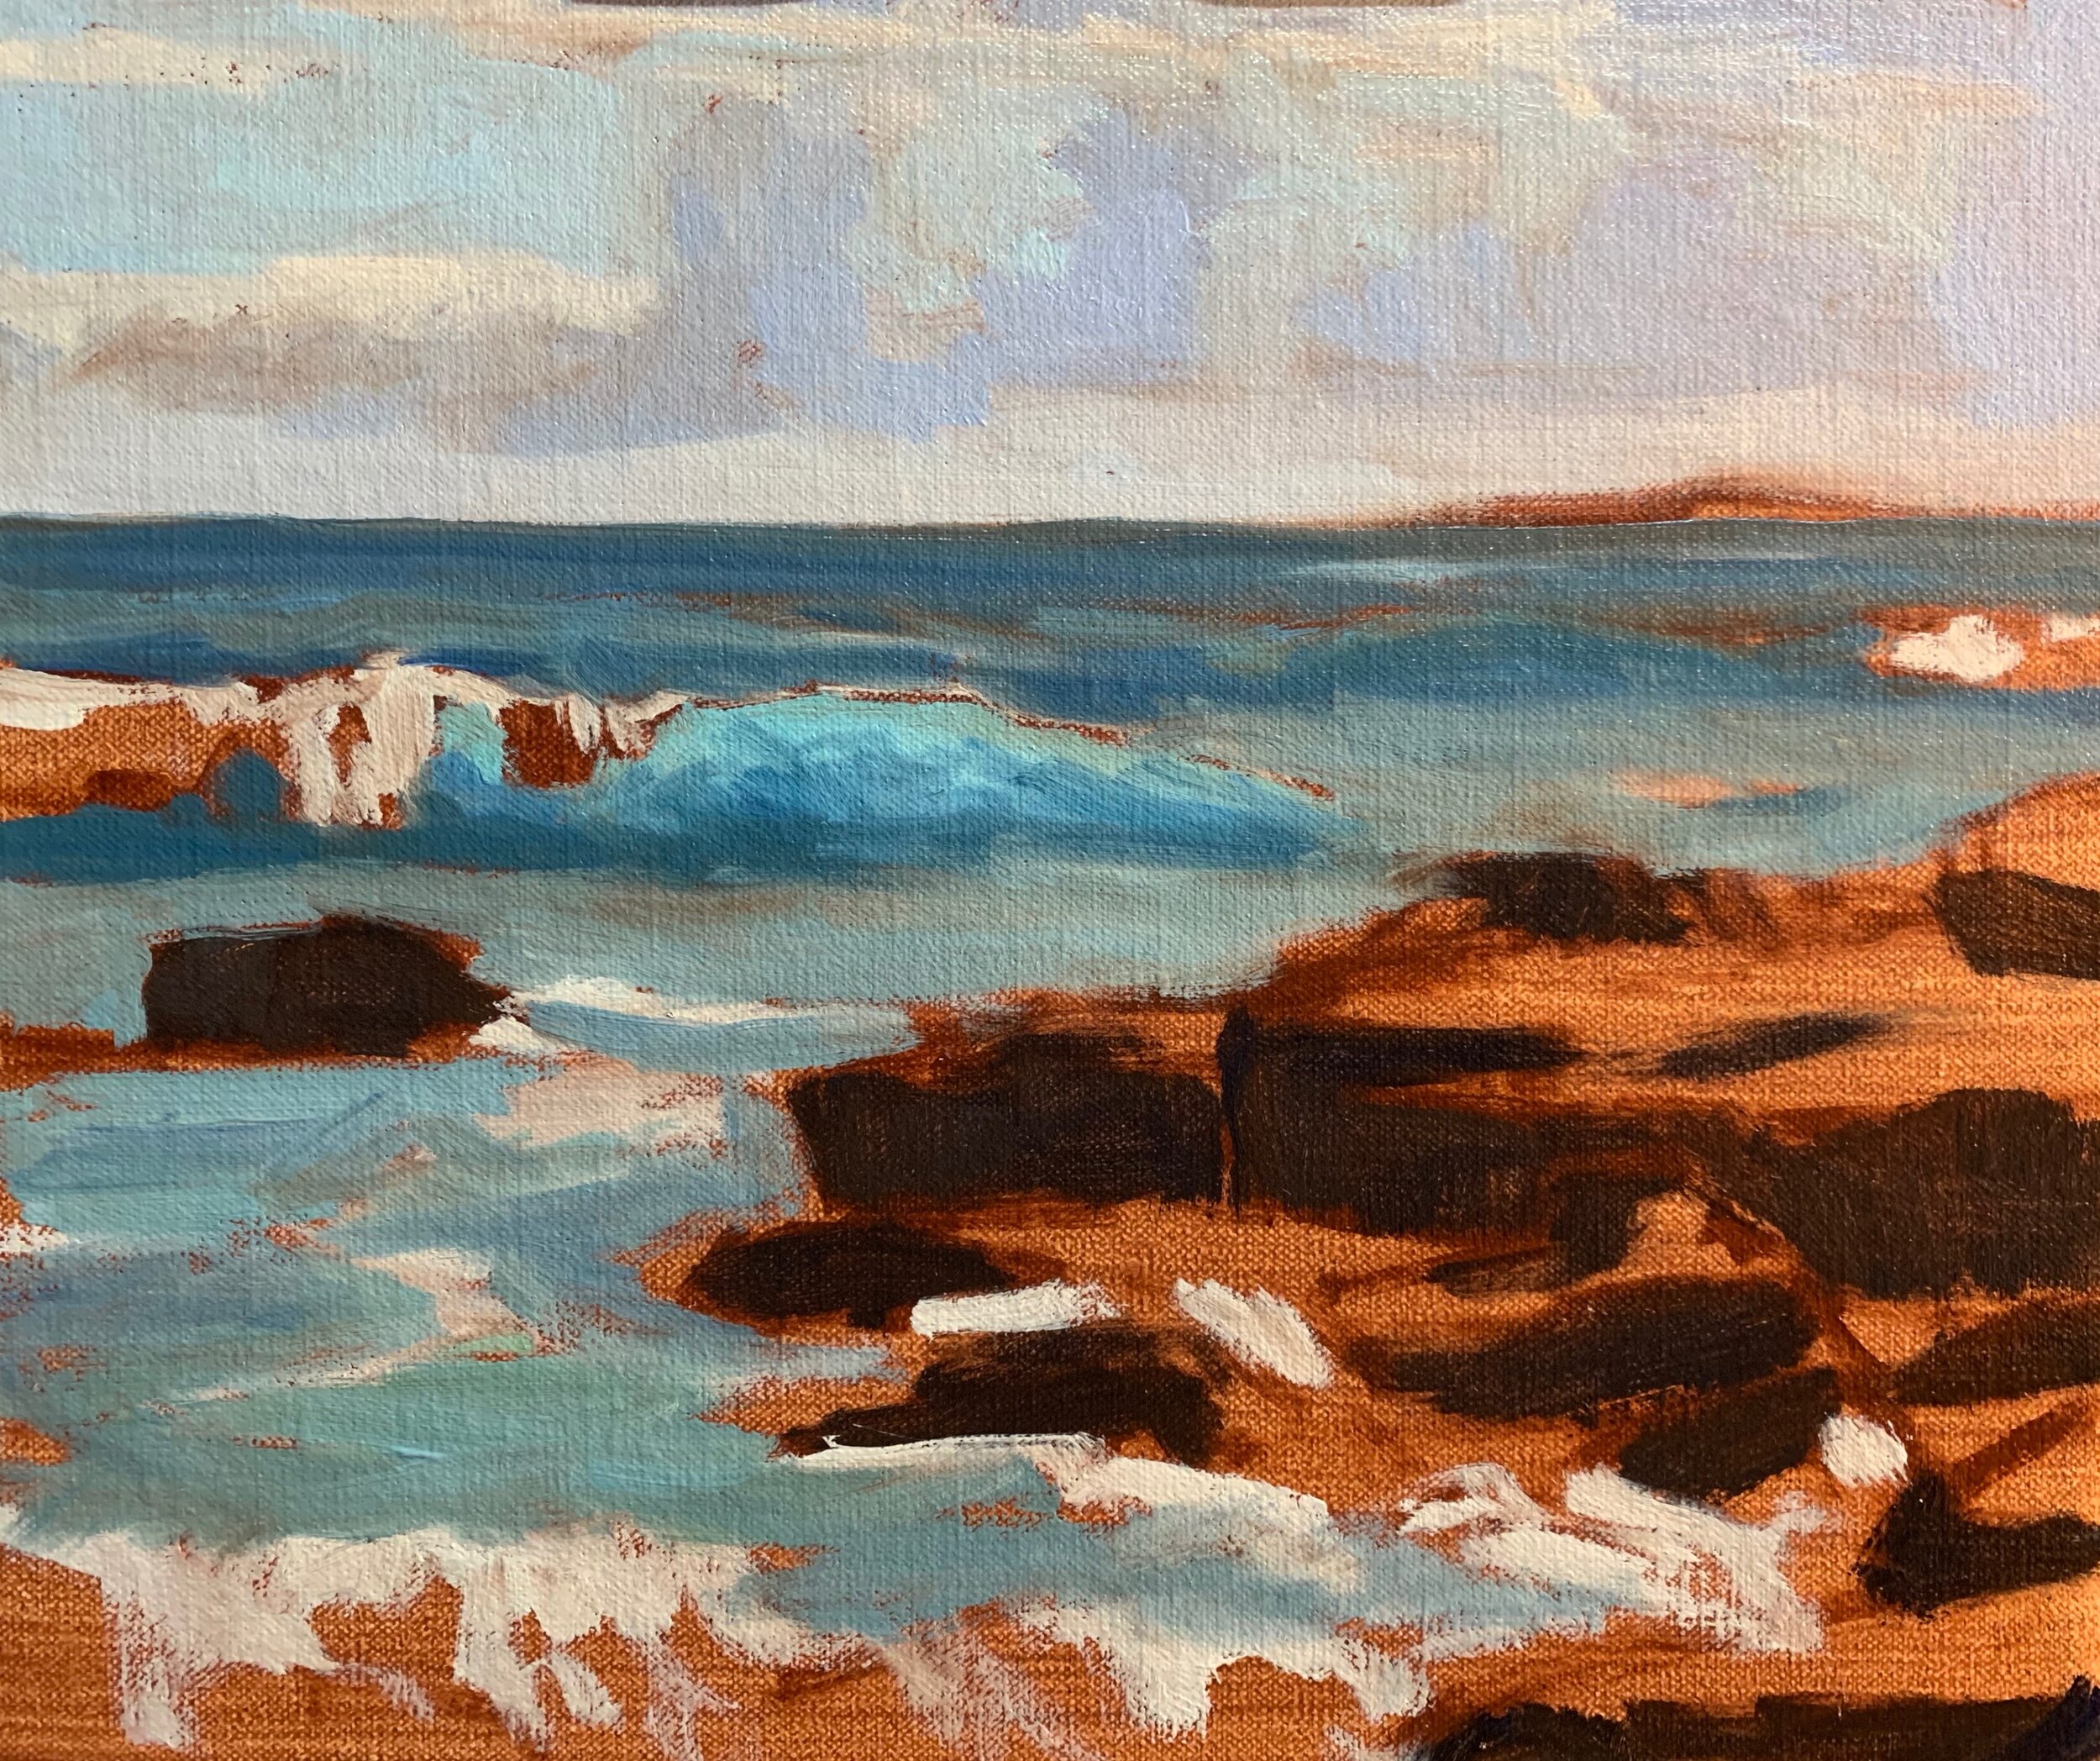
The rocks are casting shadows in the foreground water so I mix a shadow tone of ultramarine blue, titanium white and a little burnt sienna. The shadow ares of the water are a darker value than the areas in the full sun however these shadows are lighter than the rock shadows.
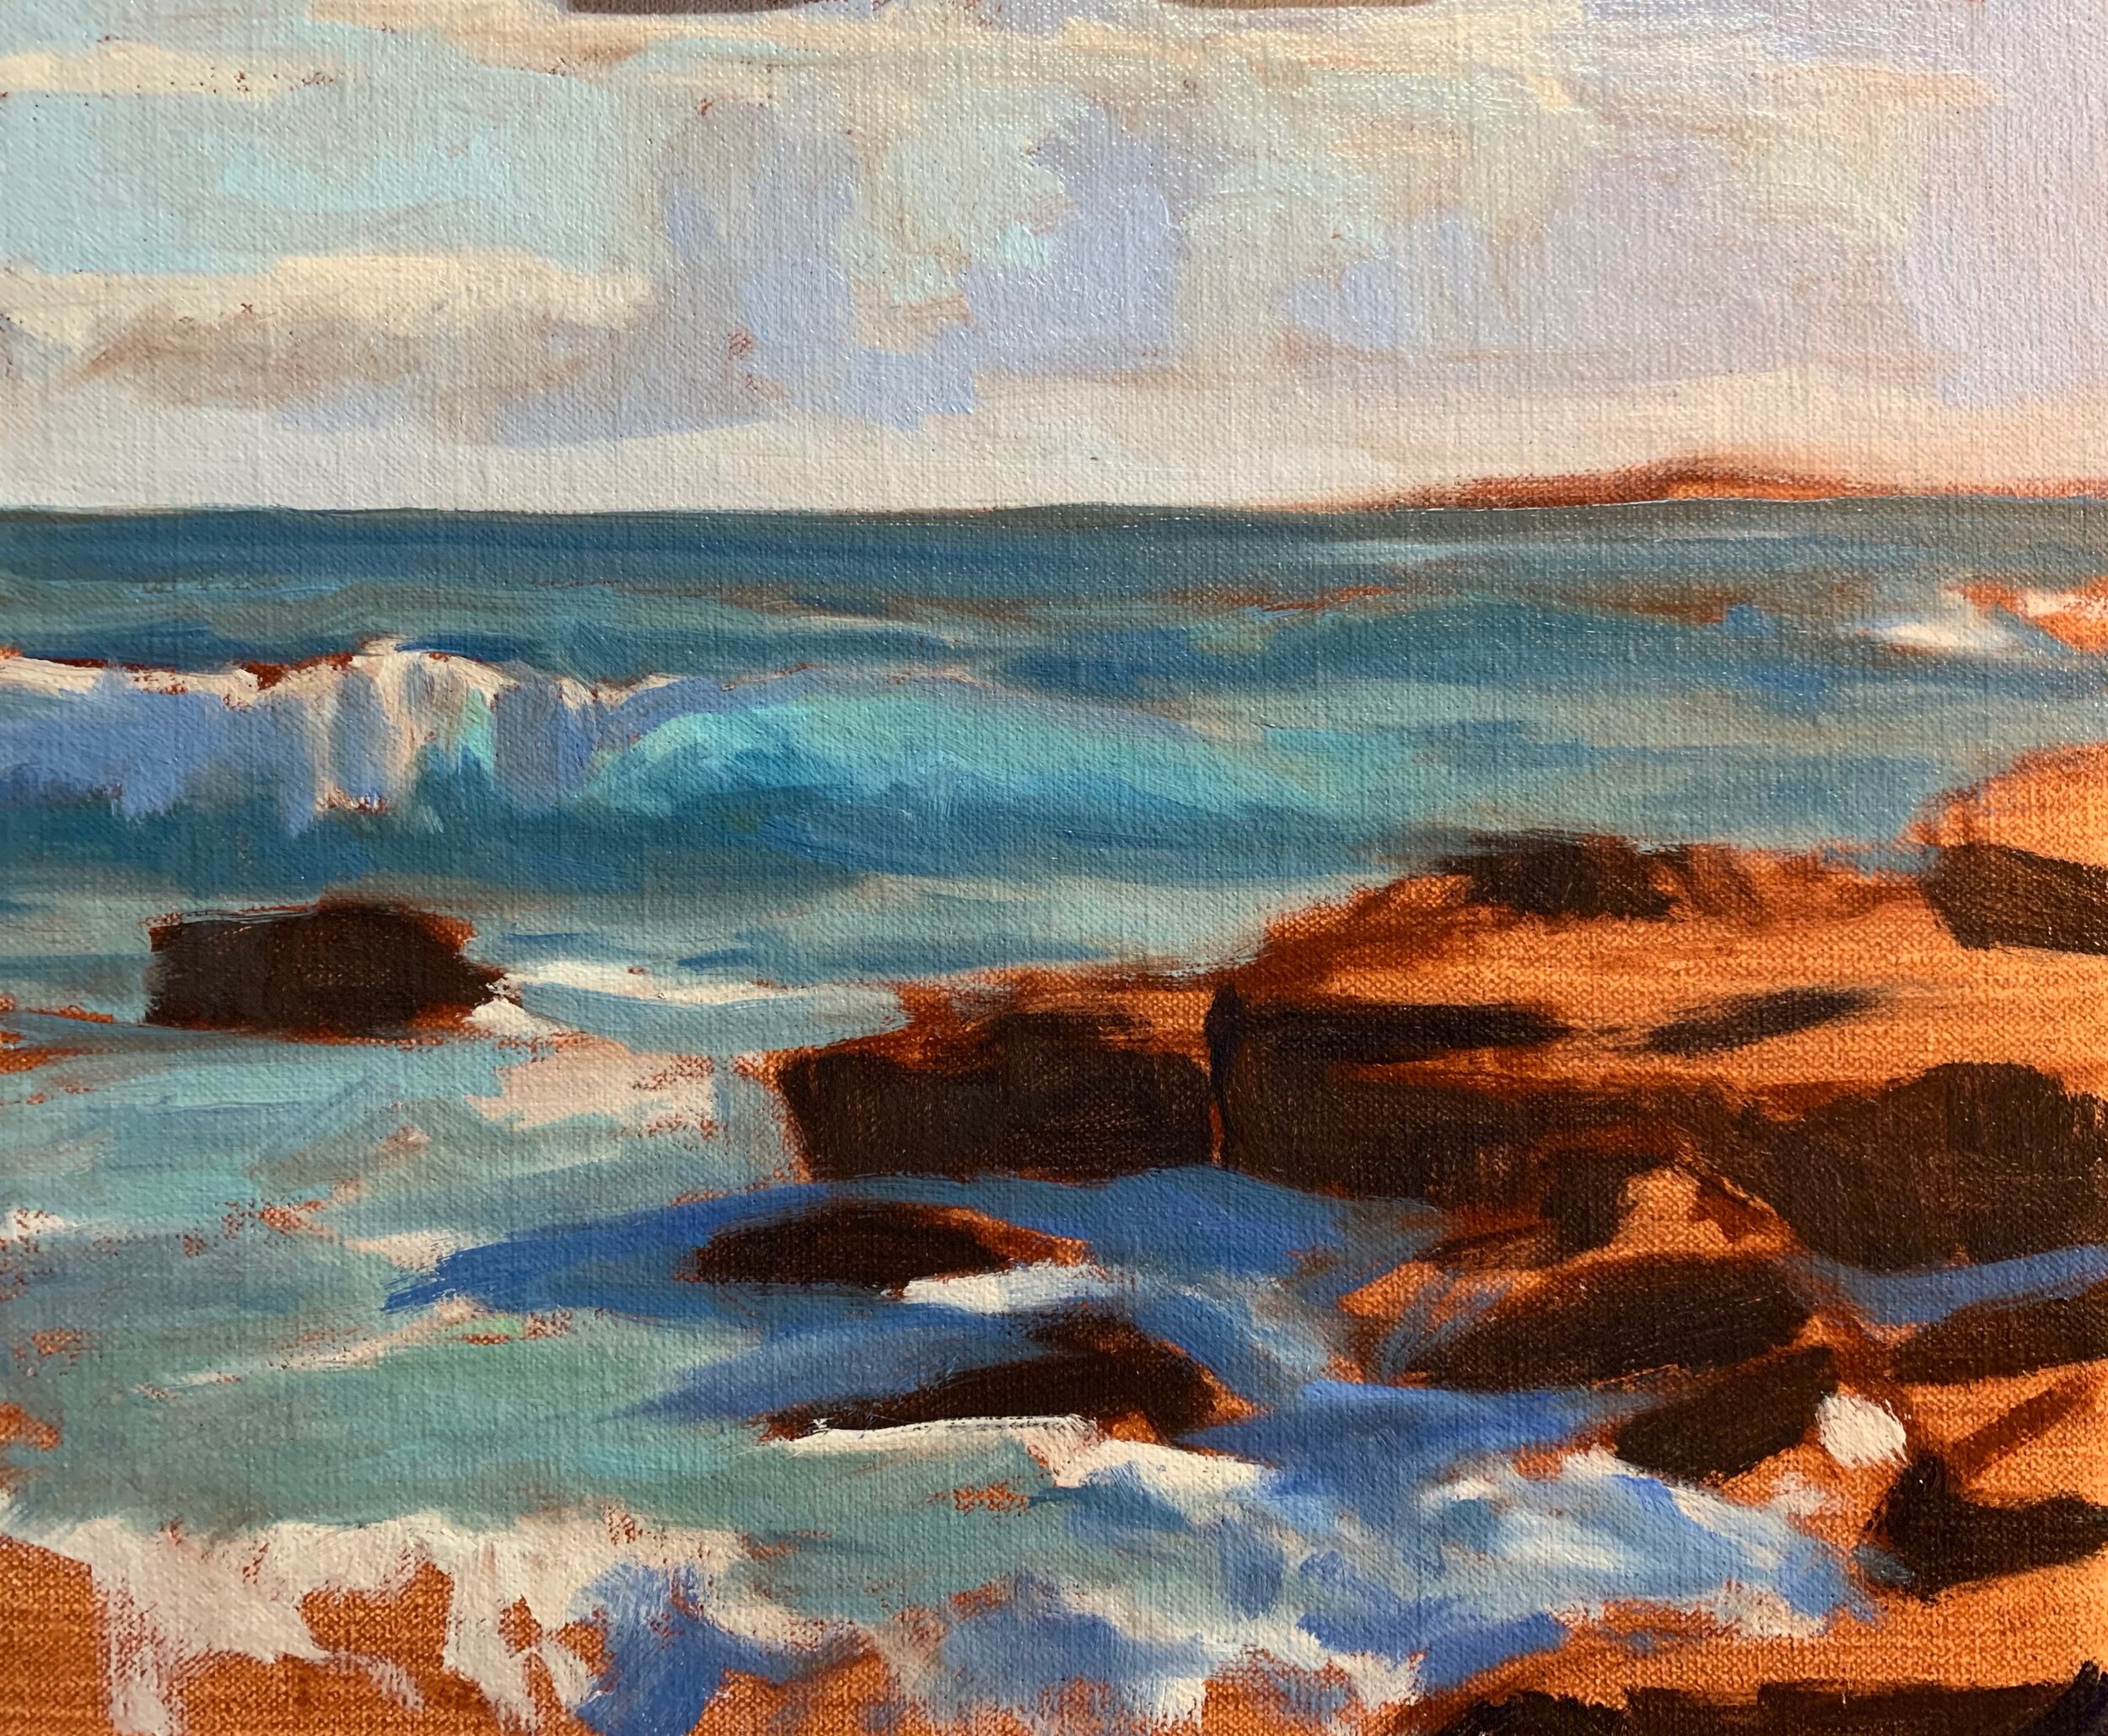
I finish up the block-in stage of the painting by adding more highlights to the sea and painting the areas of the rocks that are in the sunlight. The rocks are wet as a wave has just crashed over them and the colour is a low chroma (saturation).
I mix ultramarine blue, burnt sienna and titanium white for the areas of the rocks that are in the light. I mix a small amount of quinacridone magenta as well in places to give the rocks a violet tint.
The blocking-in stage serves as a base to work from. I also keep my brush work loose and expressive at this stage as it adds an aliveness and energy to the painting. I can layer finer details on top later on.
When I am happy with my colours and values and the overall tonal dynamic I leave the painting to dry so that I can begin adding the details.
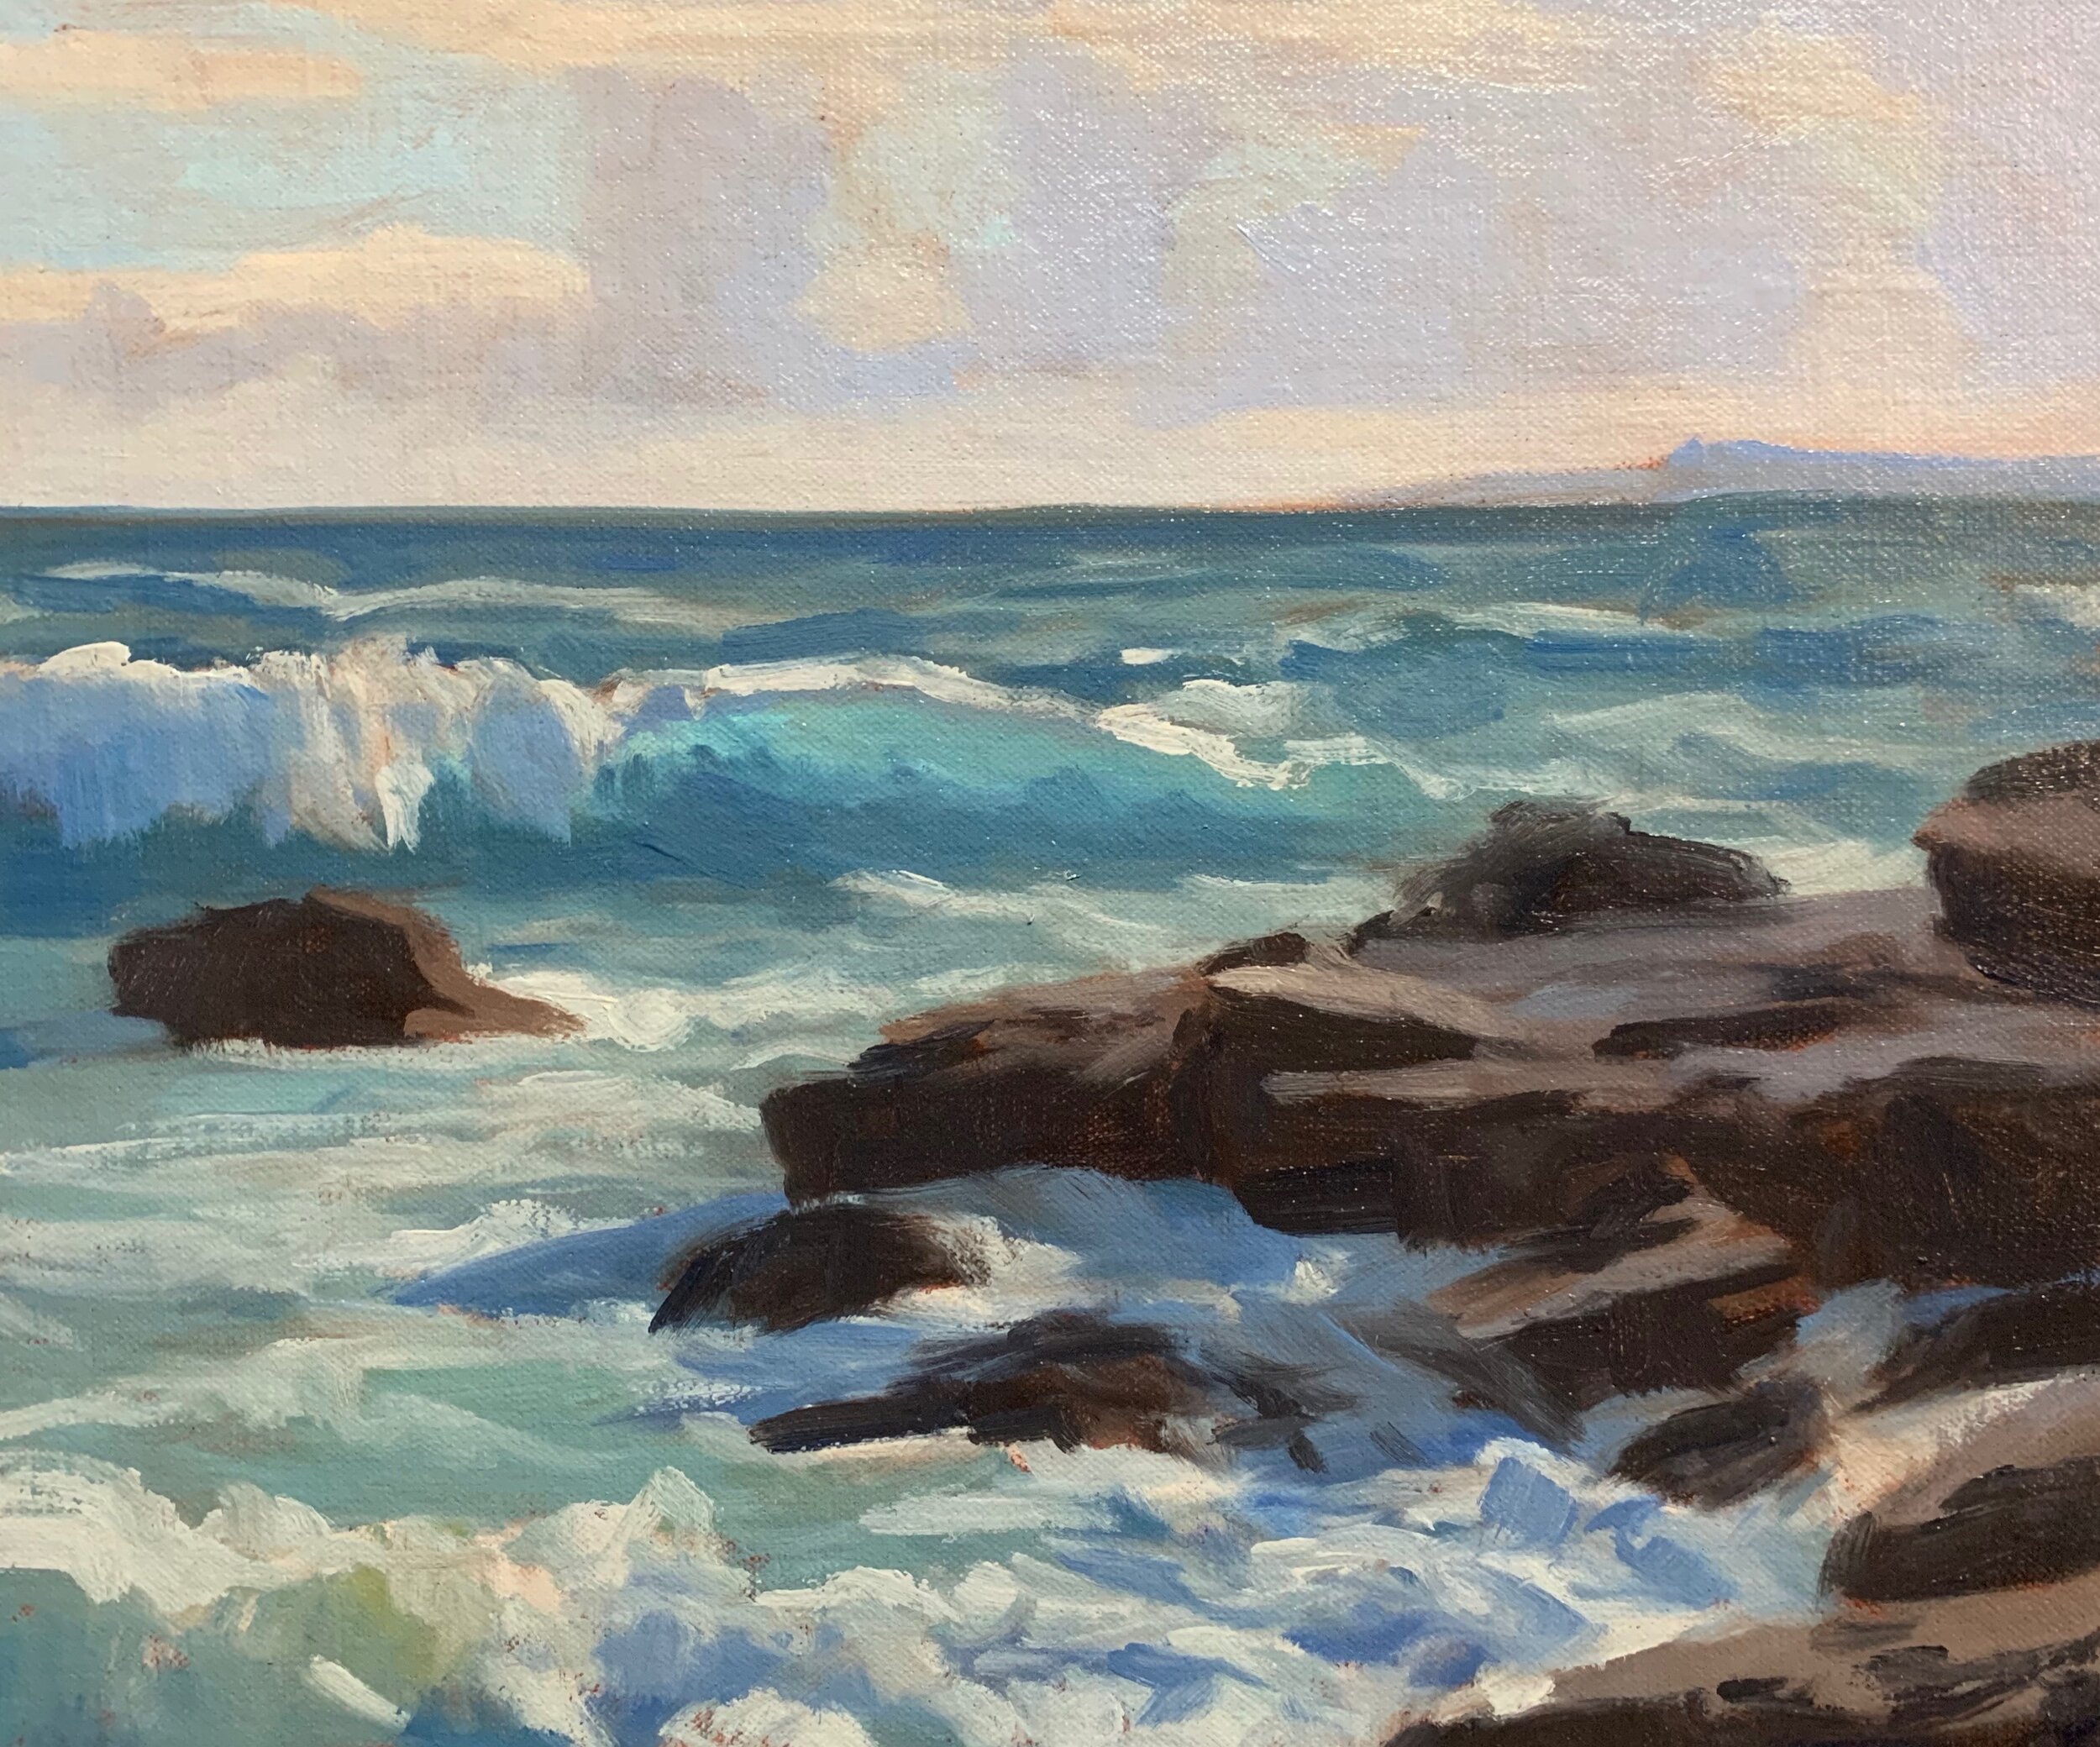
Stage Two – Modelling and Adding Details
Now that the painting is dry I can start the modelling stage where I am working on individual zones in the painting, preparing it for more details to be added later on.
I start with the sky and begin forming more defined cloud shapes. I use the same colours that I used during the block-in stage.
One of the main areas I work on at this stage is the sea. I begin adding in reflected light into the ripples of the swells. This is a mix of ultramarine blue, cobalt teal and titanium white.
I add foam patterns and highlights on the crest of the waves and the white water. I want to keep my values a little darker at this stage so I have plenty of room to add lighter layers later on as I build up the details.
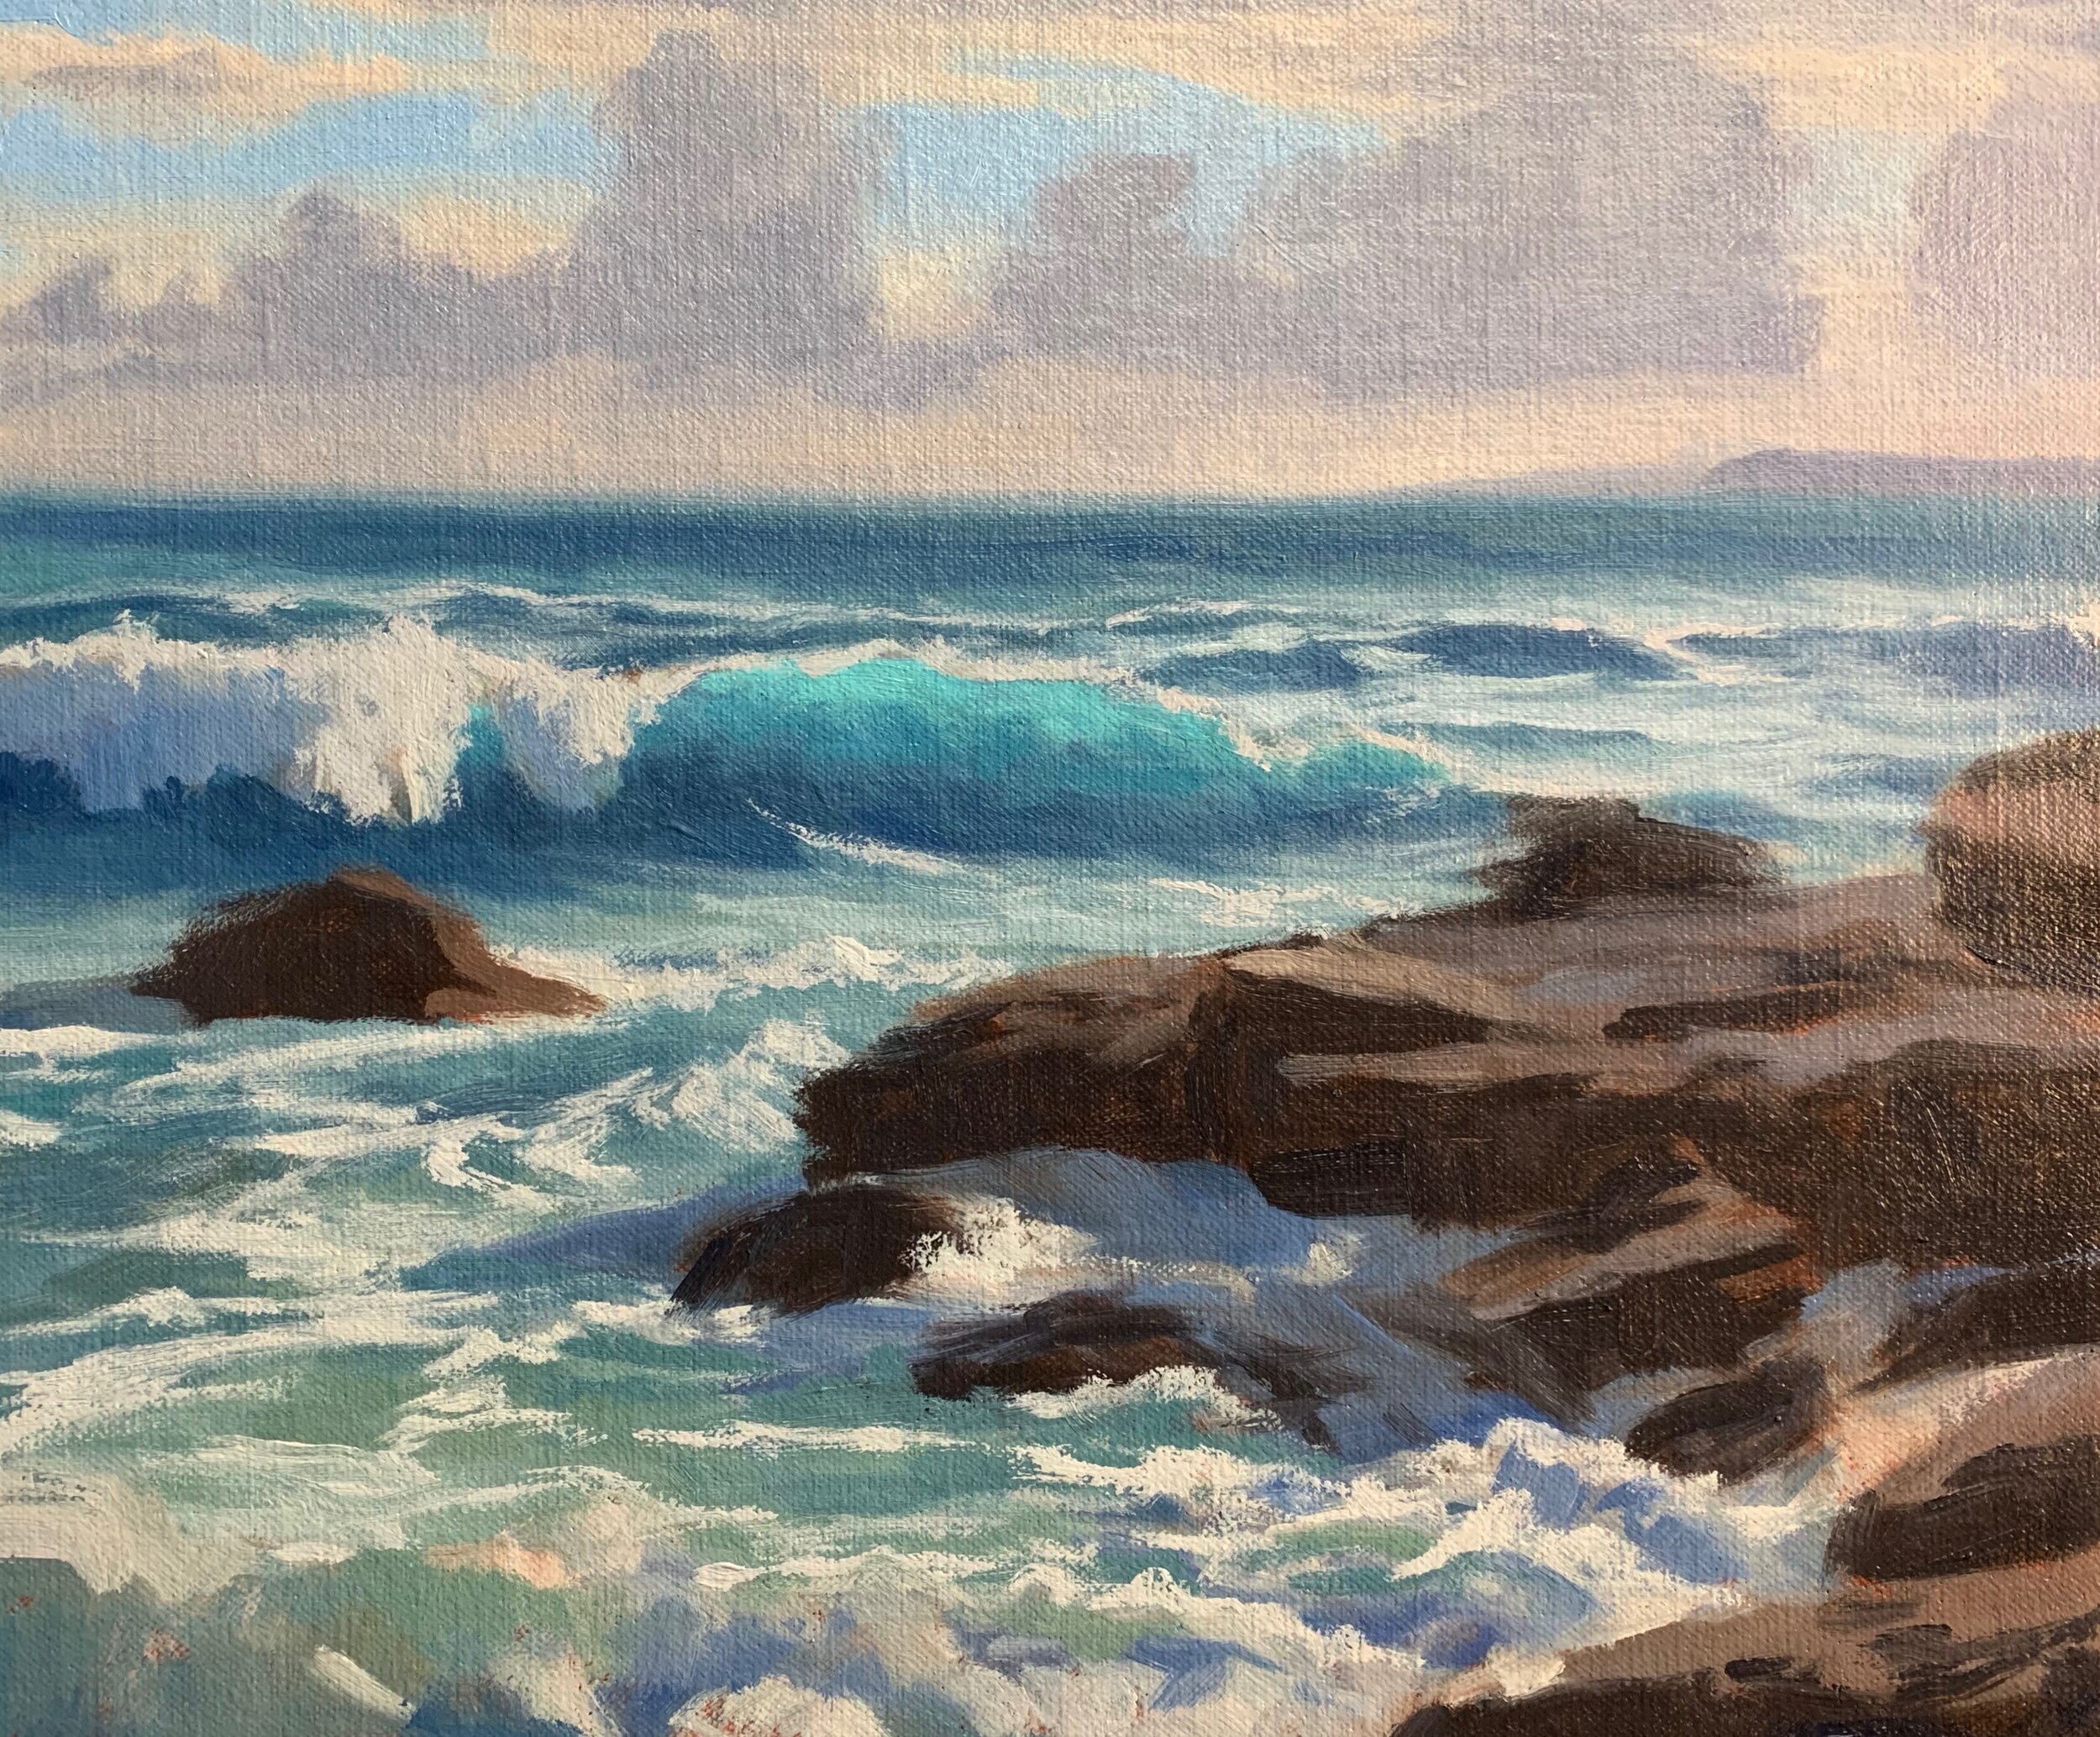
I add much more detail to the water in the foreground. Those foam patterns are going to help to lead the eye towards with breaking wave as well as communicate drama and atmosphere within the scene.
I add more definition to the white water and ripples that are in shadow by painting reflected light. This is a mix of ultramarine blue, cobalt teal and titanium white.
I start adding details to the rocks, restating the shadows and painting cracks and fissures within the rocks. I apply the mix with a 3/8” dagger brush for finer marks and edges.
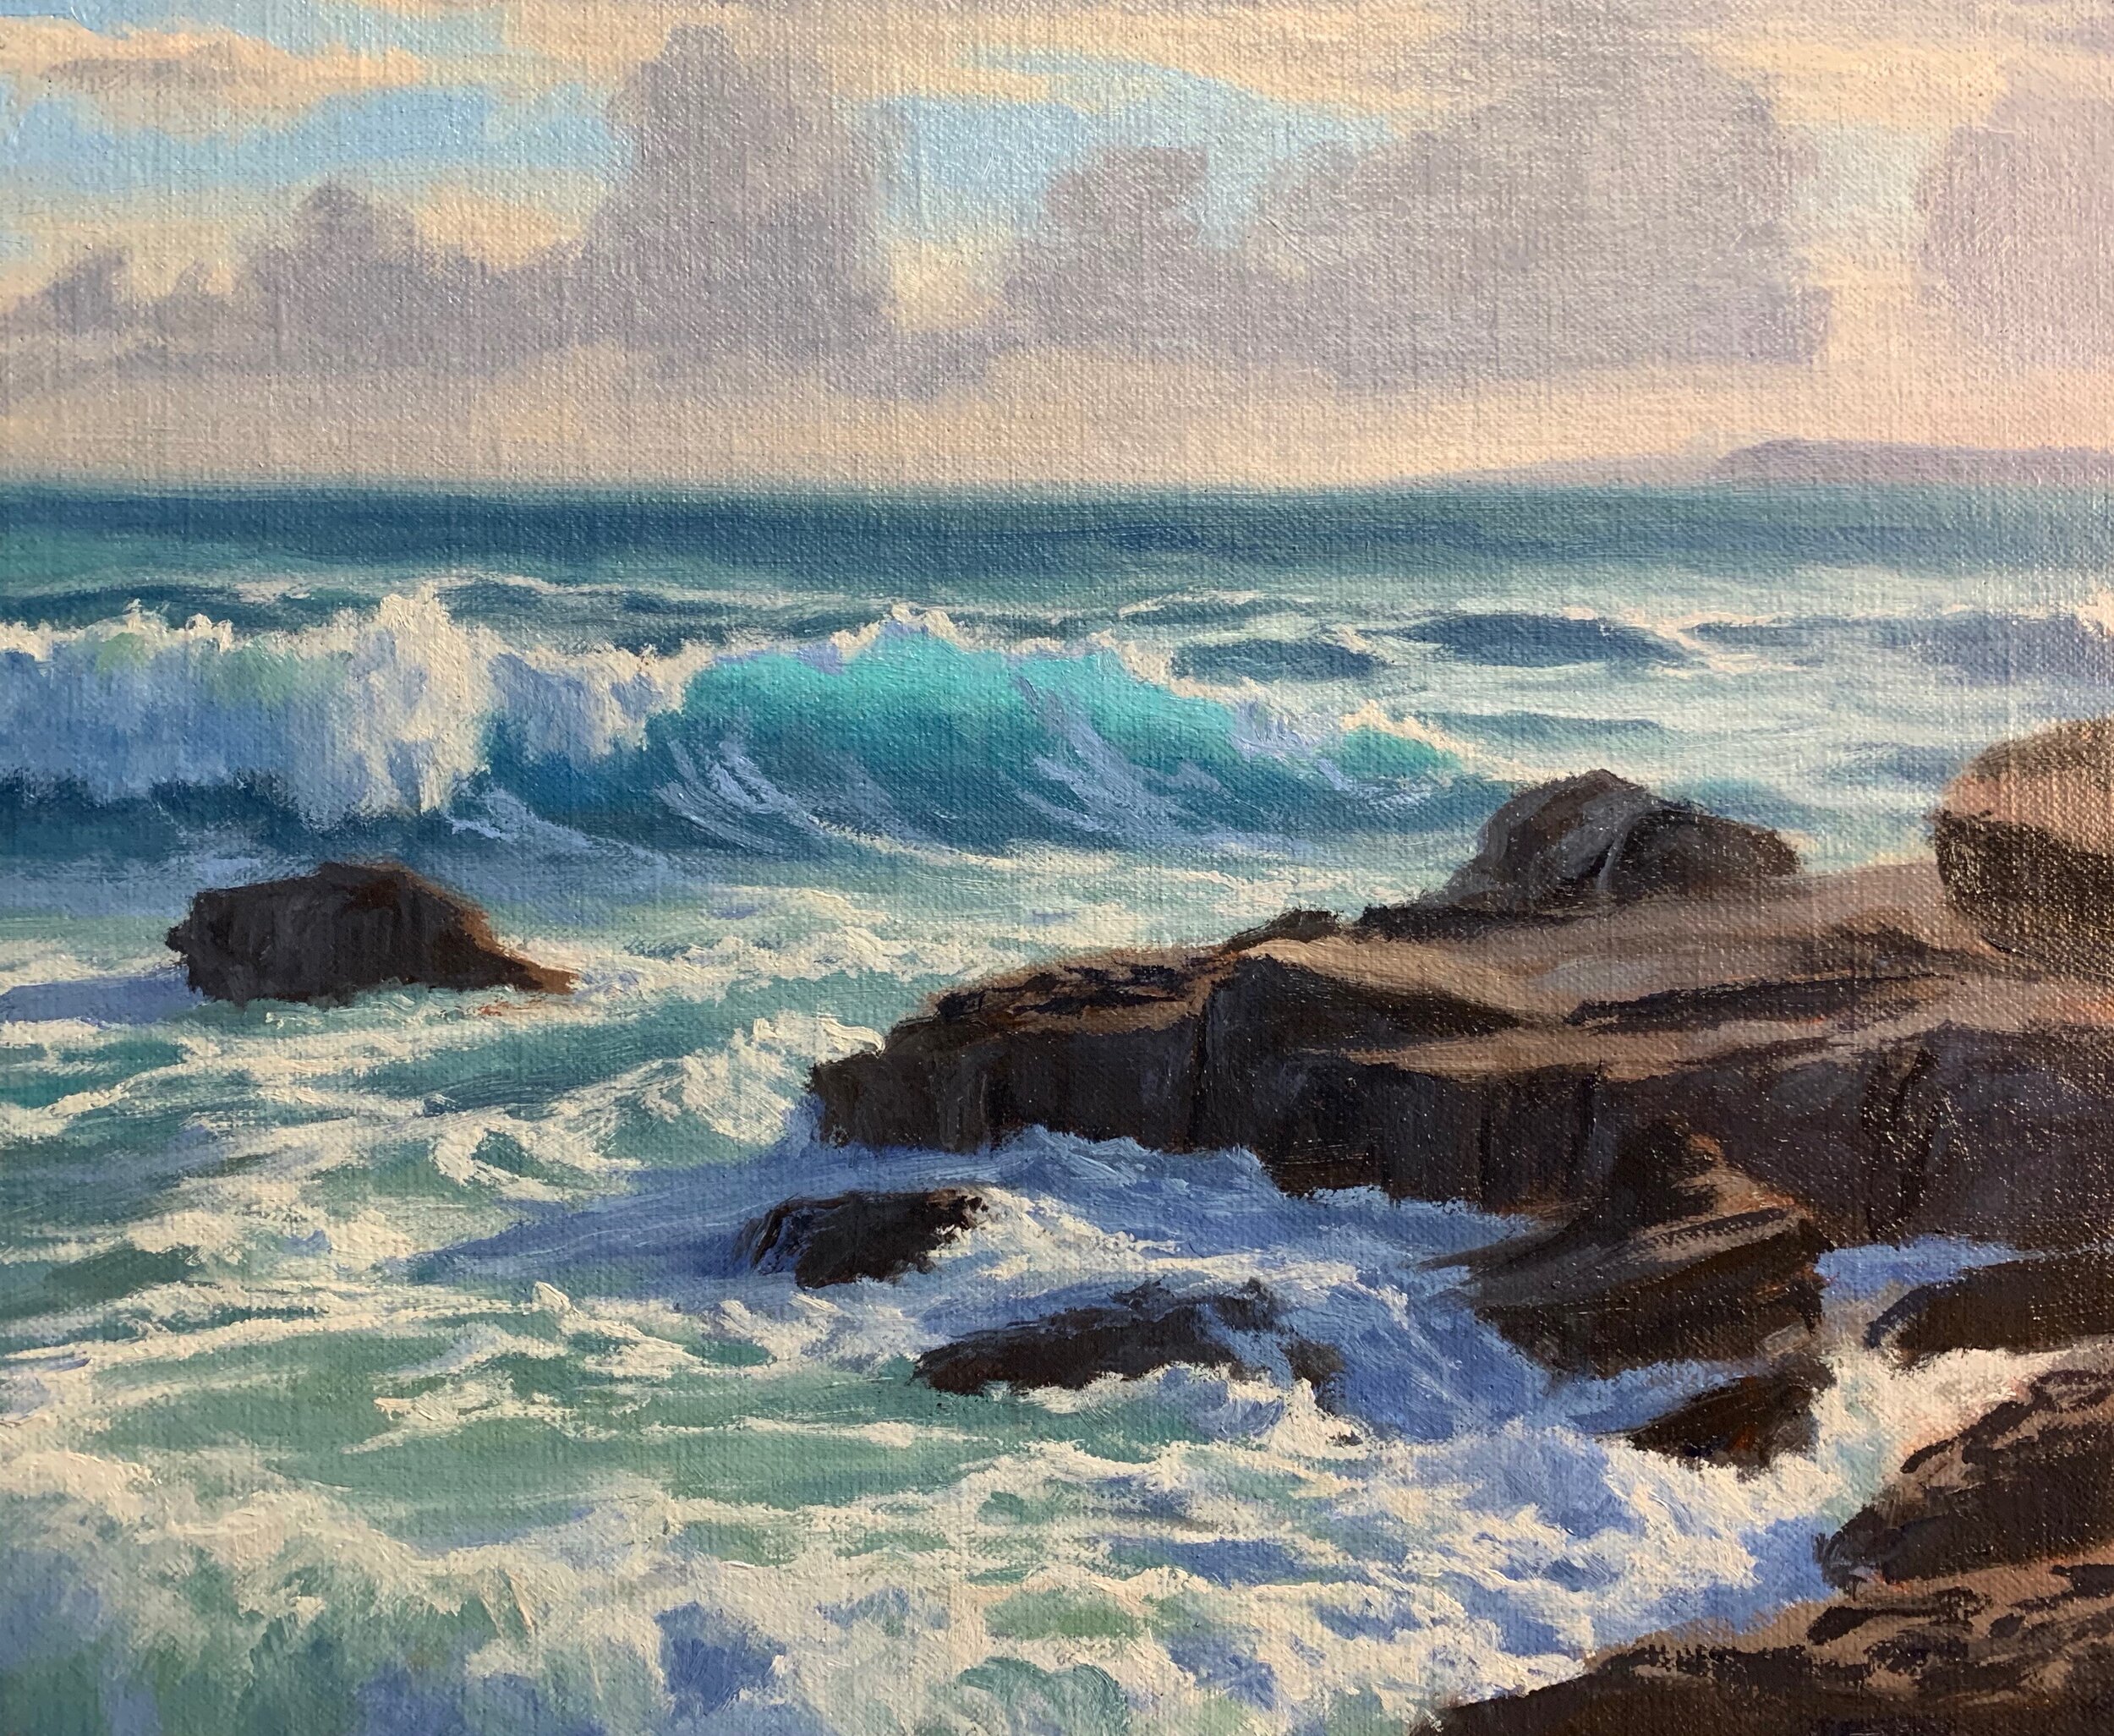
The foam patterns on the breaking wave are a mix of ultramarine blue, a little burnt sienna and titanium white.
To communicate the wet rock surfaces that are bathed in the full sunlight I mix ultramarine blue, burnt sienna, quinacridone magenta and titanium white. I lean the mixture of the blue side.
I add more ultramarine to the mix to paint the spills over the rocks that are in shadow and I sparingly paint a few highlights which helps to add more definition to the rocks.
Last Stage – Final Details
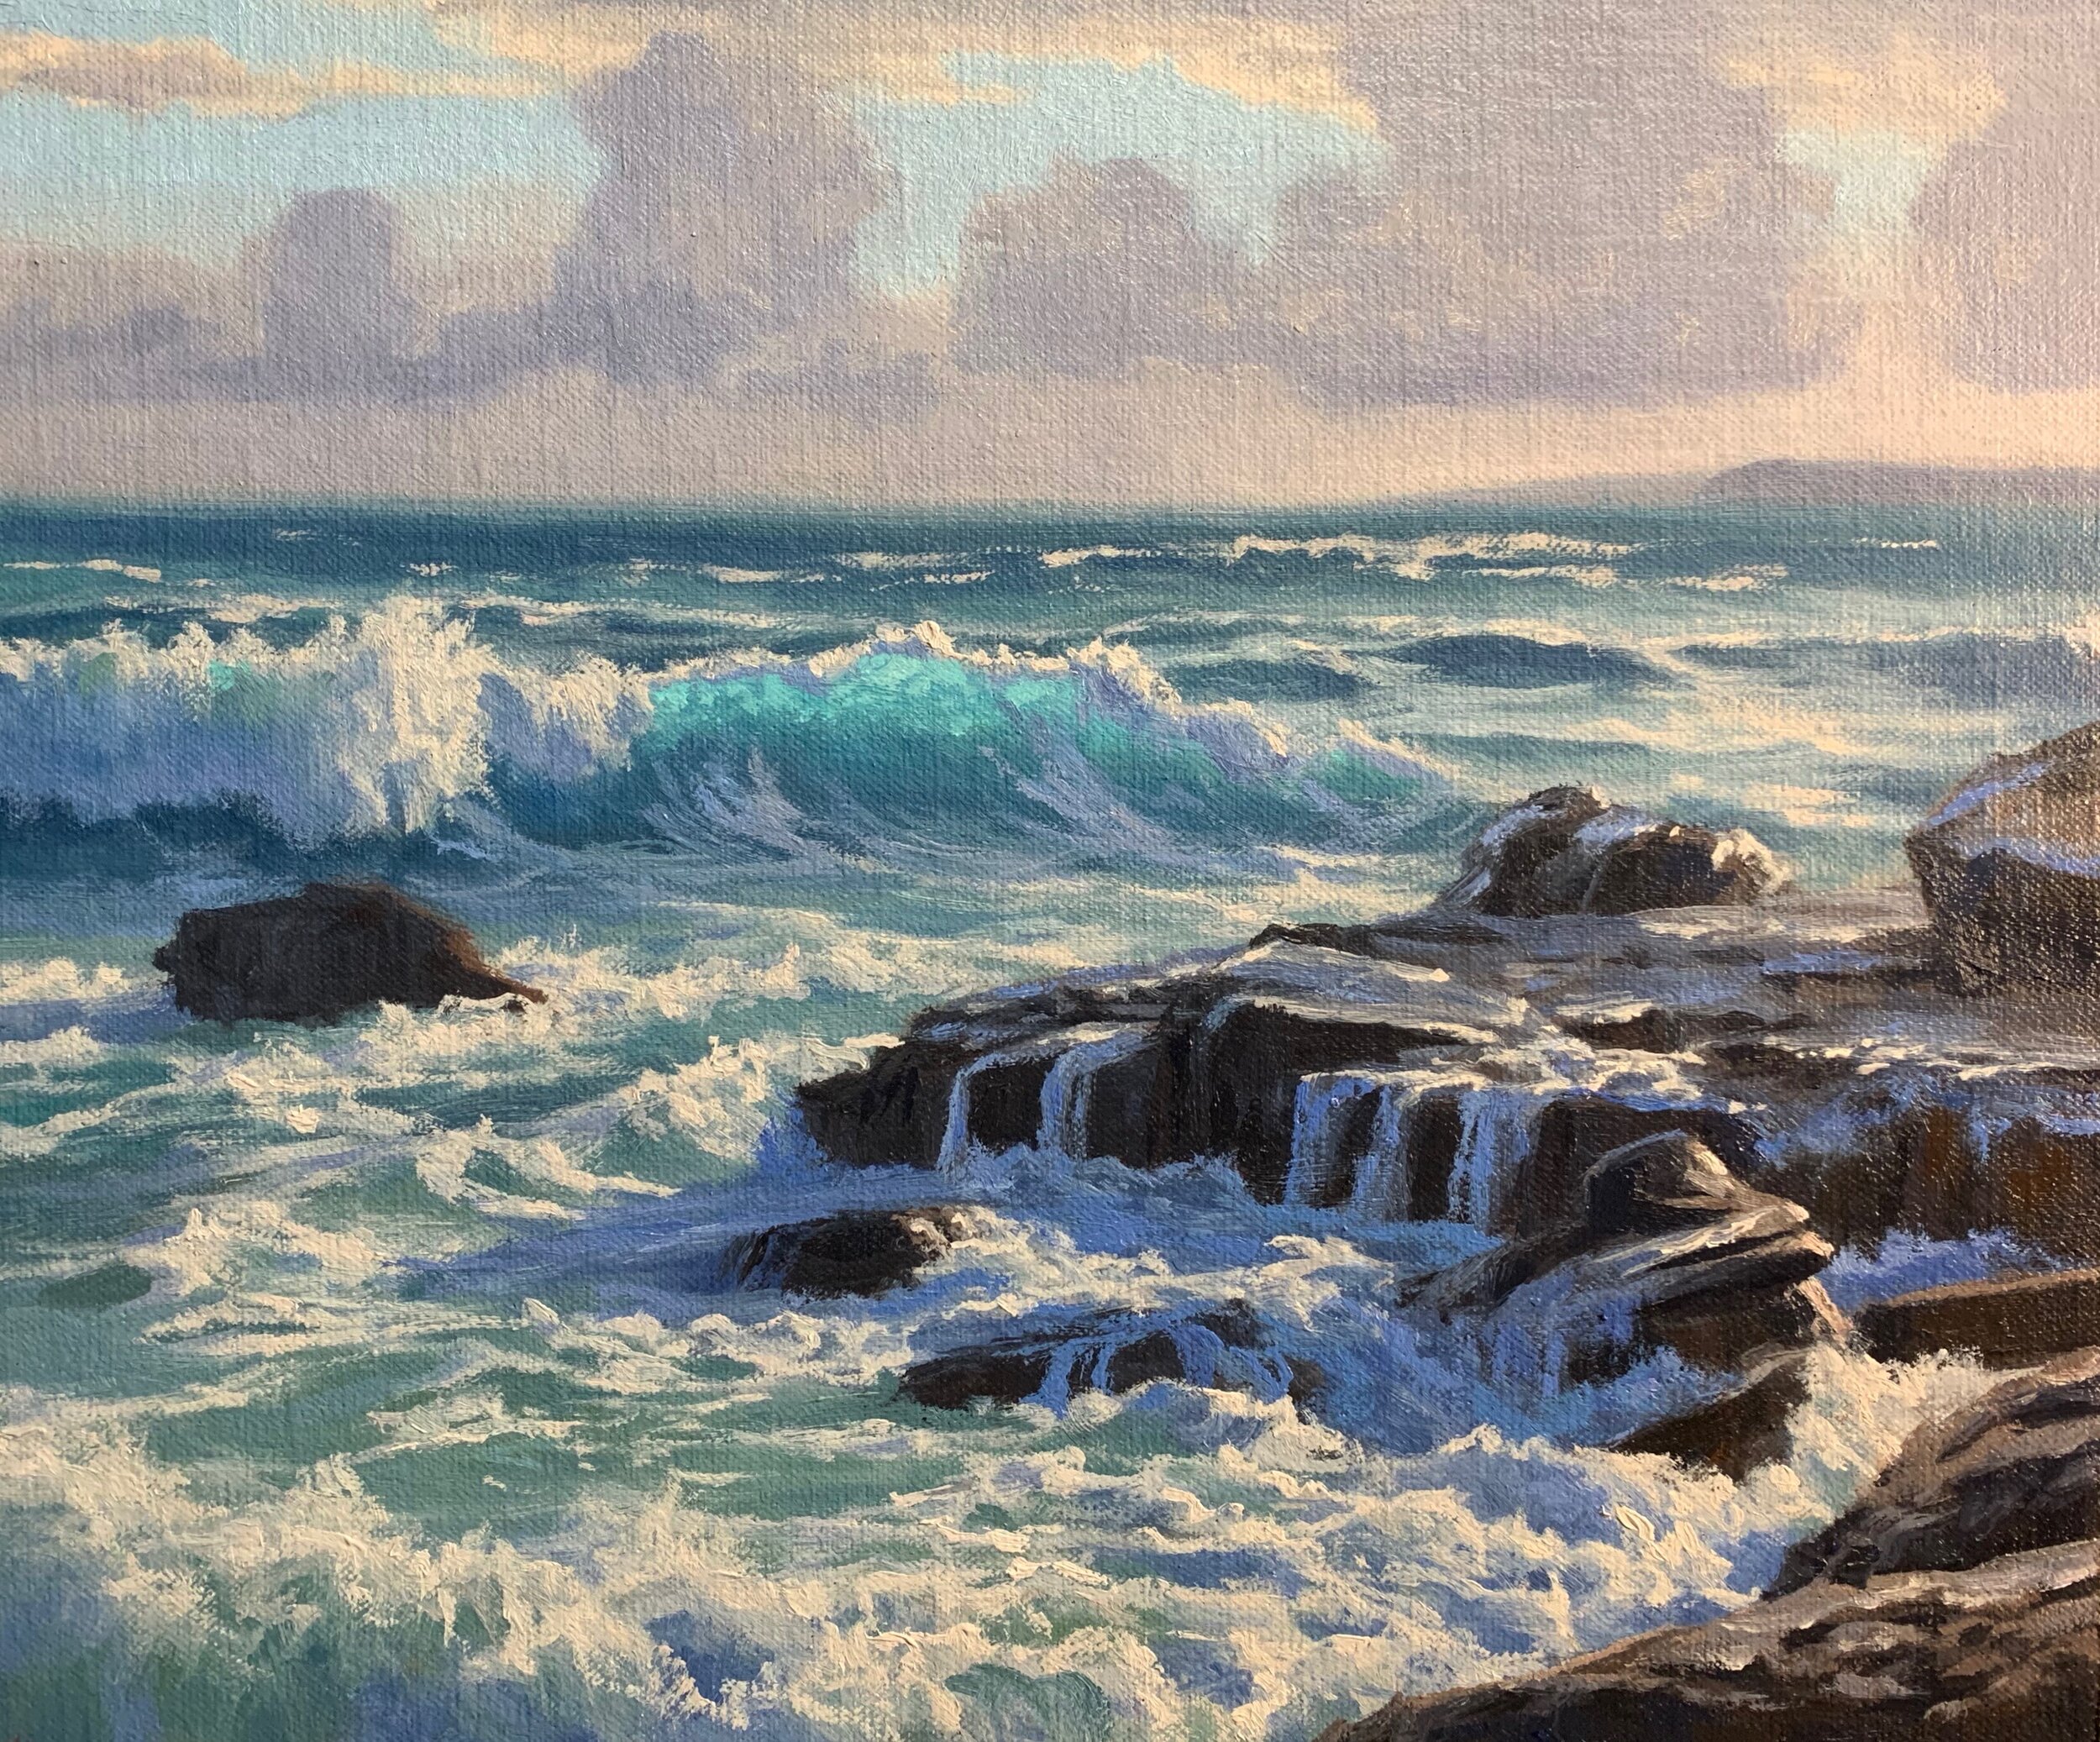
I had to make an adjustment to the foreground as I had unwittingly created a bit of a circular vector in the foam patterns that was creating a distraction in the paint. This can happen when you get so engrossed in your painting. However it was an easy fix and I was able to breaking some of those lines in the foreground.
It’s at this stage of the painting that I am now adding my lightest values which is a mix of titanium white and a little yellow oxide. I sparing apply a few highlights to the foam and white water which helps to make the painting pop as well as give the water a more 3D form.
I finish the painting by marking in a few seagulls which adds to the story of the painting as well as life and another area of interest.

Thanks for reading.
